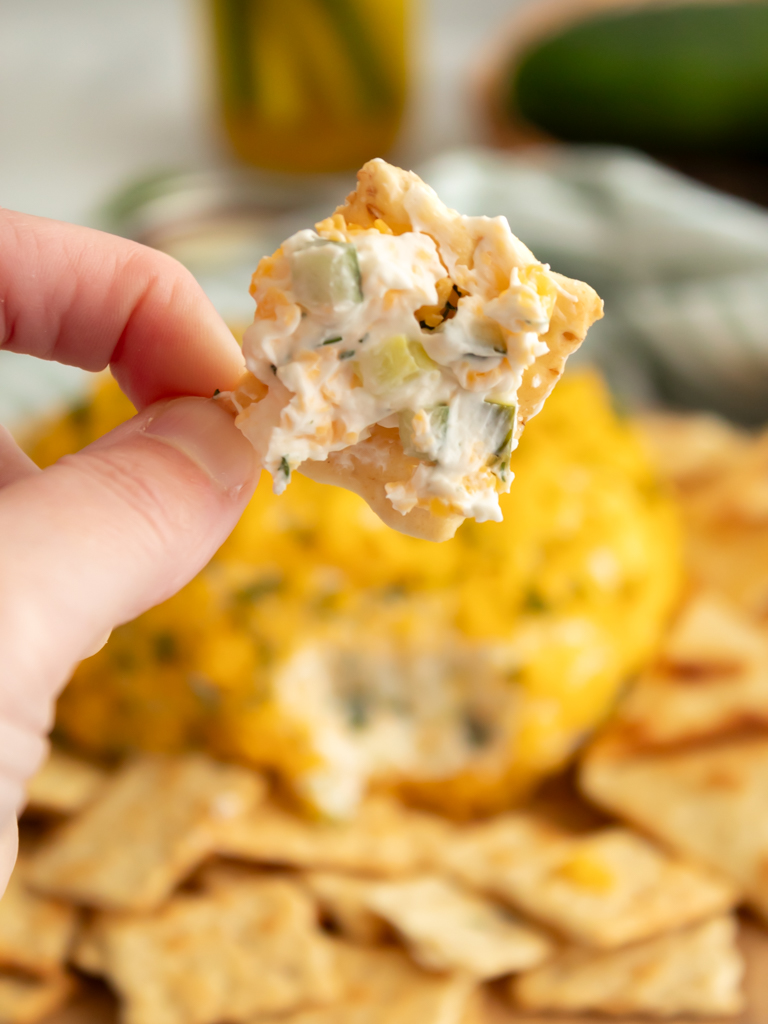
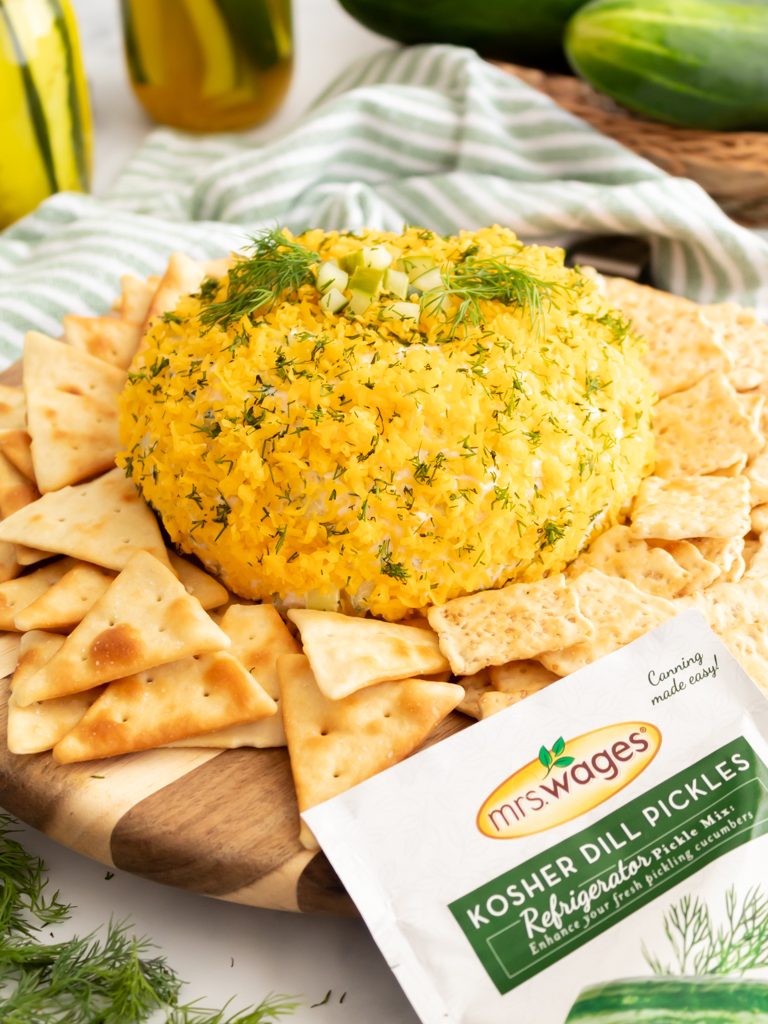
Satisfy your cravings and indulge in the ultimate snacking experience with a dill pickle cheese ball.

*This post is sponsored by Mrs. Wages®. All thoughts and opinions shared here are 100% my own. To learn more, you may read my Disclosure Policy. Thank you for supporting my blog and the brands I truly love!
The Ultimate Dill Pickle Cheese Ball
Calling all pickle lovers! Are you looking for a new delicious and easy appetizer recipe to make?

Look no further than this dill pickle cheese ball! This creamy and zesty spreadable dip is perfect for your next party, game day tailgate, or holiday gathering.
Made with homemade kosher dill pickles (courtesy of Mrs. Wages® refrigerator pickle mix), it’s sure to be a hit with your guests.
I’m always a big fan of a simple chip and dip snack platter, but this pickle cheese ball is addictive and dangerously delish.
Try it for yourself and find out. (But don’t say I didn’t warn you first!)
Ingredients for the Ultimate Dill Pickle Cheese Ball
Cheese Ball
- 16 ounces cream cheese, softened
- 4 tablespoons sour cream
- 1/2 teaspoon garlic powder
- 1 teaspoon lemon juice
- 1 cup shredded cheddar cheese
- 2 tablespoons fresh chopped dill
- salt and pepper to taste
- 1½ cups diced kosher dill pickles (See recipe below)
Refrigerator Dill Pickles
- 2 pounds of pickling cucumbers (about 10)
- 3/4 cup Mrs. Wages® White Distilled Vinegar (5% acidity)
- 2 cups water
- 1 packet Mrs. Wages® Kosher Dill Pickles Mix
Cheese Ball Coating
- 1/2 cup shredded cheddar cheese
- 1 tablespoon fresh chopped dill
Instructions To Make Homemade Refrigerator Pickles
*Note this recipe makes 4 pints of homemade pickles.
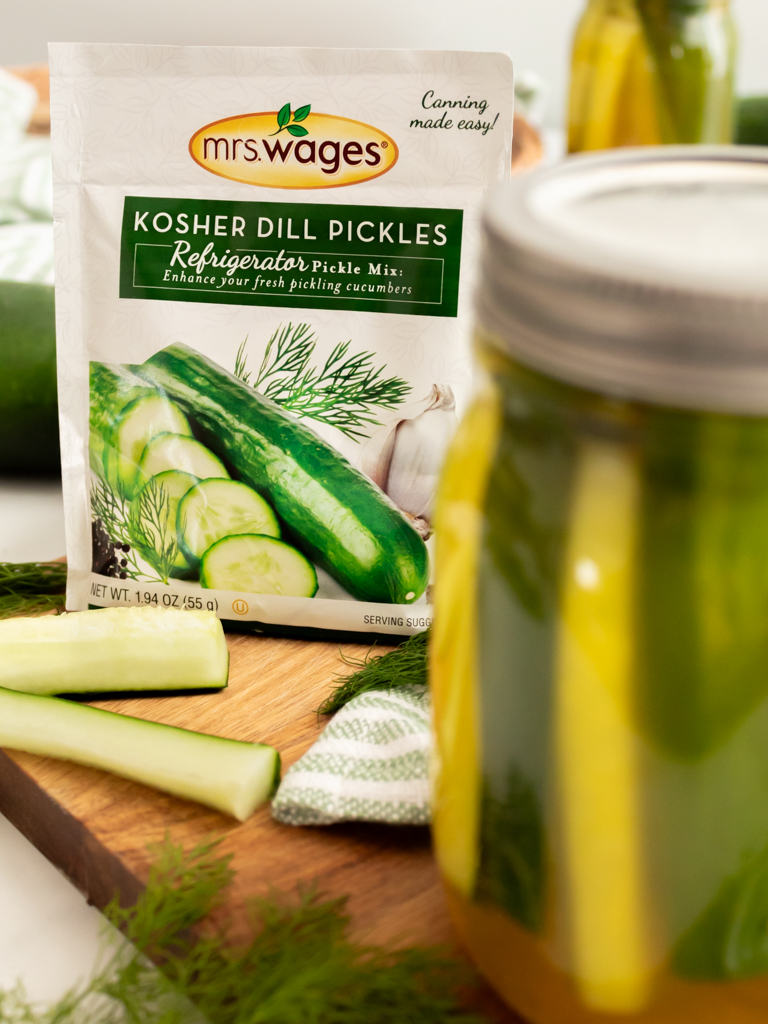
Making homemade pickles is easier than you think…especially when your secret weapon is Mrs. Wages® Pickle Mixes!
Step 1: Prep Your Cucumbers
First, wash your pickling cucumbers and cut off, and discard the ends.
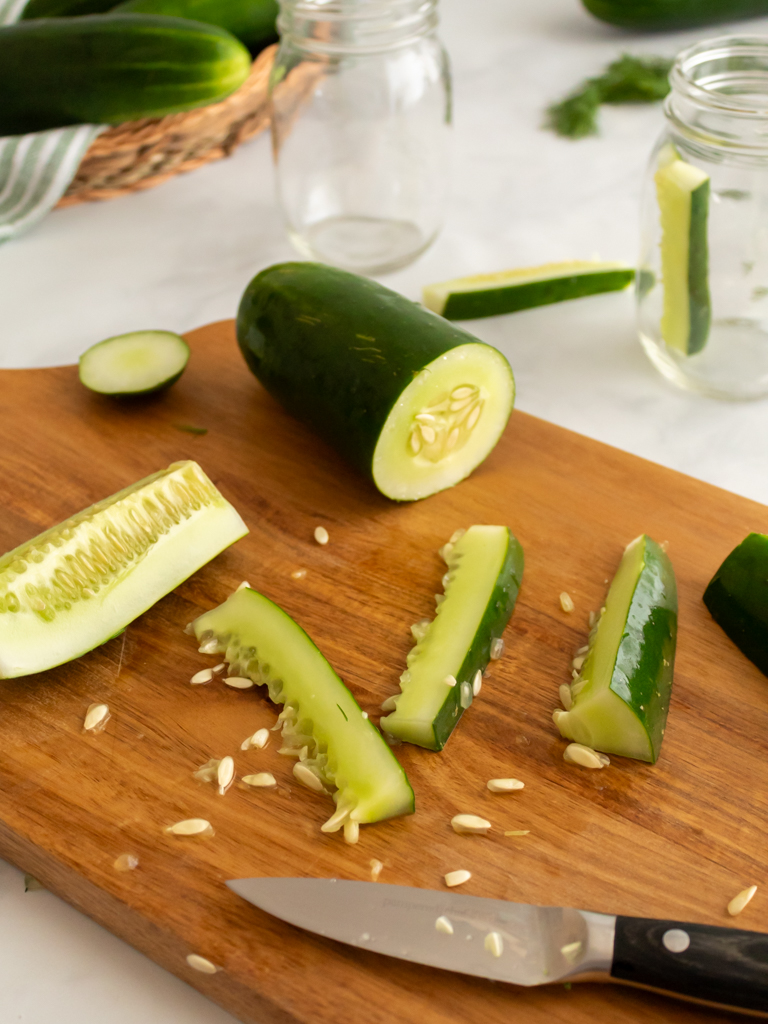
Then, slice the cucumbers into spears and pack them tightly into clean and sterilized pint jars.
Step 2: Make The Pickle Brine
Next, in a large non-reactive saucepan, combine the water, vinegar, and Mrs. Wages® Kosher Dill Pickles Mix.
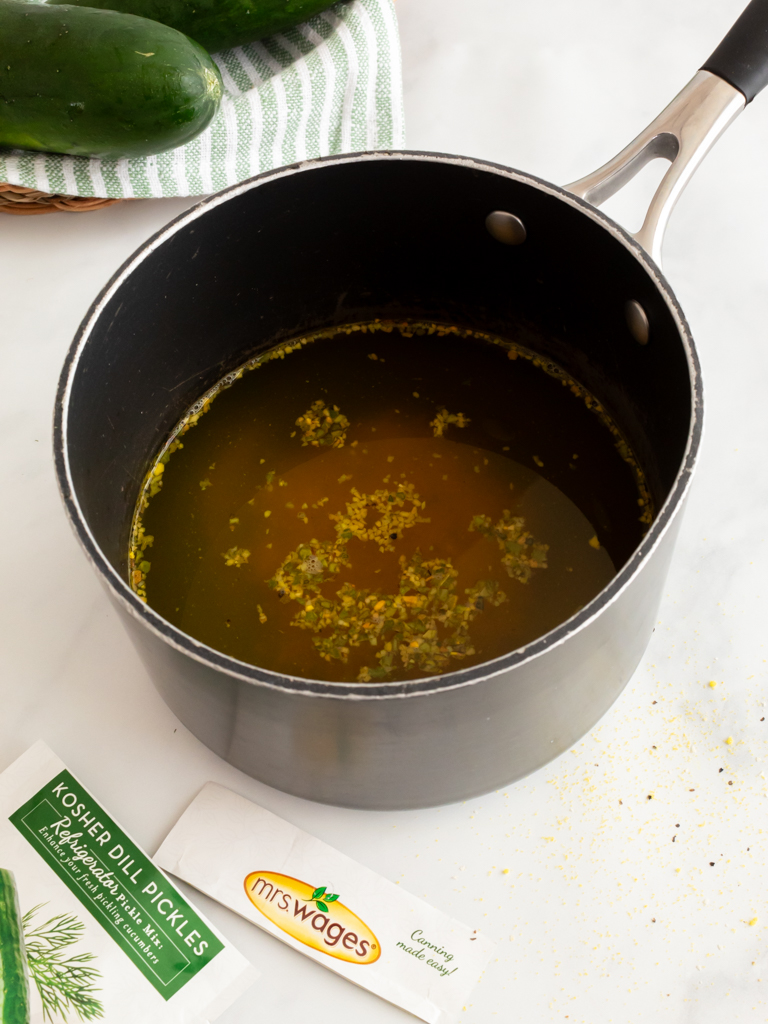
Bring the liquid to a boil over medium heat and stir until the mix dissolves. Then remove your pan from the heat.
Step 3: Fill The Jars
Once the pickling mixture is ready, evenly pour it over the cucumbers, leaving 1/2 inch headspace at the top of each jar.
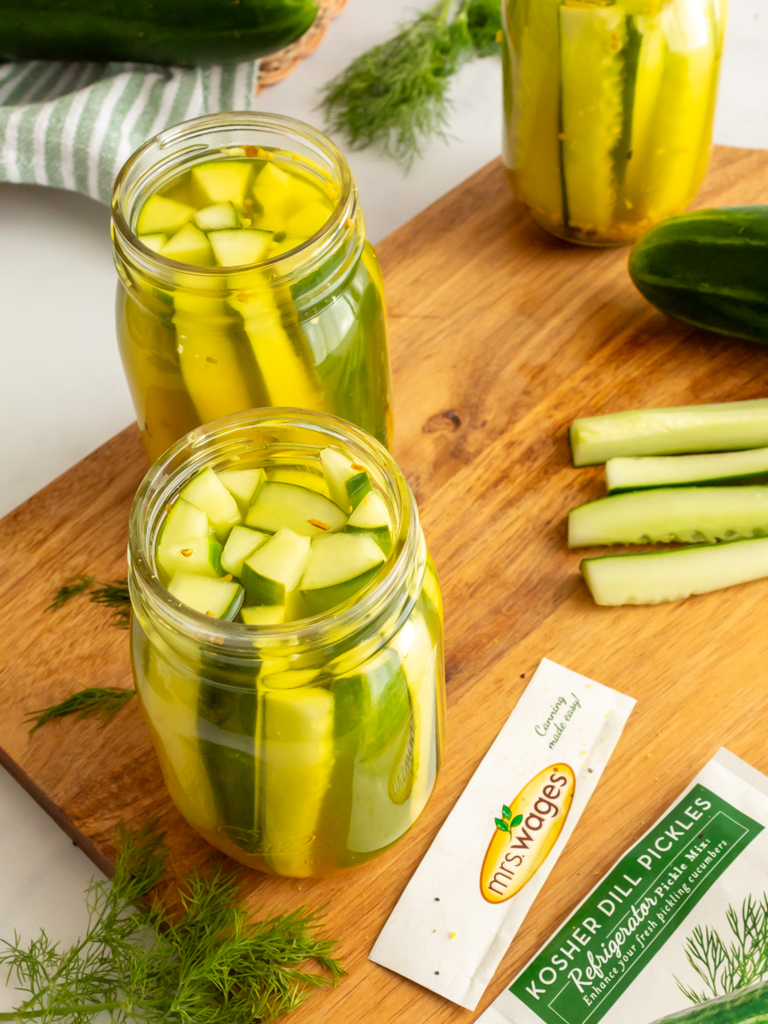
Be careful to remove any air bubbles and wipe the rim of each jar before securing the lid and ring.
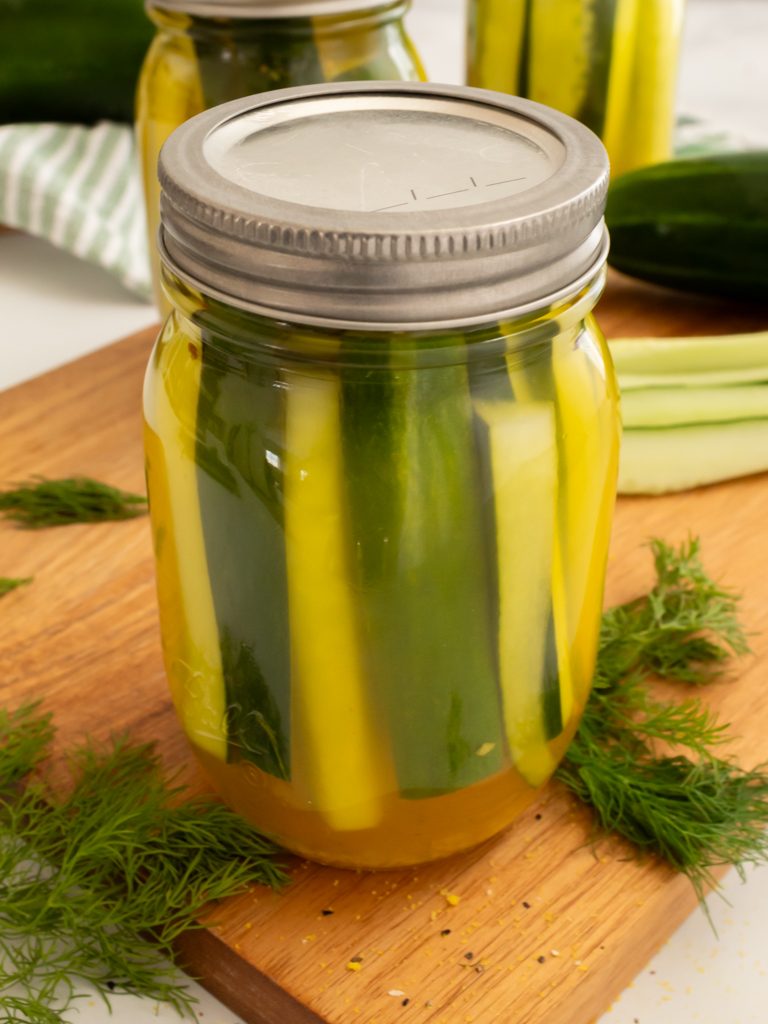
Set the jars of pickles on your kitchen counter and let them cool to room temperature. When done, keep the jars refrigerated and use them within 6 months. Once opened, the pickles should be eaten within 1 week.
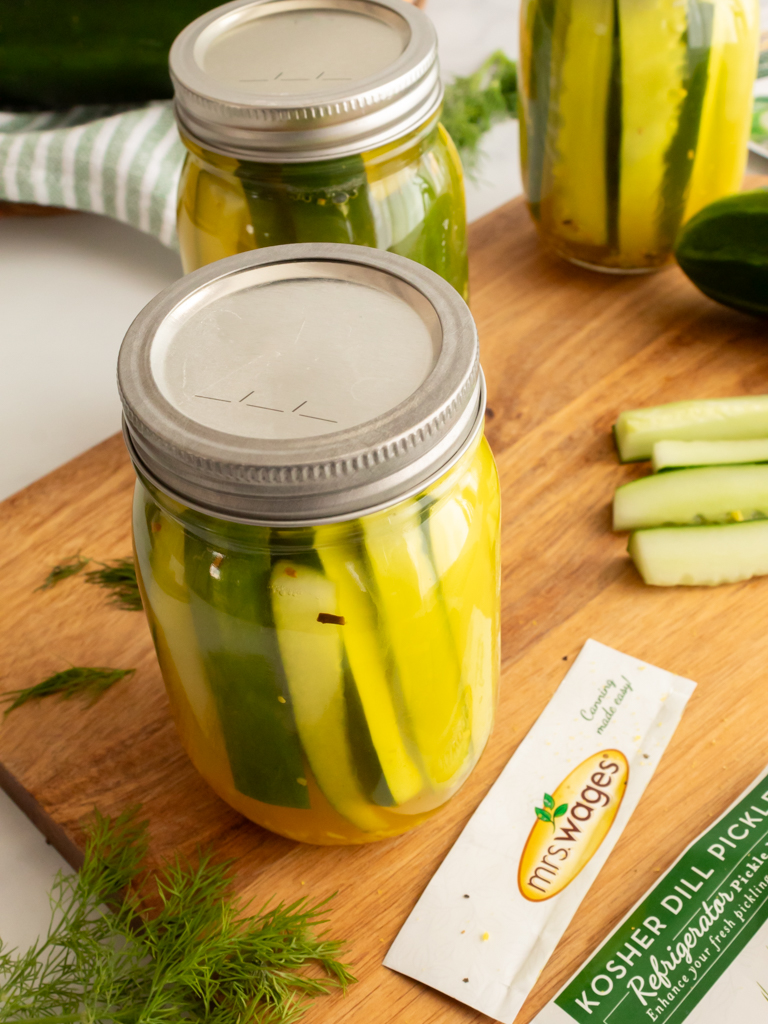
*Recipe Tips: If you need more liquid to fill your jars, add a mixture of 1 part hot vinegar and 2 parts hot water.
Any leftover pickling brine can be kept in the refrigerator in a non-reactive container for up to 1 week.
How To Prepare The Cheese Ball
To make the ultimate dill pickle cheese ball, first gather all your ingredients, including your pre-made refrigerator pickles.
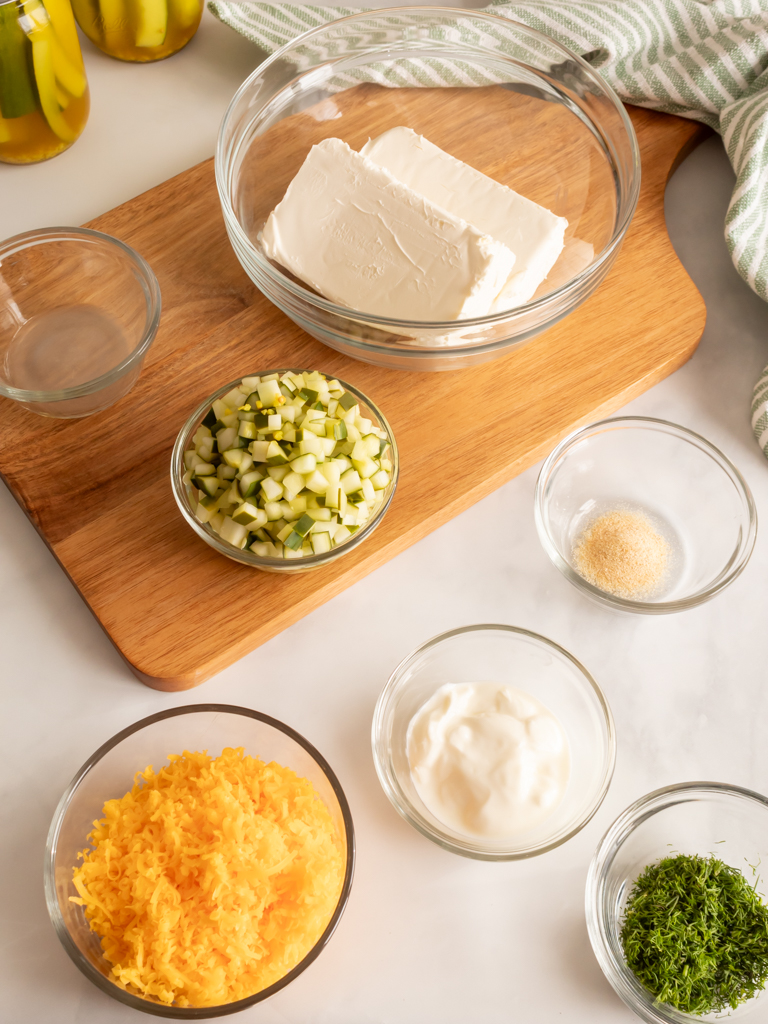
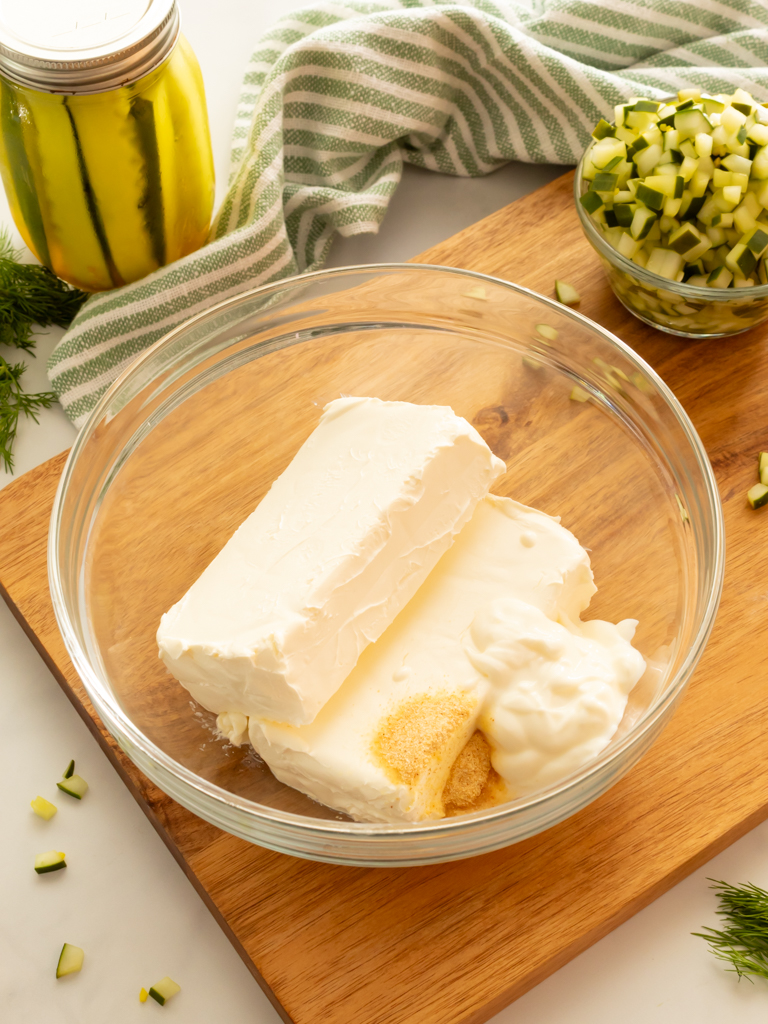
In a large mixing bowl, use a hand mixer to cream the softened cream cheese, sour cream, garlic powder, lemon juice, salt, and pepper.
Once the cream cheese mixture is smooth, add 1 cup of shredded cheddar cheese and 2 tablespoons of fresh chopped dill.
When it comes to cheese, I prefer mild cheddar, but you can experiment and use other flavors of cheddar if you’d like.
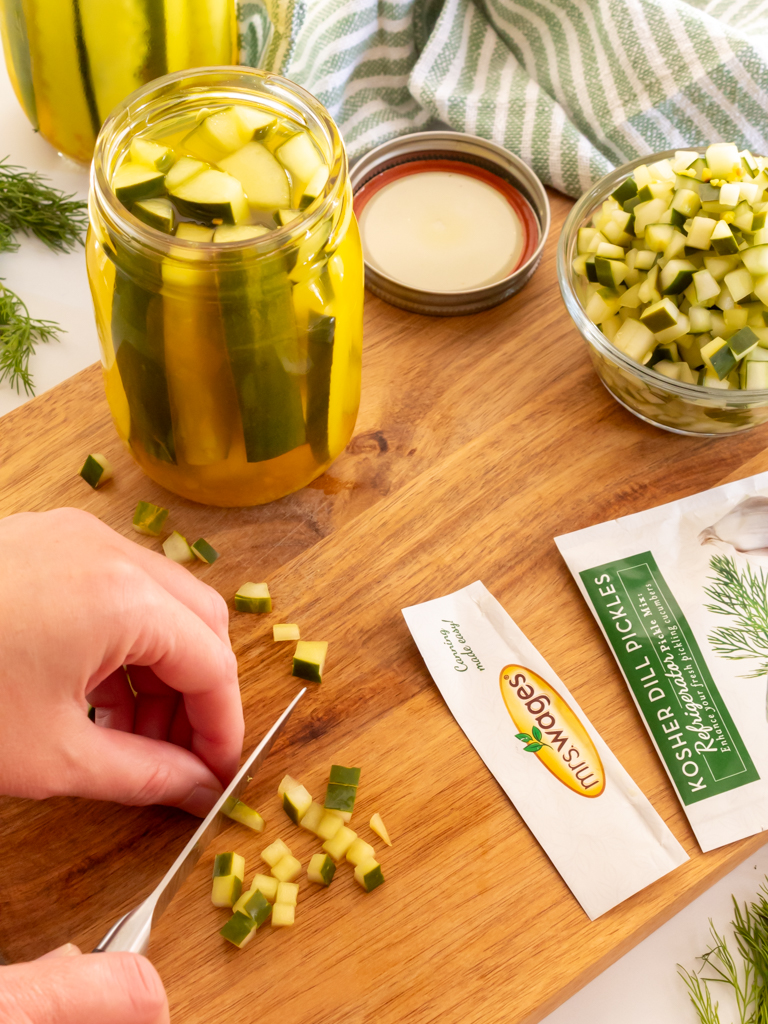
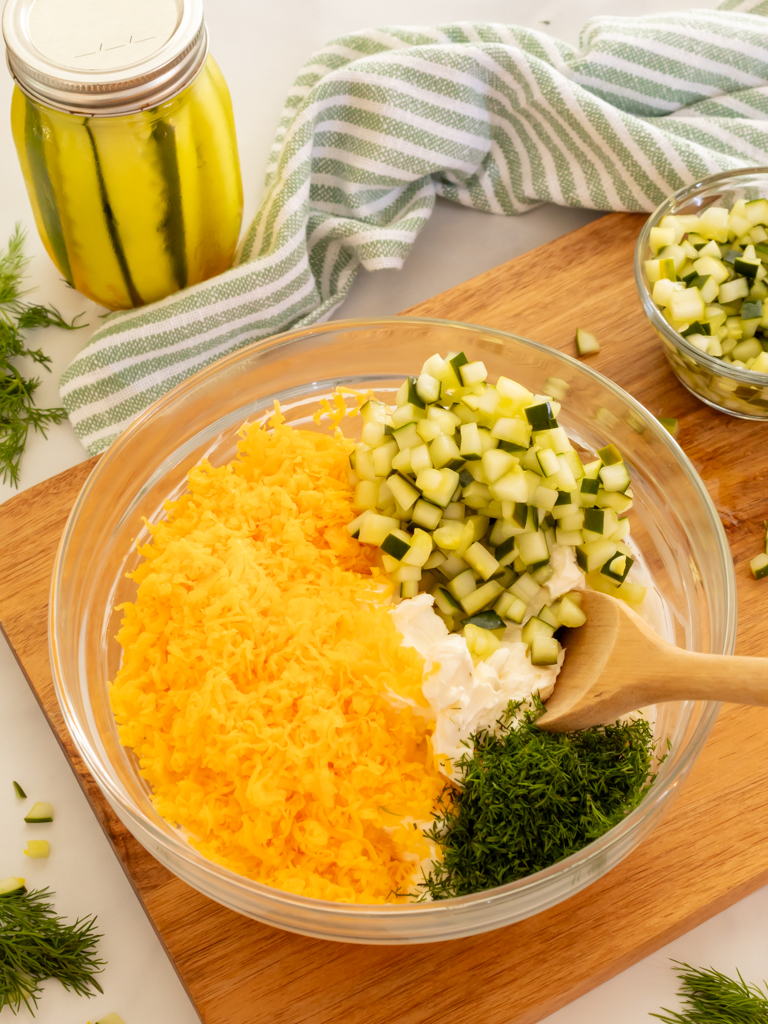
And now, the part you’ve been waiting for. It’s time to add the pickles!
Dice 1 and 1/2 cups of your homemade refrigerator dill pickles and add them into the bowl with the shredded cheese and dill.
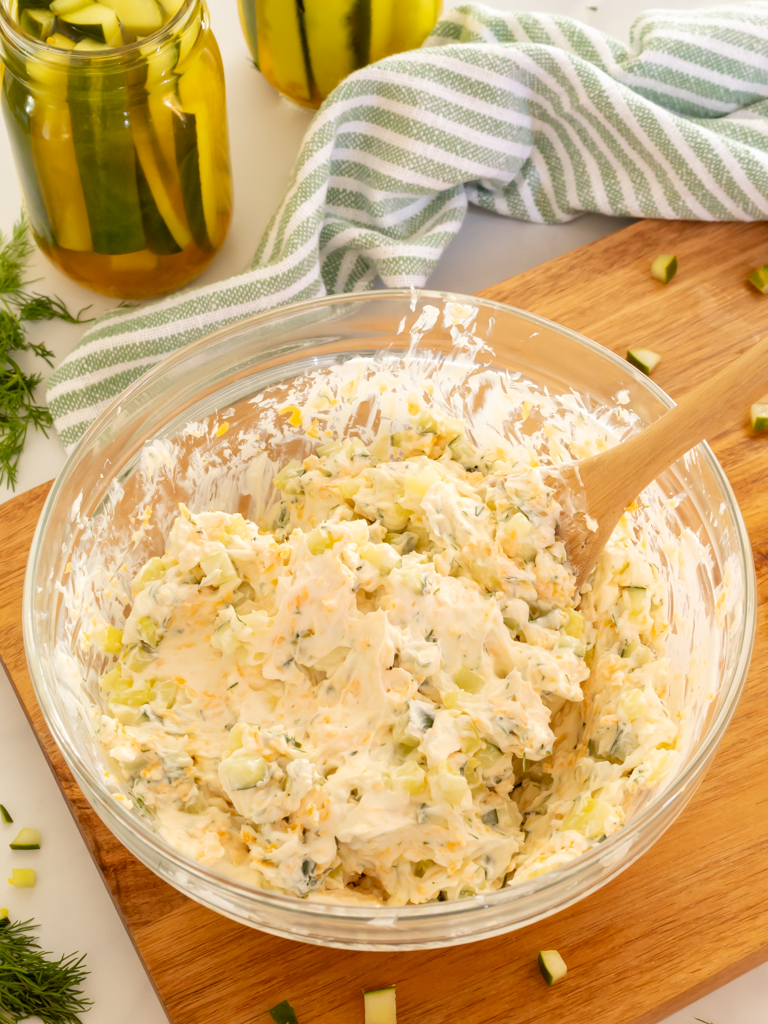
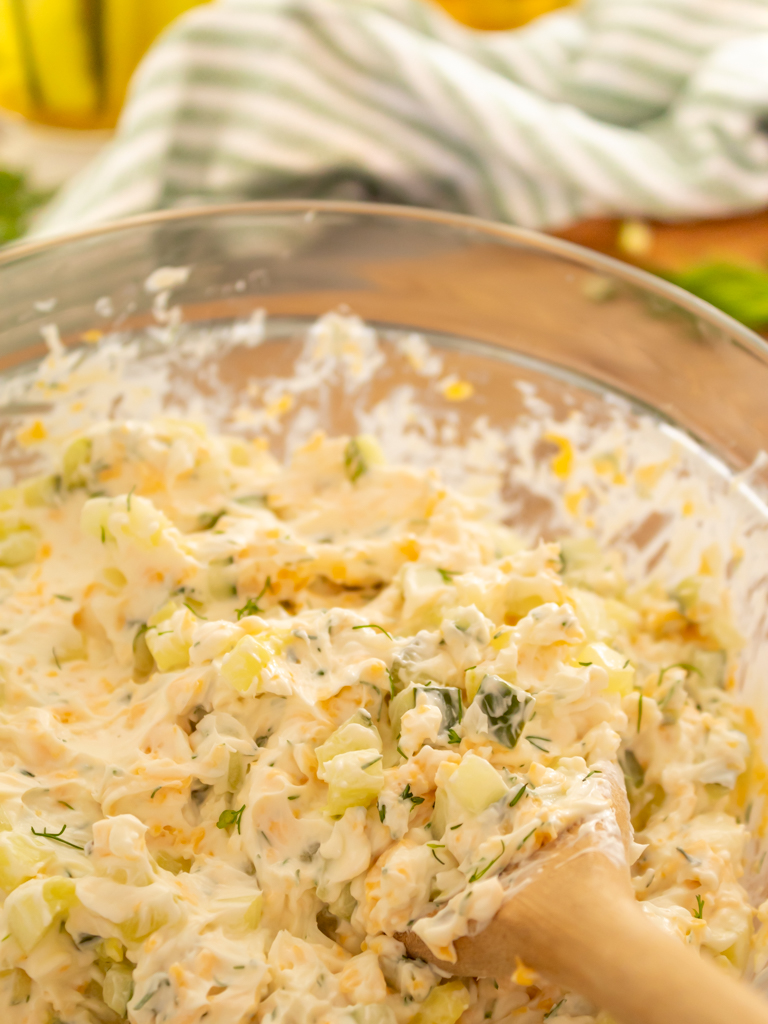
Give the cream cheese mixture a good stir so the diced dill pickles, cheese, and dill get mixed evenly throughout.
How To Shape Your Cheese Ball (The Mess-Free Way!)
If you have ever tried to form a cheese ball by hand, you know how messy it can be.
But I have good news. There is an easier, less messy way to do it!
Ban the gooey and sticky hands forever with this simple cheese ball making recipe hack.
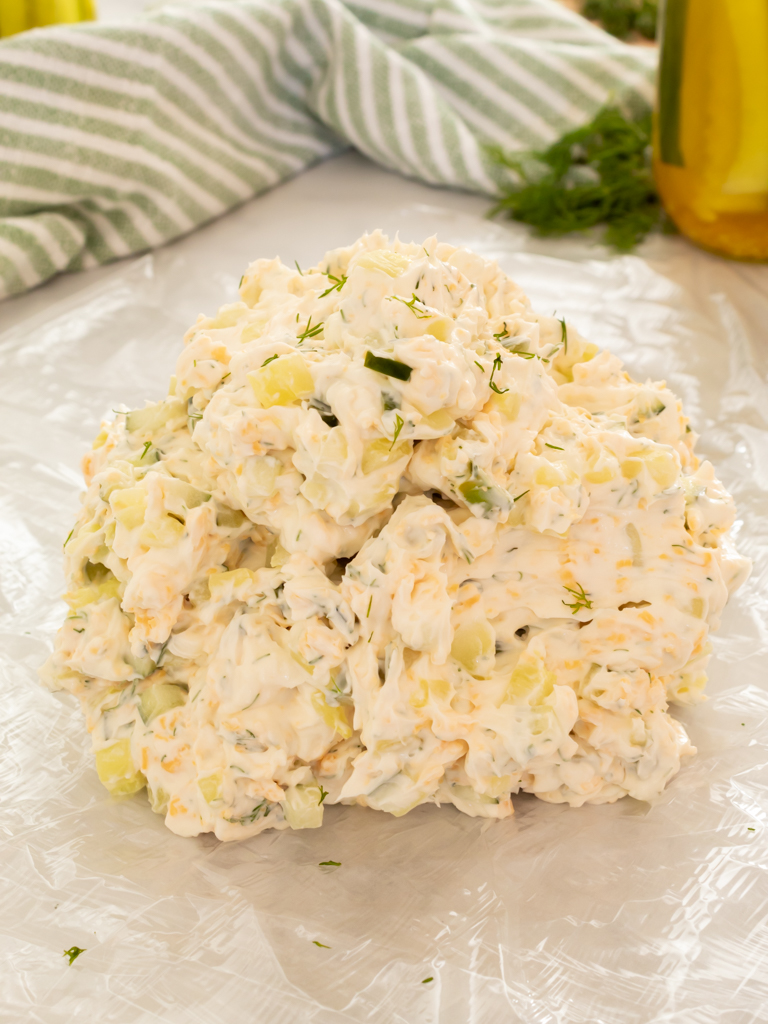
First, cut two long pieces of plastic wrap. Lay one piece on a flat surface. Then lay the second piece on top of the other at a diagonal so the plastic wrap makes an “x” shape.
Spoon the cheese ball mixture into the center of the plastic wrap and pull up the edges. Tighten and close the plastic wrap as you pull it.
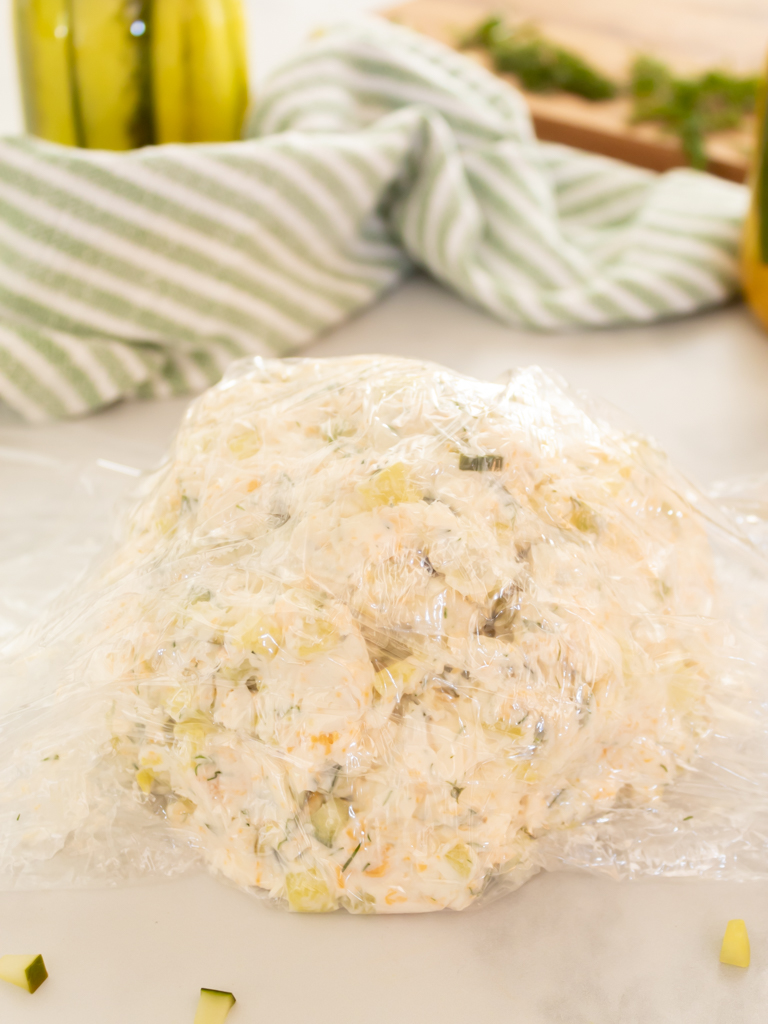
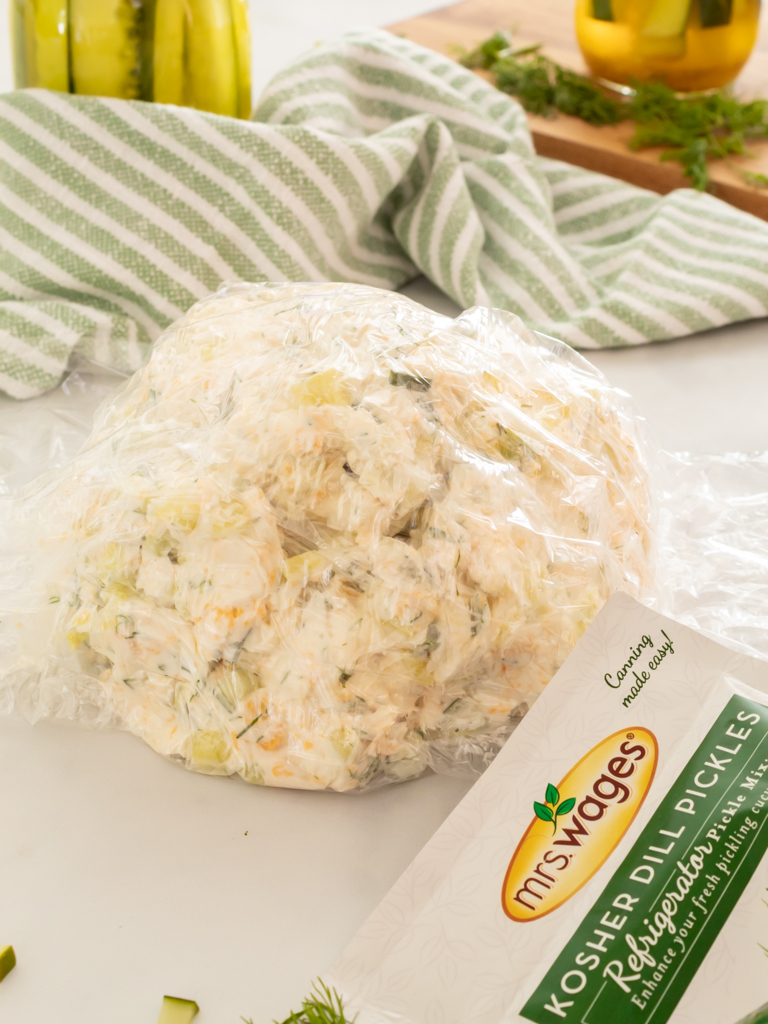
Once the dill pickle cheese ball is completely covered, you can use your hands to smooth out the mixture and help form the ball shape more as needed.
When done, place the dill pickle cheese ball on a small plate and chill it in the fridge for at least 2 hours or until it’s firm.
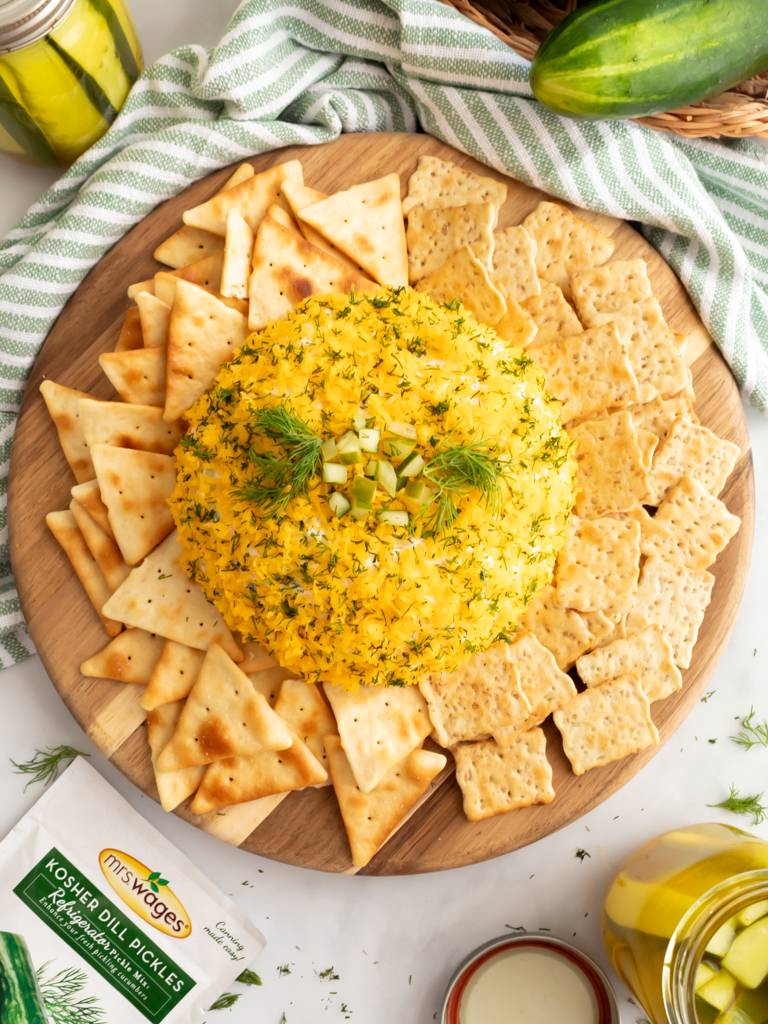
Once firm, you’re ready to coat the cheese ball. To finish the pickle cheese ball, spread some shredded cheddar and fresh chopped dill on a new piece of plastic wrap.

Next, unwrap the cheese ball and gently roll it in the shredded cheese and dill mixture until completely covered.

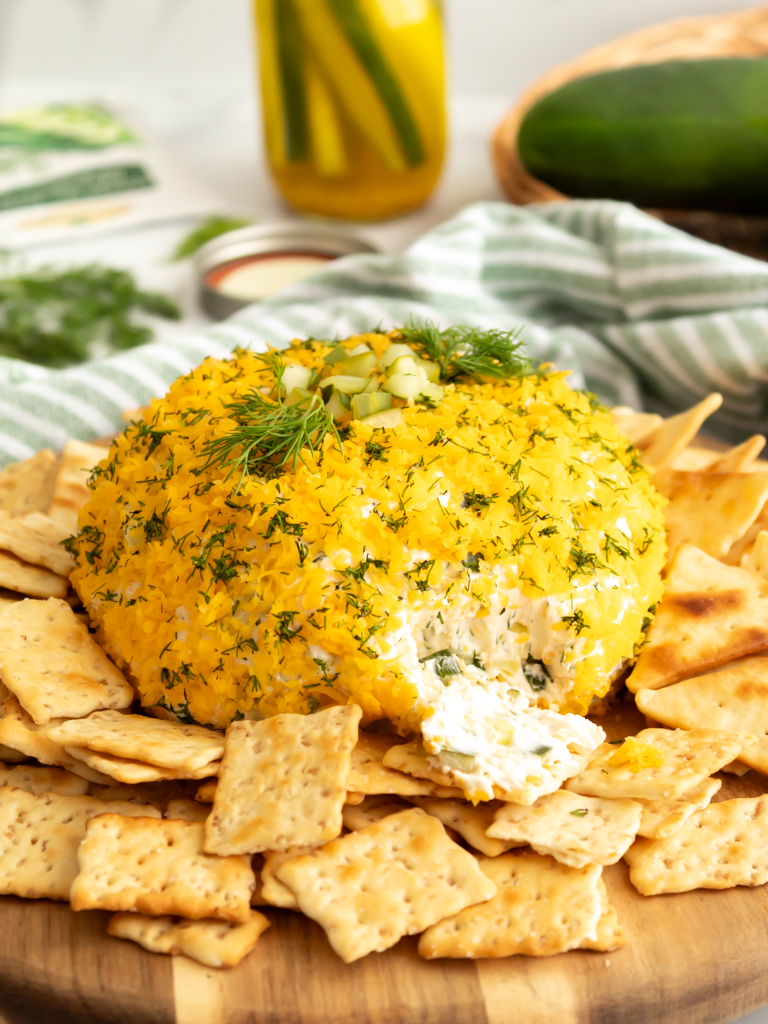
Then, carefully place your cheese ball on a large platter. Serve it with a variety of snack crackers, dip, and enjoy!
A Pickle Lovers’ Paradise
As a self-proclaimed pickle lover, I have a long-standing love affair with Mrs. Wages® products, including their wide selection of pickle mixes.
(Trust me. The inside of our pantry is packed full of pickle packets!)
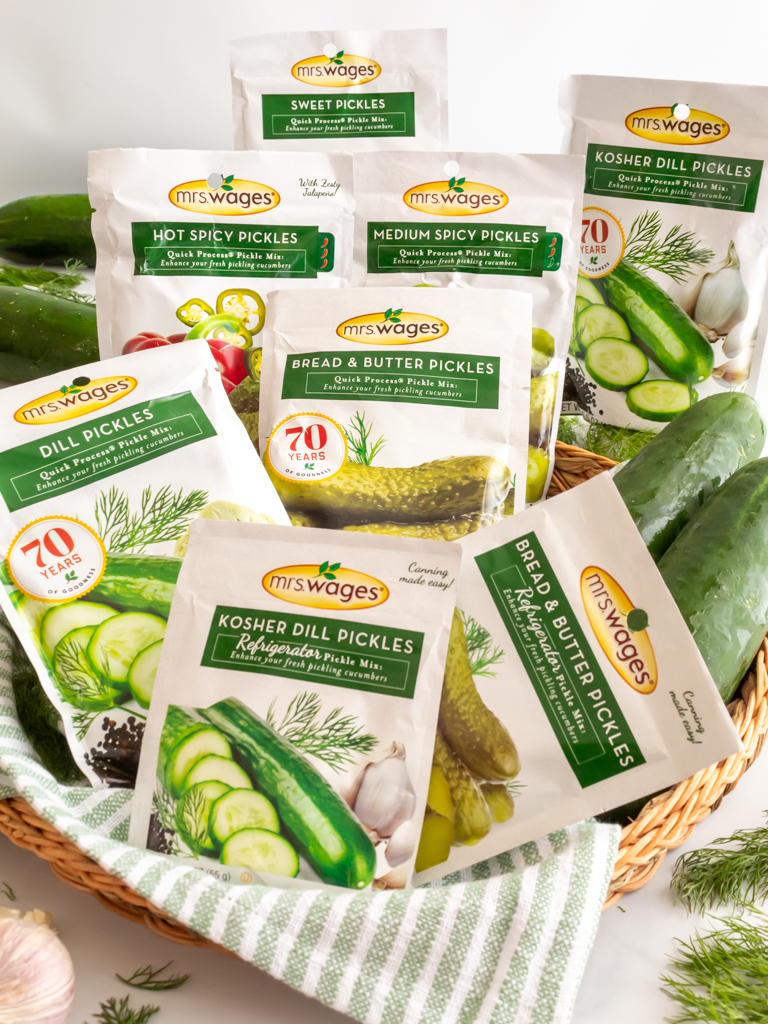
With 18 different pickle flavors, ranging from sweet, to zesty, to spicy and more, Mrs. Wages® has a flavor of pickle mix for everyone.
It’s like a homemade pickle lovers’ paradise!
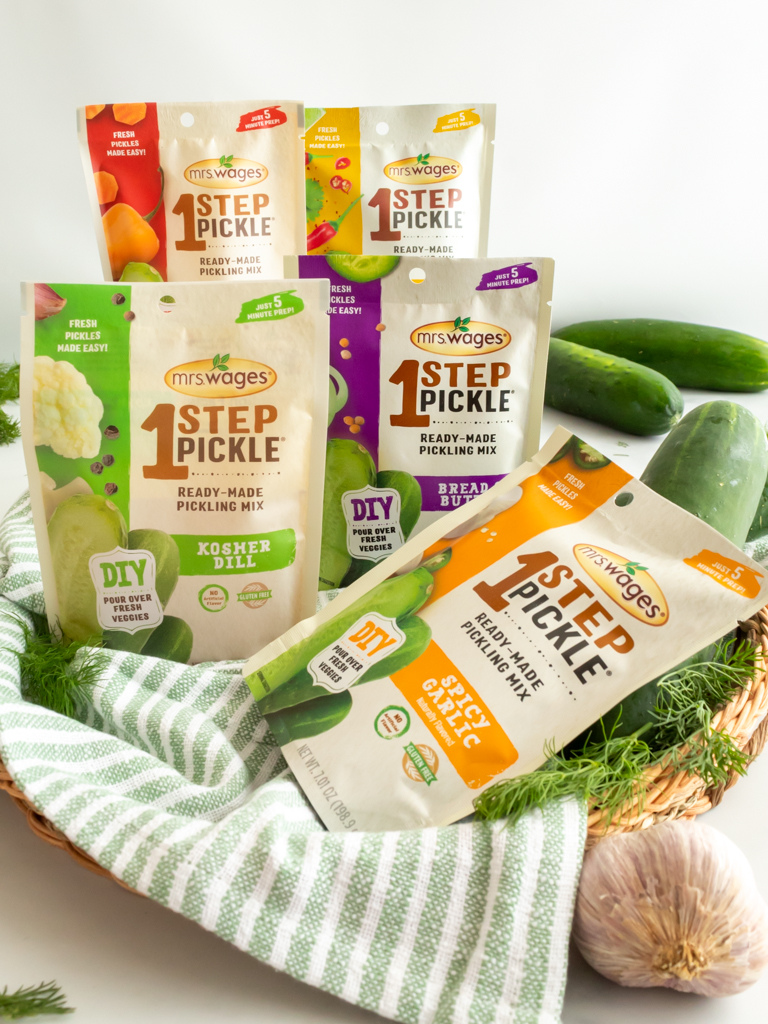
If you can’t find what you are looking for at your local grocery store, you can find the complete list of retailers on the Mrs. Wages® website.
Or, you can find many Mrs. Wages® products online and have them shipped right to your door using Amazon Prime!
How To Store Leftover Dill Pickle Cheese Ball
This creamy and zesty pickle cheese ball tastes just as delicious the next day as the day it was made!
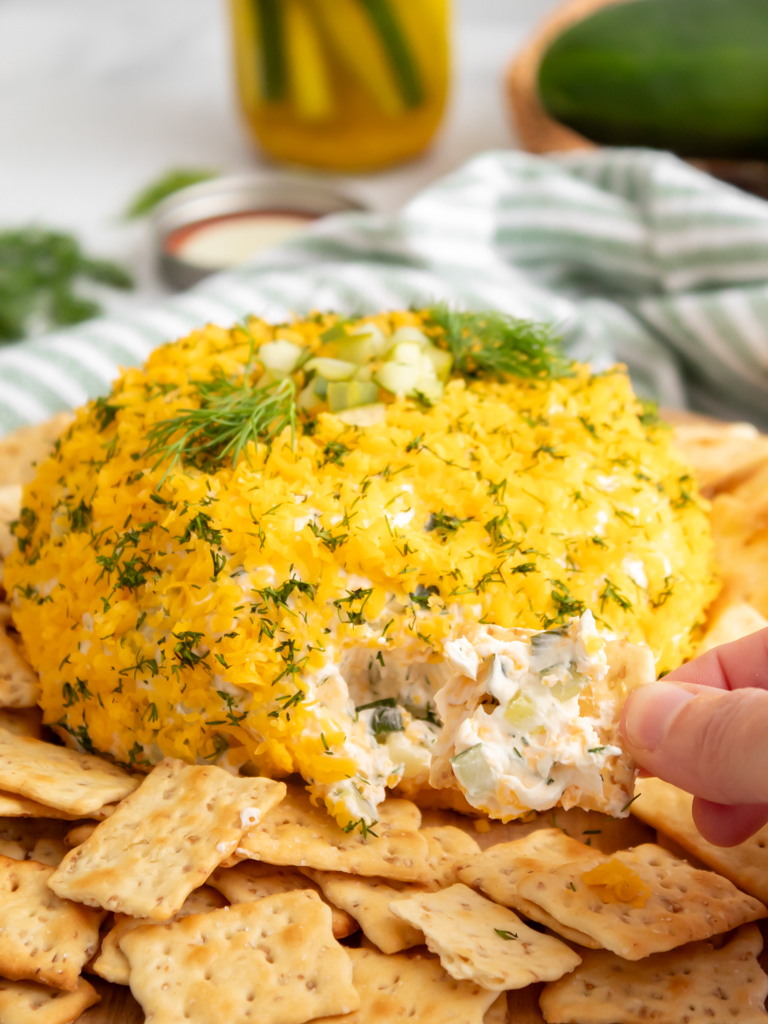
If you have any cheese ball left over, remove it from the serving tray and place it in an air-tight food storage container.
You can keep it chilled in the fridge for 3-5 days. (Although experience tells me it won’t last that long!)
Other Easy Appetizer Recipes From Midwest Life and Style
Looking for more easy and delicious appetizers? Here are some more cheese ball and dip recipes to try.
The Ultimate Dill Pickle Cheese Ball
Okay, is your mouth watering yet? I know mine is!
I hope your family and friends enjoy this dill pickle cheese ball as much as we do!
If you love this recipe, be sure to visit the Mrs. Wages® website or follow them on Instagram for even more easy appetizer and party food ideas.
And don’t forget! If you try this cheese ball, leave a star rating on the recipe card to let other readers know what you think.
Happy snacking!

Recipe For The Ultimate Dill Pickle Cheese Ball
The Ultimate Dill Pickle Cheese Ball
Equipment
- Hand Mixer
Ingredients
Cheese Ball
- 16 ounces cream cheese, softened
- 4 tablespoons sour cream
- ½ teaspoon garlic powder
- 1 teaspoon lemon juice
- 1 cup shredded cheddar cheese
- 2 tablespoons fresh chopped dill
- salt and pepper to taste
- 1 and ½ cups diced kosher dill pickles (see recipe for homemade pickles below)
Homemade Refrigerator Dill Pickles
- 2 pounds pickling cucumbers (about 10)
- ¾ cup Mrs. Wages® White Distilled Vinegar (5% acidity)
- 2 cups water
- 1 packet Mrs. Wages® Kosher Dill Pickles Mix
Cheese Ball Coating
- ½ cup shredded cheddar cheese
- 1 tablespoon fresh chopped dill
Instructions
For The Homemade Refrigerator Dill Pickles
- Wash cucumbers and cut off ends. Slice into spears and pack tightly in clean, sterilized pint jar.
- Make pickling brine according to directions on back of Mrs. Wages® Kosher Dill Pickles Mix packet.
- Pour brine over each jar of cucumbers, leaving 1/2 inch headspace at the top. Wipe rims clean, seal, and let cool to room temperature.
- Keep refrigerated and use within 6 months. Once opened, jar of pickles should be eaten within 1 week. *Recipe makes 4 pint jars of pickles. *Recipe Tips: If you need more liquid to fill your jars, add a mixture of 1 part hot vinegar and 2 parts hot water. Unused pickle brine can be stored in non-reactive container in fridge for 1 week.
For The Cheese Ball
- In a large mixing bowl, combine cream cheese, sour cream, garlic powder, lemon juice, salt and pepper. Use hand mixer and cream until smooth.
- Stir in 1 cup shredded cheddar cheese, 2 tablespoons fresh chopped dill, and 1 and 1/2 cups diced dill pickles.
- Lay two long pieces of plastic wrap on flat surface. Overlap one on top of other to make an "x" shape.
- Spoon cheese ball mixture into center of plastic wrap. Pull up edges of wrap and tighten to seal.
- Once sealed, use hands as needed to smooth and help form ball shape. Place in fridge and chill for at least 2 hours, or until firm.
- When chilled, unwrap and carefully coat cheese ball in mixture of 1/2 cup shredded cheddar cheese and 1 tablespoon fresh dill.
- Place cheese ball on large platter, serve with crackers, and enjoy!
Notes
I would love to see what you make! If you try any of my recipes, be sure to tag me in your photos!
IG: @midwestlifeandstyle + #midwestlifeandstyle
Did You Enjoy This Recipe? PIN It for Later!


What a fun recipe Jen! Pinned. I can’t wait to try this for our first game day gathering!😊
Thank you, Michelle. I hope you enjoy it as much as we do!
Gosh, this sounds amazing! Perfect for football season!! Yummy!
Hi Kim,
It is so darn good! I’ve made many different cheese balls before, but I think this recipe is my favorite. I hope you enjoy it!
Yum! you had me at Mrs. Wages dill pickles!
That’s right! You just made some Mrs. Wages Pickles. Let me know if you try this recipe. We loved it!
Jen, this recipe looks great to serve for upcoming sporting events at the house. I cannot wait to try it. I am going to share your link with my readers so they can try it too.
Thank you so much, Tammy. apprecaite it and I hope you enjoy it!
YUM! You had me at pickles and cheese! Can’t wait to make this one and sharing with our readers on Sunday.
Thank you, Anne. It is my new favorite. I hope you enjoy it!
Yum! This sounds delicious.
Thank you, Renae. I could eat the whole thing myself.😂 It’s so good!