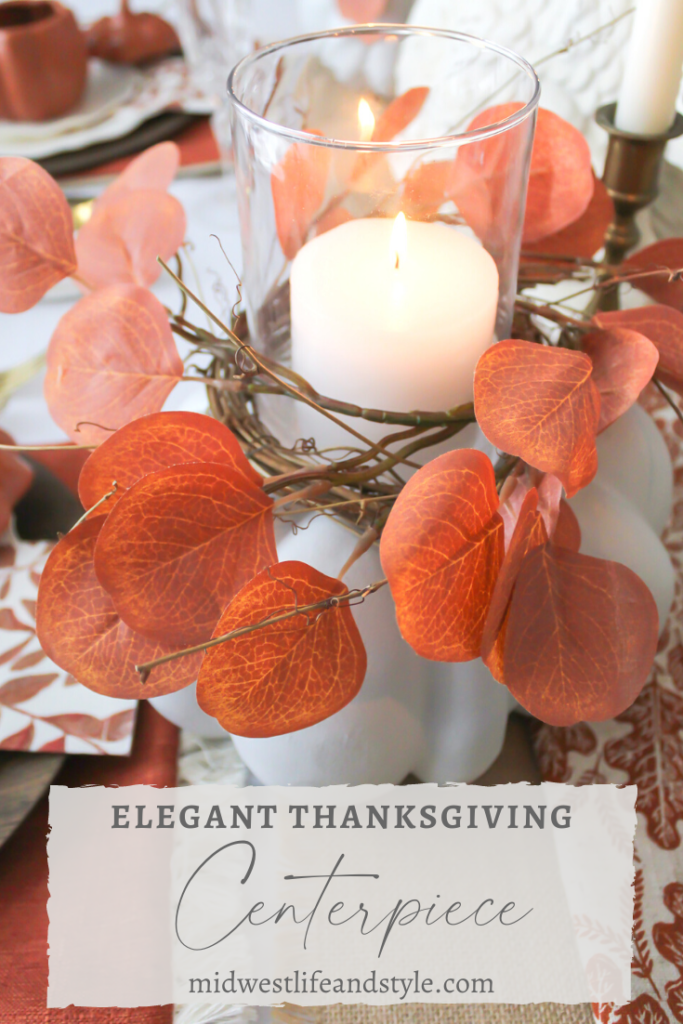
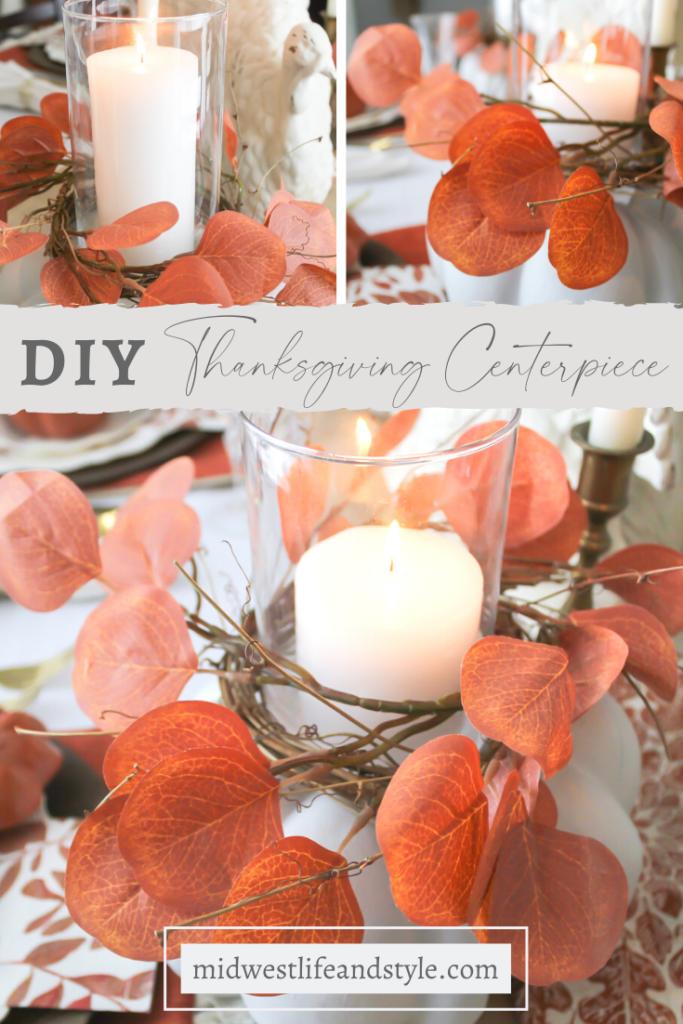
Add a touch of elegance to your holiday table this year with this simple Thanksgiving candle holder centerpiece.
*As an Amazon affiliate, I earn from qualifying purchases at no extra cost to you. My blog contains other affiliate links as well for your convenience. To learn more, you may read my Disclosure Policy. Thank you for supporting my blog!
This fall, I have enjoyed sharing a few DIY projects with you like my DIY corn husk wreath, and a tutorial to make your own mercury glass. Today, I have a brand new fall DIY to share that’s perfect for the Thanksgiving holiday.
Table of Contents
Simple Thanksgiving Candle Holder Centerpiece
If DIYs make you a bit nervous, don’t be intimidated! Great for any skill level, this simple and beautiful centerpiece is an inexpensive way to dress up your holiday table. My 12-year-old even got in on the fun with this DIY!
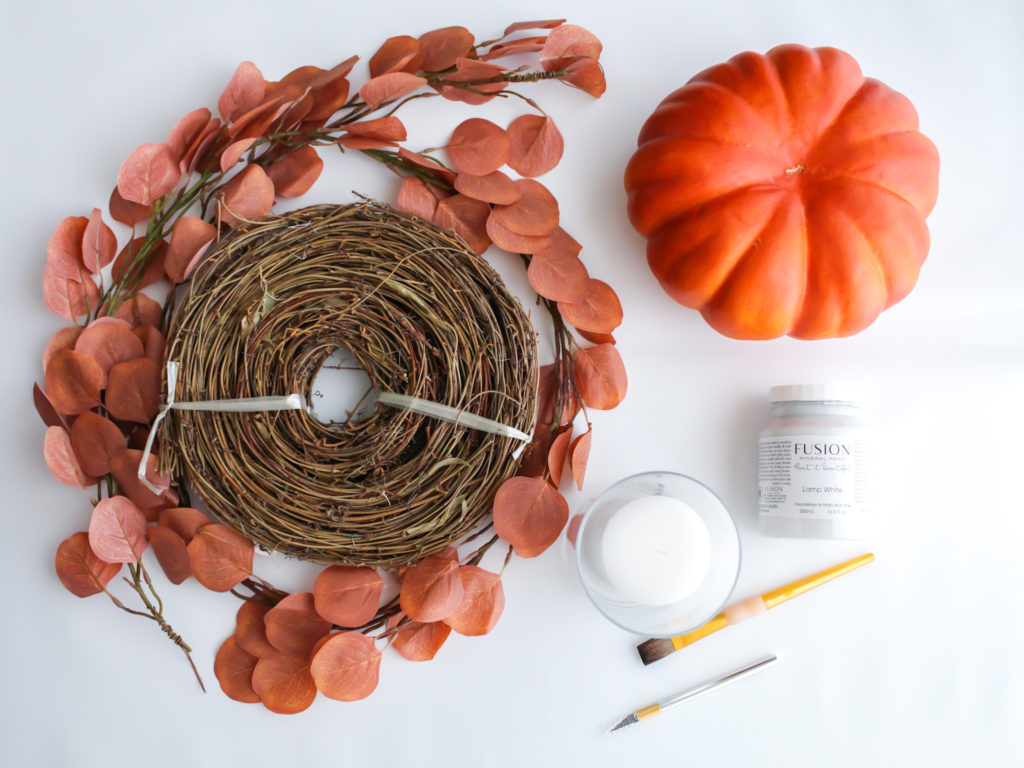
I made the centerpiece with a few things I had on hand, like some old pumpkins, paint, and a fall garland. I did make a few new purchases, including the candle holders and candles. Overall, the total project cost came in right around $30. Don’t you just love a good budget-friendly DIY?
Here is a list of everything you need to make your own simple Thanksgiving candle holder centerpiece.
Supplies
- Foam Pumpkins
- Paint and Craft Paint Brushes (*Optional if you don’t want or need to paint your pumpkins)
- Glass Cylinder Candle Holders
- Fall Garland
- Grapevine Garland
- Pillar Candles (I used both 2.75″ x 6″ and 2.75″ x 3″ sizes)
- Pencil
- Exacto Knife
- Scissors
- Wire paddle
- Craft Wire Cutters
Directions
Step 1: Prep Your Pumpkins
Start by preparing your foam pumpkins. For my centerpiece, I used some old orange pumpkins I found in a tote of fall decor. I wanted something a bit more neutral, so I decided to paint the pumpkins first using some Fusion Mineral Paint in white lamp.
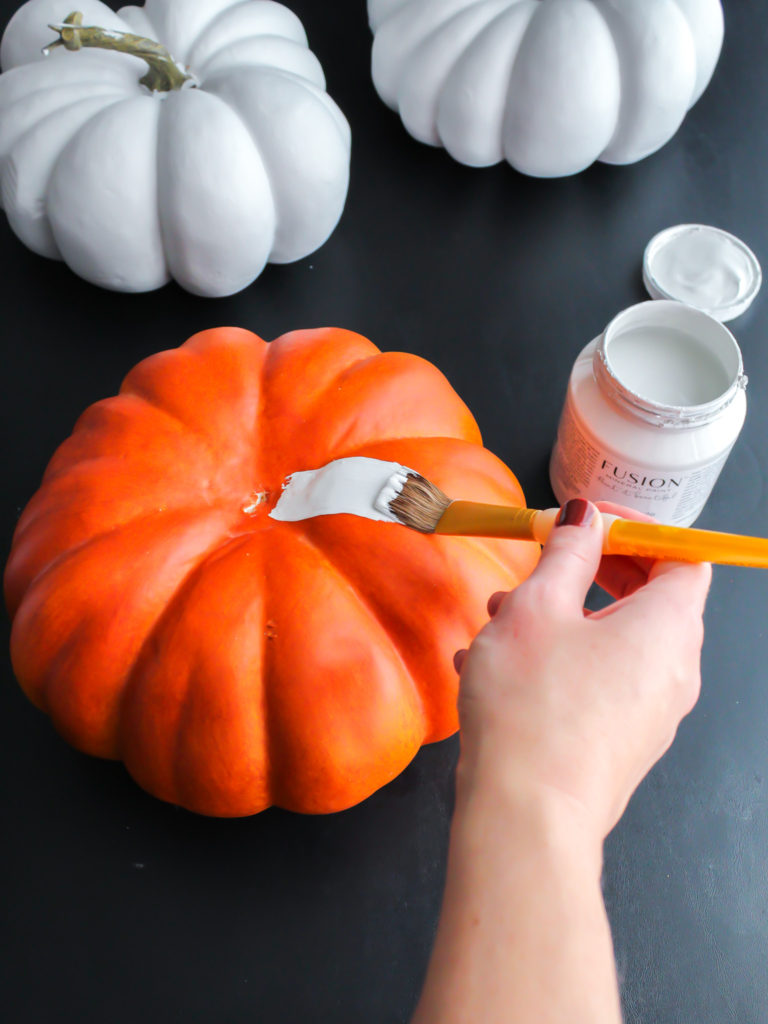
Once the pumpkins are painted, set them aside until they are fully dry before moving to step two.
*Note: This step is optional and you may choose to skip painting your pumpkins if you wish.
Step 2: Trace and Cut the Pumpkins
After the paint is dry, place a candle holder upside down in the center of each pumpkin, and use a pencil to trace around it.
*Tip, if your pumpkin’s stem is still intact, you may need to remove it before tracing.
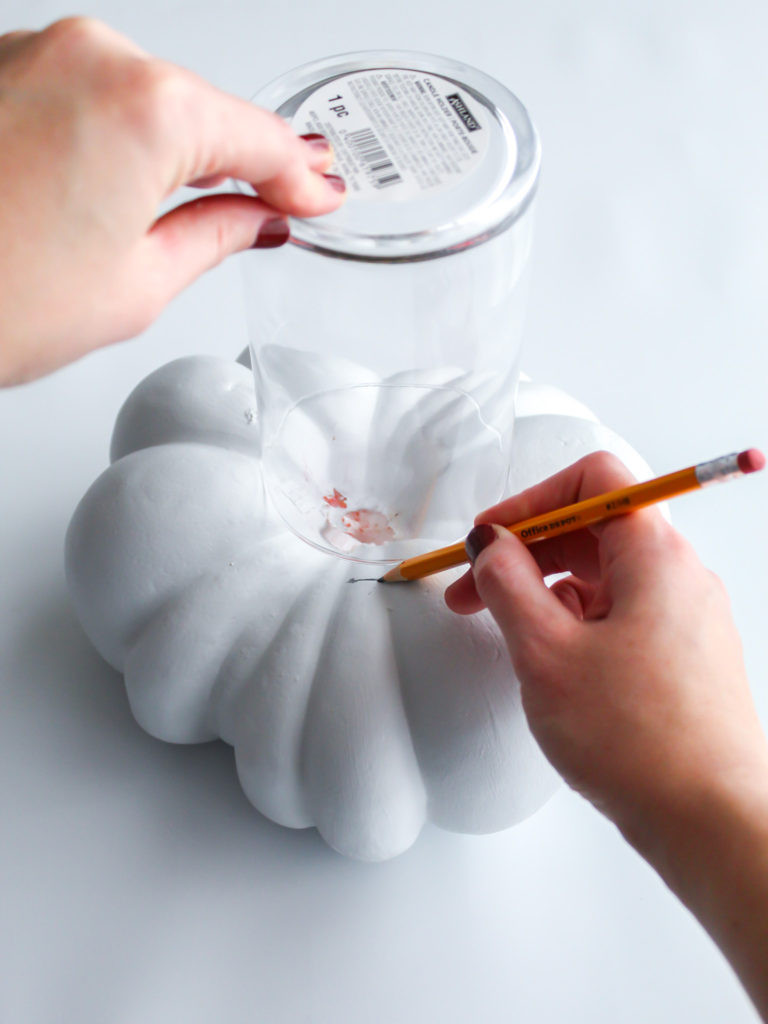
This will be the line you use to carve out the center. You want the candle holder to fit snugly in the pumpkin, so be sure to trace around the candle holder as close as possible.
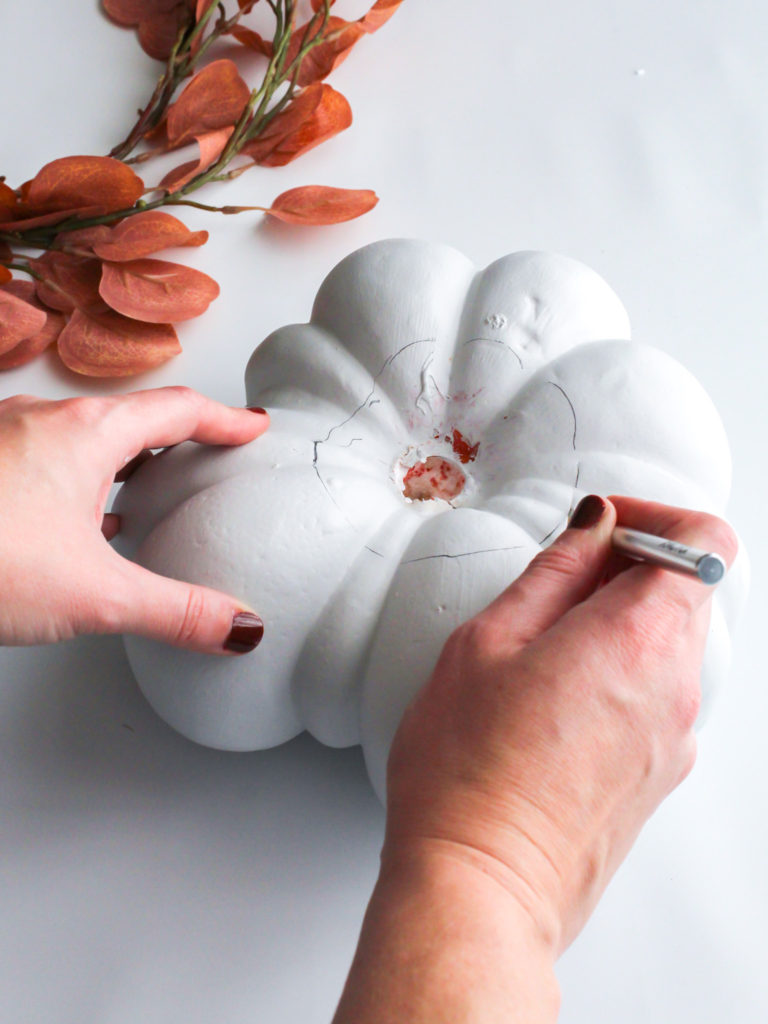
Then, following your pencil line, use an Exacto knife to cut out the center of each pumpkin. Start your cut just inside of the pencil line. Then be sure to cut slowly away from your fingers (safety first, friends!) The foam can get a bit messy, so plan to have your vacuum nearby to help clean up once you are finished.
Directions Cont.
Step 3: Insert the Candle Holder
Now it is time to add the candle holders. To add a bit of visual interest to the centerpiece, I used several different sizes of candle holders. You can use one size if you prefer, or you can use a mix as well.
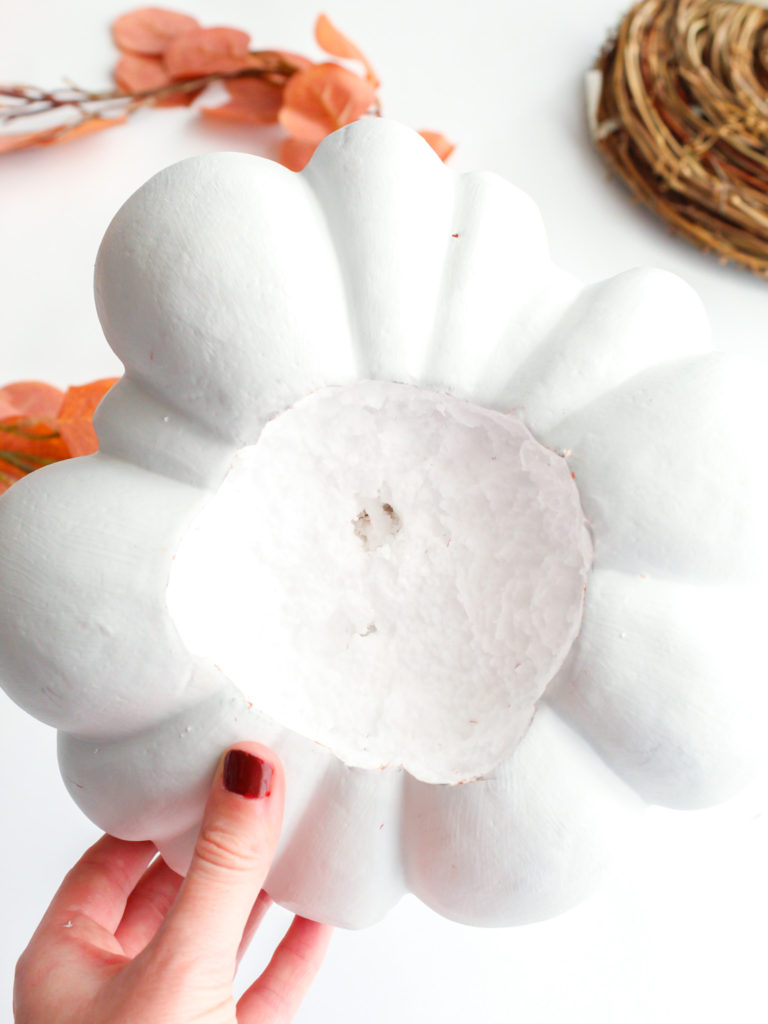
If the candle holder is a bit loose, you can use a piece of the removed foam to make adjustments as needed.
Step 4: Add the Finishing Touches
Now comes the fun part! Once the candle holder is inserted, all that’s left to do is add the finishing touches. First, cut apart a grapevine garland and use some floral wire to make a small candle ring.
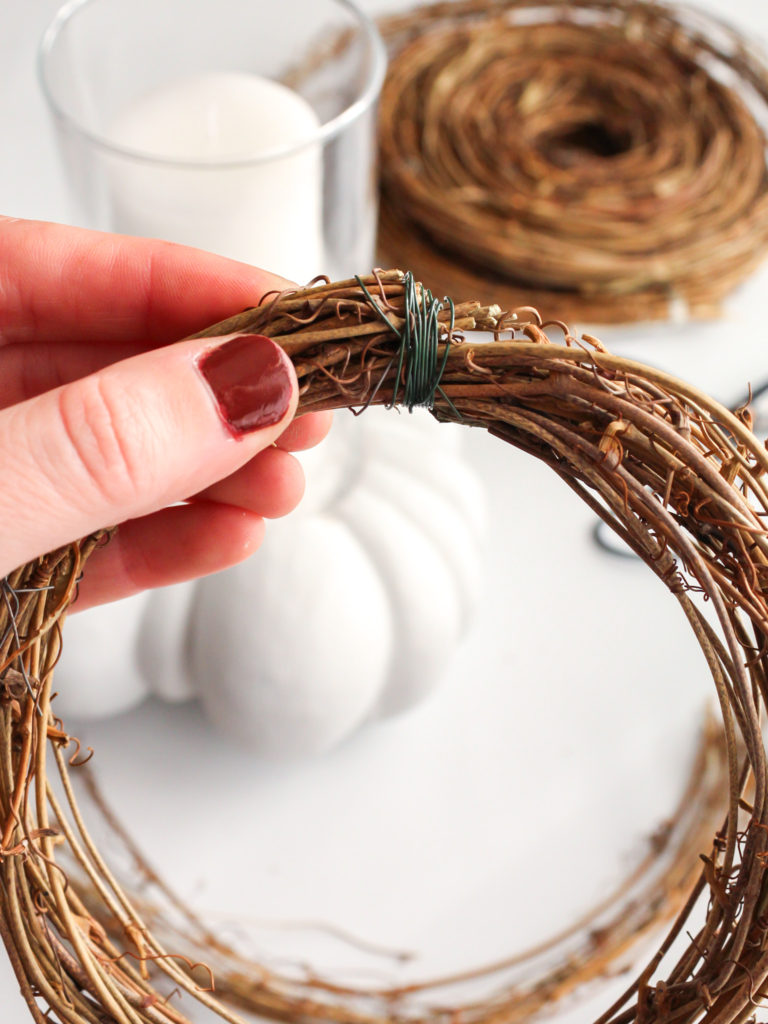
Then, gently slide the grapevine ring over the candle holder. Simple, right?
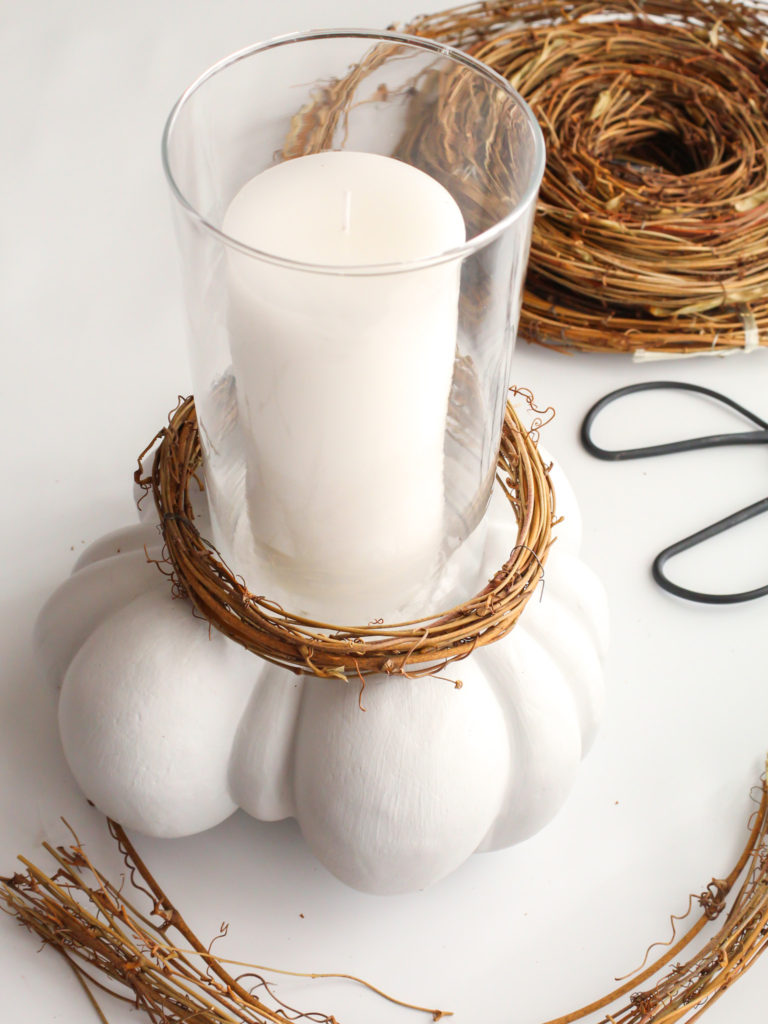
After the grapevine ring is in place, measure and cut your fall garland to make a second candle ring. My garland had a small loop on each end (as seen to the right in the photo below), which made it easy to create the candle ring.
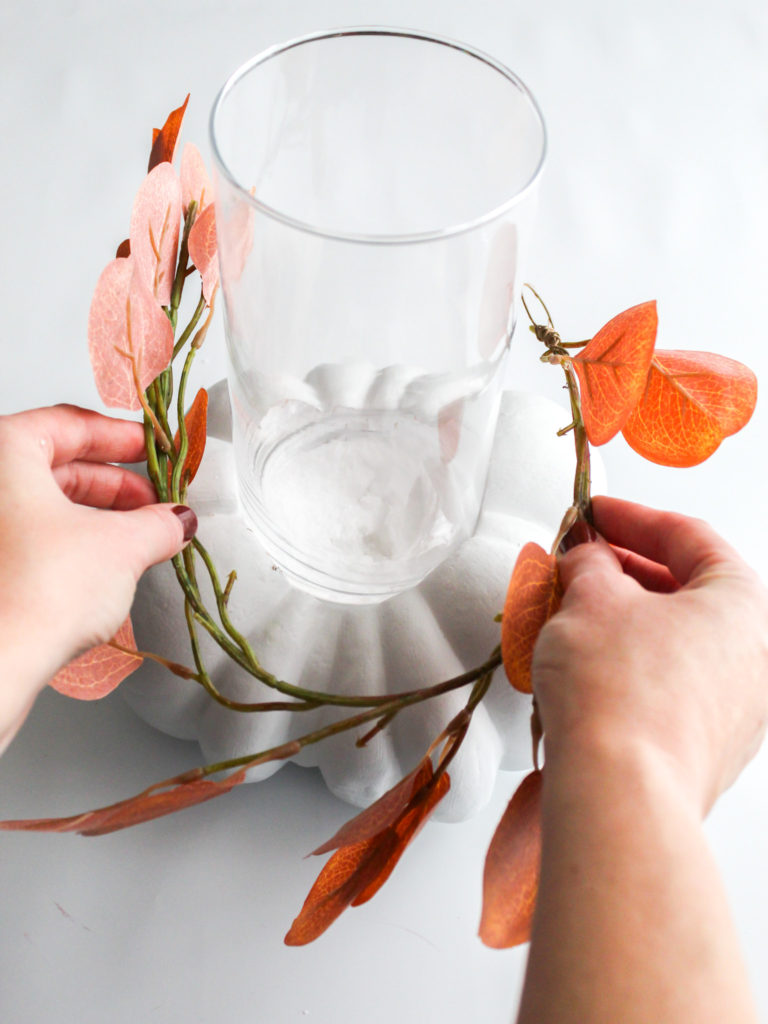
Once the garland candle ring is finished, simply stack it on top of the grapevine ring. I tucked the garland loop into a small gap in between the candle holder and the side of the pumpkin to help it stay in place. If your garland doesn’t have these loops, you can use floral wire as needed.
Simple Thanksgiving Candle Holder Centerpiece
I wanted my centerpieces to have a more rustic look, so after both rings were finished, I used some loose grapevine twigs and stuck them throughout the garland.
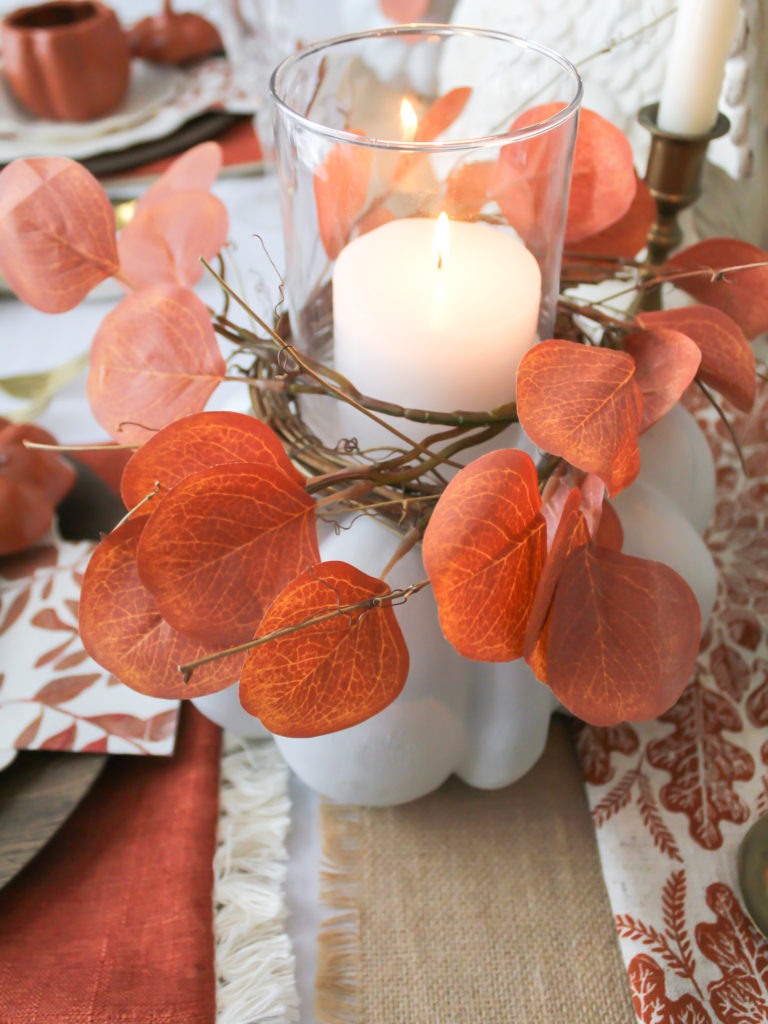
Last, but not least, add in the candles, and you’re done! If you prefer not to have an open flame, these flameless candles are a great alternative. They even come with a remote!
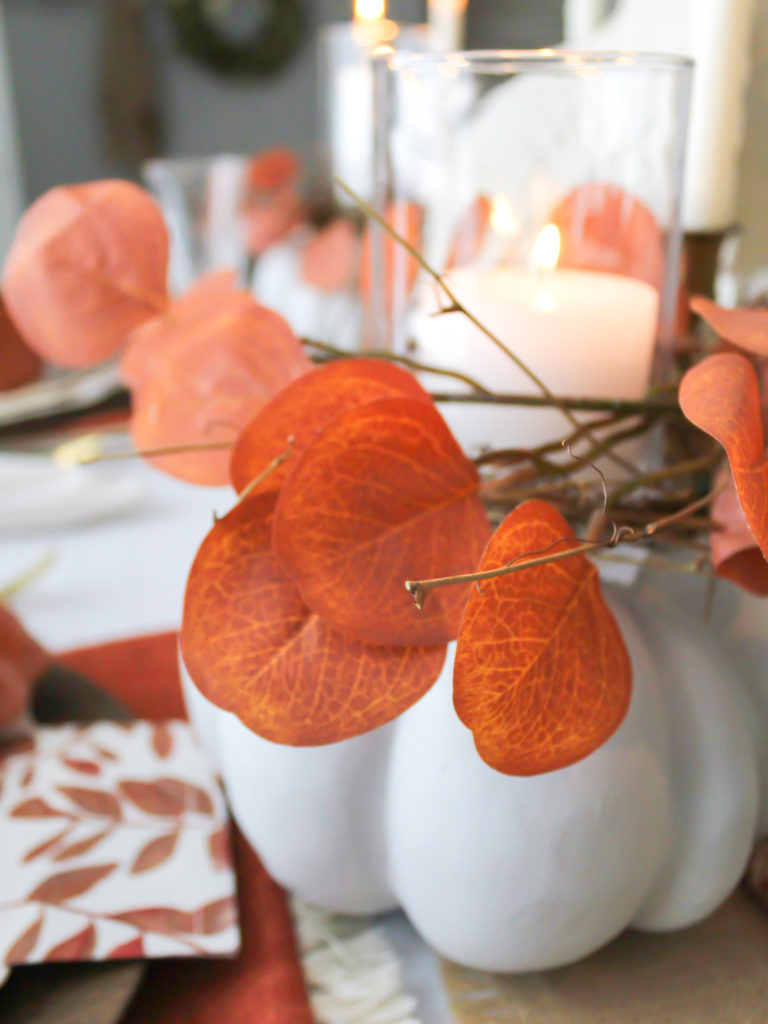
I love how these look on my Thanksgiving table. The cozy candlelight adds the perfect touch of elegance to our little family celebration.
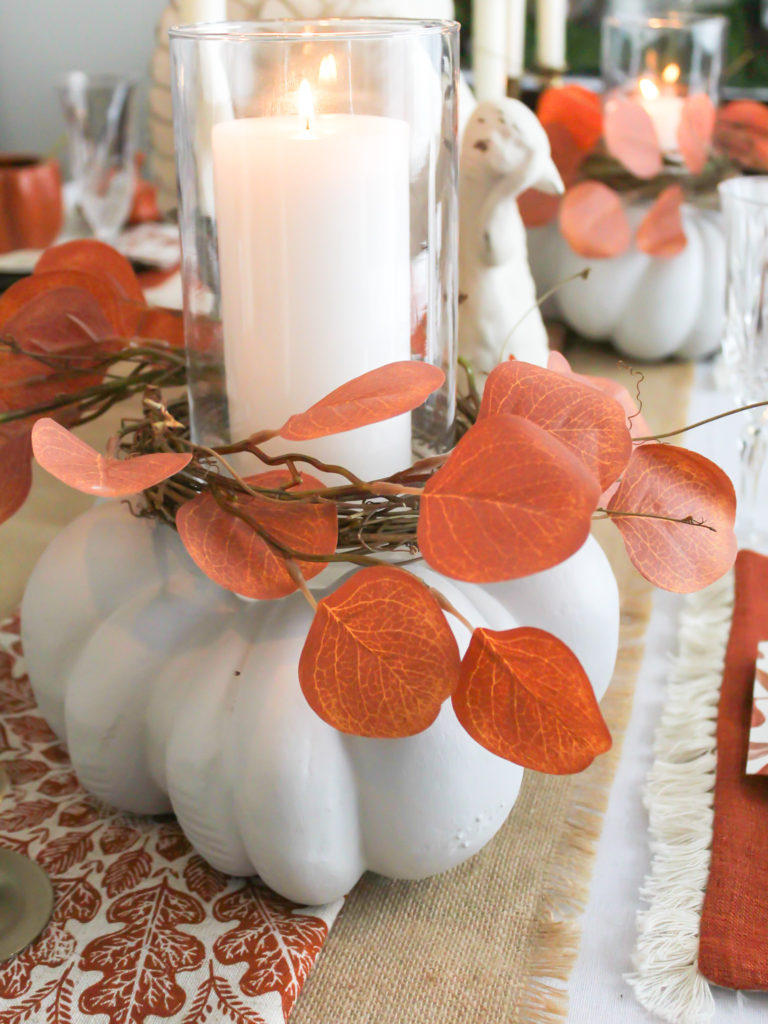
I hope you enjoyed my tutorial for this simple Thanksgiving candle holder centerpiece. And if you love turkey day, then be sure to stay tuned. I still have plenty of Thanksgiving-inspired posts to share with you, including some of my family’s favorite holiday recipes and a free printable that pairs perfectly with this DIY. I can’t wait to share!

Did You Enjoy this Post? PIN It for Later!


What a wonderful idea! Love your easy-to-follow instructions.
Thank you, Shawna. It really is easy to make! I had many of the items already on hand too!
Jen I’ve seen these painted pumpkins and I’ve been a bit nervous to attempt it. But this tutorial makes it seem so much easier than my imagination did!! Thanks for sharing!!
Thank you, Aliya. It was so simple. I only used about two coats of paint and it dried quickly. I think it honestly took me longer to take all of the photos than it did to do the project itself.😉