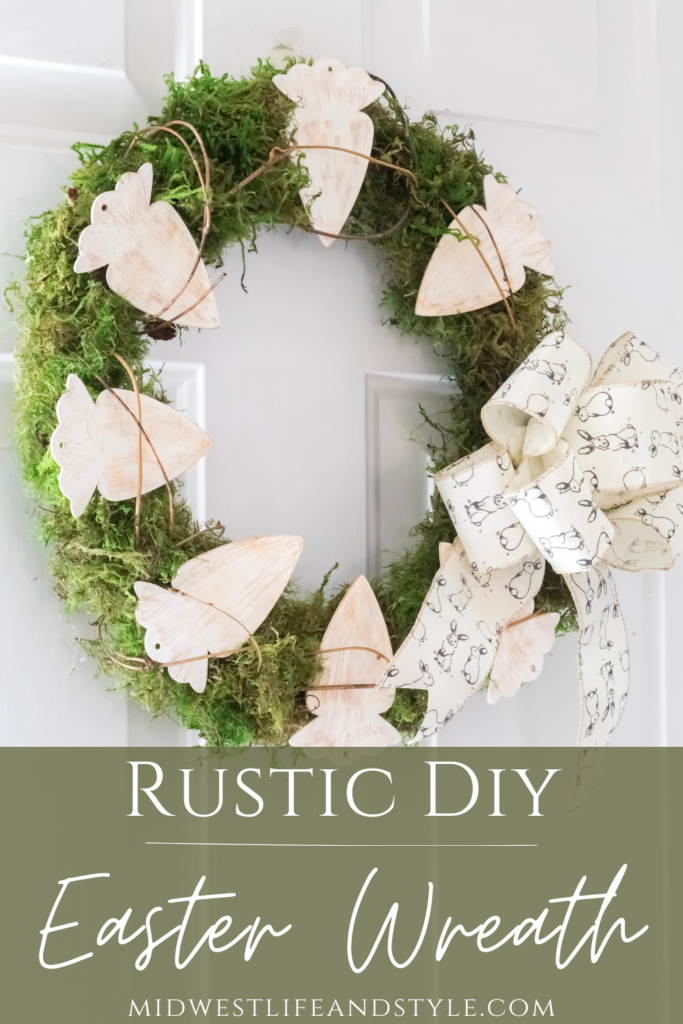
Decorate your front door for Easter with this simple and rustic wreath made with wood carrots from Dollar Tree.
*As an Amazon affiliate, I earn from qualifying purchases at no extra cost to you. My blog contains other affiliate links as well for your convenience. To learn more, you may read my Disclosure Policy. Thank you for supporting my blog!
Easter Blog Hop
Are you ready for Easter? Today, I am excited to join 17 friends to share seasonal decor, DIY, and recipe inspiration with you.
A big thanks to my good friend Pasha from Pasha Is Home for hosting this hop. If you have not visited Pasha’s blog yet, stop by to see her tips for how to use bunnies in your spring and Easter decor.
If you are new to the blog hop concept, let me take a minute to explain how it works. A blog hop is a virtual party where a list of links is shared between a group of bloggers. The shared links make it easy for you, the reader, to ‘hop’ from one blog to another.
You can find all the links for this Easter hop at the bottom of my post. I hope you will take some time over the next few days to stop by and visit them all!
Welcome To Midwest Life And Style
Whether you are an old friend or this is your first time visiting, I am so glad you found my little corner of the web.

For those who are new here or stopping by from my friend Jennifer at Cottage On Bunker Hill, welcome! Her wreath is so pretty, isn’t it? And perfect for Easter!
I’m Jen, a wife, mom of two, and the one-woman show behind this blog. When I am not busy with mom or blog duties, I also work full-time as an event planner at a local university.
You will find a bit of everything here at MWLS. From thrifty DIYs to recipes, decor styling tips, and more. I love to share about all the things that make a house a home.
You will get emails and weekly updates on all the latest happenings here on the blog and on my other social channels. Plus you will get exclusive access to my full library of free printables.
But that’s enough about me. Let’s get into all the details of how to make a rustic wreath for easter with some wooden carrots.
Simple And Rustic Easter Wreath With Carrots
Several weeks ago I popped into Dollar Tree to check out their Easter decor. My local store is often hit or miss when it comes to seasonal craft supplies. So I was pleasantly surprised when found the cutest wooden carrots.
I immediately started brainstorming how I could use them for Easter. After scrolling my Pinterest boards for some inspiration, I decided to make a rustic wreath for our front door.
How To Make A Rustic Easter Wreath With Carrots
This Easter craft is simple (albeit a bit messy) to make. Here are the tools and supplies you need to make your own wreath.
Tools and Supplies
- 14″ Wire Wreath Form
- Preserved Moss
- Small Gauge Floral Wire
- Wire Cutter
- Wood Carrots
- Craft Paint ( I used THIS color, THIS color, and THIS color)
- Paintbrush
- 220 Grit Sandpaper
- Hot Glue Gun
- Glue Sticks
- Grapevine Garland
- 1 and 1/2″ or 2″ Wired Easter Bunny Ribbon
Step 1: Attach The Moss
The first thing I did to create my wreath was to attach the moss.
This part can get messy, so I recommend laying down a drop cloth, craft paper, or old newspapers to protect your work surface and make clean-up easier.
And be sure to have your vacuum on standby!
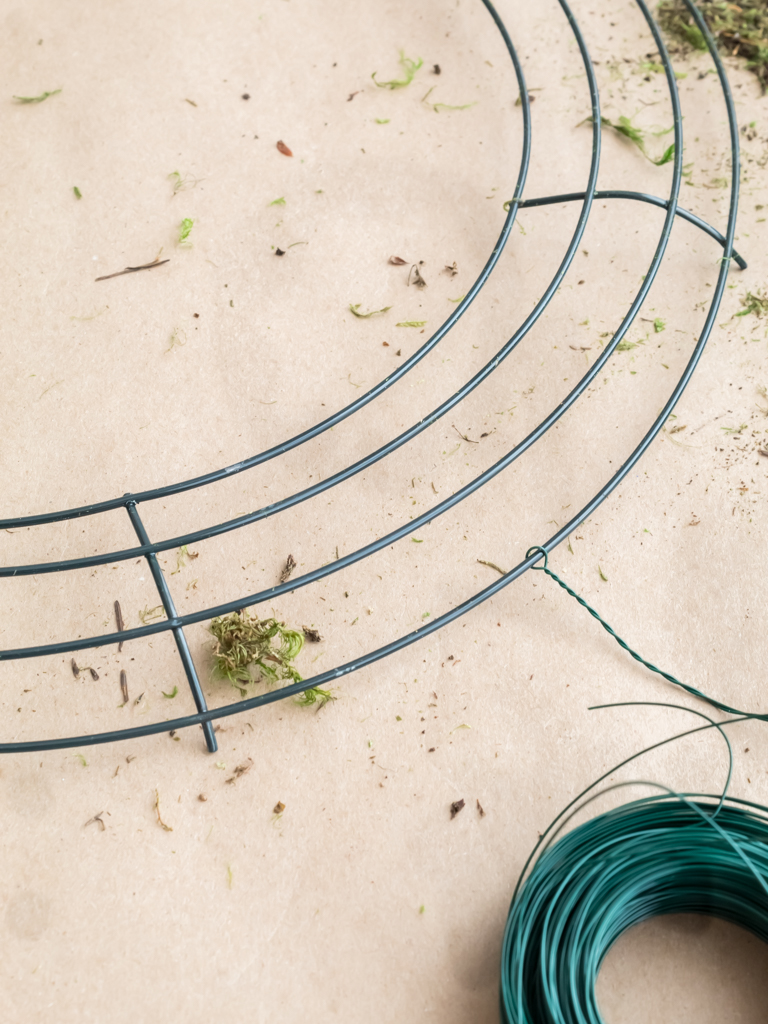
To attach the moss, I threaded some floral wire through the wreath frame. Then I gave it a few twists until it was firmly attached.
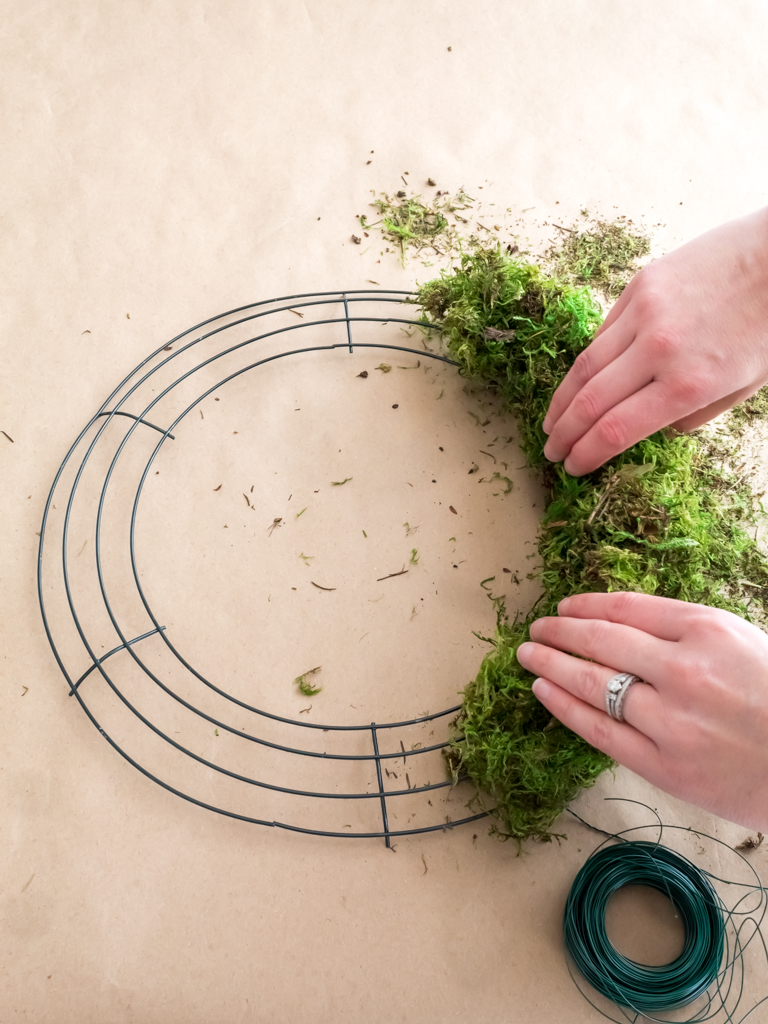
Once the floral wire was attached, I grabbed a few handfuls of moss and molded it into a cylinder shape.
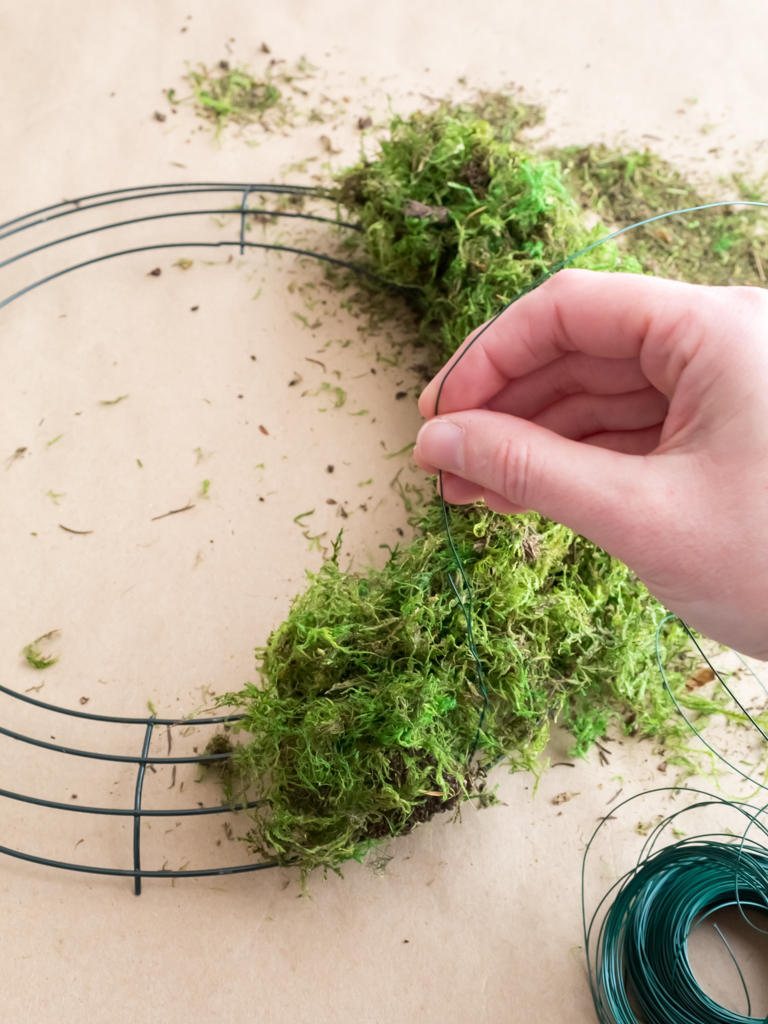
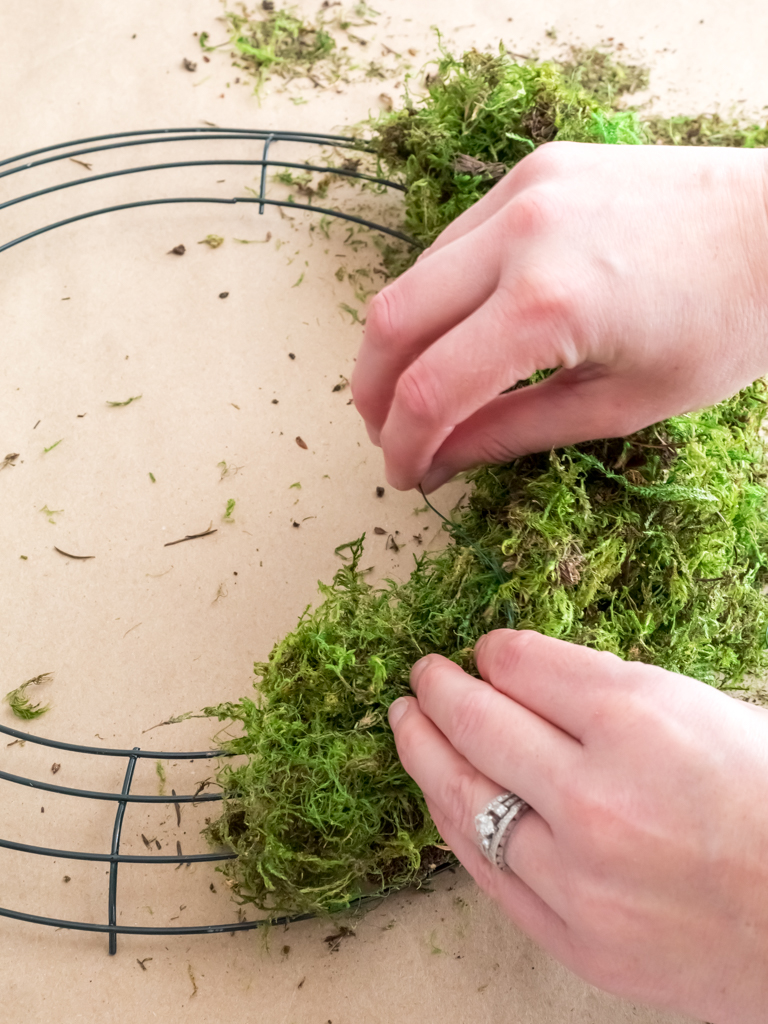
I worked in small sections to add the moss and tightly wrapped each section with floral wire to hold it to the wreath form.
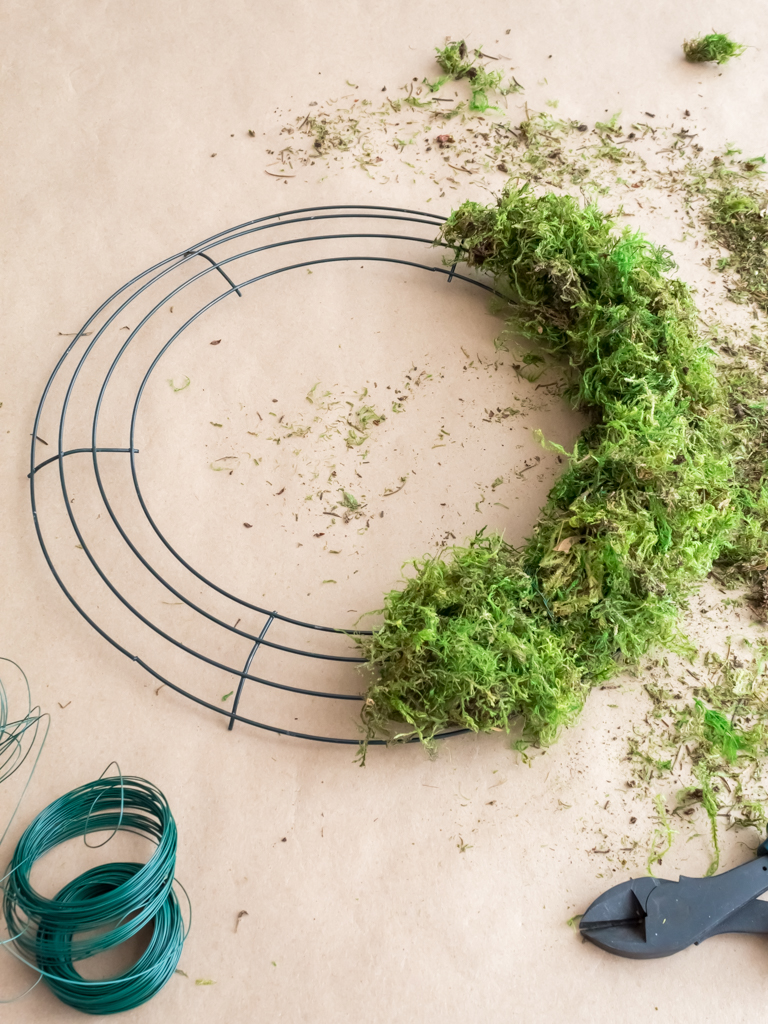
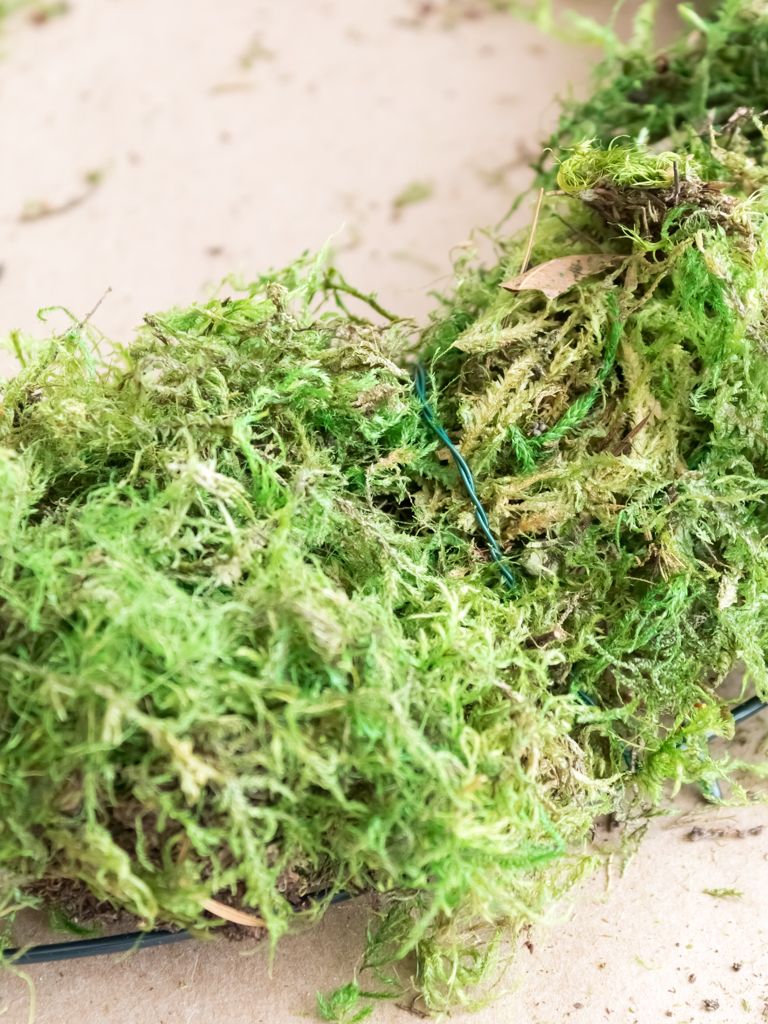
I overlapped the ends of each section to help cover the wire.
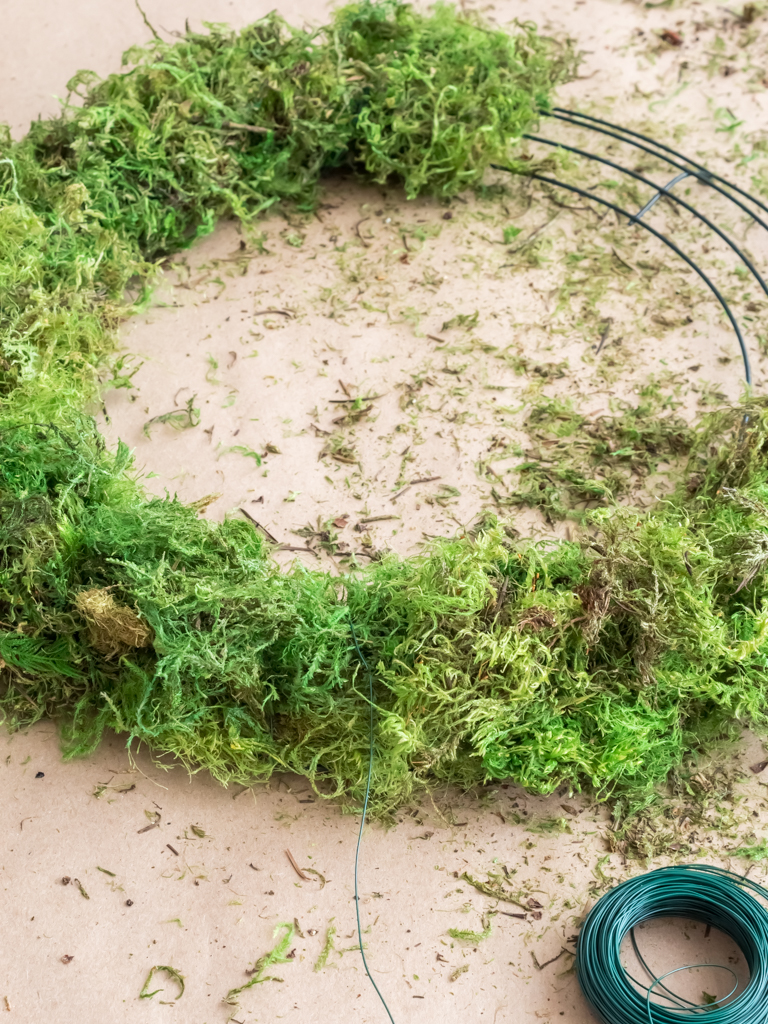
Then I continued to work all the way around the wreath form until it was completely covered.
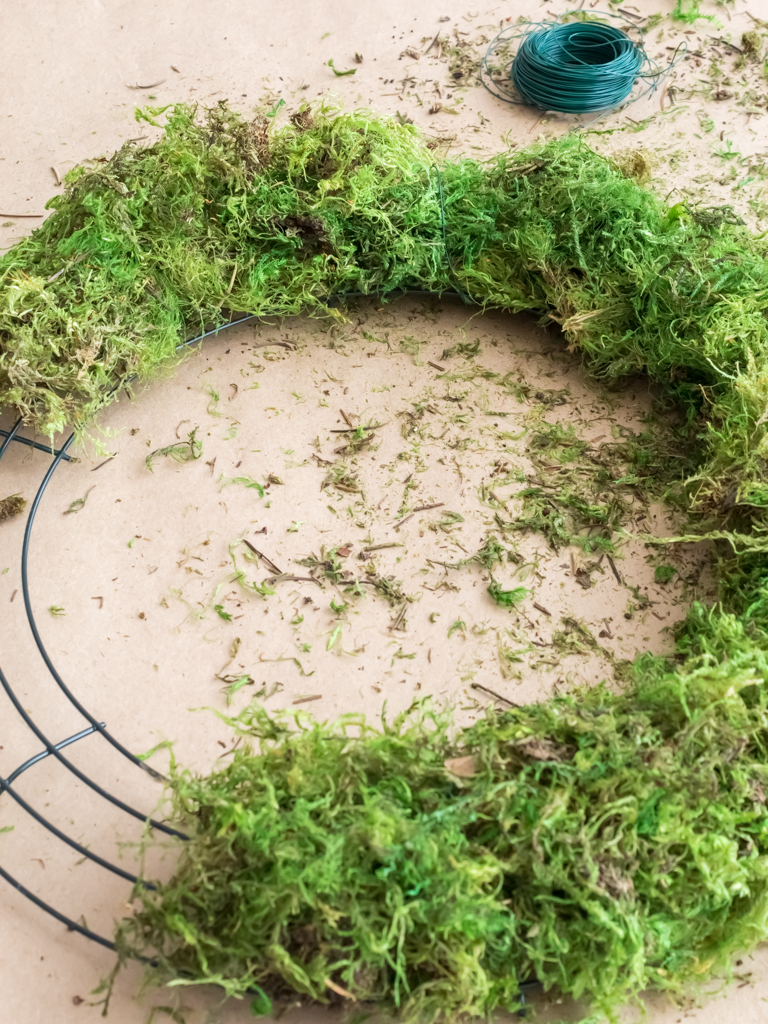
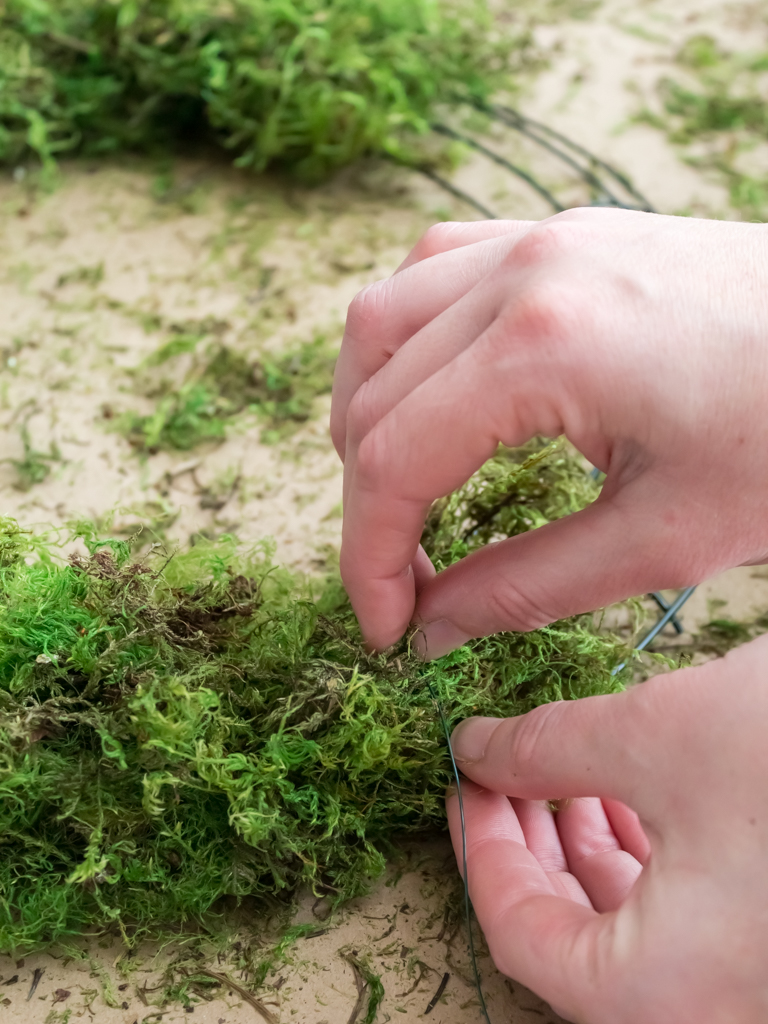
I used almost two full bags of moss (328 cu. in each) to cover my 14-inch wreath frame.
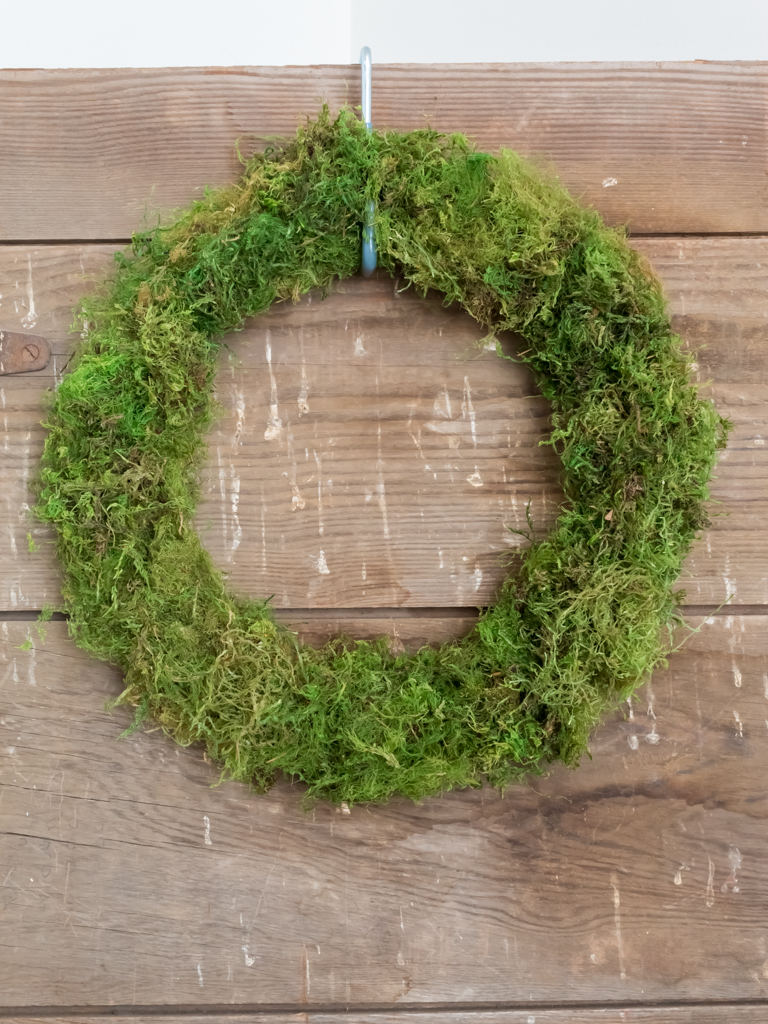
This is what the finished wreath frame covered in moss looked like.
Step 2: Paint And Distress The Wood Carrots
After the moss was attached to the wreath, it was time to paint my wood carrot cut-outs.
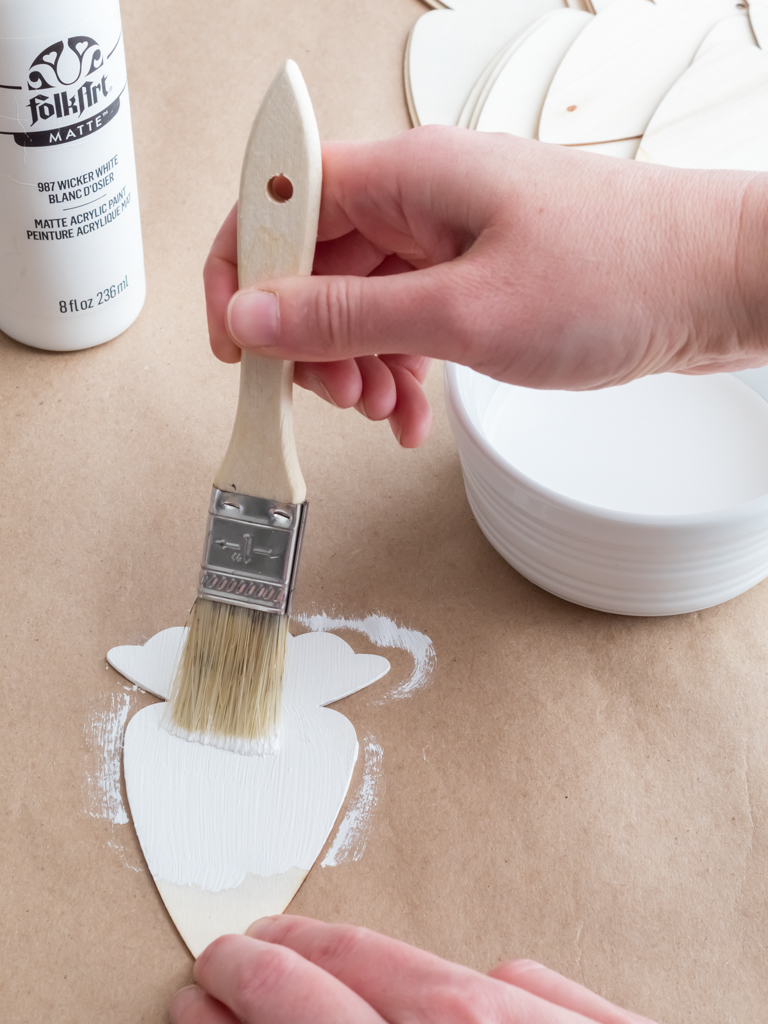
To start, I painted a white base coat on each carrot. I used what I had on hand, but any brand of white craft paint will work.
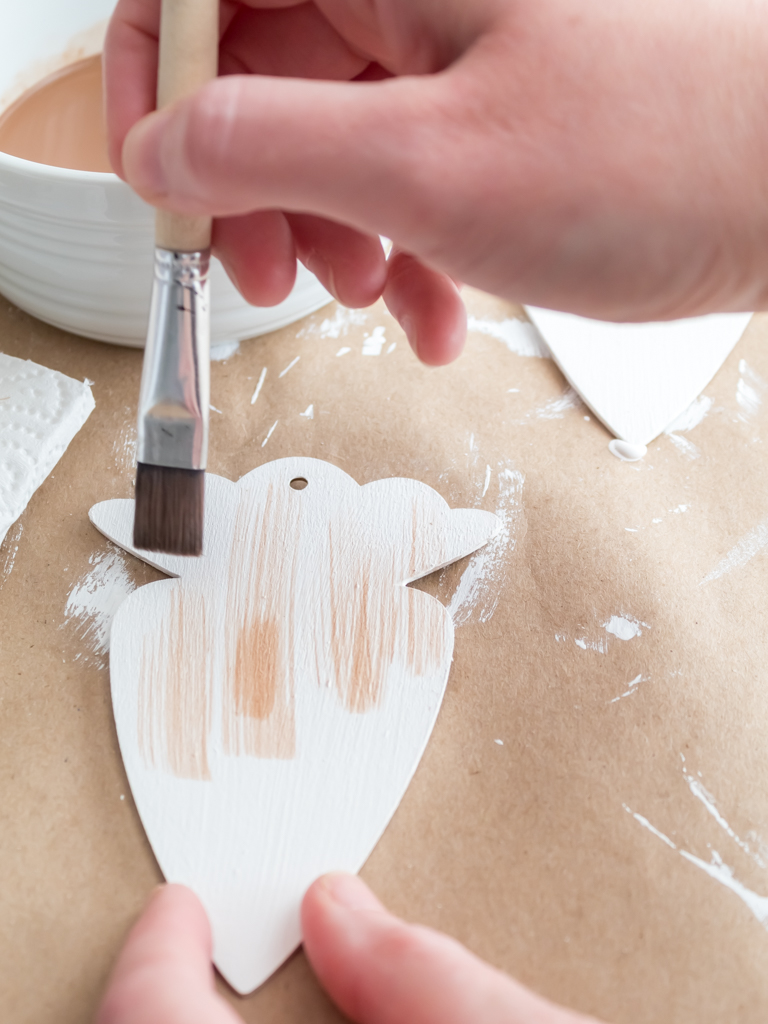
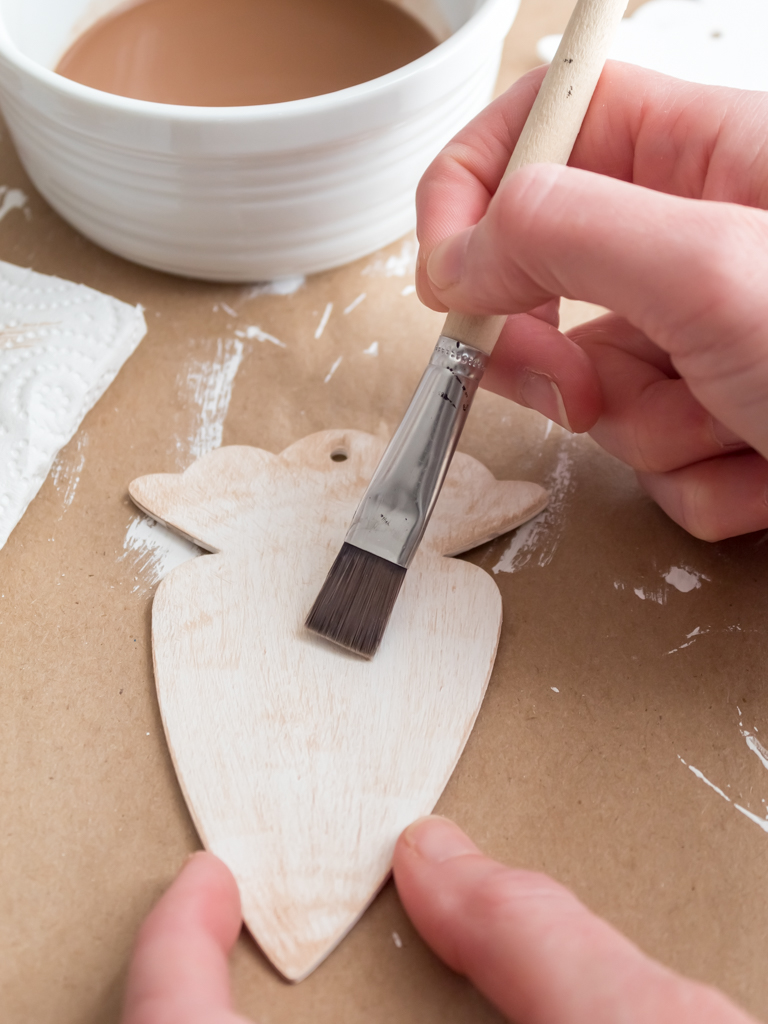
After the paint was dry, I used a dry brushing technique to layer a dark brown color on top that I thinned down with water.
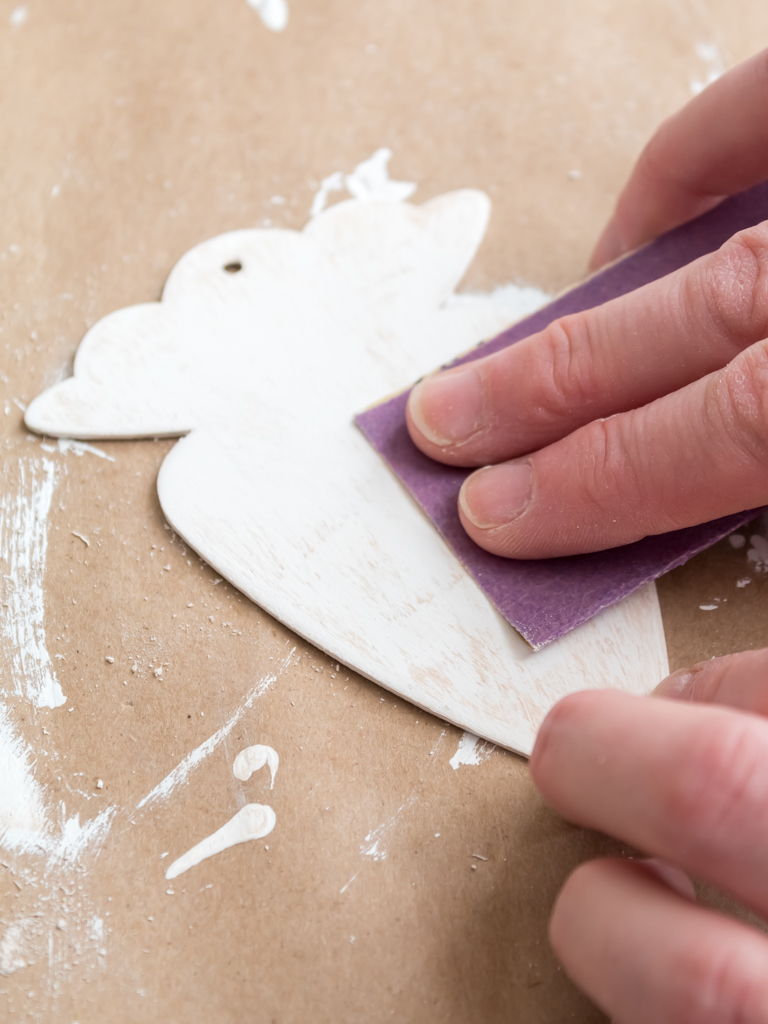
Once the brown paint was fully dry, I used 220-grit sandpaper to distress each carrot.
When it comes to distressing, there’s no right or wrong way to do it. I just lightly roughed up the painted carrots until I liked how they looked.
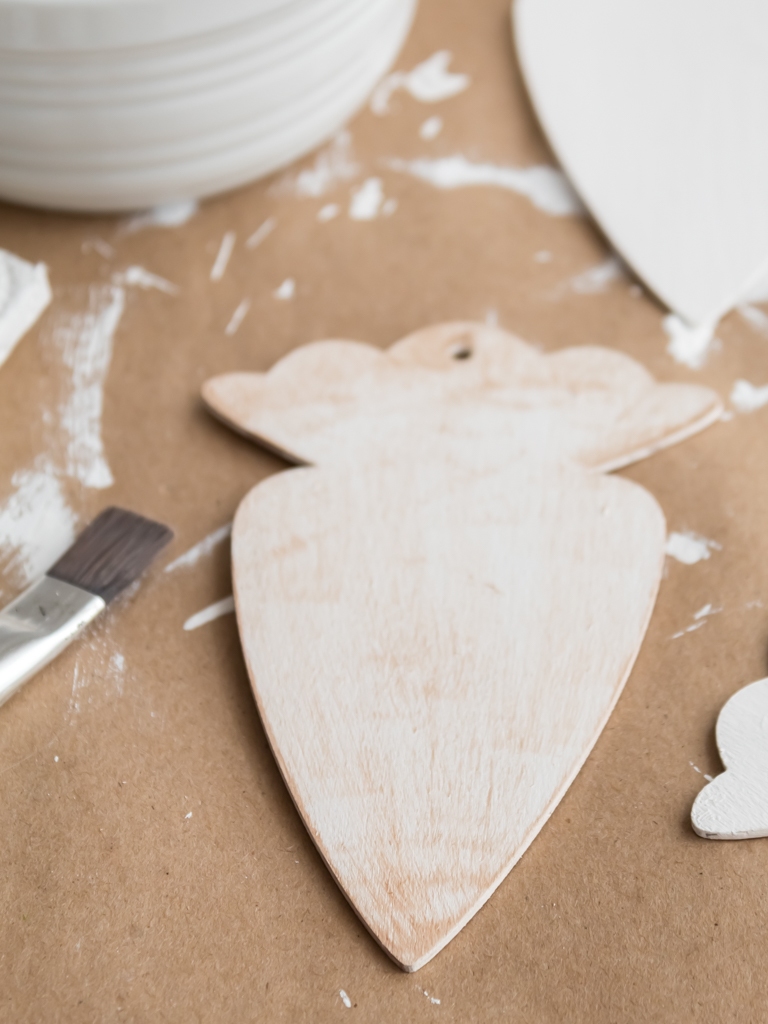
At this point, I was ready to glue the carrots on and call it a day. And I did. I glued on every single one of them before I realized that they didn’t “pop” off the moss like I thought they would.
Has that ever happened to you? A DIY project gone wrong?
I wish I could say this was a first for me, but it wasn’t. And I’m sure it won’t be the last time either!
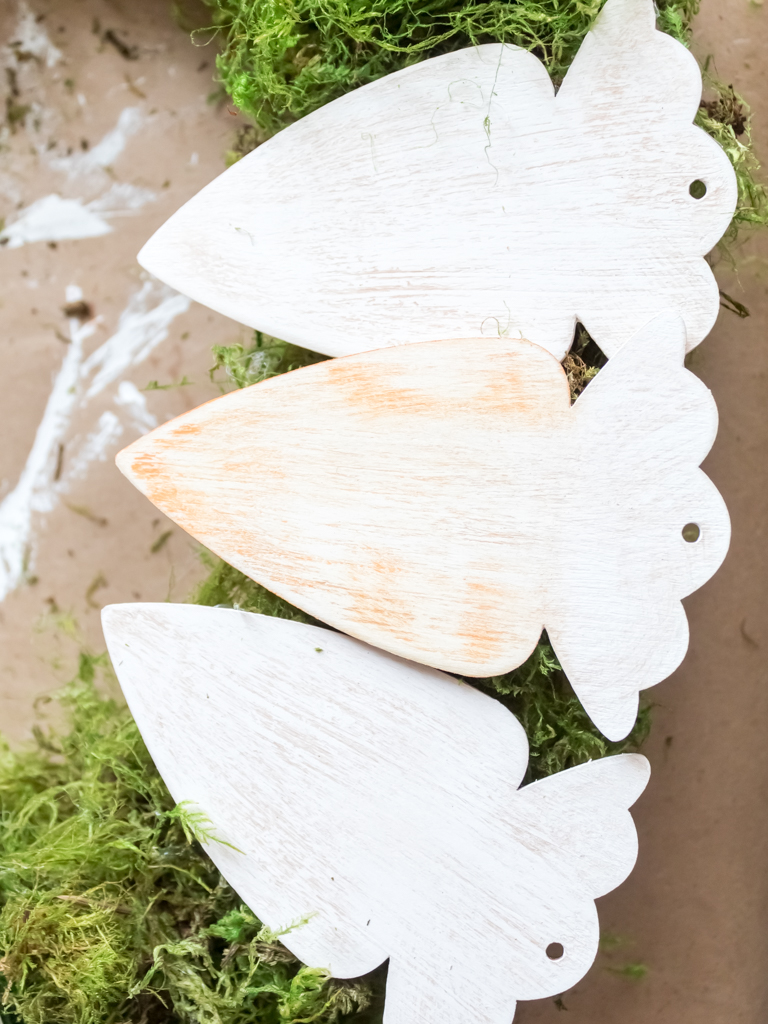
My wreath just looked blah, and not what I had pictured in my head.
So, in an effort to try and salvage it, I decided to add a splash of orange. It seems obvious, but I do not recommend painting your carrots once they have been glued on.
Sigh. Lesson learned.
Using the same dry brush technique, I lightly added a bit of orange paint to the carrots and sanded them a second time.
And, to finish, I added another coat of brown paint and sanded each of the carrots one last time to give them a worn and rustic look.
Step 3: Glue On The Wood Carrots
It drives my husband crazy, but I never measure anything. Like ever.
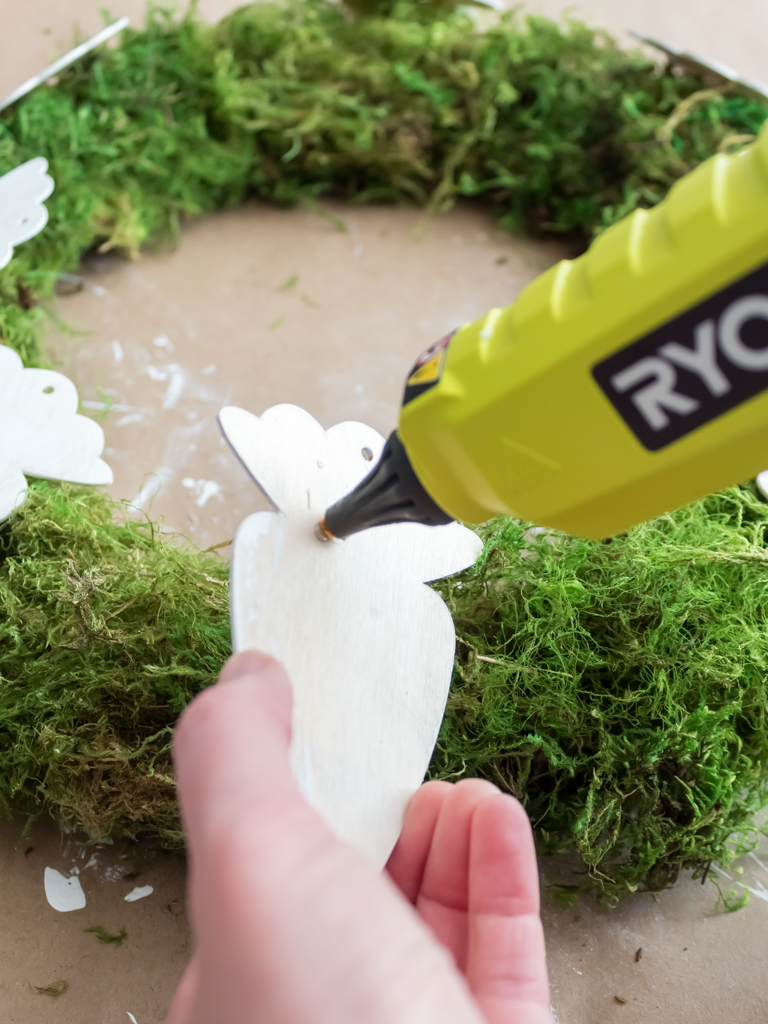
I like to use what I refer to as the wing it method. So, to help keep the carrots evenly spaced, I thought about the way numbers are arranged on a clock.
I started at the bottom of my wreath with the first carrot positioned where the number 6 would be.
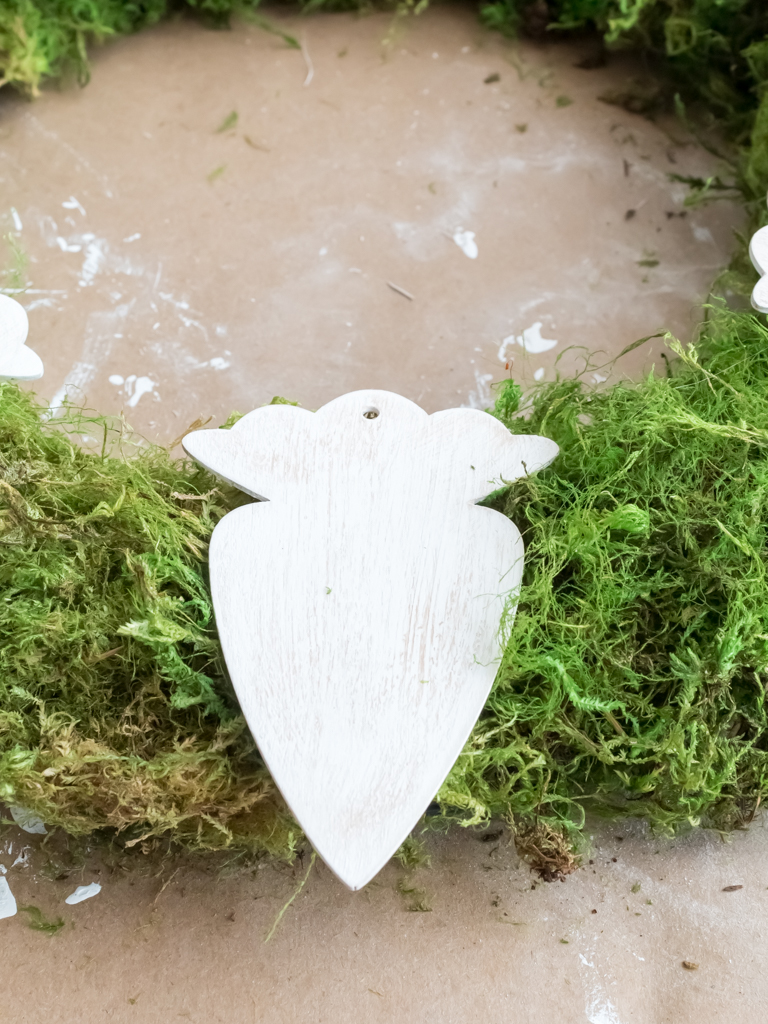
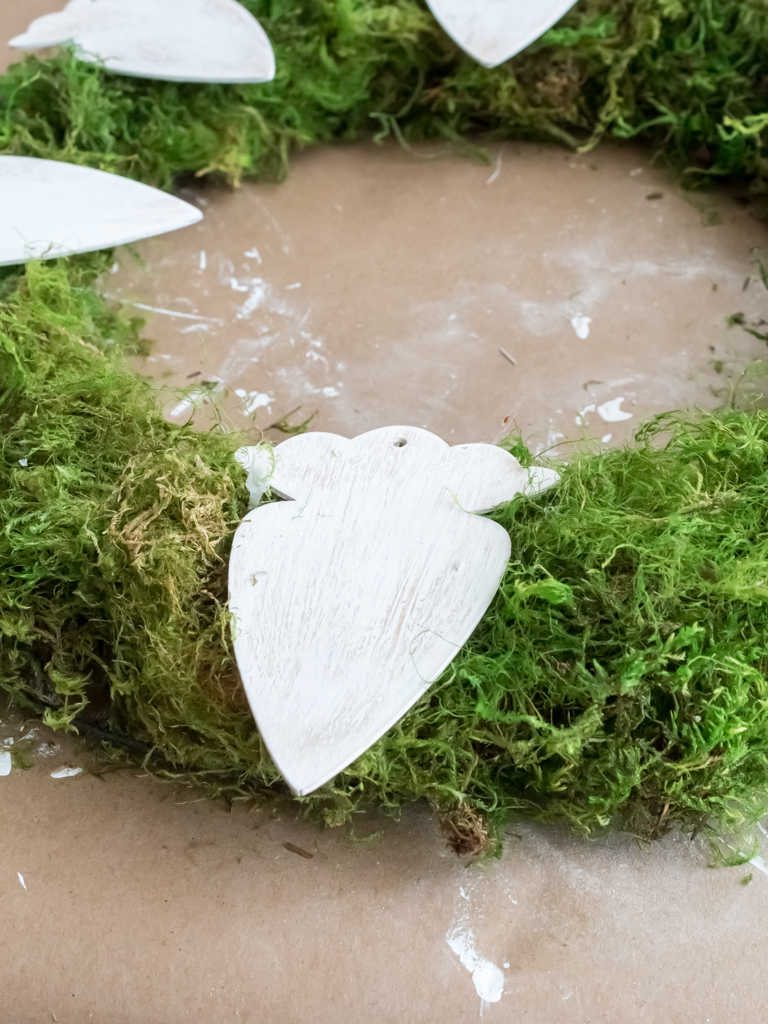
Then I used a hot glue gun to attach each carrot and worked clockwise until they were all glued on. And voila!
Tip: Carefully give a light tug on each carrot to make sure they are secure, and add a bit more glue as needed to the ones that seem loose.
Step 4: Add Some Grapevine Twigs
To give the wreath a more natural, rustic feel, I used some grapevine garland twigs.
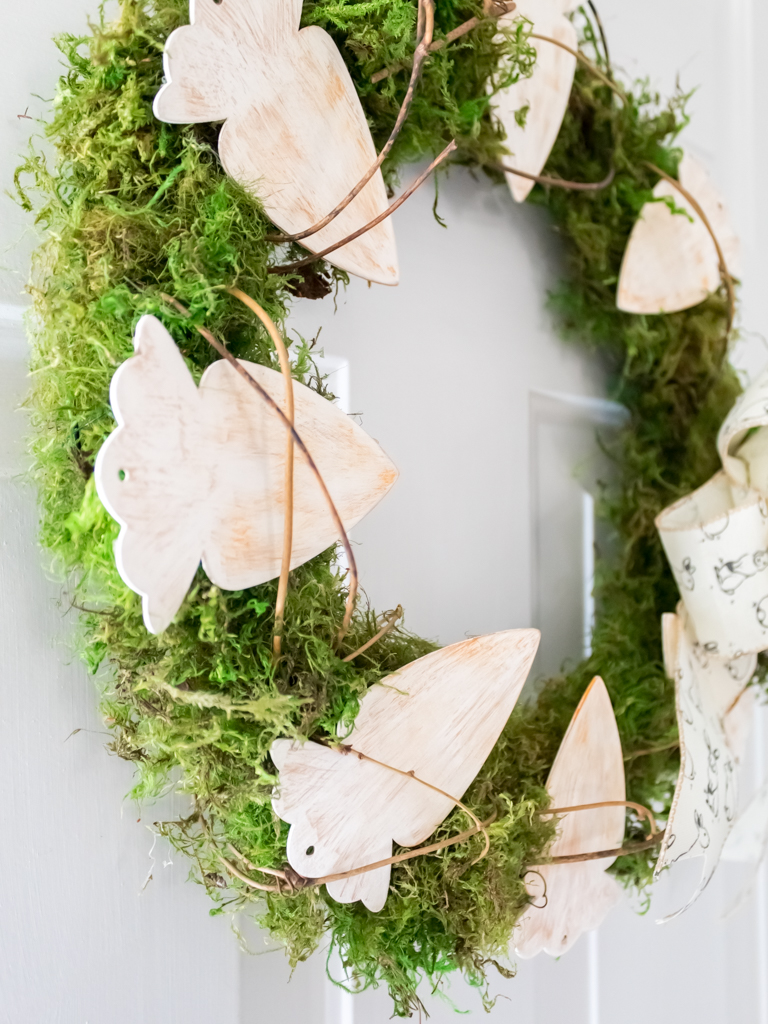
I failed to get any photos of this step (oops), but I just l clipped a few pieces of grapevine from a leftover garland and tucked them into the wreath.
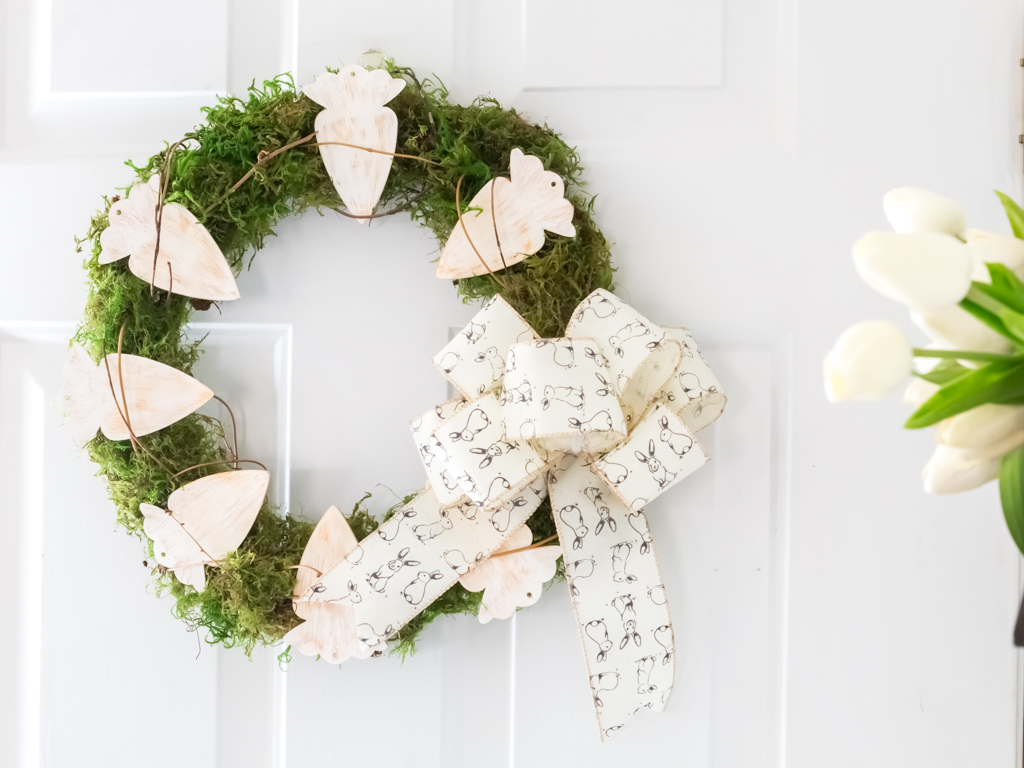
Tip: I didn’t use anything to attach the twigs (they seem to stay in place okay as is), but you can use floral wire to attach them on the backside of the wreath if you want.
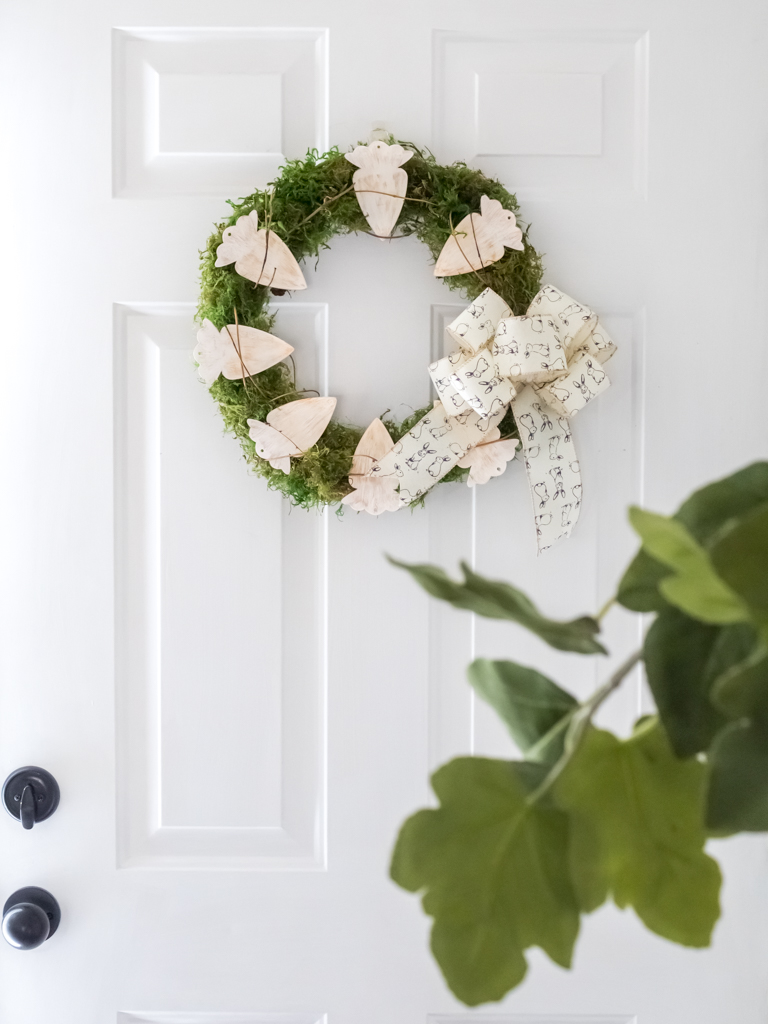
This step was honestly another one of those last-minute decisions, but I love how much more finished my rustic Easter wreath looks with some grapevine wrapped around the carrots.
Step 5: Finish With A Bow
To finish my rustic wreath, I added a bow made with some neutral-colored Easter ribbon.
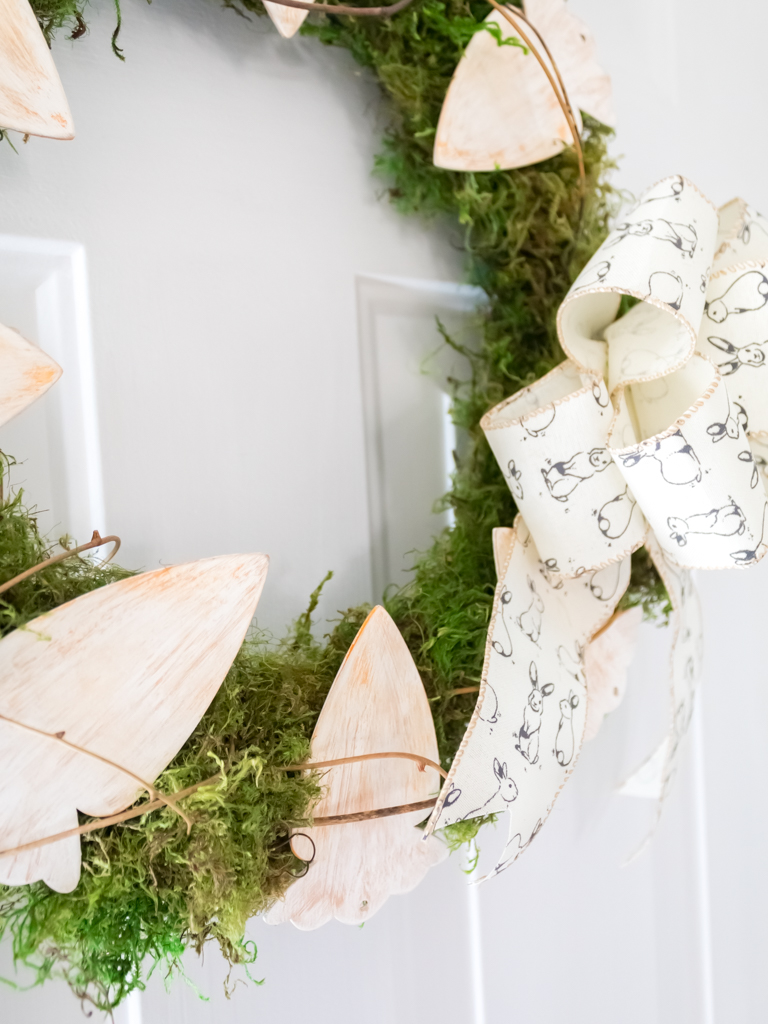
I found some adorable wired ribbon with bunnies at Joanne and thought it was too cute to pass up.
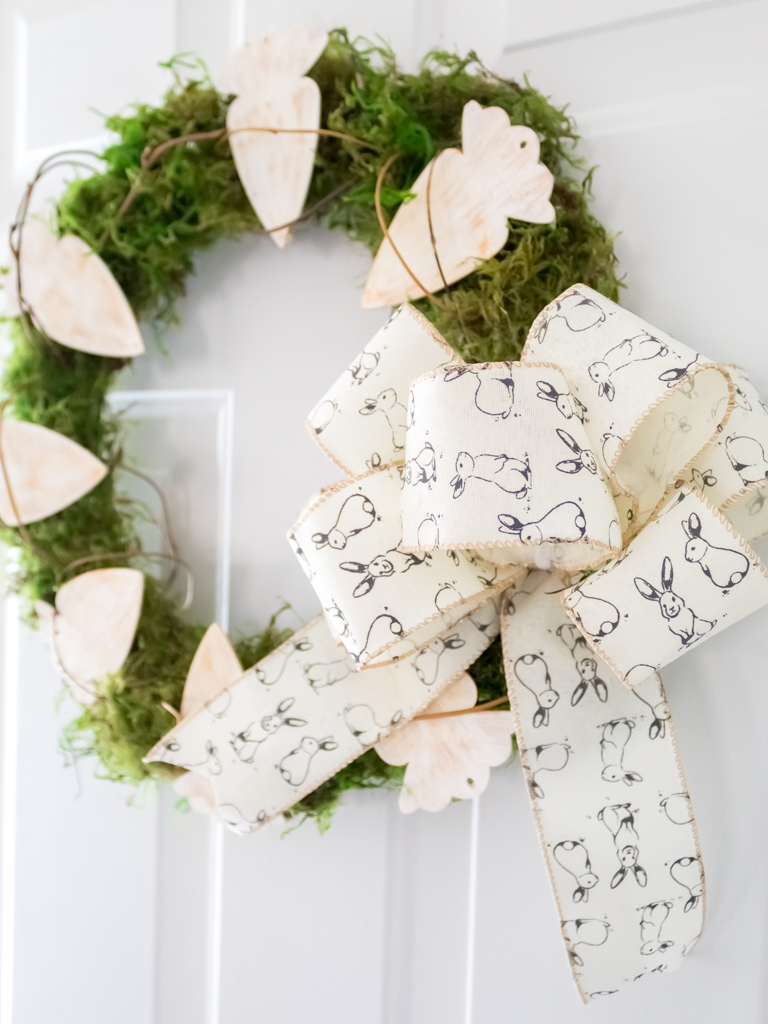
To create the bow, I used my glue gun to make a few simple loops. Then I used a pipe cleaner to form the bow, before hot gluing it on the wreath.
How To Display Your Finished Easter Wreath With Carrots
And that’s it! A rustic wreath with carrots that’s perfect for Easter and simple enough that you can leave it up all spring long!
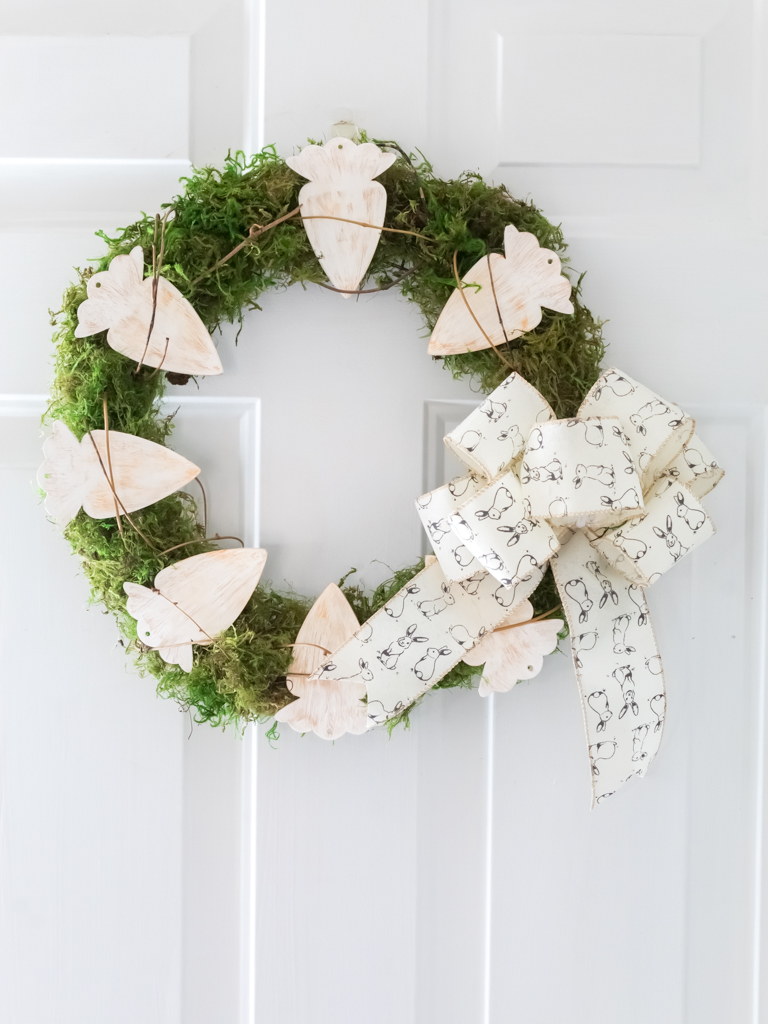
All that is left to do is find somewhere to display your beautiful new wreath.
I recommend hanging it inside to keep it safe from the elements…and birds! (Unless you have a storm door.)
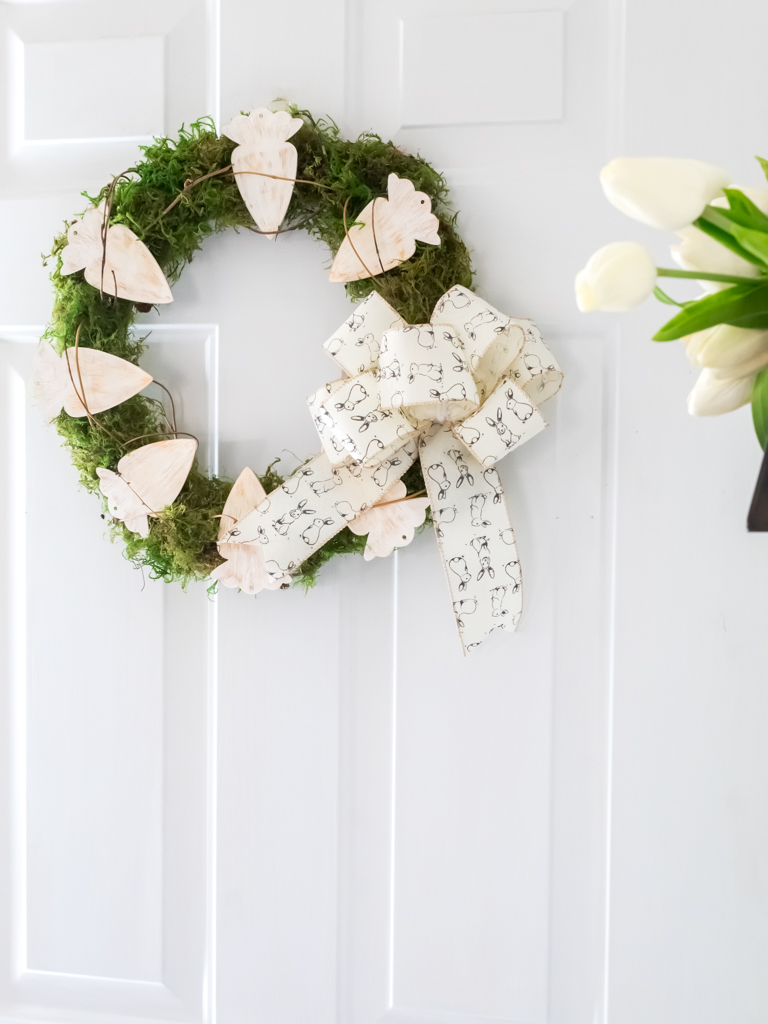
For now, my Easter wreath has found a home in our front entry. What do you think?
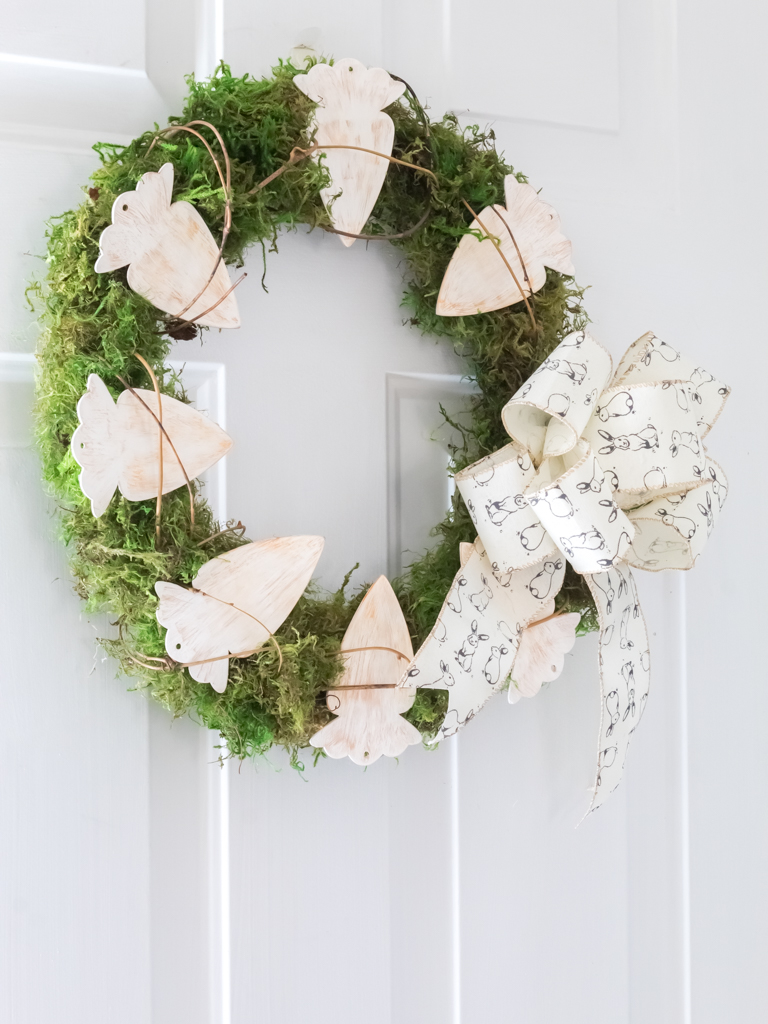
Midway through the project, I wasn’t sure how it would turn out. I was honestly worried this wreath was going to be a DIY dud.
But after a few tweaks, I’m happy to say I really like the finished look. And I love how it seamlessly ties in with the rest of my spring decor.
More Spring And Easter Crafts and Decor from Midwest Life And Style
If you enjoyed this post, you might love a few of my other favorite spring and Easter posts.
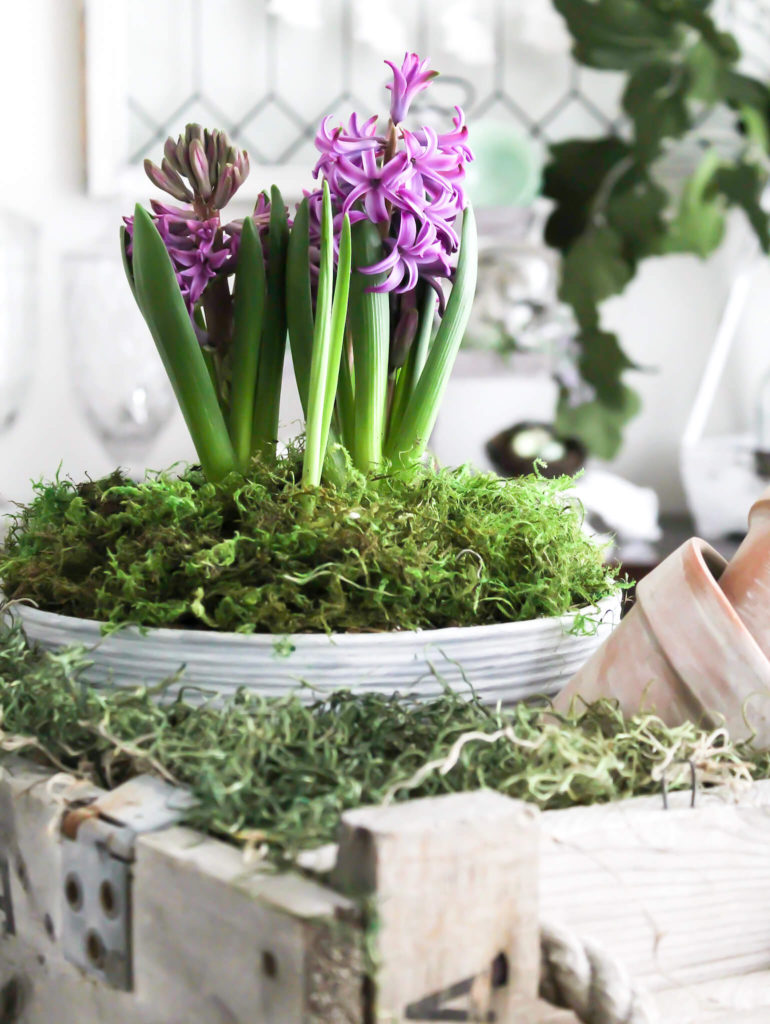
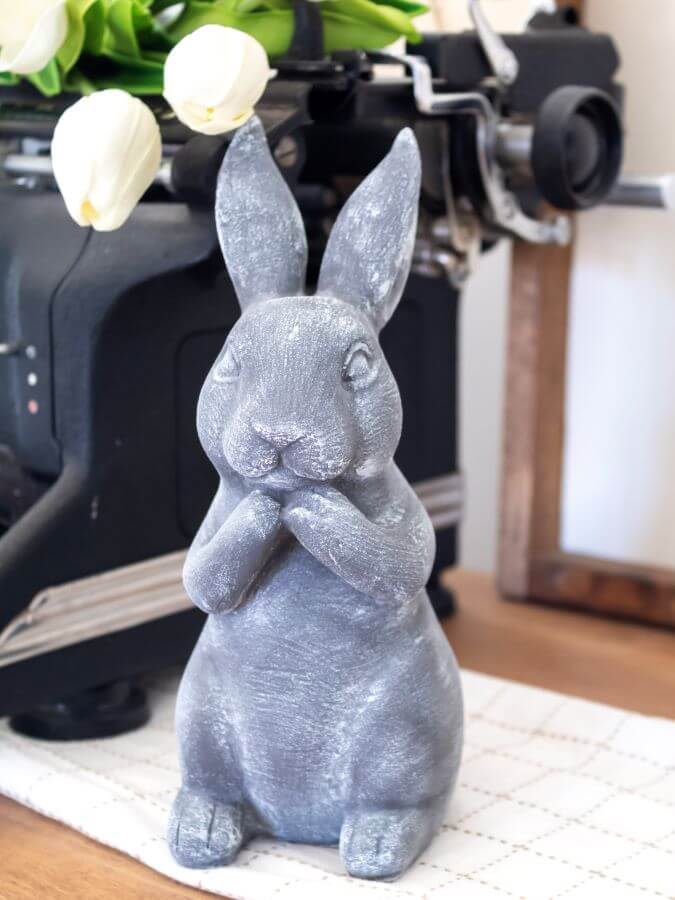
Aged Spring Planter | DIY Faux Stone Bunny
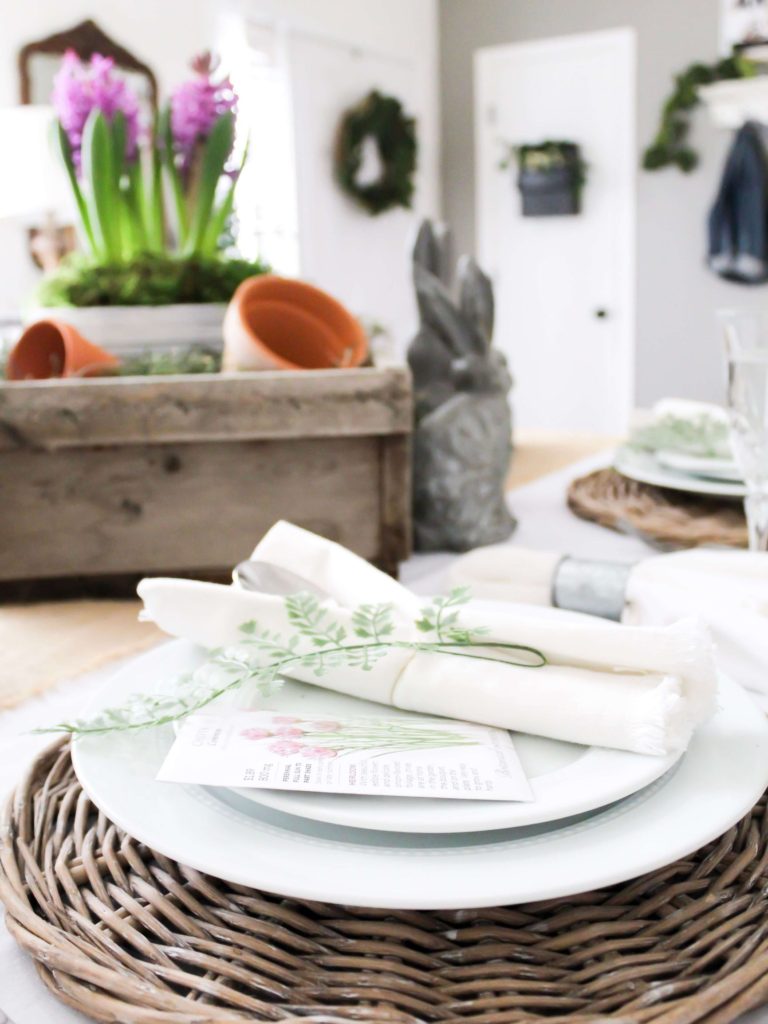
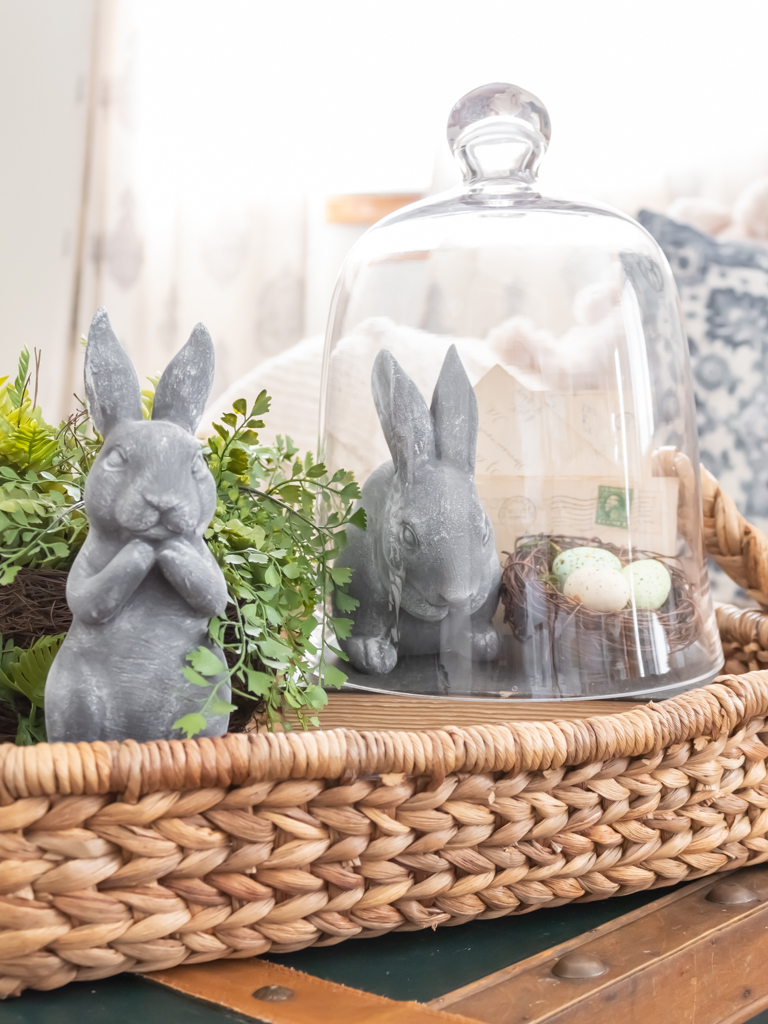
Styling A Spring GardenTablescape | How To Style An Easter Vignette
More Easter Inspiration
Next, visit my friend, Robyn, at Robyn’s French Nest to see her tips for using neutrals to decorate for Easter. Then be sure to check out all of the other talented bloggers’ Easter ideas, linked below.
As always, thanks for following along! If you enjoyed this post, you can find more of my favorite Easter decor and decorating tips here.
And… If you are catching up on blog posts you may have missed, be sure to sign-up to get all of the latest recipes, DIYs, decor tips, and more sent straight to your inbox.
Xo,

Did You Enjoy this Post? PIN It for Later!
Spring Inspiration from Some Very Talented Bloggers

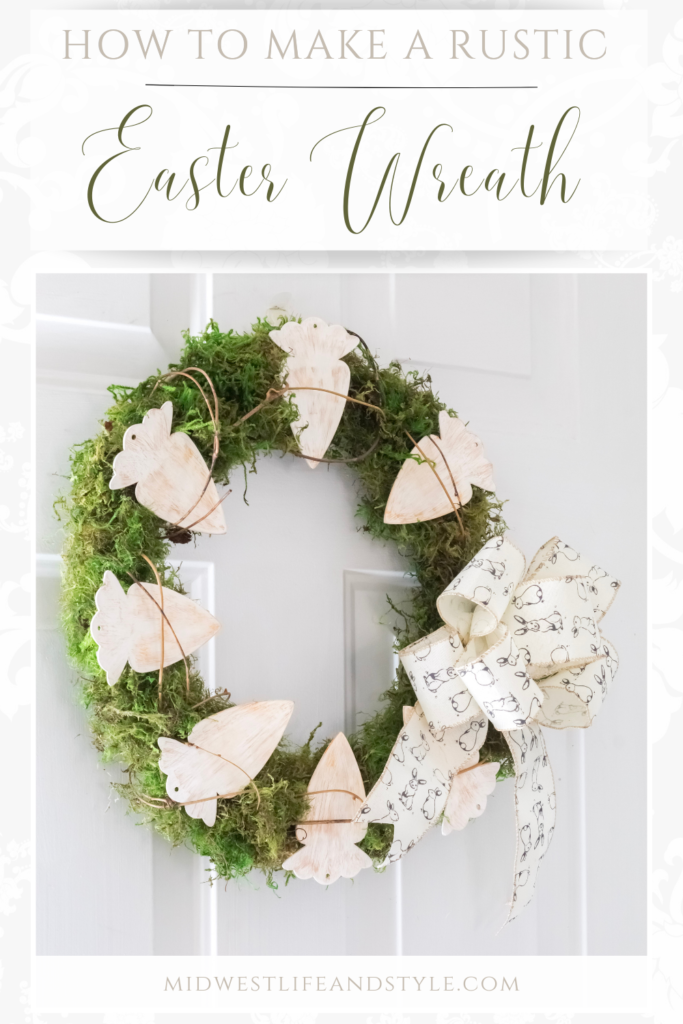
How to Use Easter Bunny Decor in a Classy Way ~ Pasha is Home
Enchanting Easter Centerpiece Using Flowers and Cabbage ~ Shiplap and Shells
DIY Golden Easter Eggs with Floral Imprints ~ My Sweet Savannah
How to Make a Spring Lantern ~ Sand Dollar Lane

Best Front Porch Ideas to Decorate for Easter ~ The Ponds Farmhouse
5 Easy Ways To Decorate Your Mudroom For Spring ~ White Lilac Farmhouse
The Prettiest Spring Tablescape for your Easter Gathering ~ Willow Bloom Home Blog
Simple Steps to a Beautiful Spring Tablescape ~ White Arrows Home

Easter Deviled Eggs ~ Paint Me Pink
How to Make a Neutral Wood Bead Carrot in 3 Easy Steps ~ Simply 2 Moms
Easter With Faberge Eggs ~ A Stroll Through Life
How to Set an Easter Table with Bright Colors ~ Cottage in the Mitten
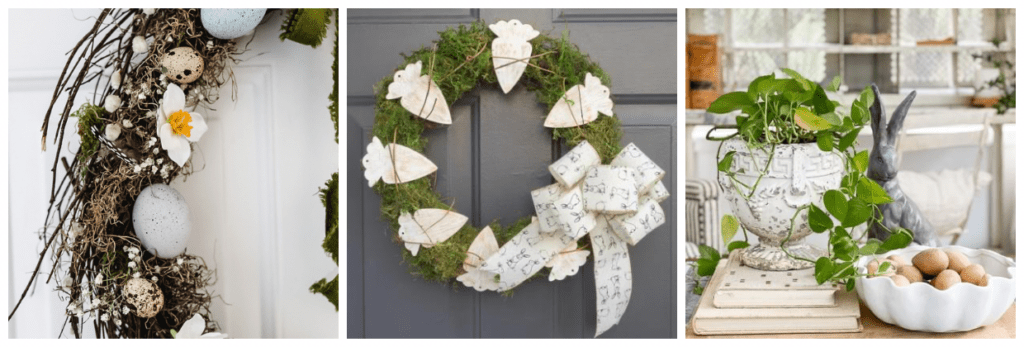
Easter Egg & Daffodil Spring Wreath ~ Cottage on Bunker Hill
Simple And Rustic Easter Wreath With Carrots ~Midwest Life and Style
Decorating for Easter with Neutrals ~ Robyn’s French Nest
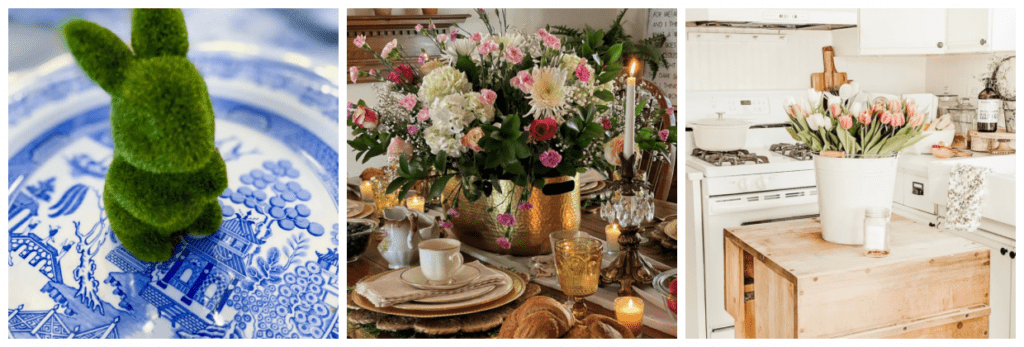
When is Easter 2023? Everything You Need to Know This Year ~ Southern Crush at Home
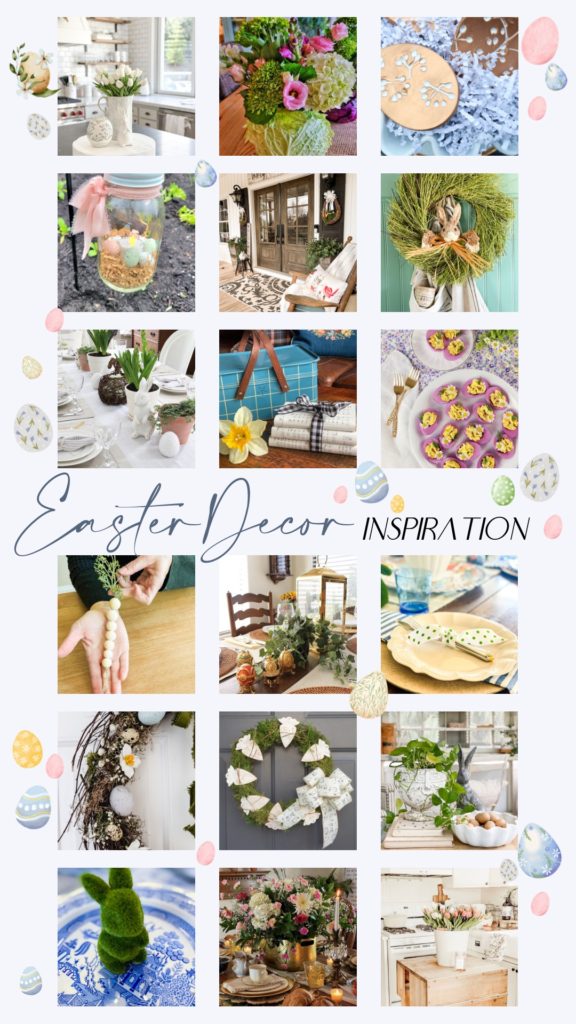
Easy Centerpieces for the Easter Table Ideas ~ Bricks ‘n Blooms
Four Easy Spring Centerpieces ~ Vintage and Grace Living




Oh my goodness! I love everything about simple! This wreath may be simple, but it makes it’s own statement ~Can’t wait for easter~ Thank you for sharing your talents!
Thank you so much, Melanie!
Love, love, love the way this came together, Jen, and I’m excited to share it today! I had no idea you could add moss to a wire form like this but I love it. The carrots are super cute and the bow totally puts it over the top. You nailed it! Loving and pinning as always sweet friend, CoCo
Thank you, CoCo. I love how everything came together. The ribbon was too cute to pass up. I thought it was the perfect finishing touch for my Easter wreath.
Jen what a pretty wreath Idea! Adding this one to my project list i love it!
Thank you, Stacy!
Jen, I really love this wreath!! Good call adding the grapevine garland at the end, one of my secret weapons!!
Thank you, Jennifer! I’m glad I added it. I think it really was the perfect finishing touch!
This is just the cutest wreath, Jen! It is so creative! The bunny ribbon is so cute. I always love your DIYs and hope to try one myself. Happy Spring, my friend!
Thank you so much, Kim. Happy spring to you too!
Jen this is so so cute! I have been loving carrot decor for the spring too!
Thank you, Nicolle! I’m happy I was able to snag a bag of carrots at Dollar Tree when I did. I was in a few days ago and noticed they were gone!
Oh how fun is this. I love your wood carrots, what a unique idea and the ribbon you chose is perfect. Great creative wreath.
Hi Marty,
Thank you so much! I appreciate your kind compliments. Isn’t the ribbon the cutest? I love the little bunnies on it.
I love diy’s that have moss and this wreath is just beautiful!
Thank you, Norma!
I’m obsessed with this beautiful wreath Jen. I love that you made it completely from scratch. And the bunny ribbon is absolutely perfect!
Thank you, Shawna. It wasn’t without a few hiccups along the way, but I’m so happy with how it turned out.
This is the most adorable wreath Jen! I love it!!! I love the ribbon too, the little bunnies on the cream background, just adorable!
Thank you so much, Heidi!
This is too cute!
THank you, Melaine!
This wreath is so cute, Jen!
I love the moss base, it’s pretty alone!
I found little bunny cut outs like these carrots at my Dollar Tree and couldn’t figure out what to do with them. I think they’ll be so cute on a wreath like yours!
beautiful wreath Jen!
Hi Ann Marie,
Thank you for stopping by to say “hi”. I’m so glad you enjoy the wreath too. It makes me smile each time I look at it.
Happy spring!
Thank you, Leen. I saw the bunnies too and debated which ones to get. Now I am wishing I snagged the bunnies too for a garland. Maybe next time!
Such a cute wreath, Jen! That ribbon is perfect! Always a treat to hop with YOU!
THank you, Kim. So many cute Easter ideas. I love how creative everyone is. I have so many new ideas!
Jen, your wreath is so cute. I love the sweet bunny ribbon and how you wrapped the twig vine around it. Happy blog hopping with you, my friend!
Thank you so much, Tammy. Happy (almost) spring and happy Easter, friend!
It’s SO CUTE, Jen!! I love how it turned out! The addition of the twigs and the bow is just adorable. Such a pretty Spring wreath for any spot in your home. Pinned!
Thank you, Rachel! I think it turned out cute, all things considered. It just took a few “oops” moments to get there!😉
Jen,
What a cute wreath. I love how unique it is. There is so much inspiration in this hop.
Thank you so much, Rachel. There was some trial and error involved with this wreath, but I am so happy with how it turned out!