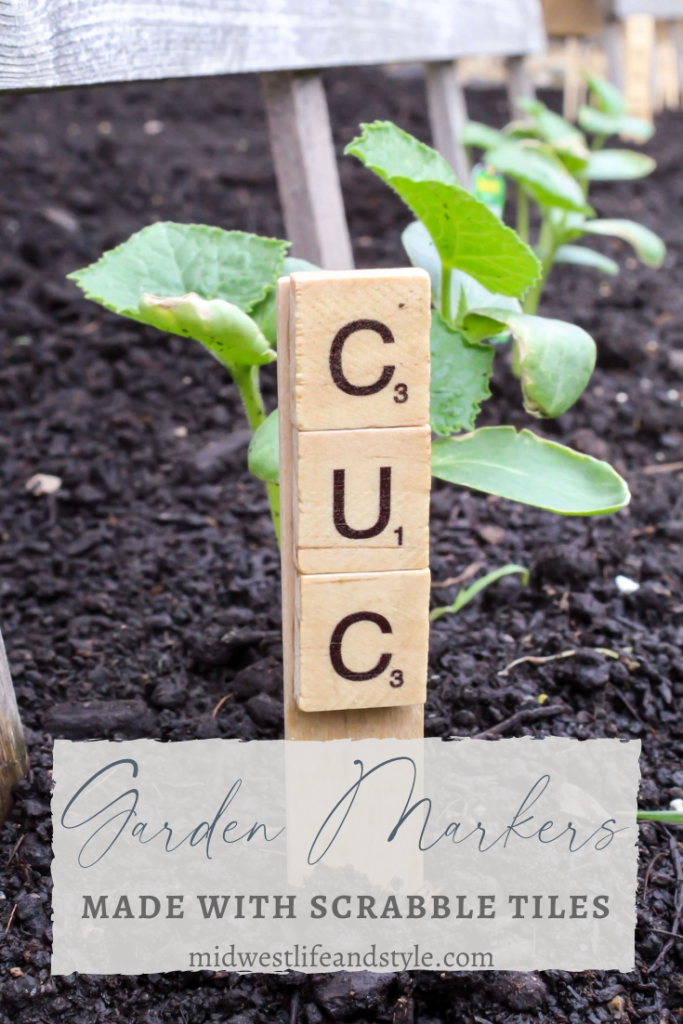
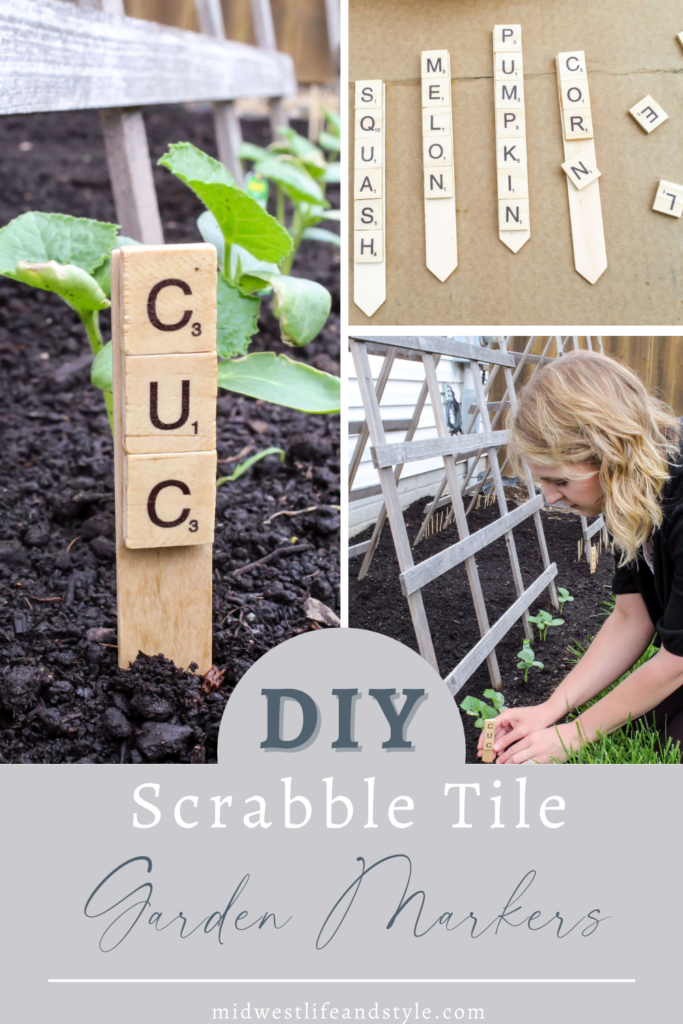
Here’s another fun project for your garden this summer! See how I made these quick and easy DIY garden markers with scrabble tiles.
*As an Amazon affiliate, I earn from qualifying purchases at no extra cost to you. My blog contains other affiliate links as well for your convenience. To learn more, you may read my Disclosure Policy. Thank you for supporting my blog!
My girls love to play electronic word games. Recently they discovered that we had an old Scrabble game in the basement that I had forgotten all about. Since finding it, they have been playing almost nightly, and it reminded me of a quick and easy DIY I shared on Instagram a few years ago….scrabble tile garden markers! I enjoyed making them the last time, so I decided to make some new ones for our garden this year and to share them with you.
The supplies are inexpensive and can be purchased online or at a craft store. Here’s what you will need.
Supplies
- Wooden Plant Labels
- Scrabble Craft Tiles
- Wood glue
- Stain (Optional)
- Lint Free Rags
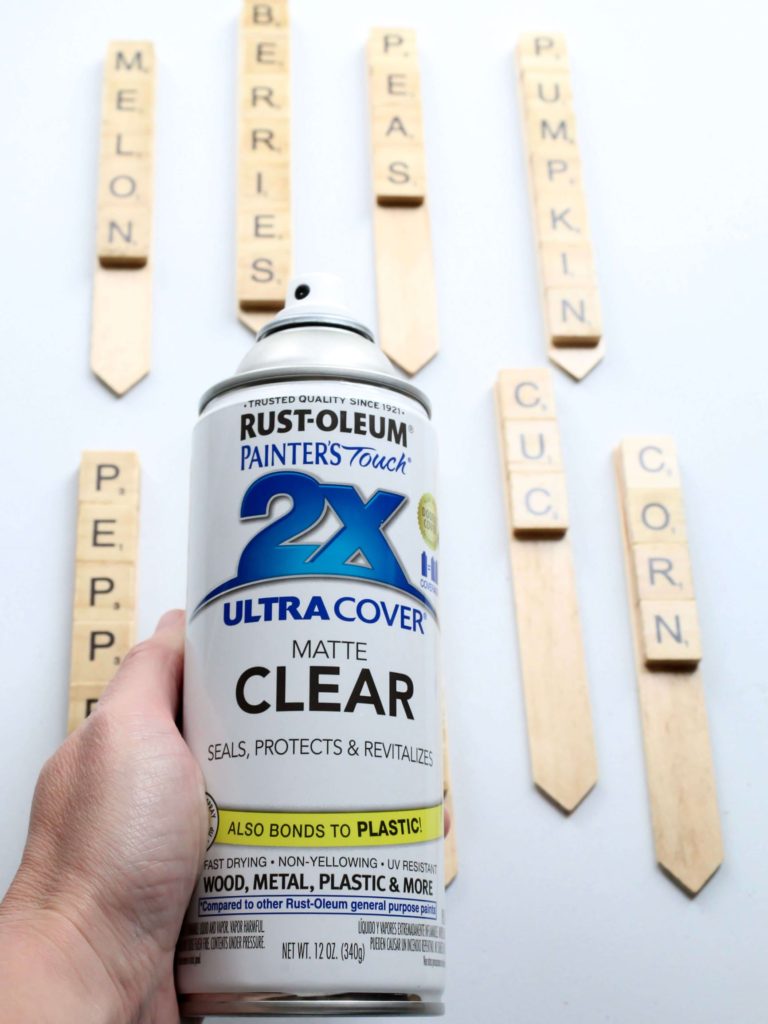
- Matte Clear Protective Spray
How To Make Quick And Easy DIY Garden Markers
1. Glue Scrabble Tiles To Plant Labels
First, organize and layout your scrabble tiles. Think about what you have planted (or will be planting) in your garden and find all of the letters you need.
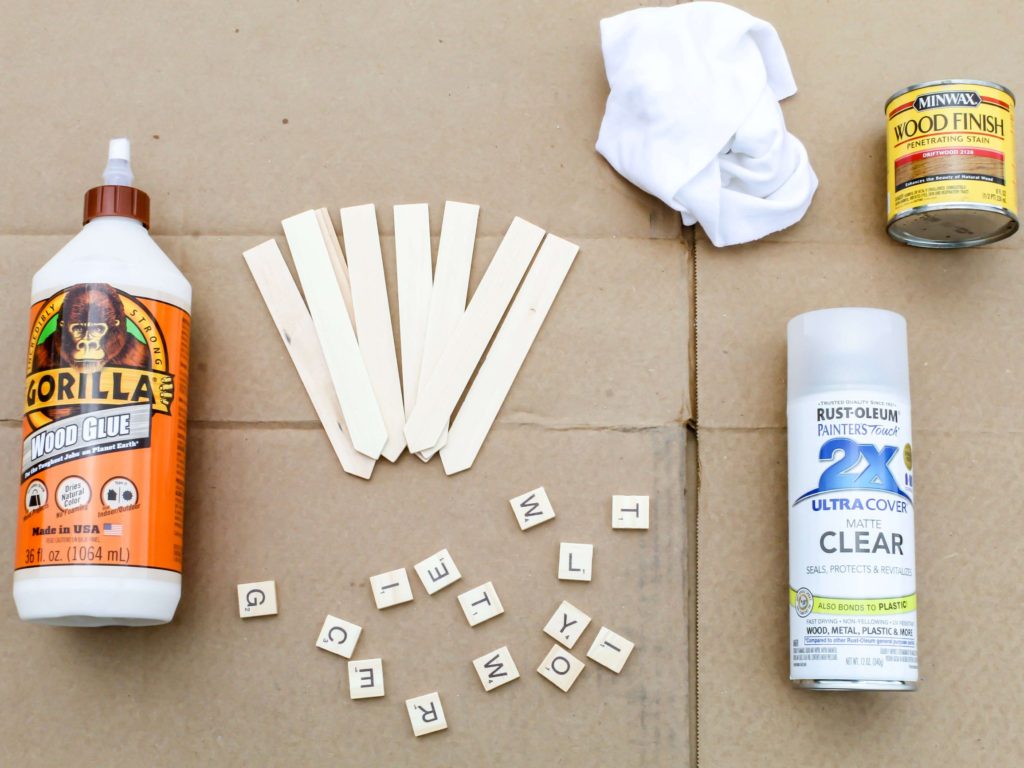
Then, use a small dot of wood glue to attach your scrabble tiles to a wooden plant label. I chose to use 6″ plant labels, but you can also purchase larger ones if you prefer.


Set aside and wait for the glue to dry. (The glue will be fully cured within 24 hours.)
2. Stain The Plant Labels
Once the glue is fully dry, it is time to stain your garden markers. This step is optional, but I think staining the markers gives them a more finished look and helps to protect them from the elements.
To stain your garden markers, use a lint-free rag and apply the stain all over the marker and tiles.
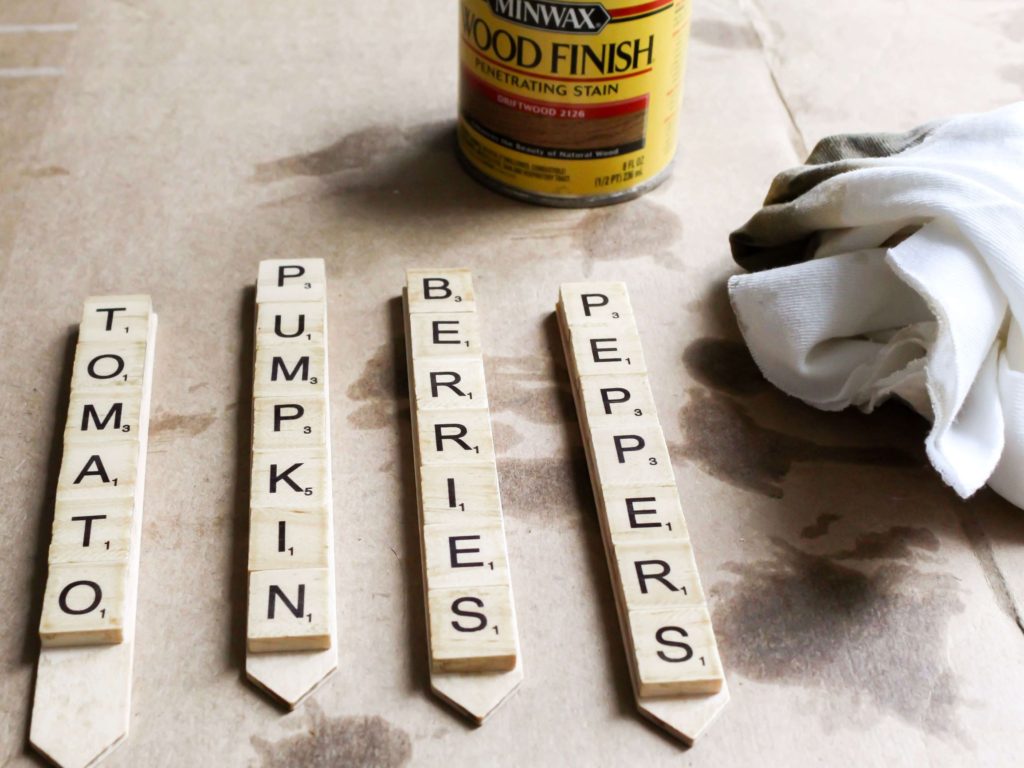
Then, to give my DIY garden markers a quick finished look, I used some stain in the color driftwood. I found a can in the garage leftover from another project, so it didn’t cost me a dime. Woohoo! I only used one coat of stain, but you can use a second coat if you would like.
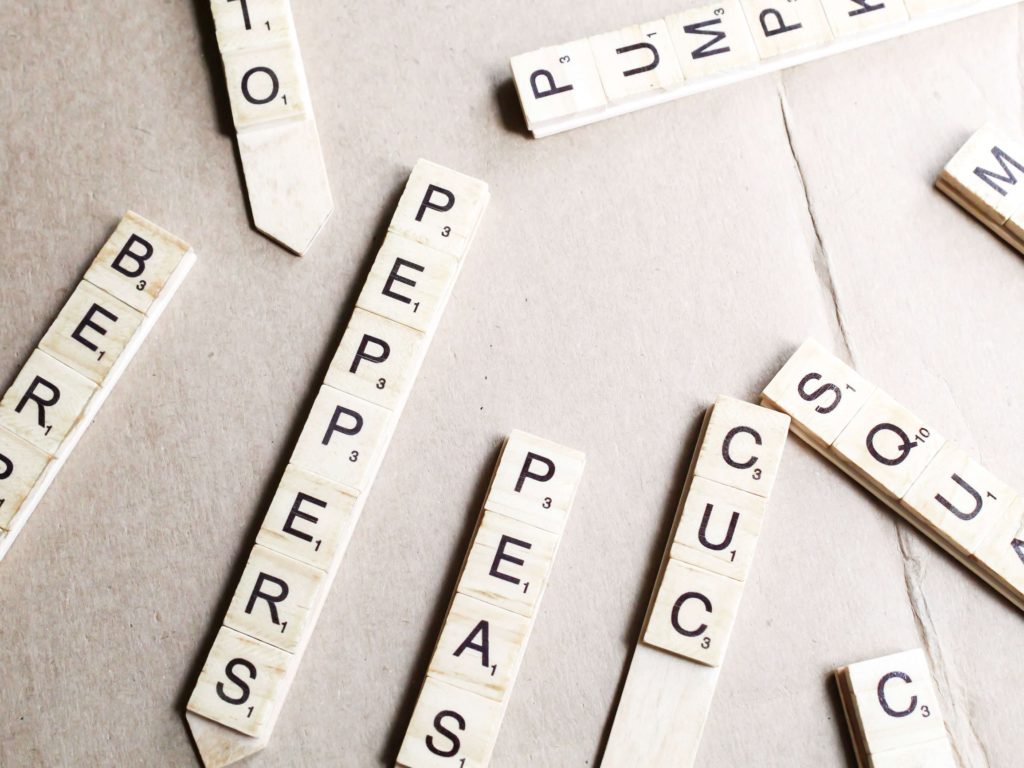
Once all of the garden markers were stained I set them aside to dry (roughly 2 hours).
3. Spray With A Protective Clear Coat
When the stain is dry, spray all of the markers with protective clear coat and let them dry for 20 minutes.
Then add your markers to your garden, and that is it. You are done! Just three quick and simple steps are all it takes to make some DIY scrabble tile garden markers.
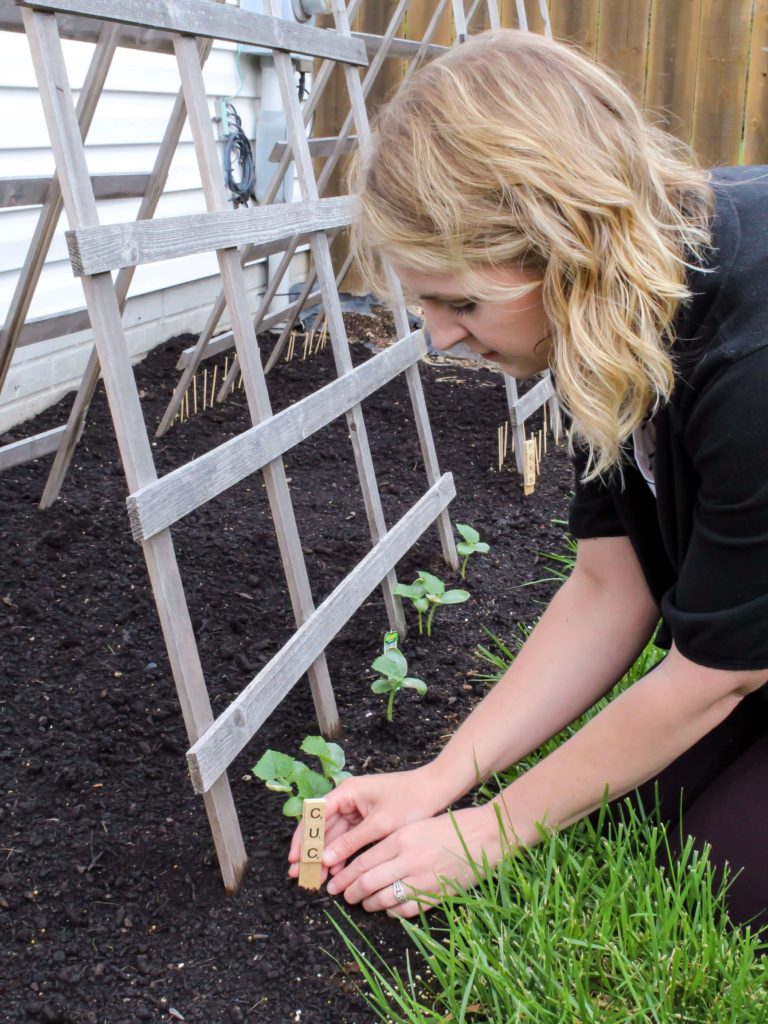
I love how the finished markers look, and they are a great addition to our backyard garden.


Now I look forward to watching all of our plant babies grow, and of course, savoring our harvest later this summer.
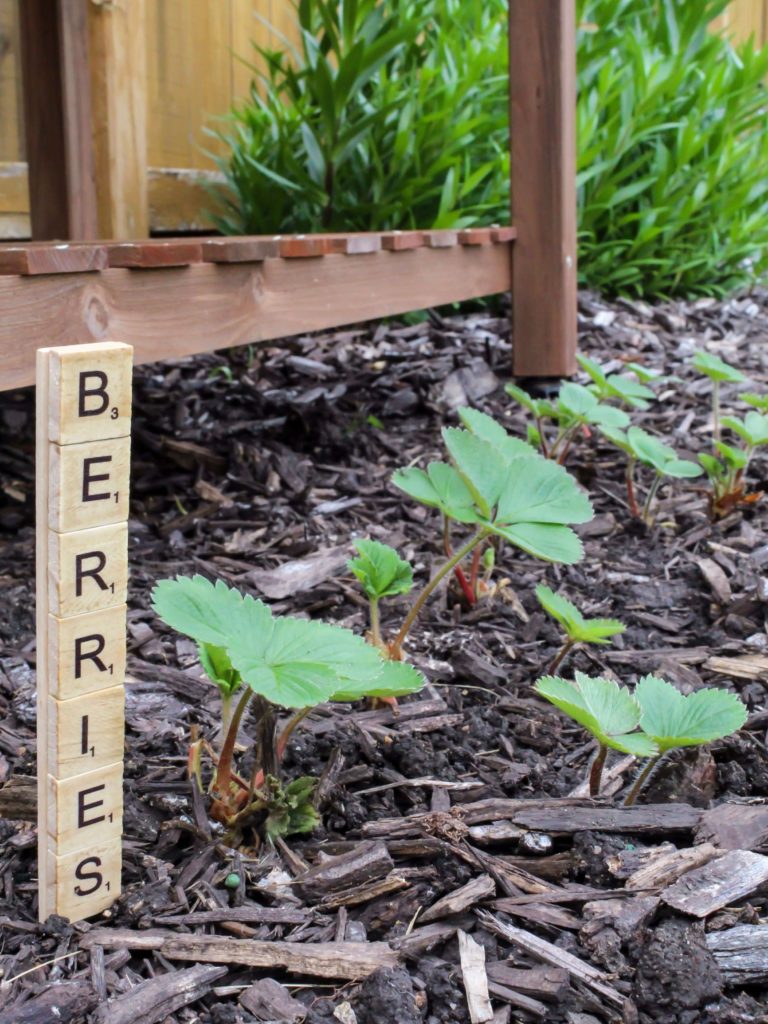
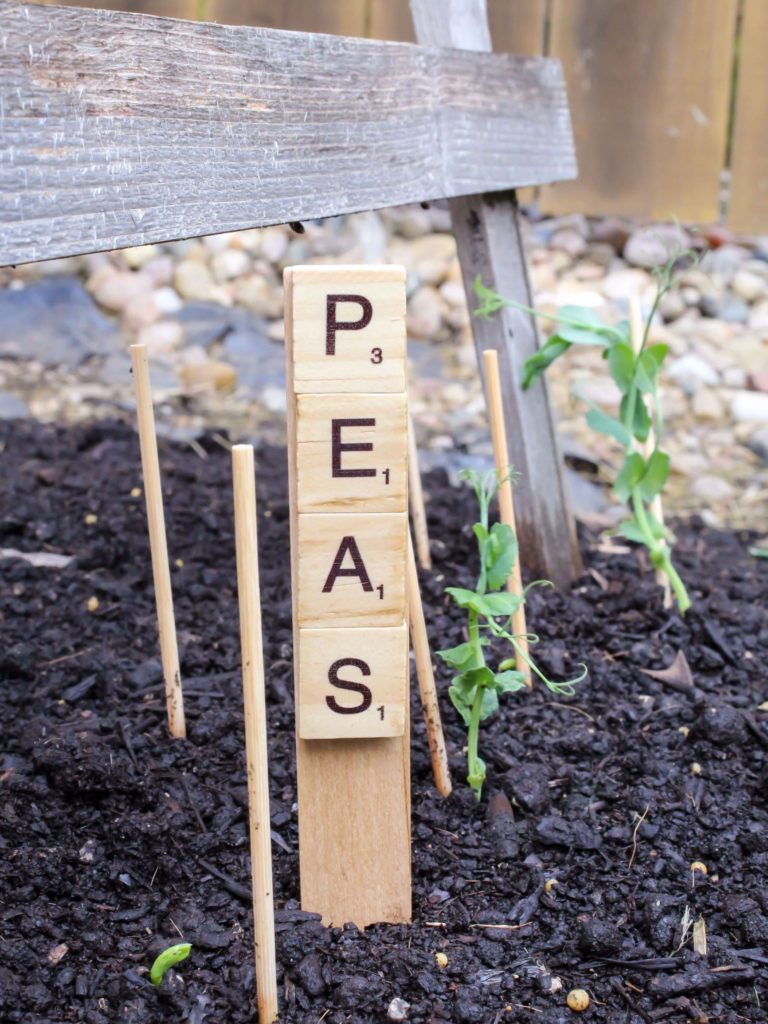
Quick And Easy DIY Garden Markers
I hope you enjoyed reading all about how to make these Scrabble-inspired garden markers. If you are looking for more project ideas, you might like reading about my patio container herb garden or how to make a DIY rain barrel.
Thanks so much for visiting today! Until next time.

P.S. Don’t forget to see my newest roundup that includes more outdoor projects to add to your summer DIY wish list.
Did You Enjoy this Post? PIN It for Later!


I missed this last year…such a cute idea!!
thank you, friend. So easy to do, and you know easy is my jam!
I love this idea!! This would be a fun project to make with a group of friends for a craft night party.
Thank you, Paula! Yes, this would be such a fun girls’ night project. So easy…anyone can do it!