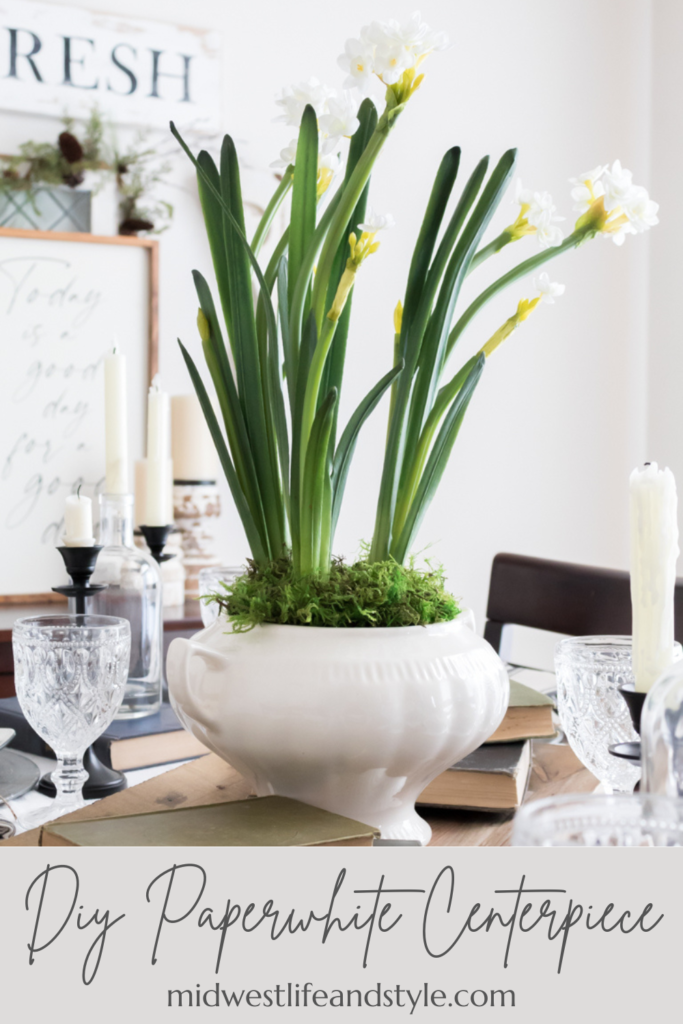
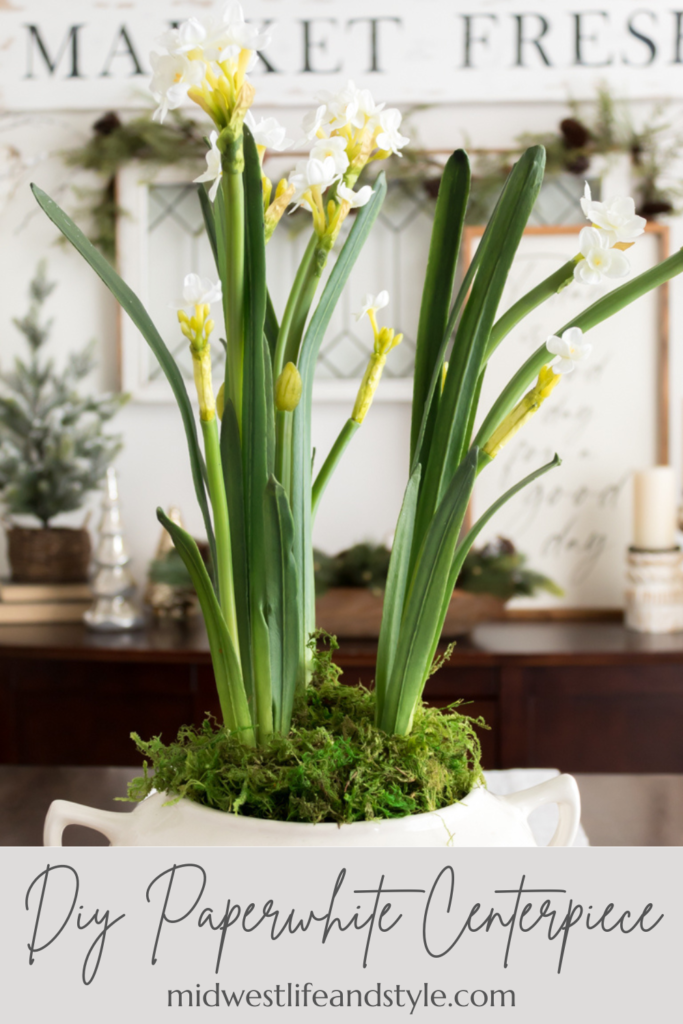
If you need a bit of a winter pick-me-up, try making a simple 10-minute centerpiece with Spanish moss and some faux paperwhites.
*As an Amazon affiliate, I earn from qualifying purchases at no extra cost to you. My blog contains other affiliate links as well for your convenience. To learn more, you may read my Disclosure Policy. Thank you for supporting my blog!
Make A Simple Winter Centerpiece With Paperwhites
After what seemed like an extremely looooong and gloomy month of January, it’s safe to say I’ve reached the ” totally over it” stage of winter.
So, today I’m sharing how to make a simple 10-minute centerpiece with beautiful paperwhites that will help chase away the winter blues.
Tools & Supplies
- Vase or Vessel for Centerpiece
- Faux Paperwhite Flowers
- Floral Foam
- Craft Scissors
- Brown Craft Paper
- Spanish Moss
Shop The Post
Shop from the supply list below to make your own centerpiece.
How To Make A Simple Winter Centerpiece With Paperwhites
The best thing about this DIY is that it’s so easy anyone can do it. Really! I promise. Even those of you self-described non-crafty friends. This one’s for you!
Step 1 : Add Vase Filler
First, before adding any filler, you need to pick out a pot or vase to use as the base for your centerpiece. I always suggest shopping your home first to see what you have lying around.
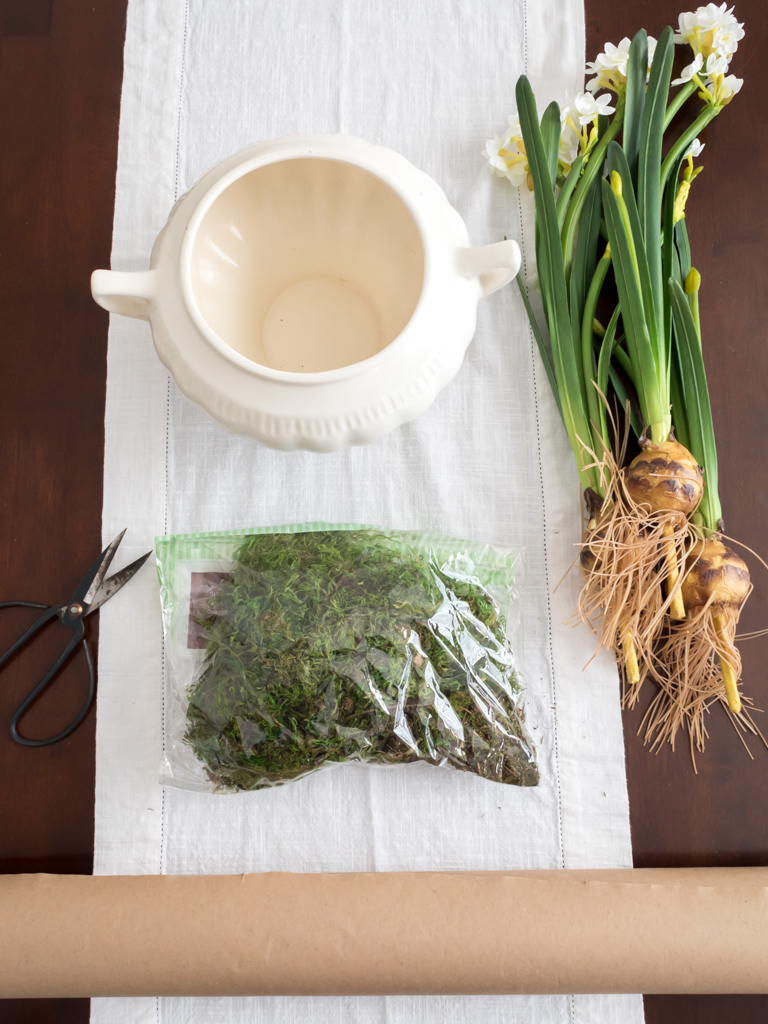
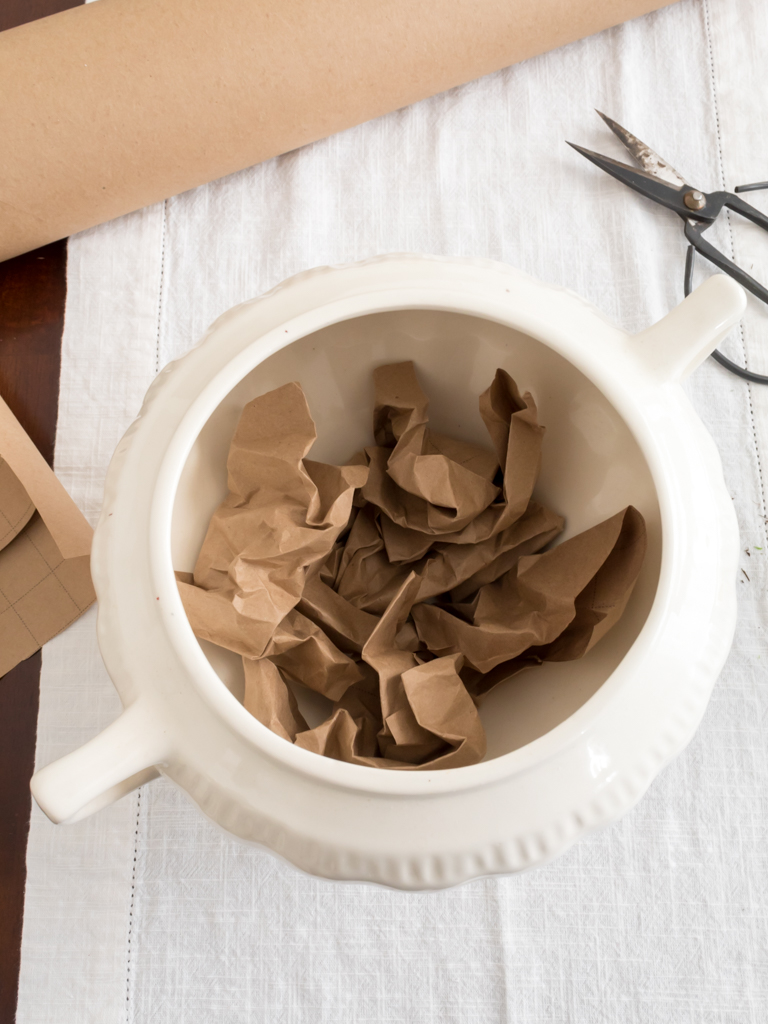
I love to use repurposed, vintage pieces. And this thrifted soup tureen has become a favorite of mine over the years. It’s not a traditional vase or flower pot, but the shape and size are perfect.
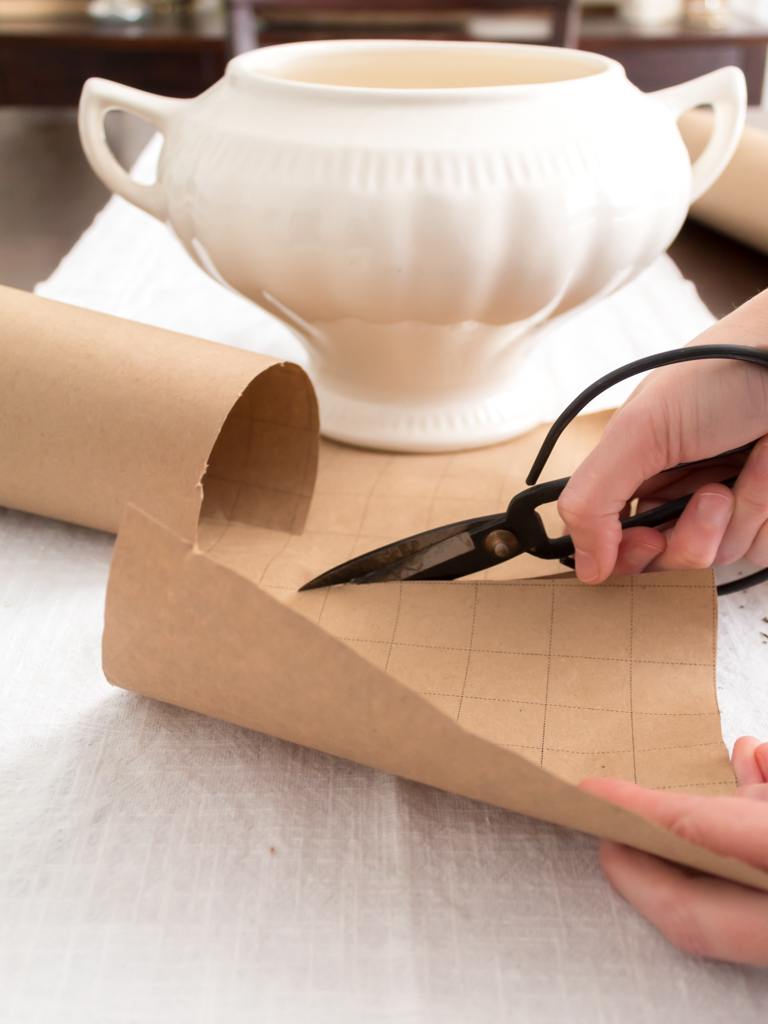
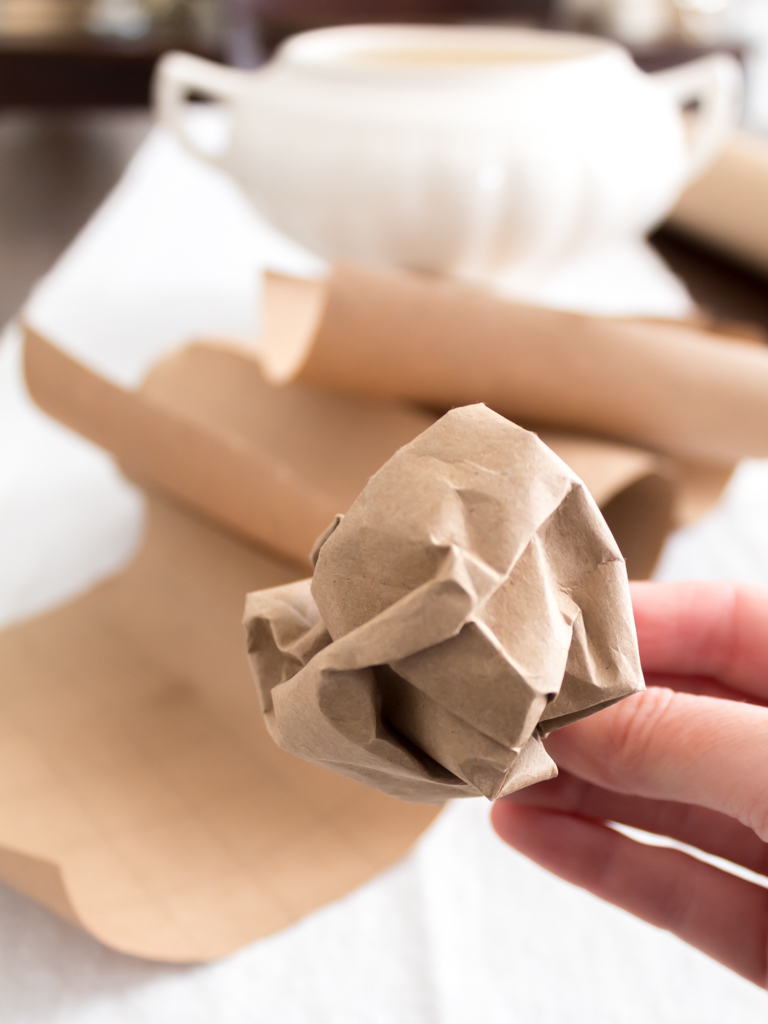
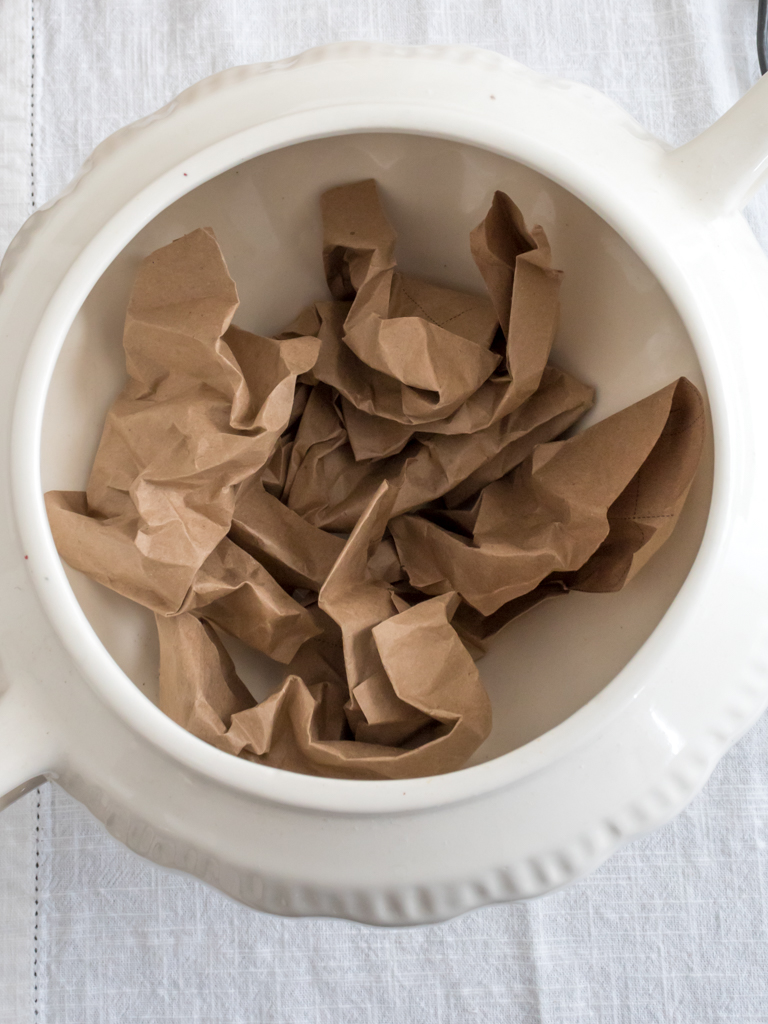
Once you have picked out your vase, cut and crumple several pieces of brown craft paper to fill the space in the bottom of your centerpiece.
Tip: Brown craft paper is a cheap and easy filler for projects like this, but if you don’t have any plastic bags or old newspaper will work too.
Step 2 : Arrange Paperwhites
After you have added some filler, it’s time to arrange your paperwhites. I used three faux paperwhite bulbs for my centerpiece. The number you use will depend on the size of your container.
Here is where I pause for a quick and honest disclaimer.
I try to keep all the crafts and DIYs I share as affordable as possible. So, at around $30 each, these bulbs are a bit of an investment.
But after seeing a similar arrangement online at Pottery Barn for a whopping $349, I decided they were an investment worth making. These paperwhites look so realistic, and I know they will last for many years.
A DIY Oops
And here is where I share my second moment of honesty with you. A bit of a DIY oops if you will.
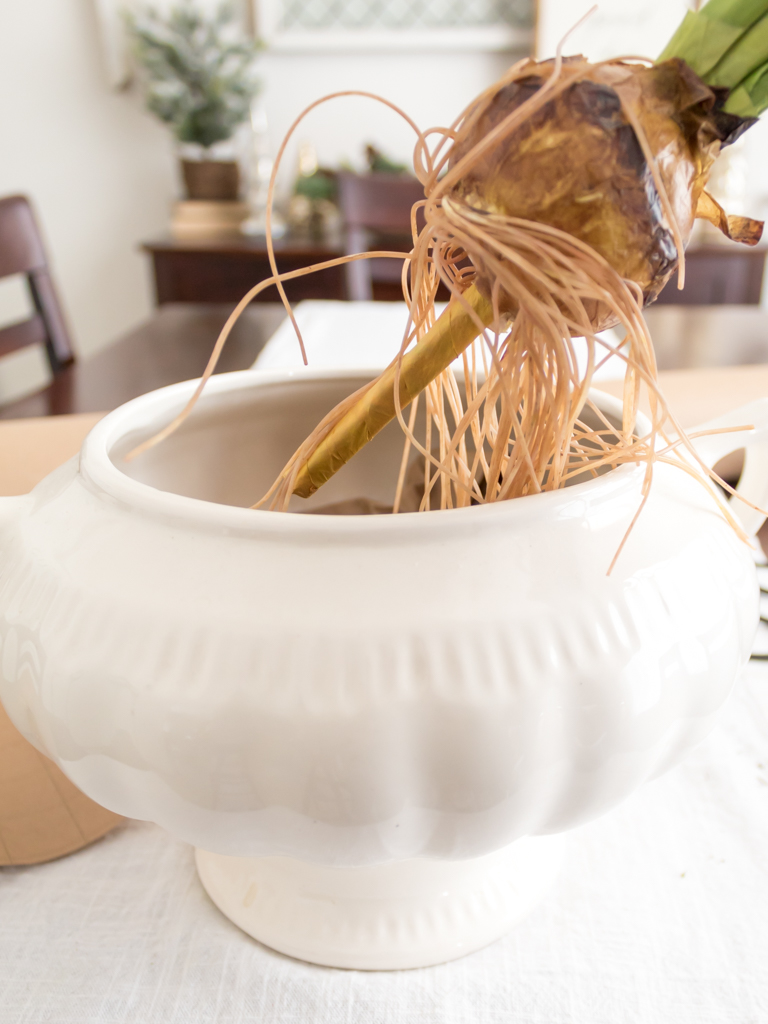
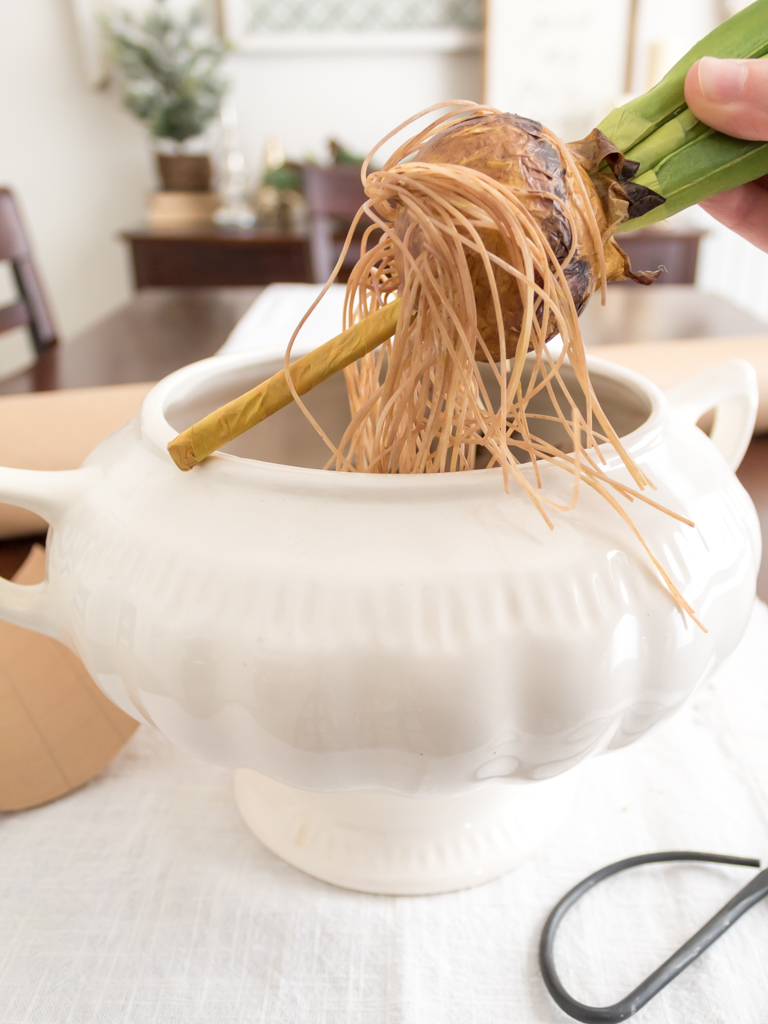
What I didn’t realize until I started photographing my centerpiece is that each paperwhite has a thick wire stem on the bottom of the bulb. They wouldn’t stand on their own without more support.
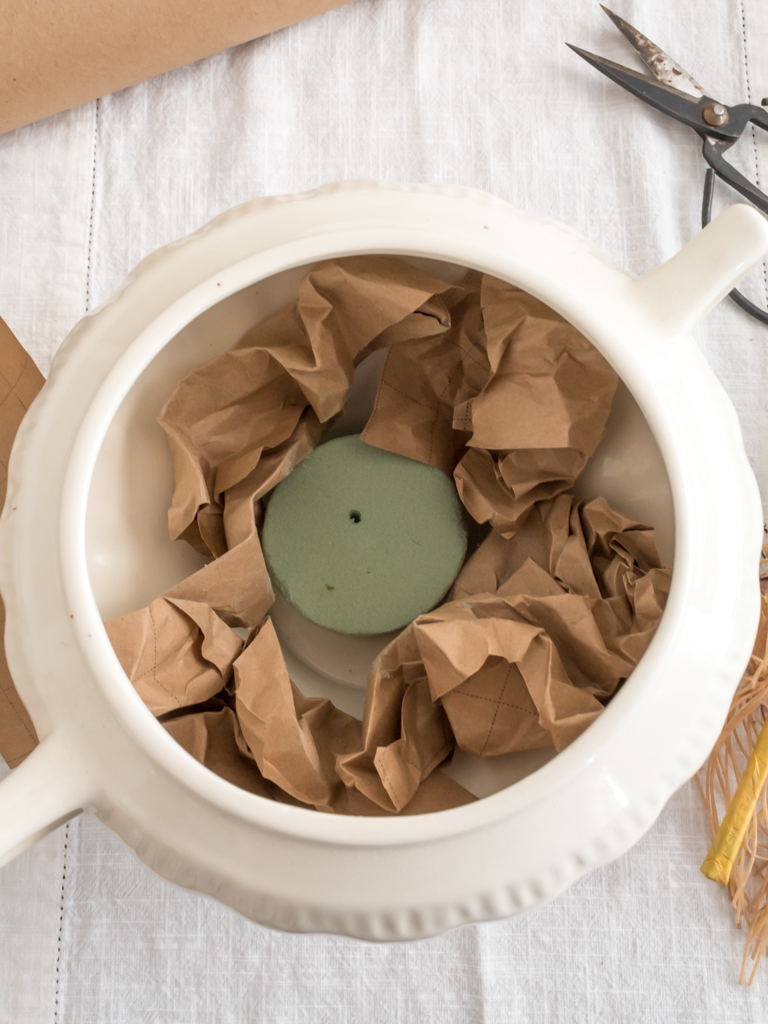
Luckily, a bit of floral foam was all I needed. If your paperwhites are similar to mine, one piece of foam placed in the bottom of your vase should be all you need.
My piece was a bit on the small side, but it was what I had, so I made it work.
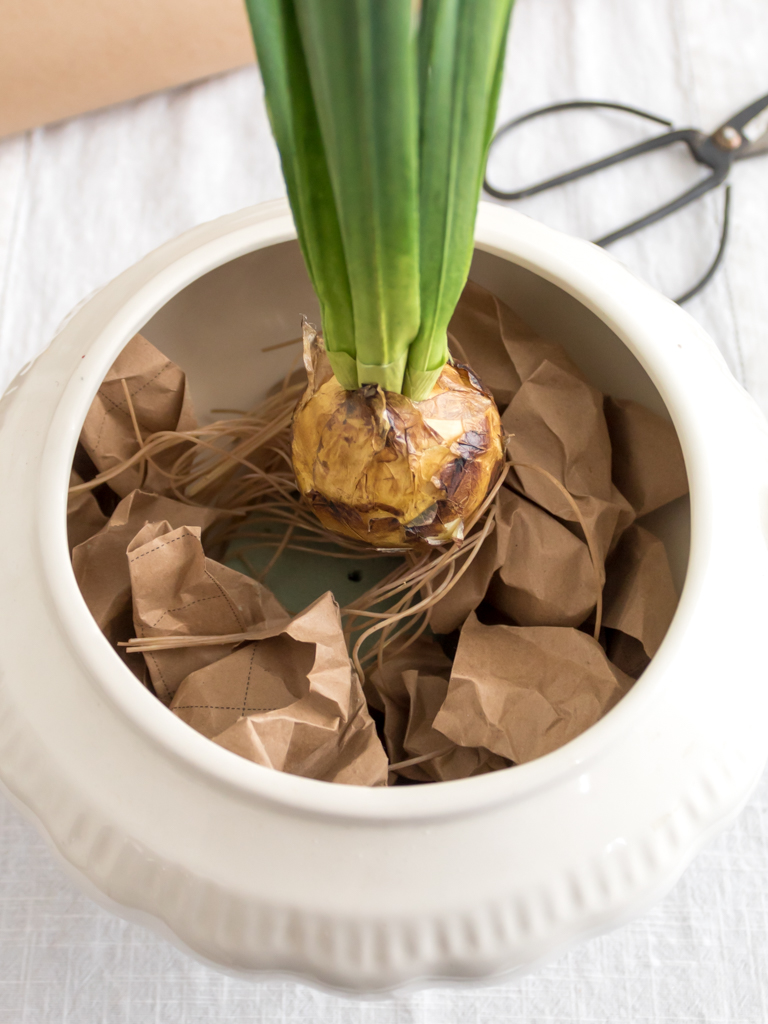
Firmly push each stem into the foam until the paperwhite bulb is secure.
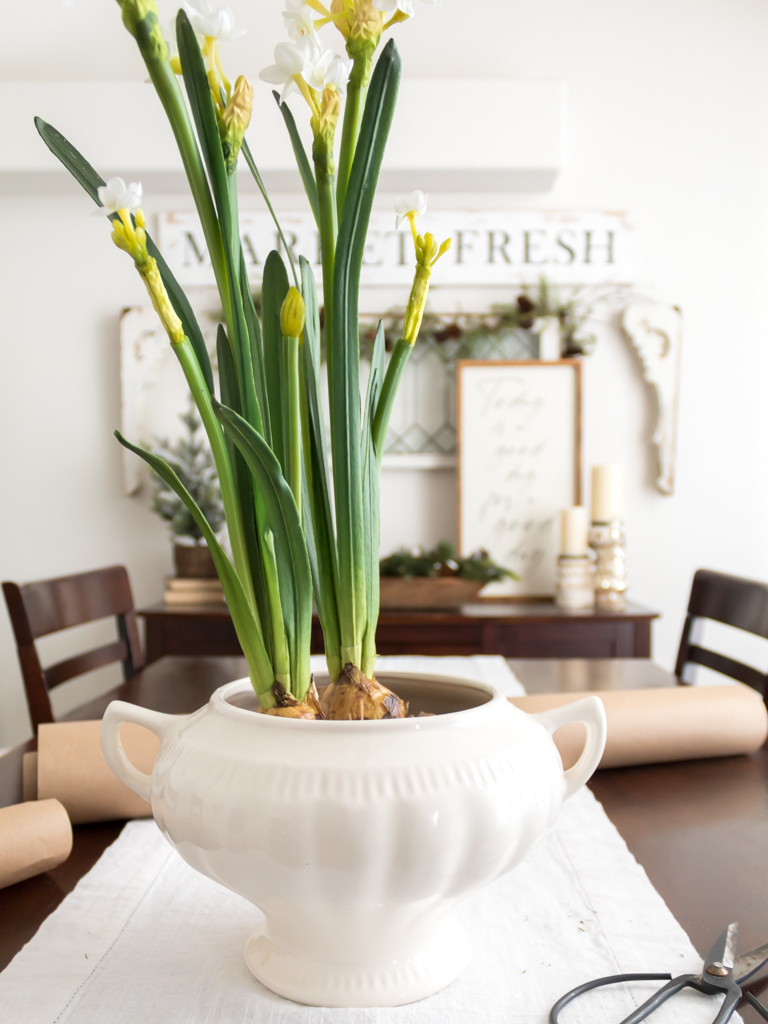
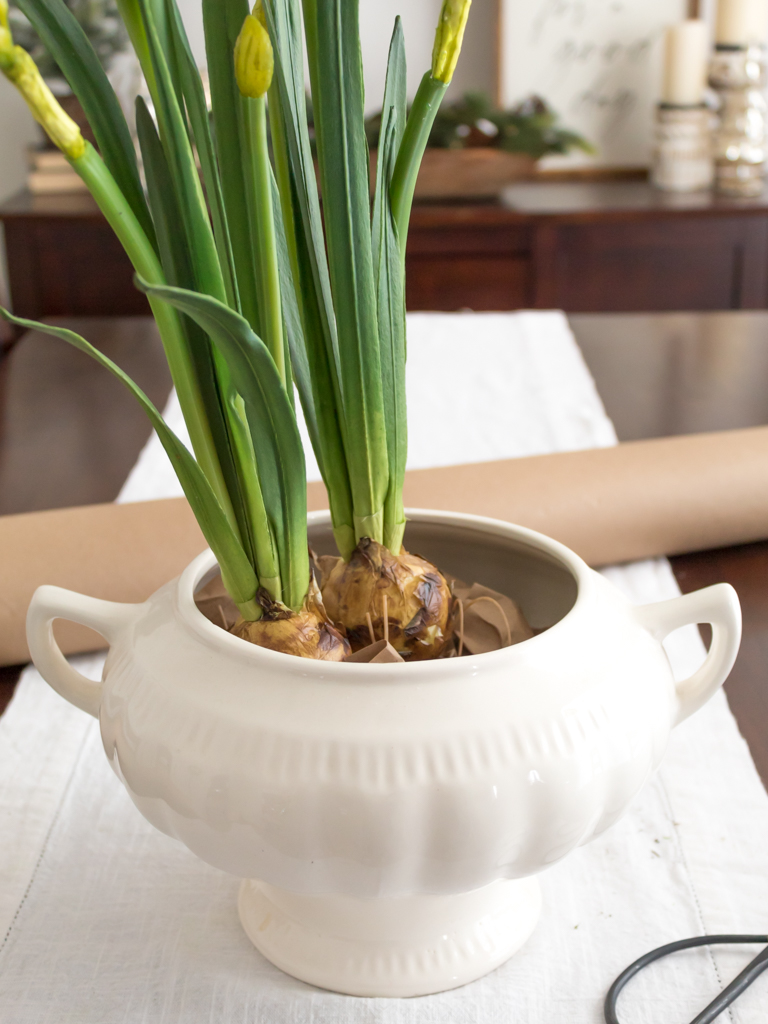
Then continue to add bulbs until you have an arrangement you like.
Step 3 : Add Additional Filler
After the paperwhites have been added, top off your winter centerpiece with some additional brown craft paper filler.
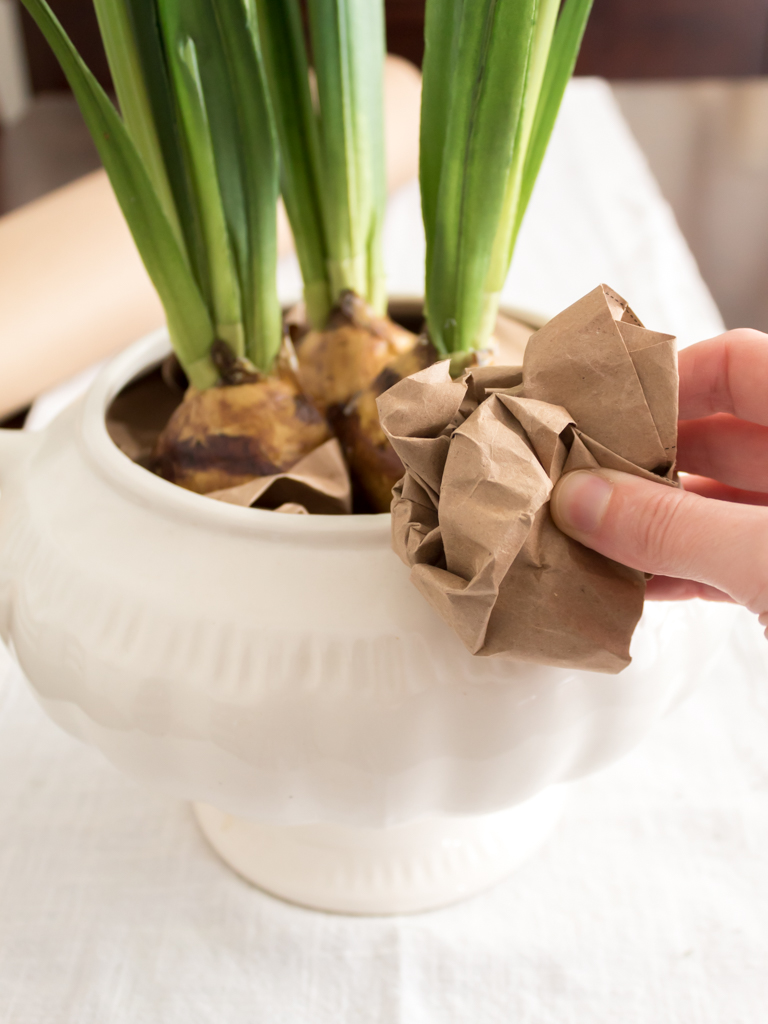
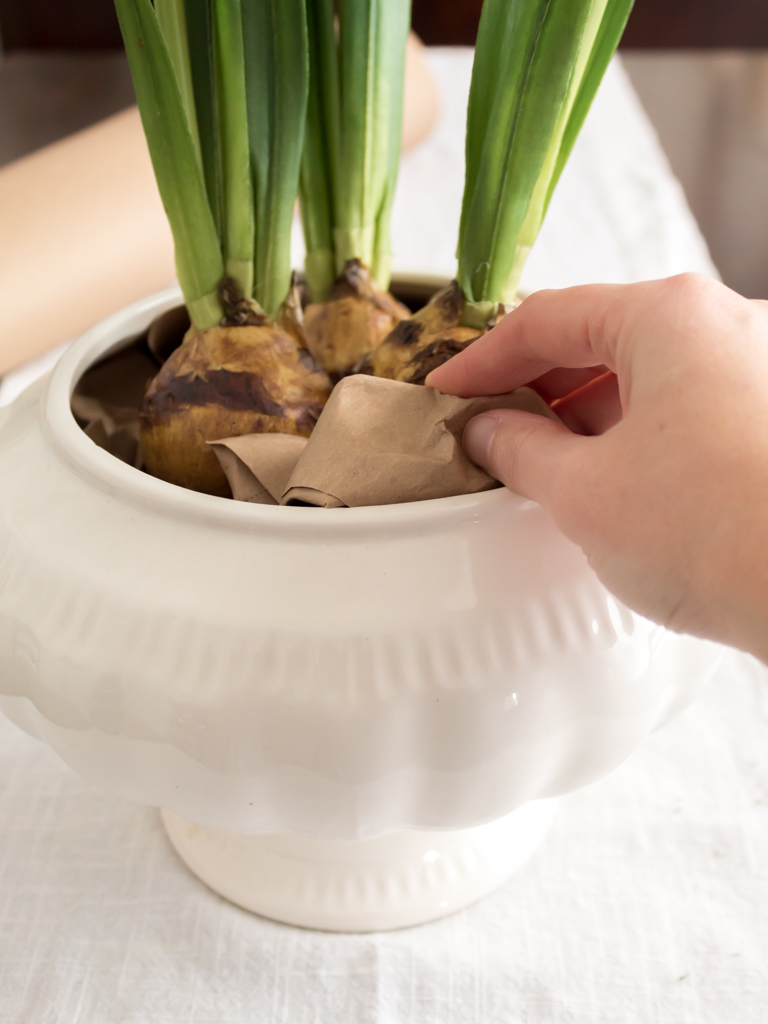
Not only does the filler help securely center the paperwhites, but it also serves as a base for the moss (that you’ll add next in step 4).
Step 4 : Top Vase with Moss
To finish your winter centerpiece, cover the filler and paperwhites with Spanish moss.
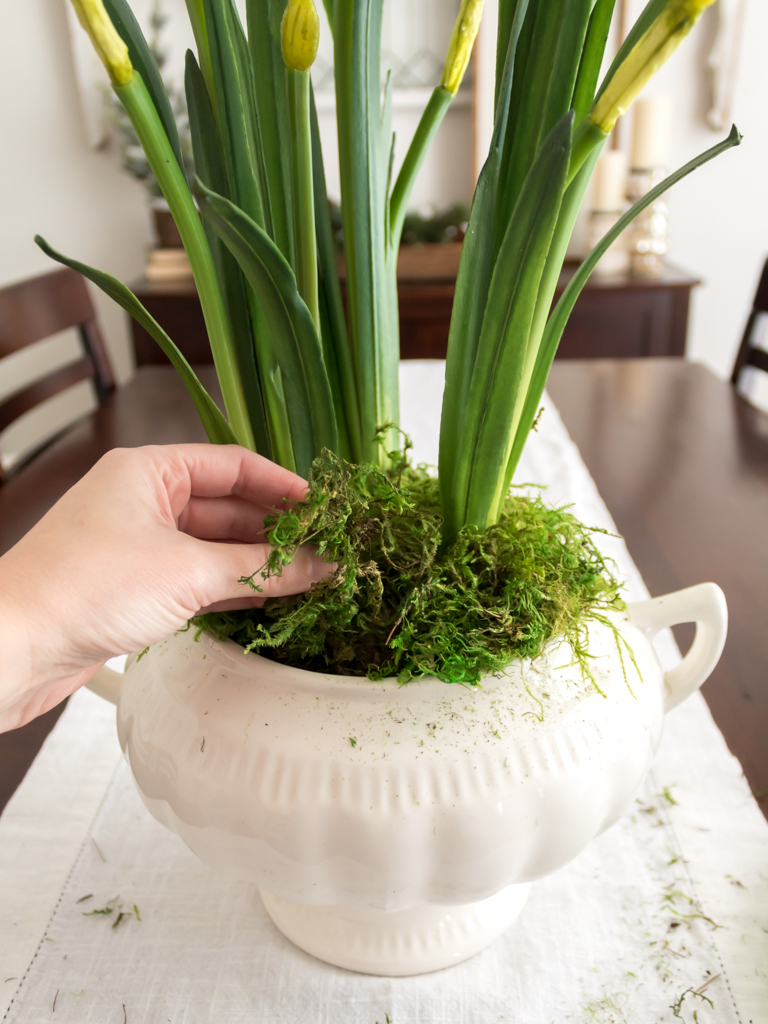
You can use a green-colored moss like I did, or a more neutral color if you prefer.
Lightly tuck it in and around each bulb, and turn your centerpiece as you go to ensure the filler is completely covered.
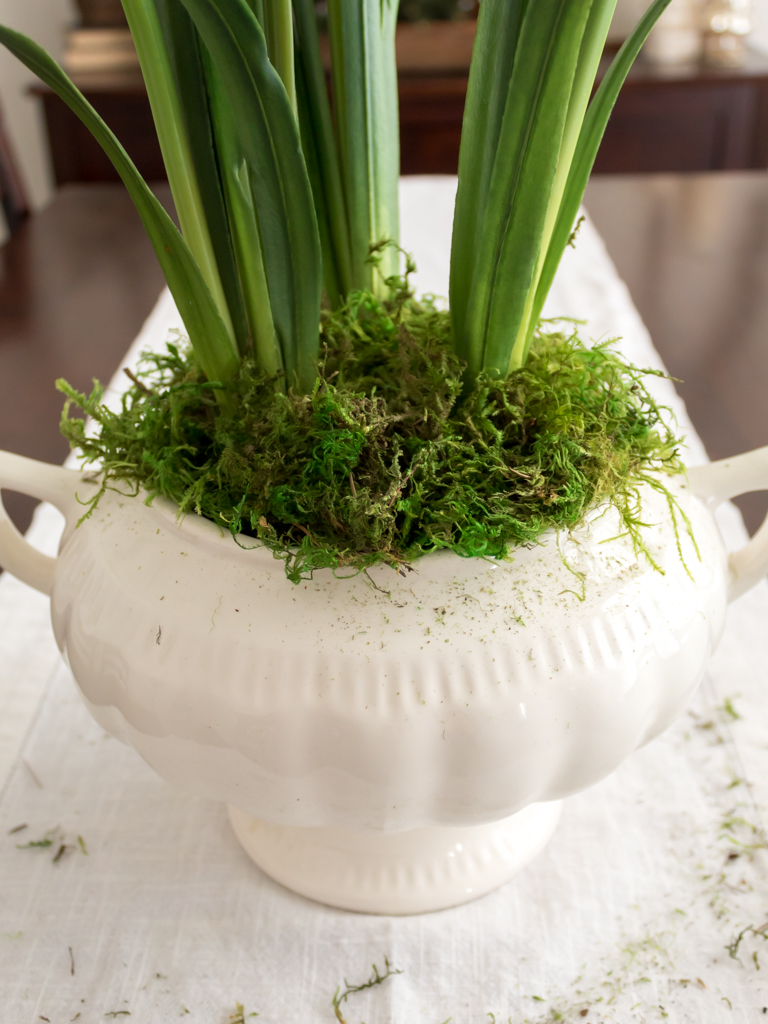
And that’s all there is to it! See, I told you it was easy!
How To Display Your Finished Centerpiece
I hope this centerpiece brings you joy and the beautiful paperwhites helps chase away the winter blues. I know they have helped bring a smile to my face…the perfect reminder that spring is on the way. Hallelujah!
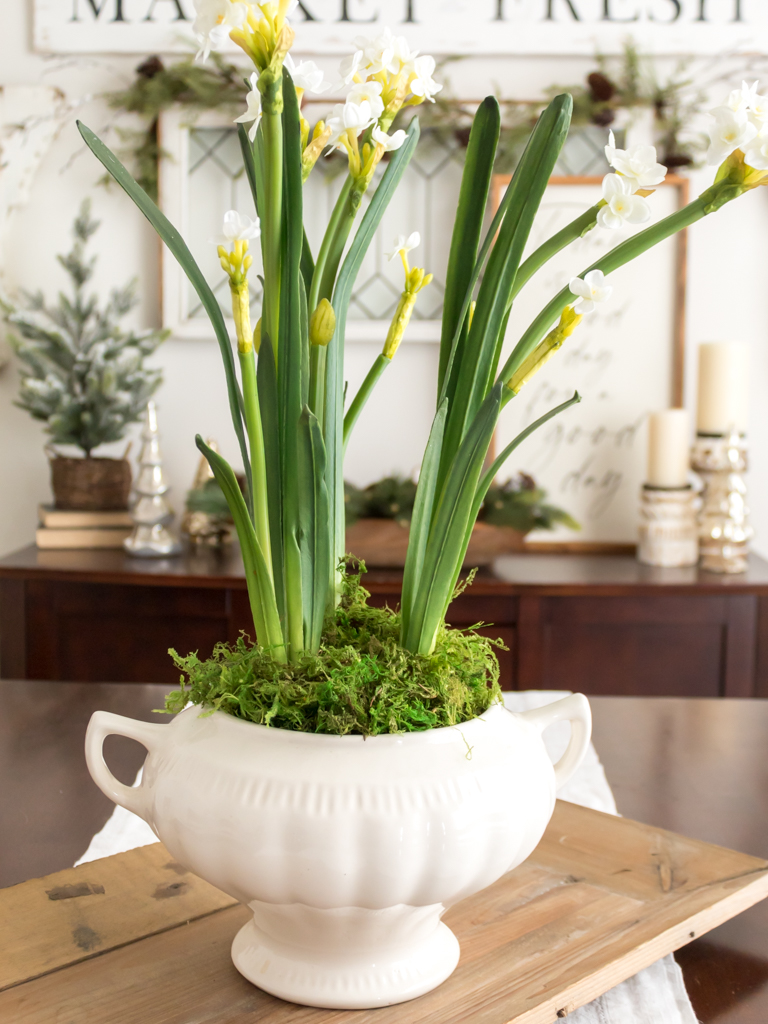
Now that your centerpiece is done, it’s time to find a place to display your winter paperwhites.
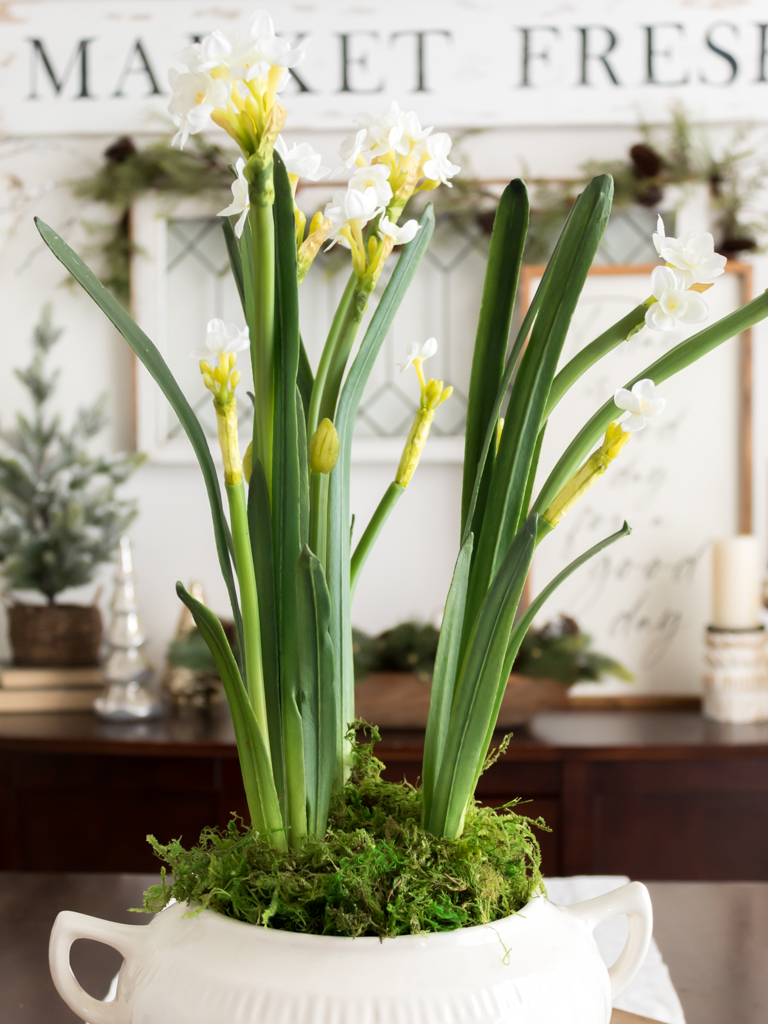
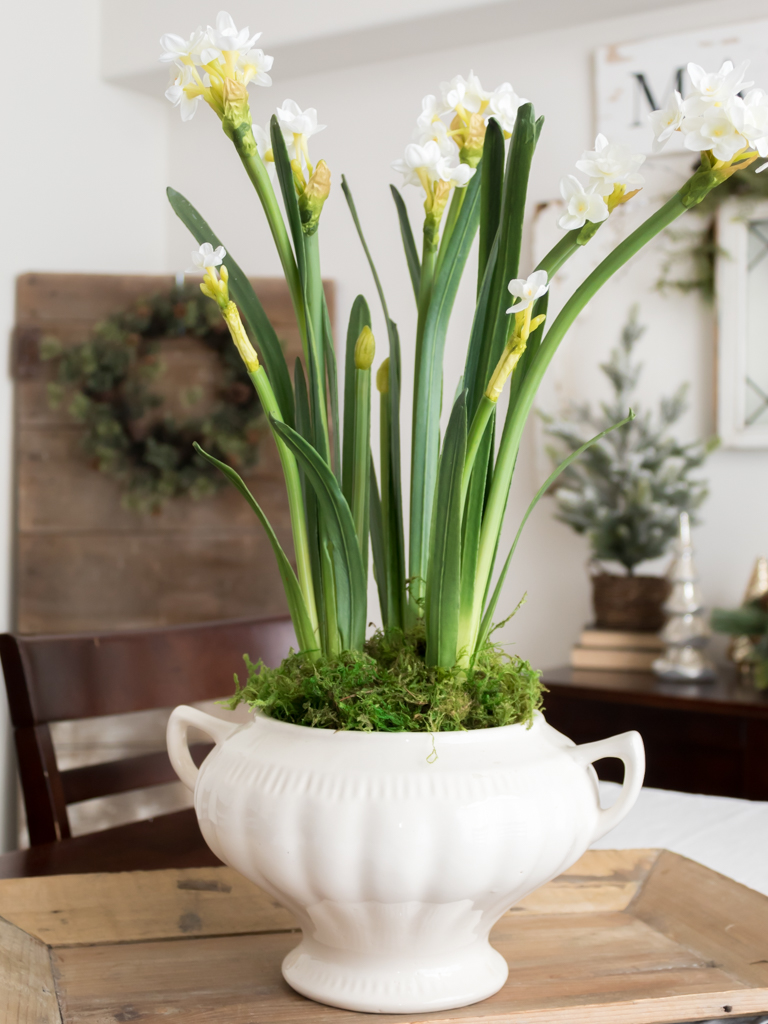
The centerpiece was the perfect finishing touch for my book club brunch tablescape.
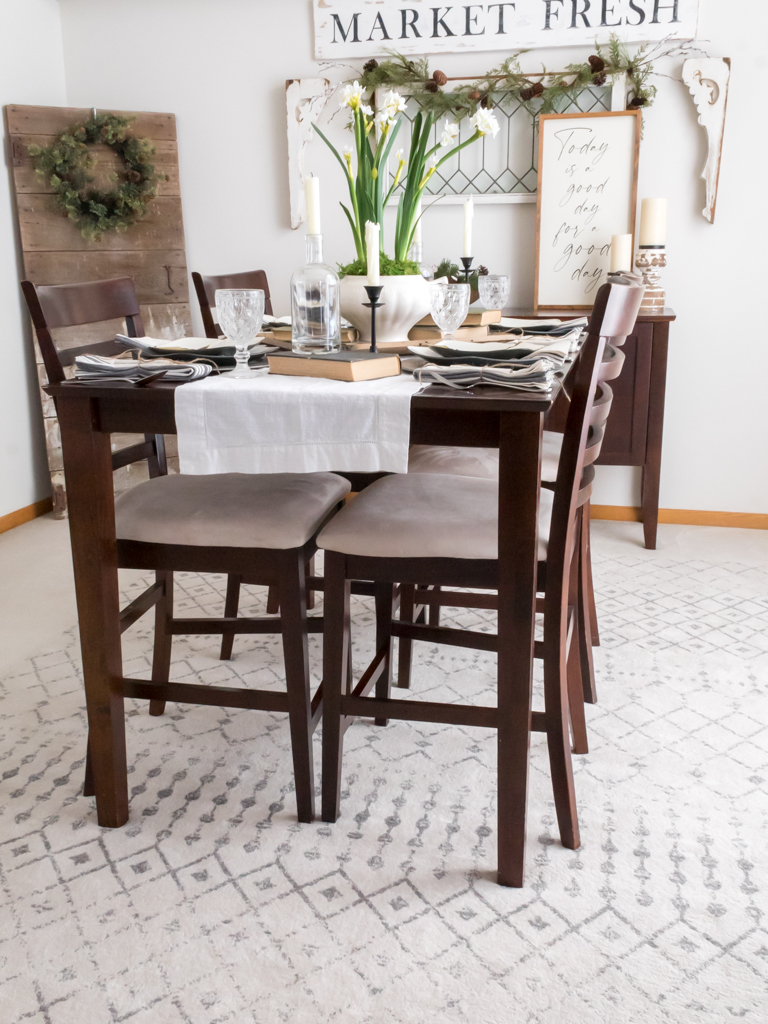
I styled my arrangement with a rustic wood tray and a few vintage books, but the centerpiece is pretty enough on its own that it can be displayed as is.
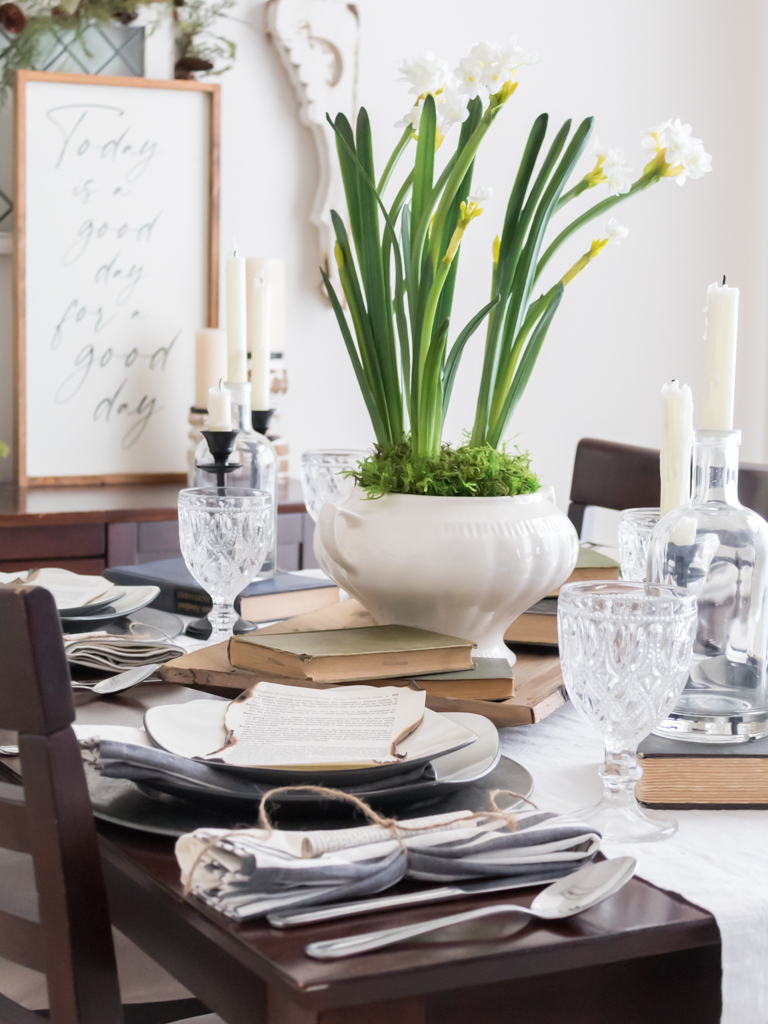
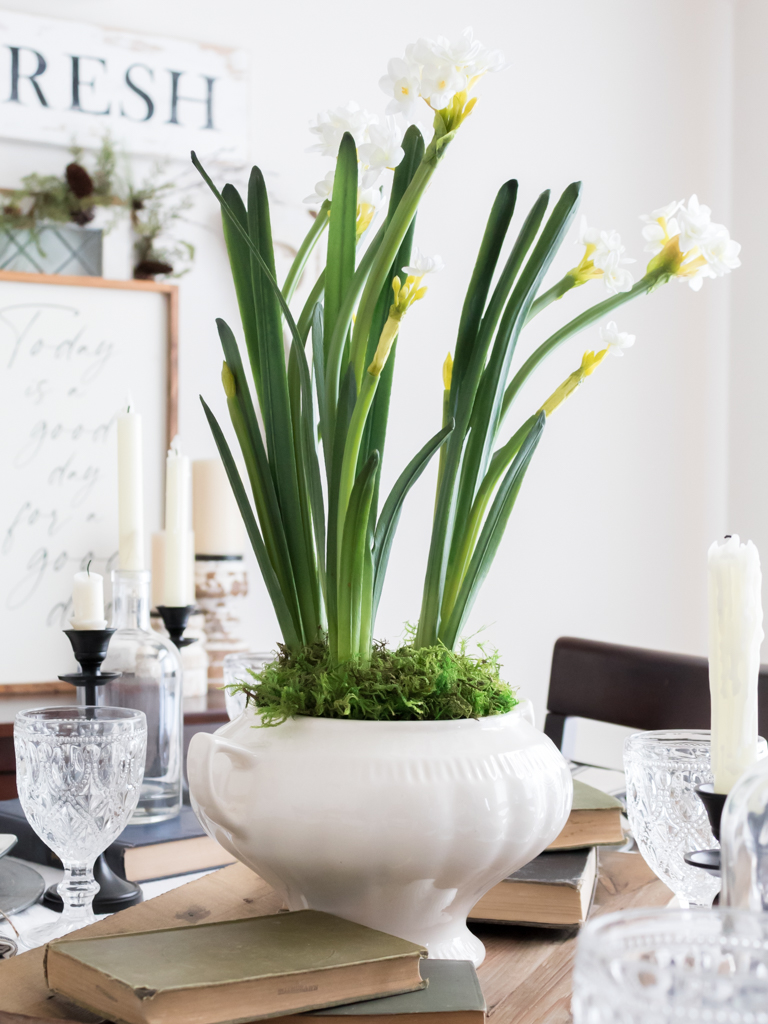
It would also look pretty styled on a coffee table or console table as part of a vintage-style vignette.
More Simple Centerpiece Ideas
Looking for even more fast and easy centerpieces? Here are a few of my other favorite winter creations
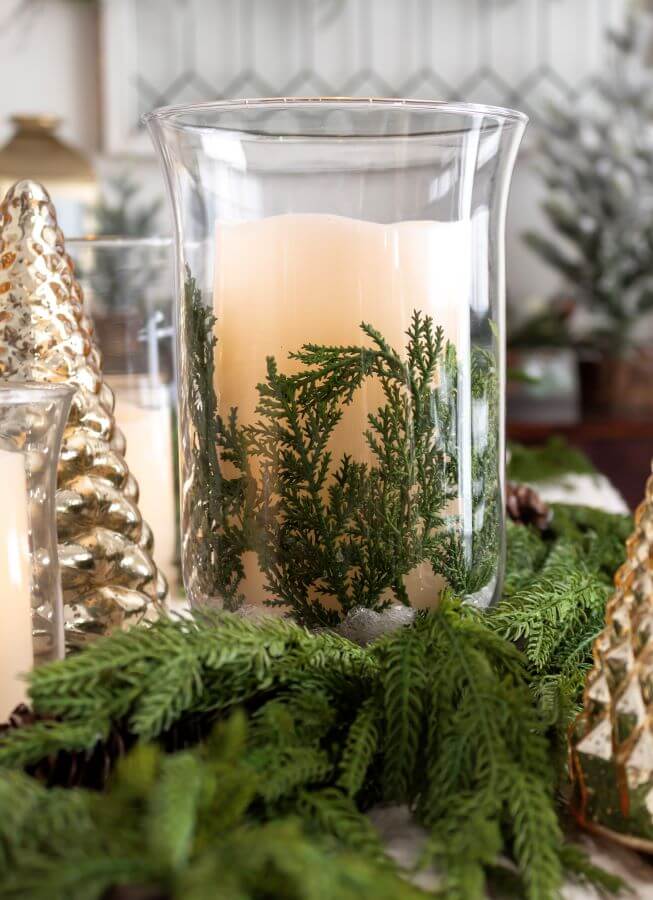
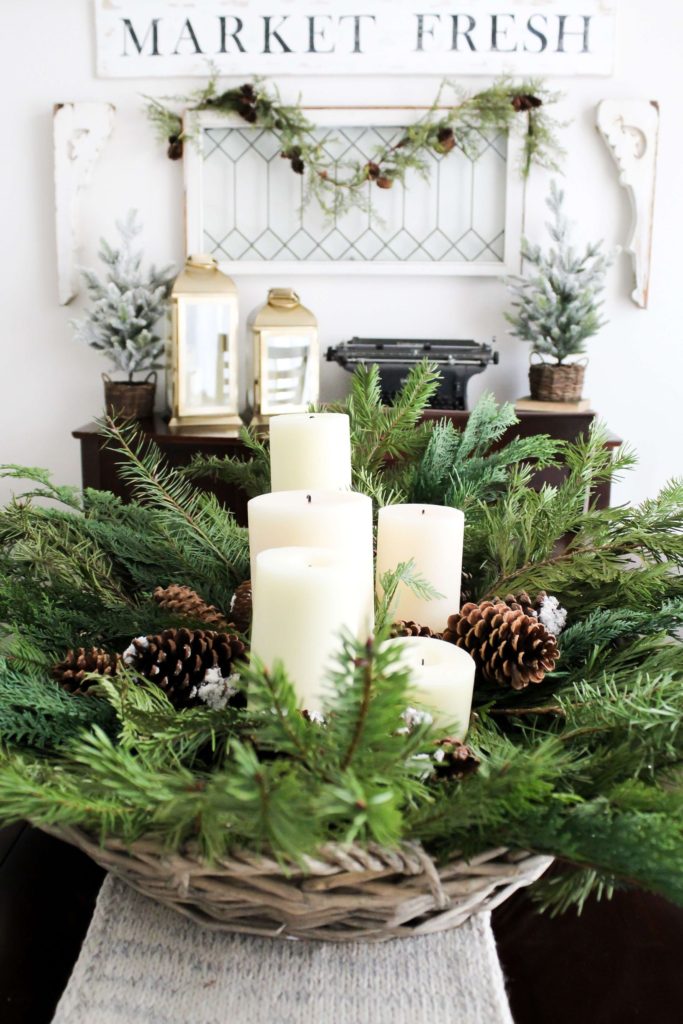
Hurricane Candle Holder with Epsom Salt // Centerpiece with Greenery and Pinecones
And, if you have spring fever like I do, here are a few ideas for the upcoming season.
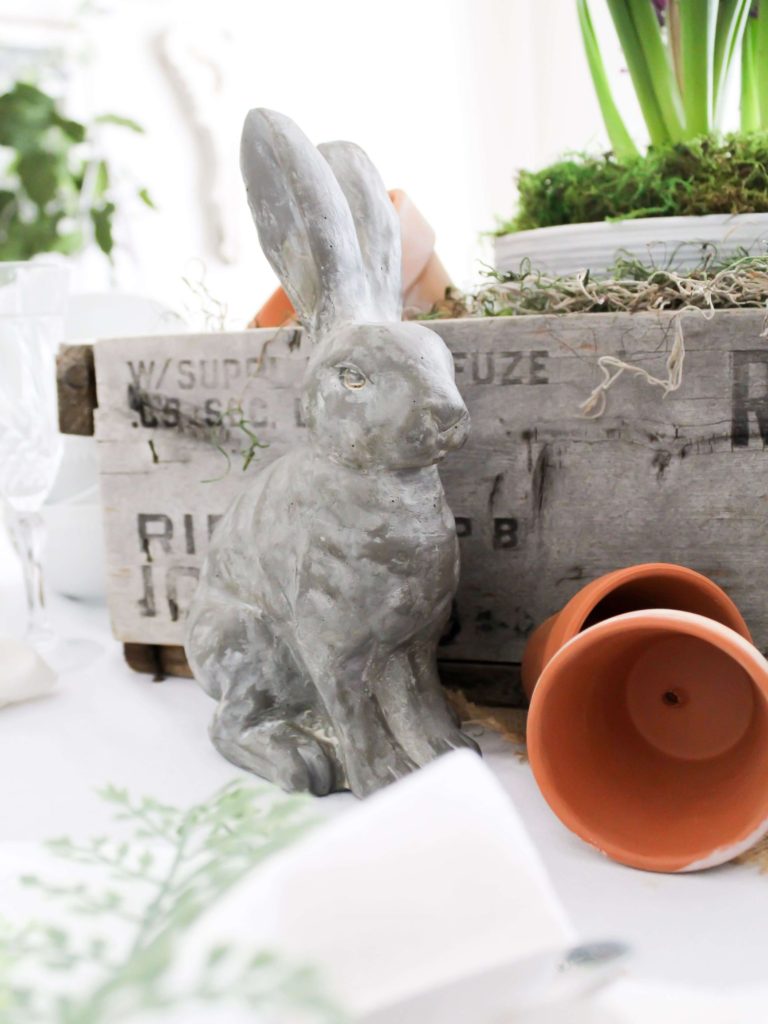
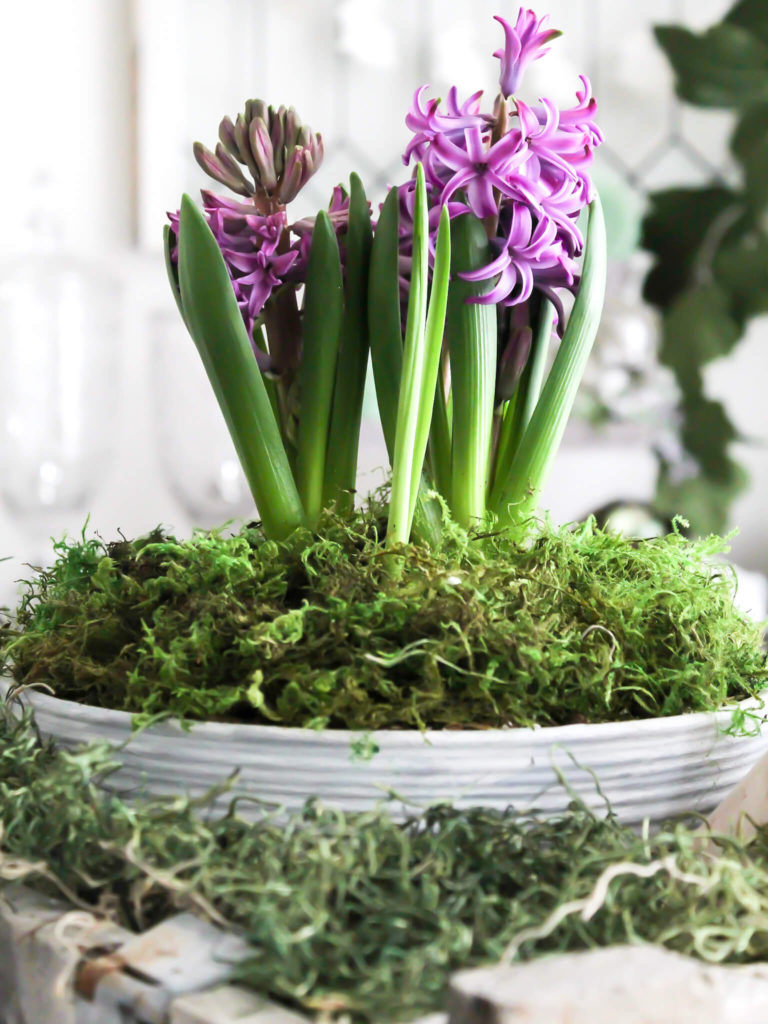
Spring Garden Tablescape // DIY Spring Planter
As always, thanks so much for stopping by! f you have any questions or thoughts about this DIY, I’d love to hear from you. Just drop a message in the comments below.
Until next time!

Did You Enjoy this Post? PIN It for Later!



Such a pretty centerpiece, Jen! I’ve always wanted to grow them and just never have. Next year for sure!
Thank you, Kim. I’ve thought about growing them too, but my track record with indoor plants isn’t the best. These faux bulbs were a great alternative. And I love how realistic they look!
This is such a great idea Jen! I love how easy it is to make a really pretty centerpiece. Have a great weekend!!!
Thank you, Heidi. I hope you enjoy your weekend too!
Wow! It’s so pretty!! First, I adore that soup tureen. That is gorgeous. Second, those paper whites look SO REALISTIC! Holy cow. I love the moss layer on top. What a perfect centerpiece for Spring!!
Thank you so much, Rachel. It’s the perfect centerpiece to transition from winter to spring. I’m definitely over here dreaming of warmer and sunnier days.