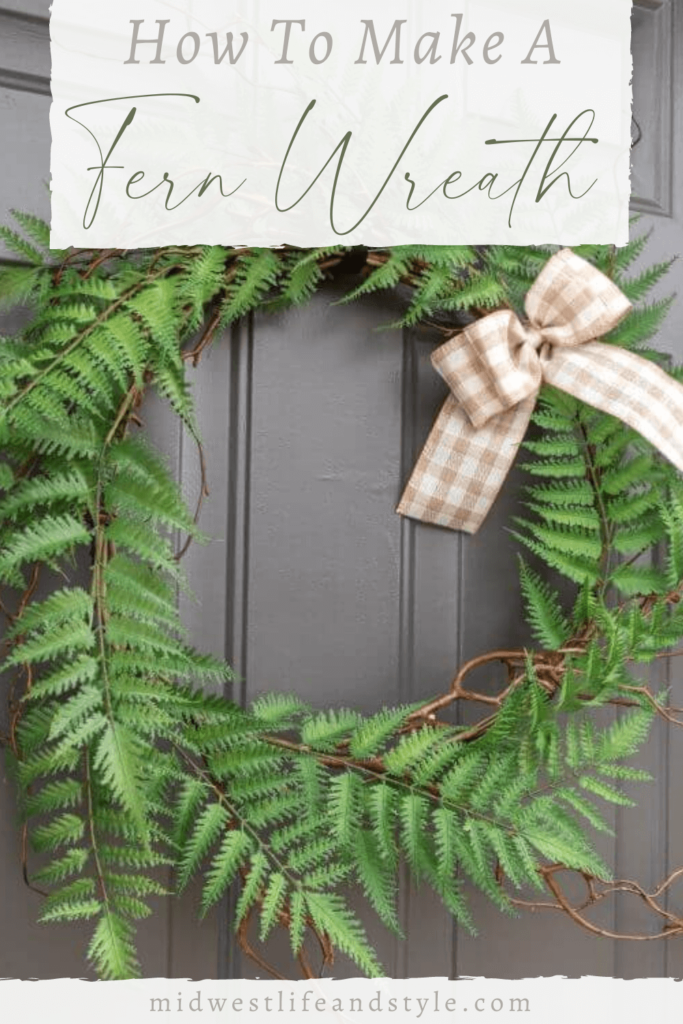
DIY your way to a beautiful home with ease. Learn how to make a fern wreath to spruce up your front porch for springtime.
*As an Amazon affiliate, I earn from qualifying purchases at no extra cost to you. My blog contains other affiliate links as well for your convenience. To learn more, you may read my Disclosure Policy. Thank you for supporting my blog!
Spring Decor Inspiration
Spring is in full swing, and today I’m excited to join 12 friends to bring you ideas and inspiration for the season. Each friend is incredibly talented. I hope you’ll take a bit of time to visit their blogs to see all of the unique ideas they shared. You can find all of the posts from today’s spring decor blog hop linked at the bottom of the page.
I also want to say a big thank you to Pasha at Pasha Is Home for hosting us. Pasha has a beautiful home, and I enjoyed reading all of her tips for how to add hints of spring to your kitchen. If you haven’t stopped by her post yet, head over and say “hi”.
And to my friends, both old and new, thank you for being here! It’s always an honor when you choose to spend time with me here at MWLS.
If this is your first visit to Midwest Life and Style, welcome! You can learn more about me and my blog [HERE].
And, if you love all things home as much as I do, be sure to join me and become an MWLS insider. When you do, you’ll get all of the latest DIYs, recipes, and home decor projects sent straight to your inbox.
As a bonus, you’ll also get access to my library of free printables. Just enter your information above to subscribe.
How To Make A Fern Wreath For Springtime
Have you ever seen something online or in a store and thought, “I can make that”?
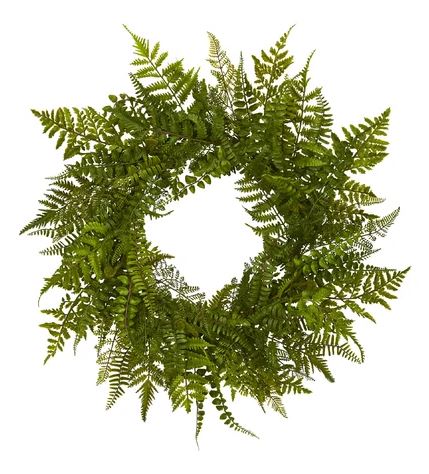
I fell in love with this fern wreath I found from a popular online retailer. But I did not love the price!
Today I’m going to show you how to make your own fern wreath for springtime in just three easy steps for a fraction of the price.
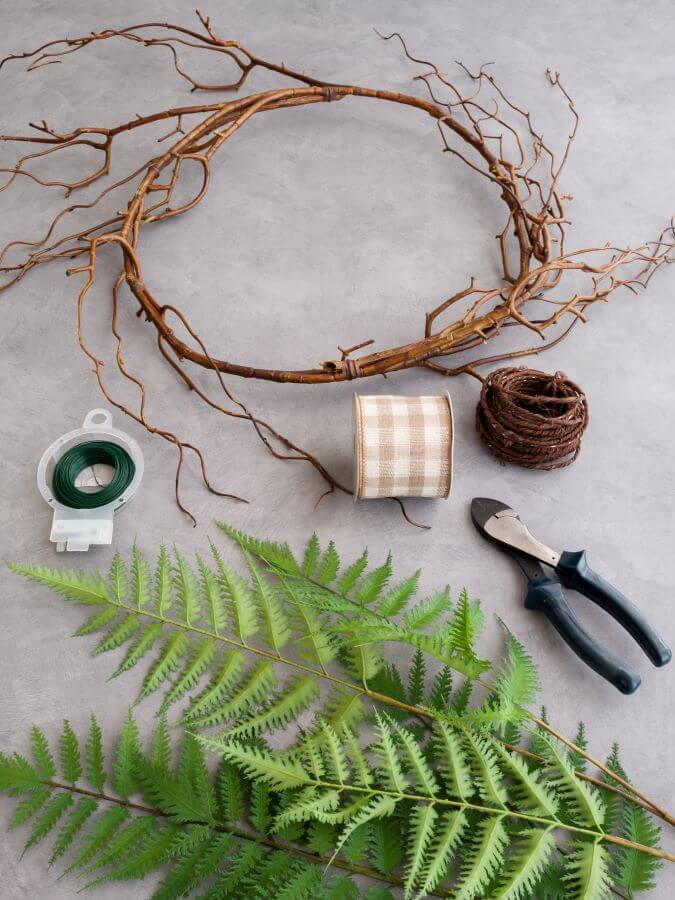
Supplies
- Twig grapevine wreath form. (I purchased mine from Hobby Lobby, but if you don’t have a store nearby, you can use this grapevine wreath.)
- Fern stems. (I’ve linked some similar fern stems here.)
- Floral wire
- Grapevine wire
- 2 and 1/2″ wired ribbon
Tools
- Floral wire cutters
- Hot glue gun
- Scissors
How To Make A DIY Fern Wreath
STEP 1: WIRE ON YOUR FERN STEMS
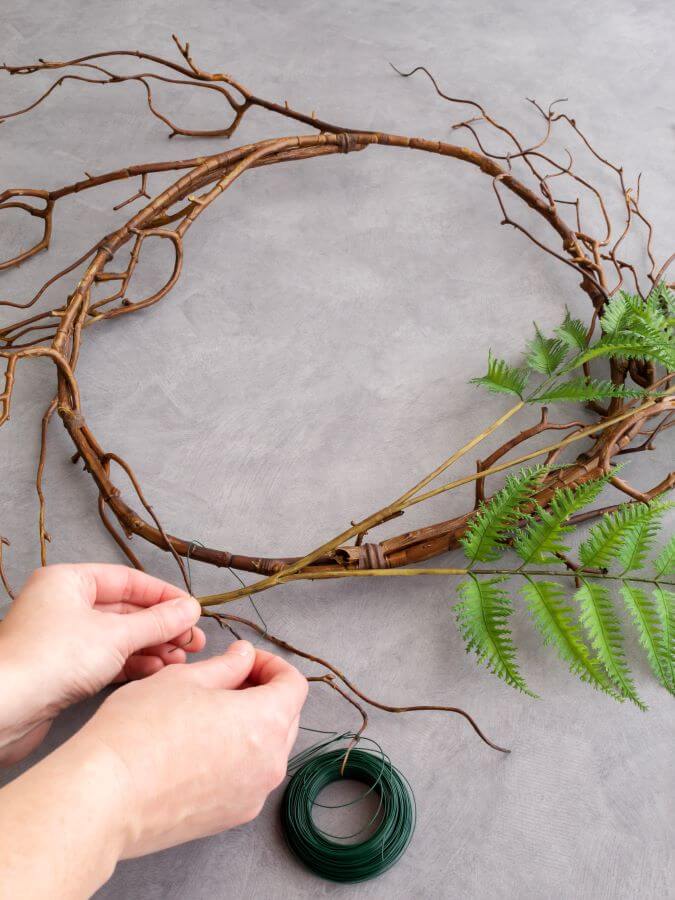
Lay the wreath form flat and place one of the ferns on top. Then, use some floral wire and tightly wrap it around the fern stem to attach it to the wreath.
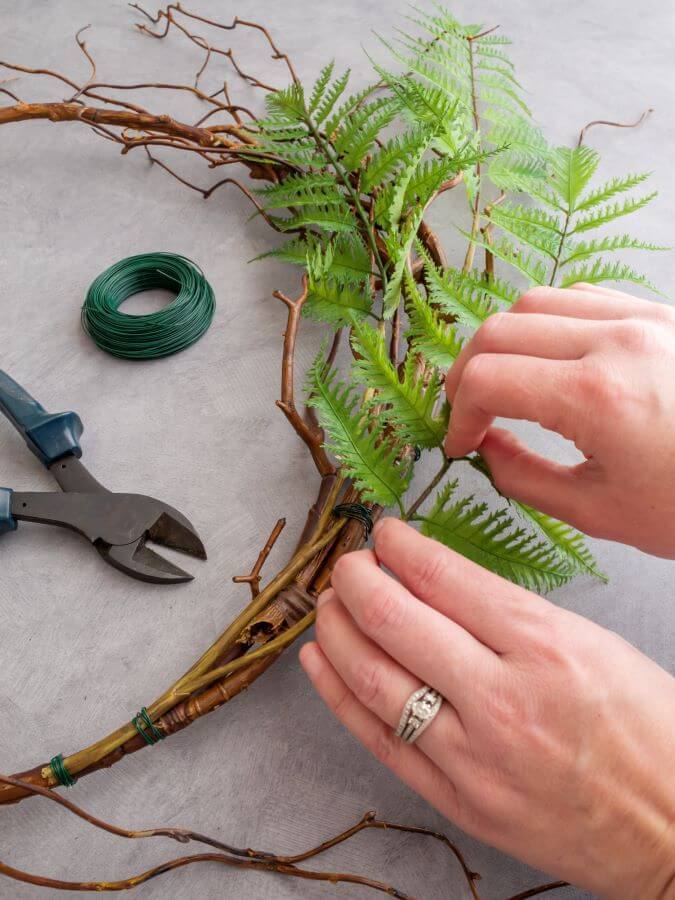
Gently bend and mold the stem of the fern. Add more wire to attach it securely to the wreath as you go. As you shape the fern leaves, keep in mind that you want them to look natural and follow the shape of the wreath.
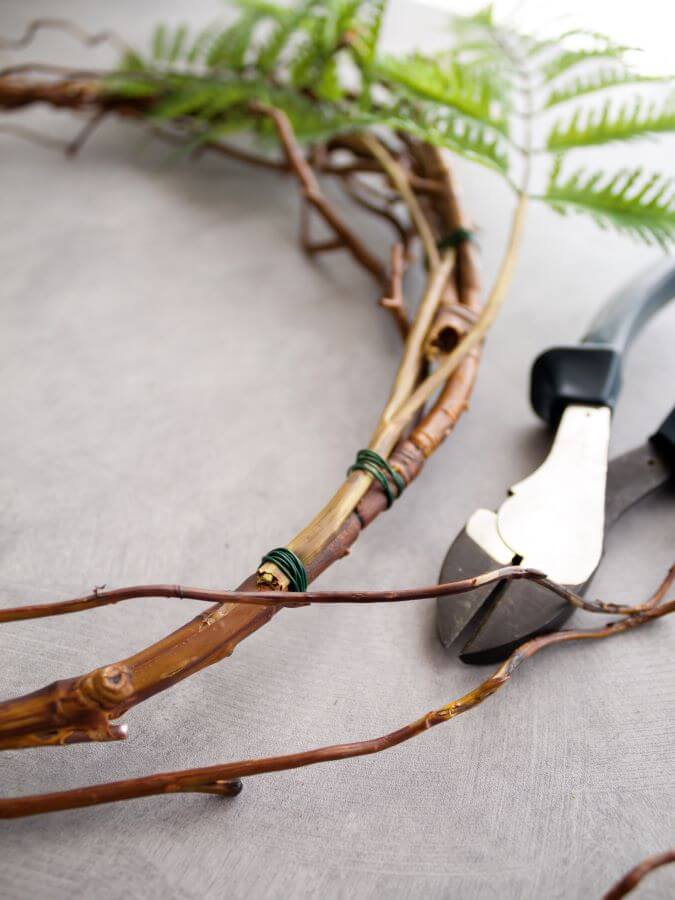
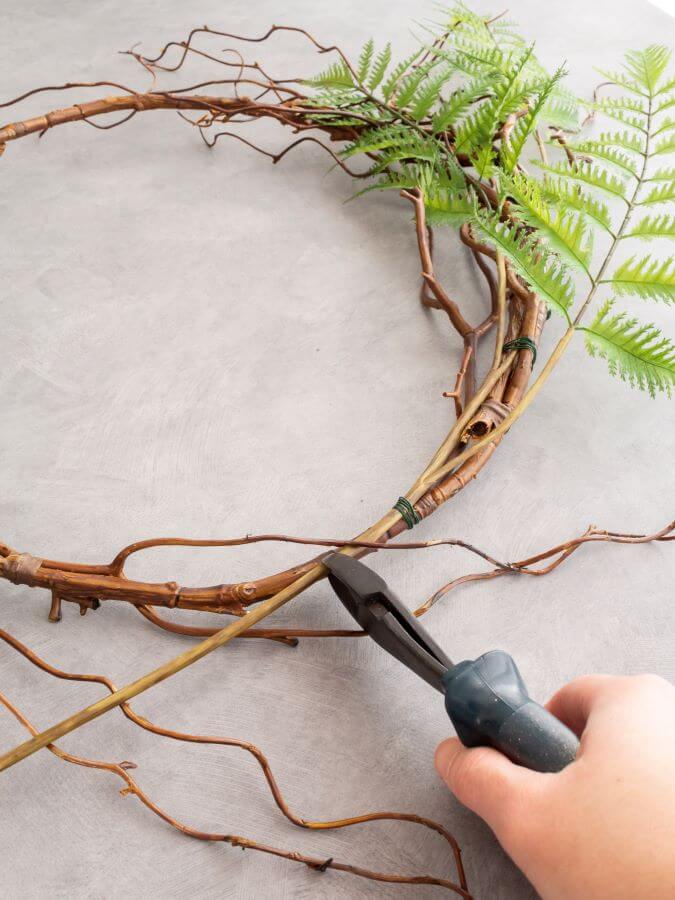
Once the first stem is attached, use some floral wire cutters to trim off the excess length of the stem.
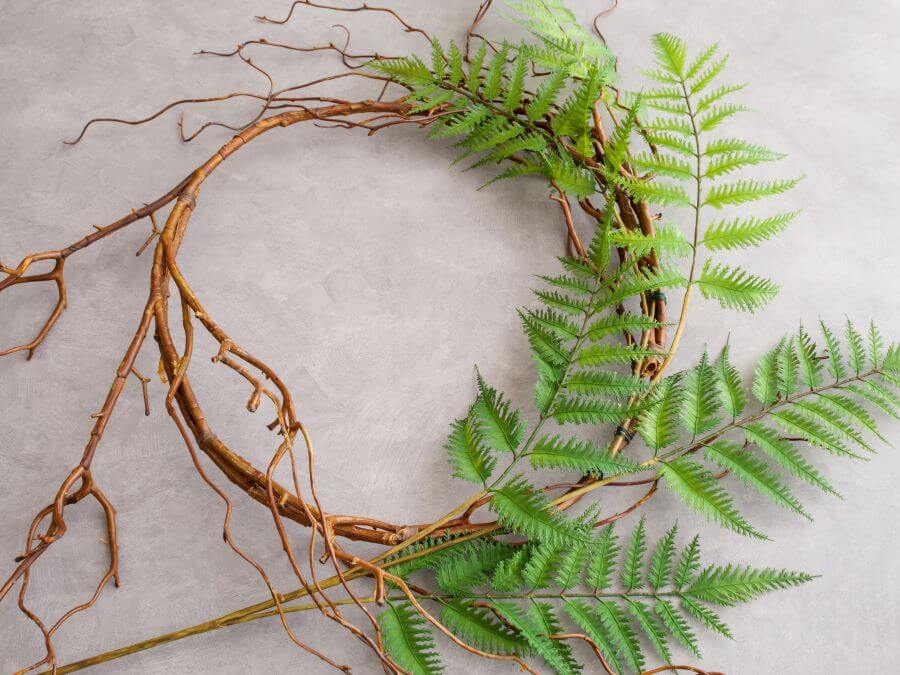
Place the next fern stem on the wreath and make sure the leaves of this fern overlap with the stem of the first one. This will help hide most of the floral wire and make sure your wreath looks full with no bare spots.
Attach the second fern with floral wire, and trim off the stem. Repeat this step until the wreath is covered with ferns. (I used 5 stems for my wreath.)
STEP 2: COVER THE FLORAL WIRE WITH GRAPEVINE WIRE
(*Note, that this step is optional, and you can skip it if you prefer. If so, simply move on to step 3.)
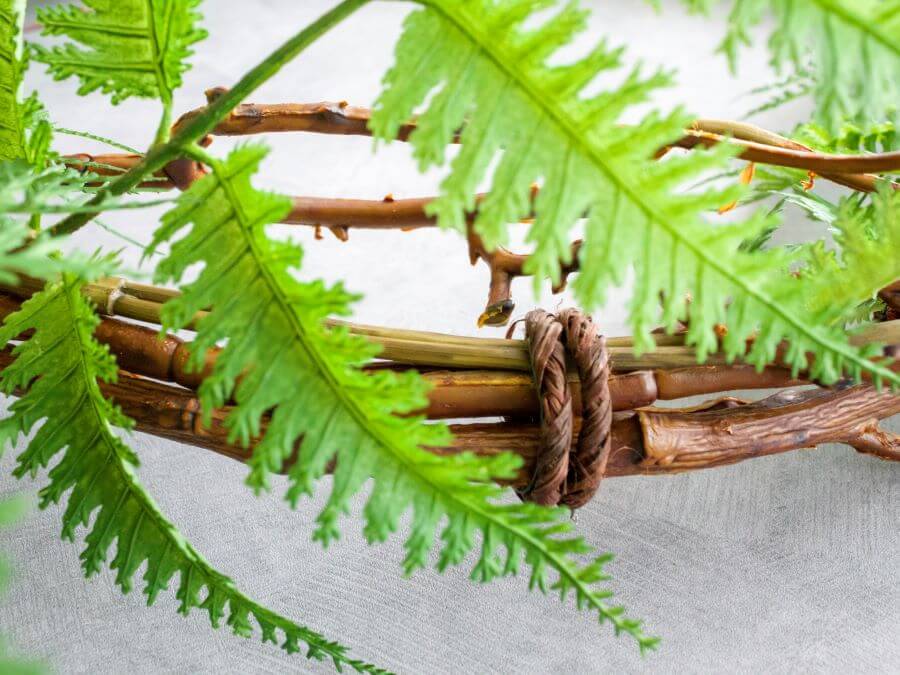
Once my fern stems were attached, I noticed some of the green floral wire peeked through a bit more than I would like.
The truth is no one would have noticed. But once I saw it, I couldn’t unsee it.
So I used some brown grapevine wire to cover it up. It blends in so much better with the wreath, don’t you think?
STEP 3: MAKE A BOW
The final step to finishing your DIY fern wreath is to make a bow. I’ve shared before that bow-making is not my forte. But this bow is so simple to create. And, if I can do it, anyone can!
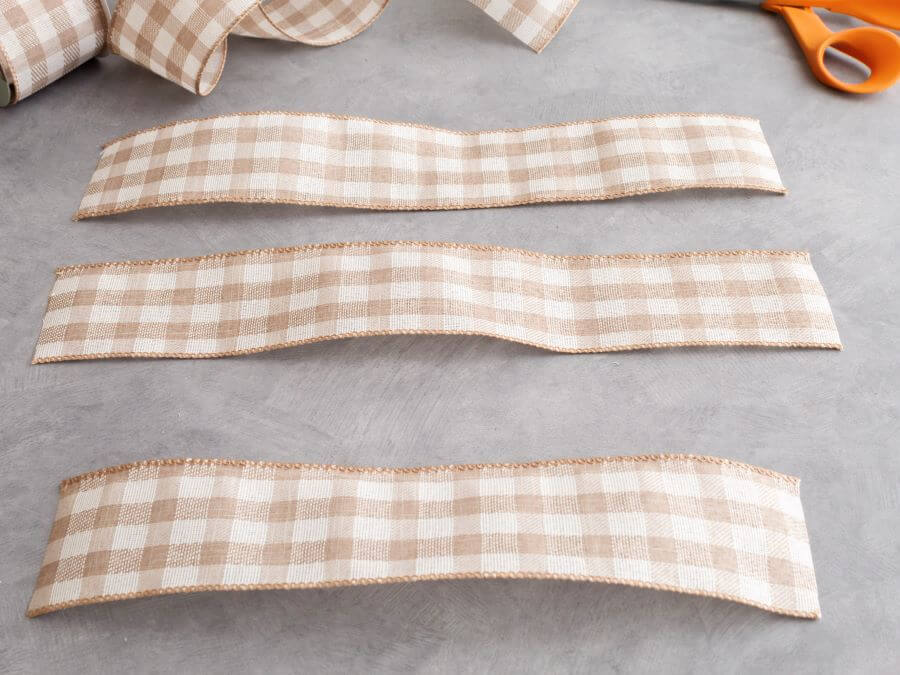
To make the bow, cut three strips of wired buffalo check ribbon. First, cut two strips of equal length (mine were 14″ long) and one strip that is a bit shorter (mine was 12″ long).
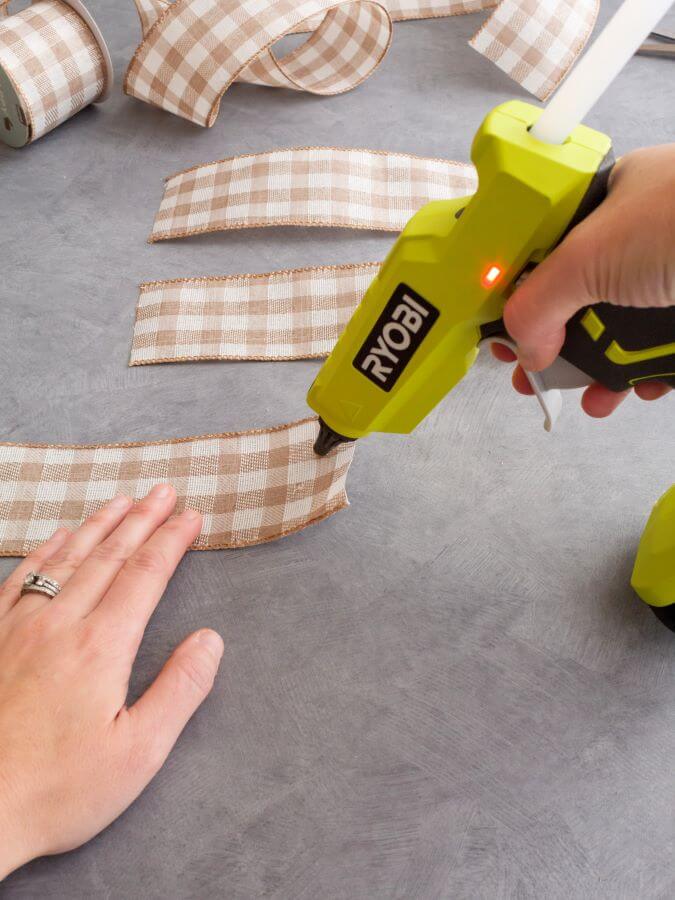
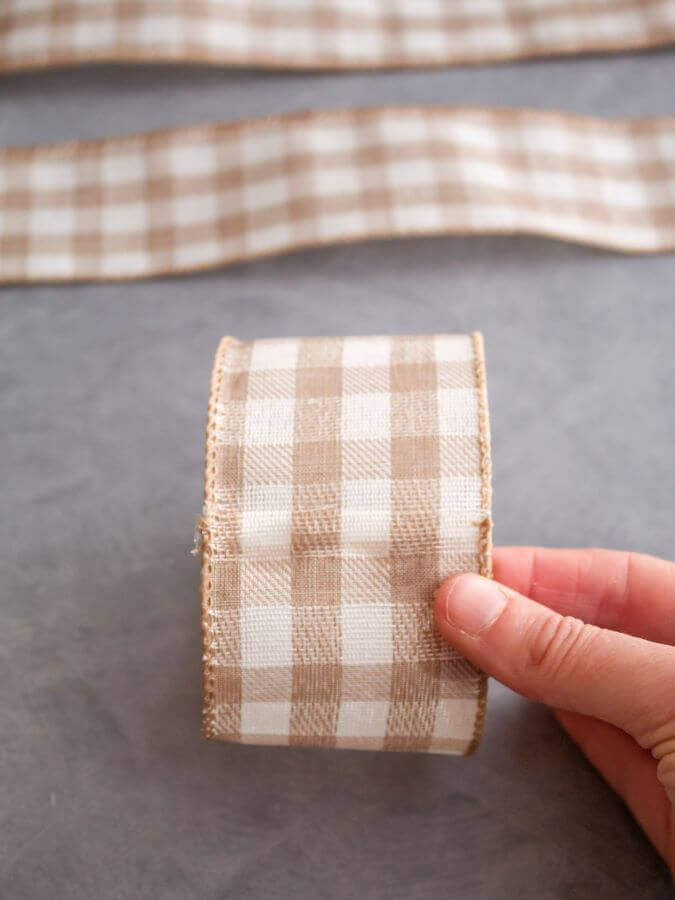
Next, grab one of the long strips of ribbon. Then, use a hot glue gun and glue the two ends together to form a loop.
Set the loop aside, and repeat this step with the shorter piece of ribbon.
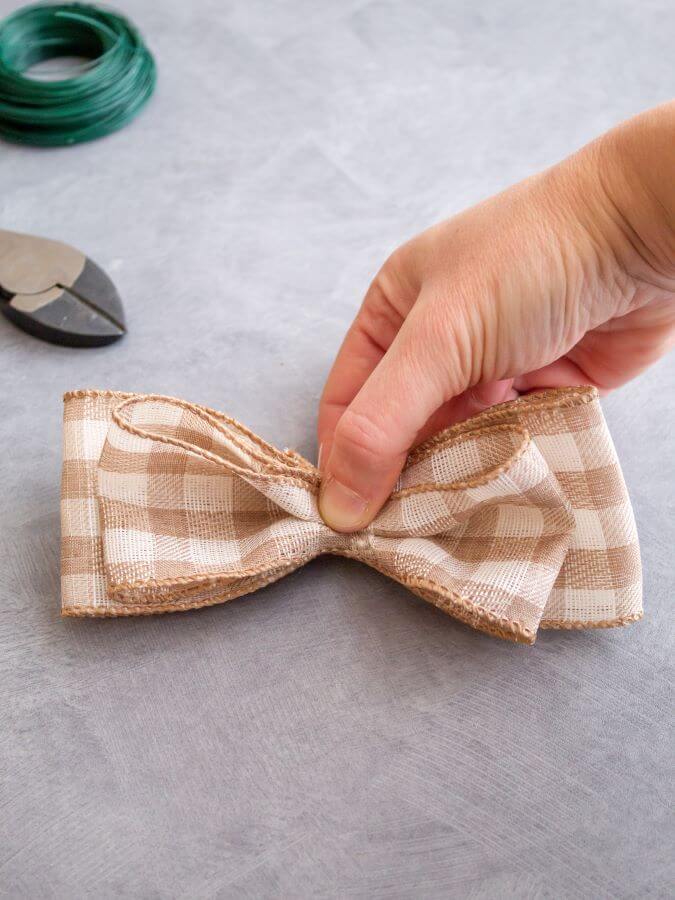
When the glue has cooled place the smaller loop on top of the larger loop and use your thumb and index finger to pinch them together in the center.
Can you start to see the bow take shape?
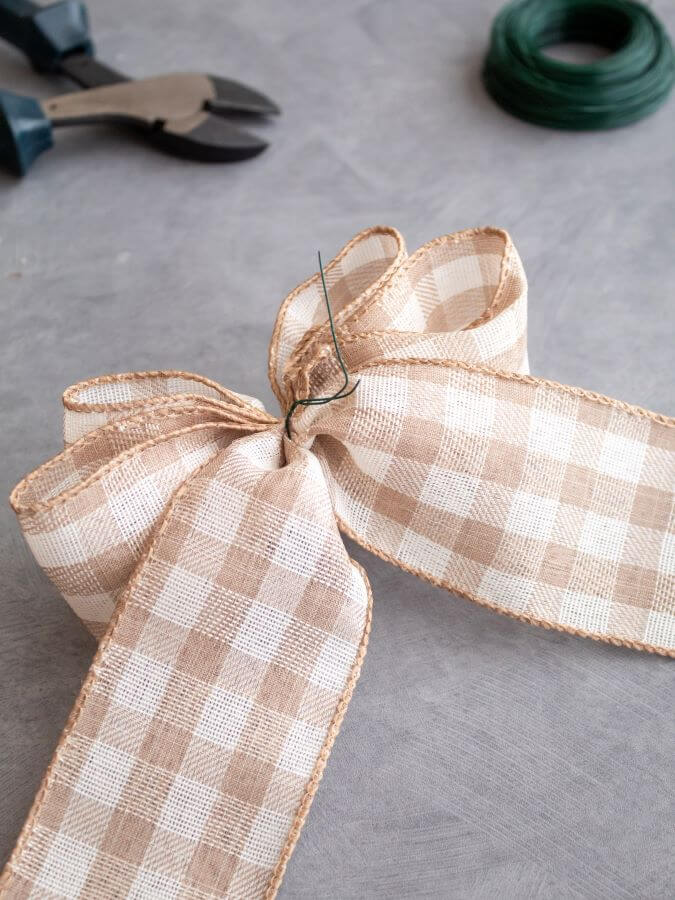
Then, cut a piece of floral wire and gently twist it to tie the loops together. Trim off the extra wire. When you’re done, your bow should look like this from the back.
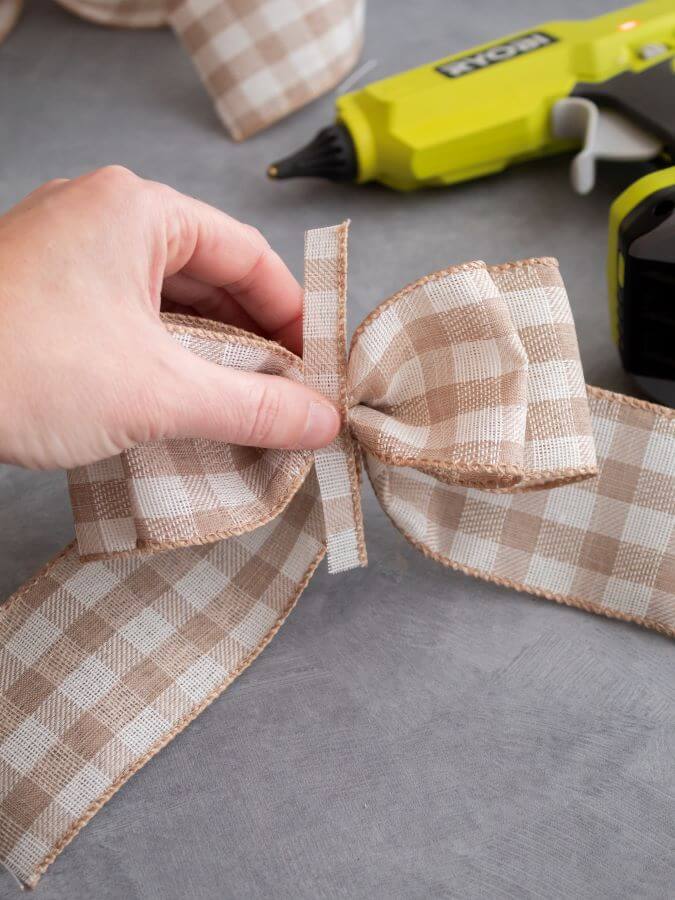
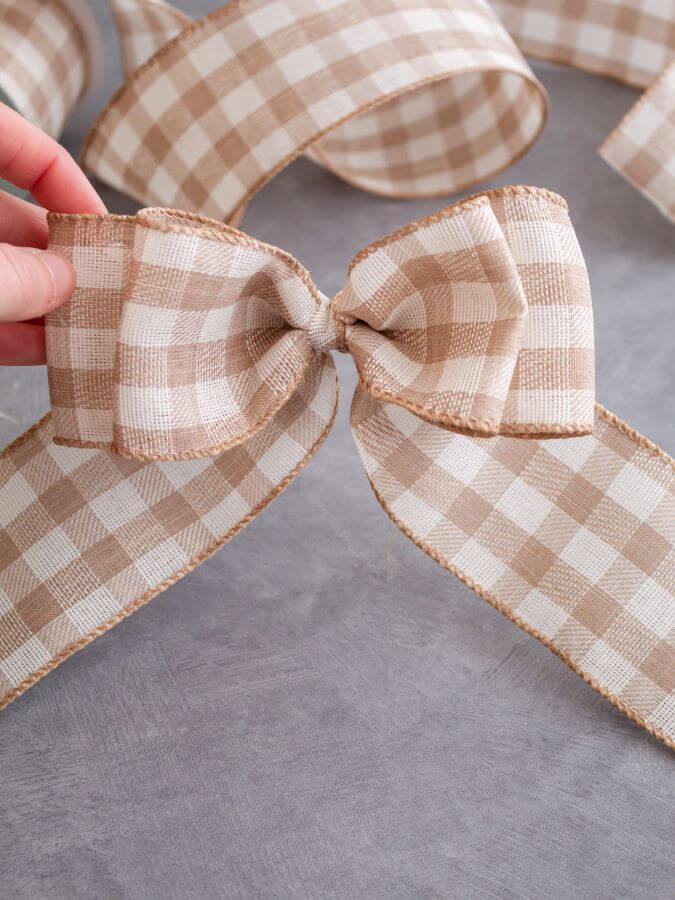
To finish the bow, cut a long, narrow piece of ribbon. Wrap it around the center to cover the floral wire. Then, use a dab of hot glue to secure it on the back of the bow.
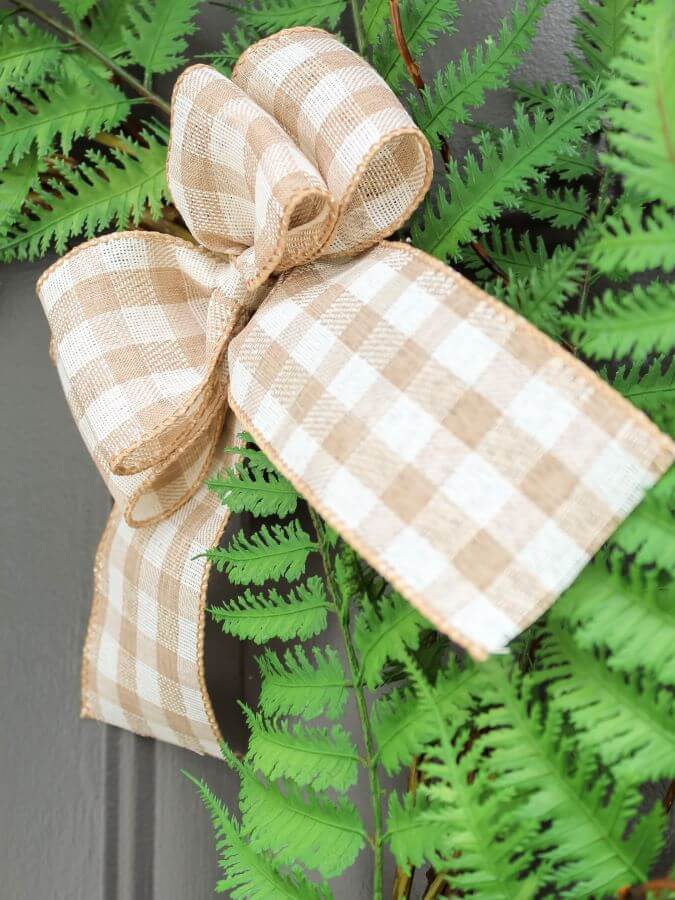
Use one more small dot of hot glue to attach the ribbon to the wreath form, fluff out the loops, and tada! You have yourself a bow…and a finished wreath!
How To Make A Fern Wreath For Springtime
That’s it! You’re ready to hang up your fern wreath and say hello to spring.

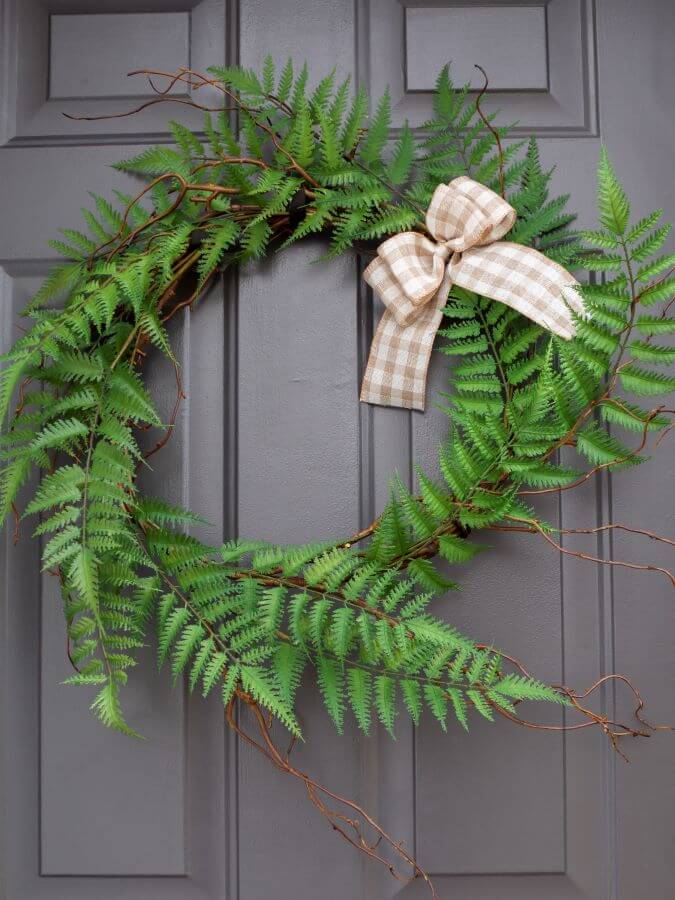
Here’s a side-by-side comparison of the two wreaths. As a reminder, the retail version cost $74.
And what about mine? All told, it cost less than $35. I’ll chalk that up as another DIY dupe for the win!
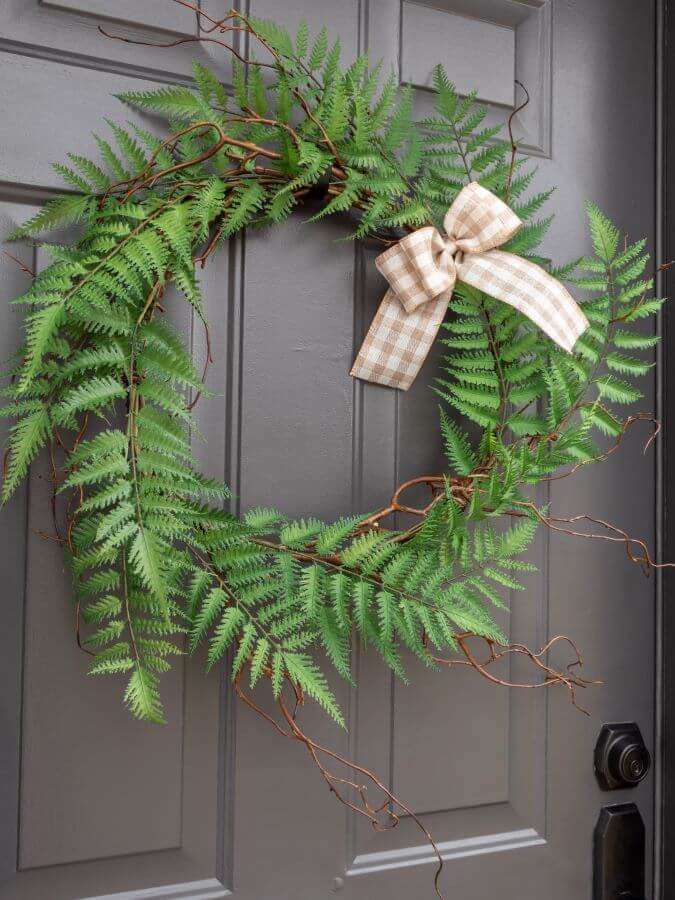
I love the way the wreath pops on our freshly painted front door. And the buffalo check bow ties in perfectly with all of the neutral colors I used throughout our home this spring.
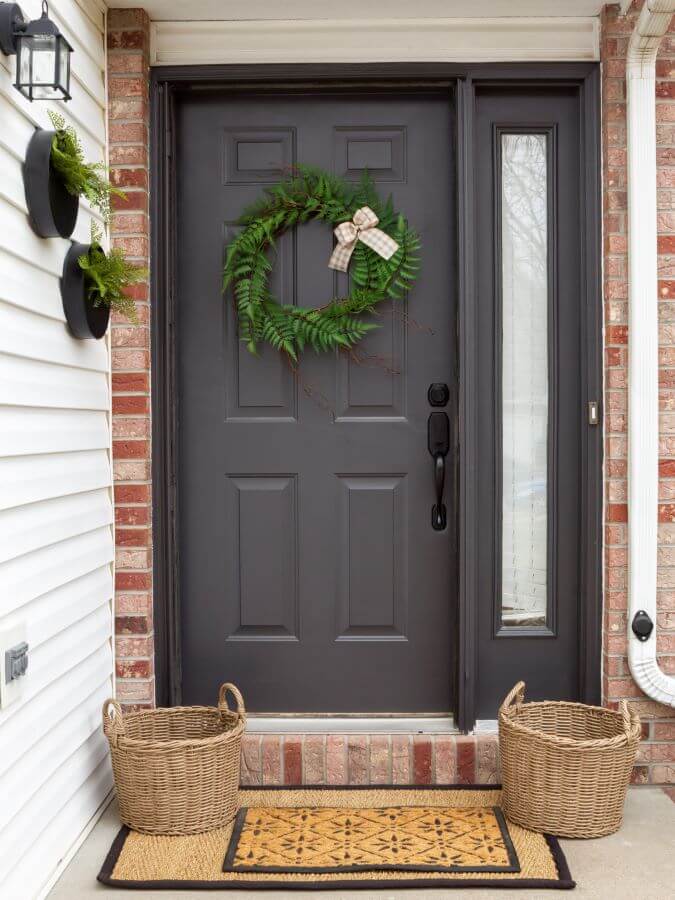
Wreath Hanging Tip: These magnetic door hooks are amazing and the only tool I use now to hang all of my wreaths. They help to keep the focus on your door and not the clunky hanger.
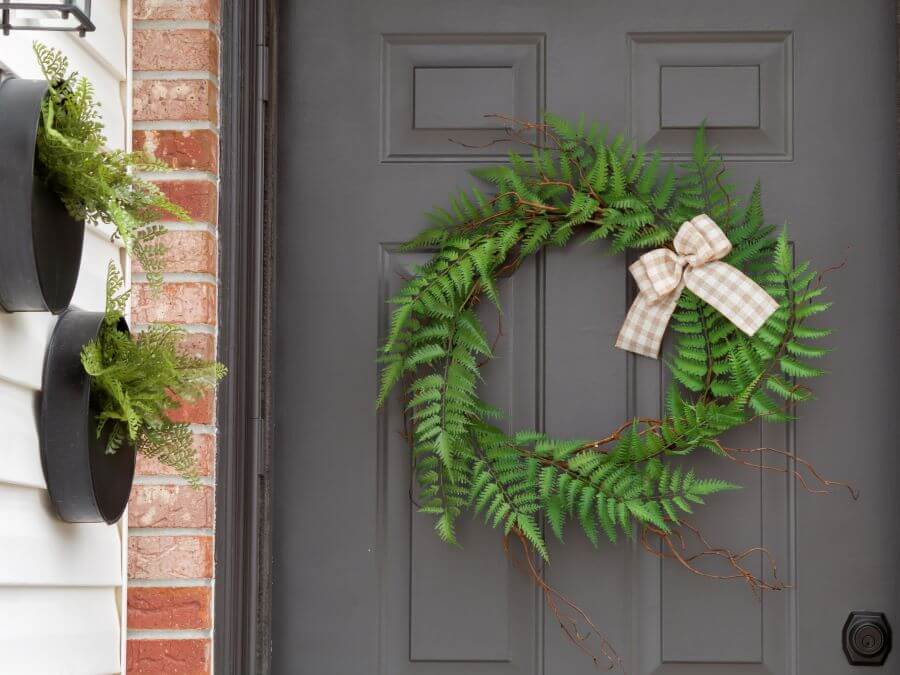
The transition of our porch from winter to spring is still a work in progress. But the new wreath is a step in the right direction.
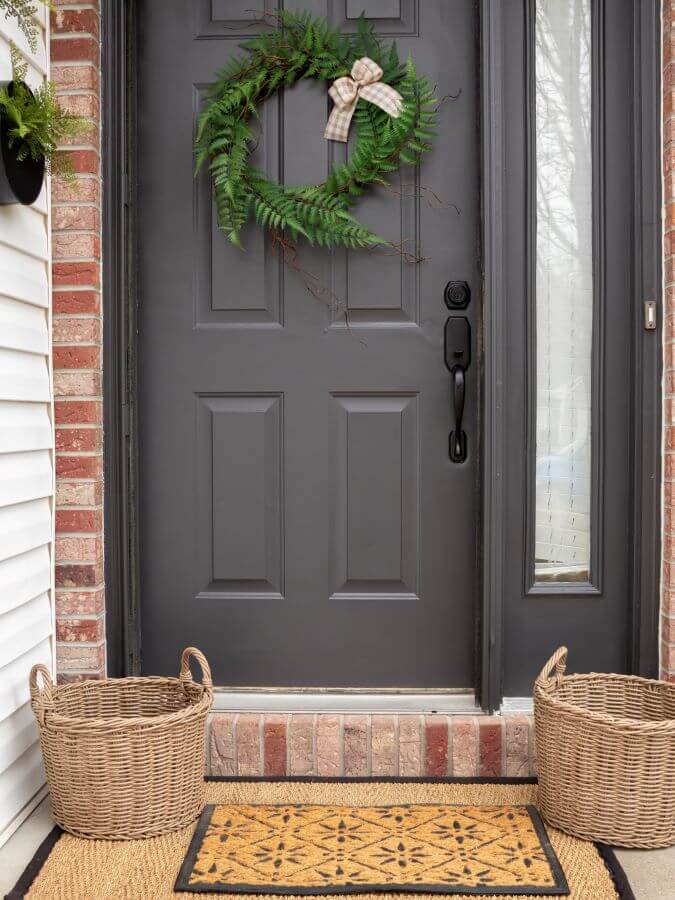
Next up on the to-do list: Buying a few flowers and finding some topiaries for my wicker planters. Hopefully, I’ll be able to finish freshening up our porch for springtime soon!
Front Porch Sources
- Door color/Shadow Mountain by Behr
- Seagrass rug
- Starlight doormat
- Outdoor wicker planter baskets (similar ones here)
- Metal wall planters (similar ones here)
- Magnetic wreath hanger
More Spring Decor Inspiration
Next, stop by and visit my friend, Meeghan, at Cali Girl In A Southern World to see how she styled her table for spring. And don’t forget to check out all of the spring decor inspiration from my other friends, too. Just click on each of the links below to see more.
Xo,

Spring Decor Inspiration

How to Do a Spring Kitchen Refresh // Pasha is Home
DIY Fern Wreath for Springtime // Midwest Life and Style
How to Set a Simple Spring Table // Cali Girl in a Southern World

Spring Decorating with Thrifted Milk Glass // White Arrows Home
How To Make A Flower Arrangement In a Basket // The Tattered Pew
19 Simple Ways to Decorate with Faux Greenery this Spring // Simply 2 Moms
How to Make Beautiful Artificial Floral Arrangements Step-by-Step // Open Doors Open Hearts
A Few Easy Ways To Add Cheerful Spring Decor // Cottage in the Mitten
Spring Dining Room Tablescape // Tater Tots & Jello

Perk up Your Porch: Simple Spring Flower Arrangements in Baskets // Old Barn Company
Farmhouse Spring Home Decor Ideas // She Gave It A Go
Easy Ways to Add Fresh Flowers to your Spring Decor // A Life Unfolding
Farmhouse Porch Ideas for Spring // The Ponds Farmhouse
More SPRING PROJECT IDEAS
If you liked this project, you might also like some of my other favorite spring crafts.
Did You Enjoy this Post? PIN It for Later!




This turned out gorgeous and better than the inspo wreath! Love the fern and grapevine together:)
Thank you! I really love how it turned out. I’m glad you like it too.
Jen, this fern wreath is perfect! I love the simplicity of this wreath. It’s would be lovely inside or outside.
thank you so much, Tammy. I love the simplicity too. And even better that I was able to save a few bucks by making it myself.
What a lovely wreath! Perfect for Spring and I am LOVING that new front door color, beautiful!!
Thanks so much, Libbie. I love how the wreath turned out, and still so happy I painted the door. The darker color makes such an impact!
Jen, you always have such beautiful ideas. I love this wreath! It’s perfect for Spring!
Thank you, Meeghan. I’m loving ferns for spring and I think I may just keep the wreath up through the summer too.
Sooo pretty Jen!! I just love that buffalo check ribbon especially!!
Thank you, Pasha. I love how the wreath turned out and the tan buffalo check matches all of my neutural spring decor perfectly!
This fern wreath is such a lovely Spring project! Love this!
Thank you so much, Jessica!
Love love love this wreath, Jen!
Thanks so much for sharing, pinned!
xoxo,
Brendt
Thank you, Brendt. Happy spring sweet friend!
I love your fresh fern wreath and pretty plaid bow, Jen! I pinned it to my spring board to share! Such a pretty porch!
xoxo
Thank you, Jen. We don’t have a very big porch, but I love to find ways to style it each season and make the most of the space we do have.
Jen! This wreath is perfect! I love how simple it is and still so beautiful!! I always love hoping with you girl. Thanks for your support with all of life’s things! Means more than you know!
Thank you, Aliya. And you are so welcome, friend! Hugs!
Jen,
Your wreath is so pretty. I love how it brightens your front door.
Thank you, Rachel. I love the way the bright green pops off of the dark charcoal color of our door.
I need to make this…such a great idea! This wreath is perfect right through the summer season too. Pinned to my “need to have this NOW” folder. Thanks for the inspo!
Thanks so much, AnnMarie! Happy to be hopping with you today. So much pretty spring inspiration.