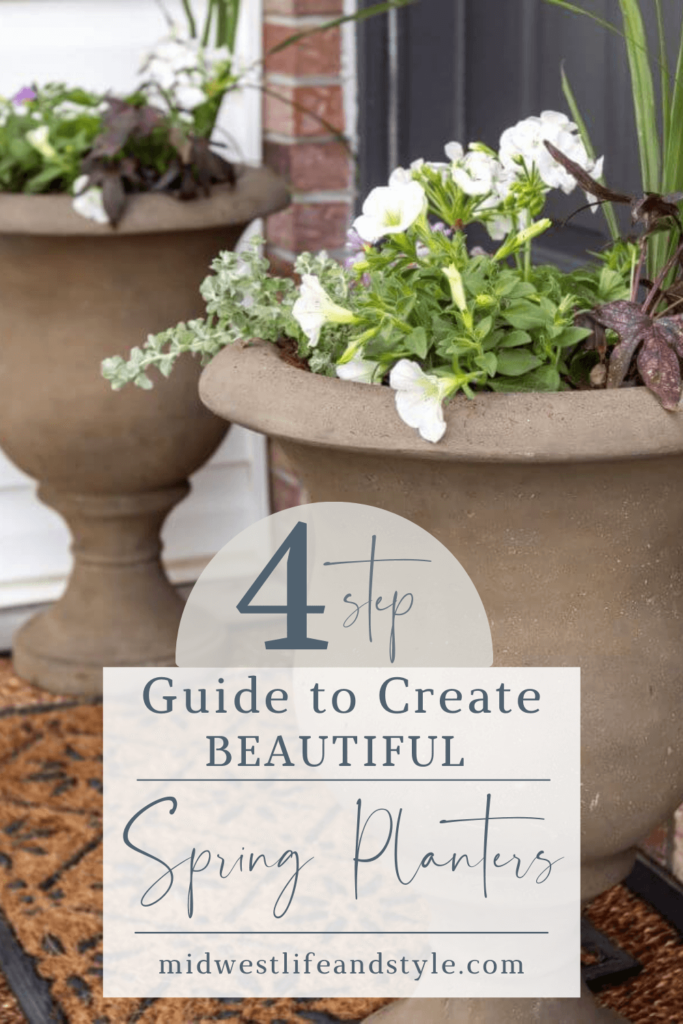
Learn my tips and tricks for how to create beautiful spring planters like the pros in just 4 easy steps.
*As an Amazon affiliate, I earn from qualifying purchases at no extra cost to you. My blog contains other affiliate links as well for your convenience. To learn more, you may read my Disclosure Policy. Thank you for supporting my blog!
How To Create Beautiful Spring Planters In 4 Easy Steps
My girls and I love to plant flowers on Mother’s Day each year. Our tradition was a bit delayed this year, but as the saying goes, better late than never, right?
I love to wander the aisles of some of our local garden centers and look at all of the hanging baskets and pots. As I was pondering my choices, one of the workers there said to me that this is like her Christmas. And I couldn’t agree more! It is one of my favorite times of the year.
There are so many flowers and plants to choose from. Sometimes, I can get overwhelmed and I’m tempted to just buy the arrangements that are already done.
But have you had a time when you oohed and awed over the stunning pre-made planters at the greenhouse, and then looked at the price tag and cringed?
Yeah. Me too.
So I’m sharing the secrets for how to create beautiful spring planters like the pros in 4 easy steps. And for a fraction of the price!
Step 1 – Decide On A Color Scheme
The first step to creating your planters is to decide on a color scheme. I tend to be drawn to cool colors. Purple, in particular, has become my go-to hue.
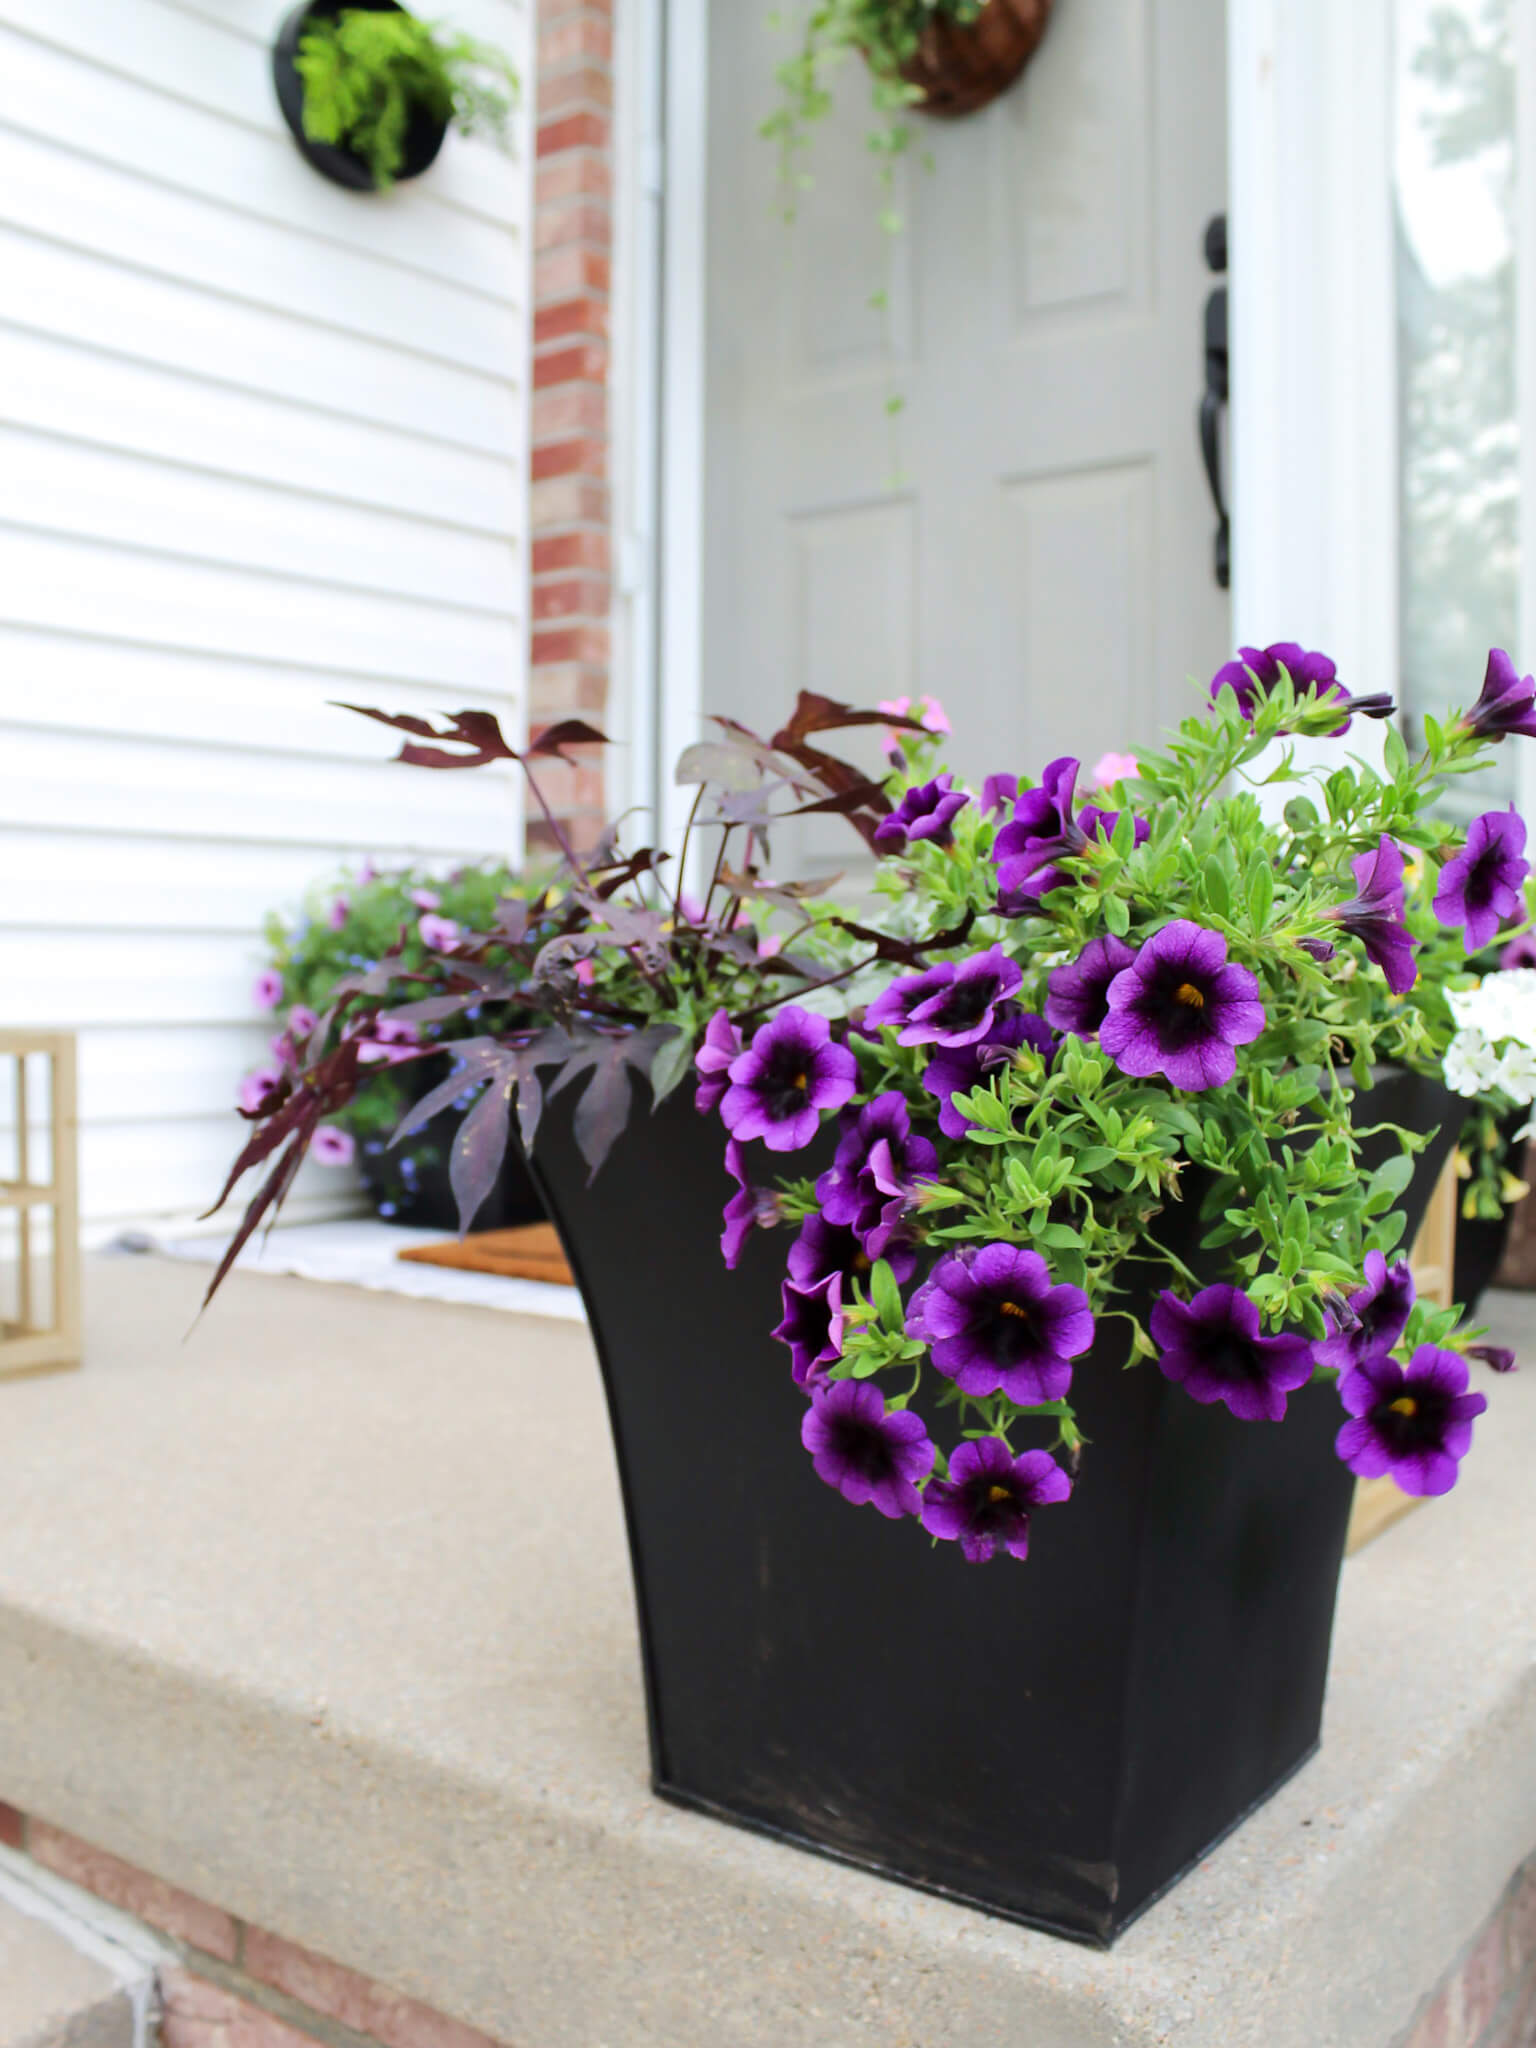
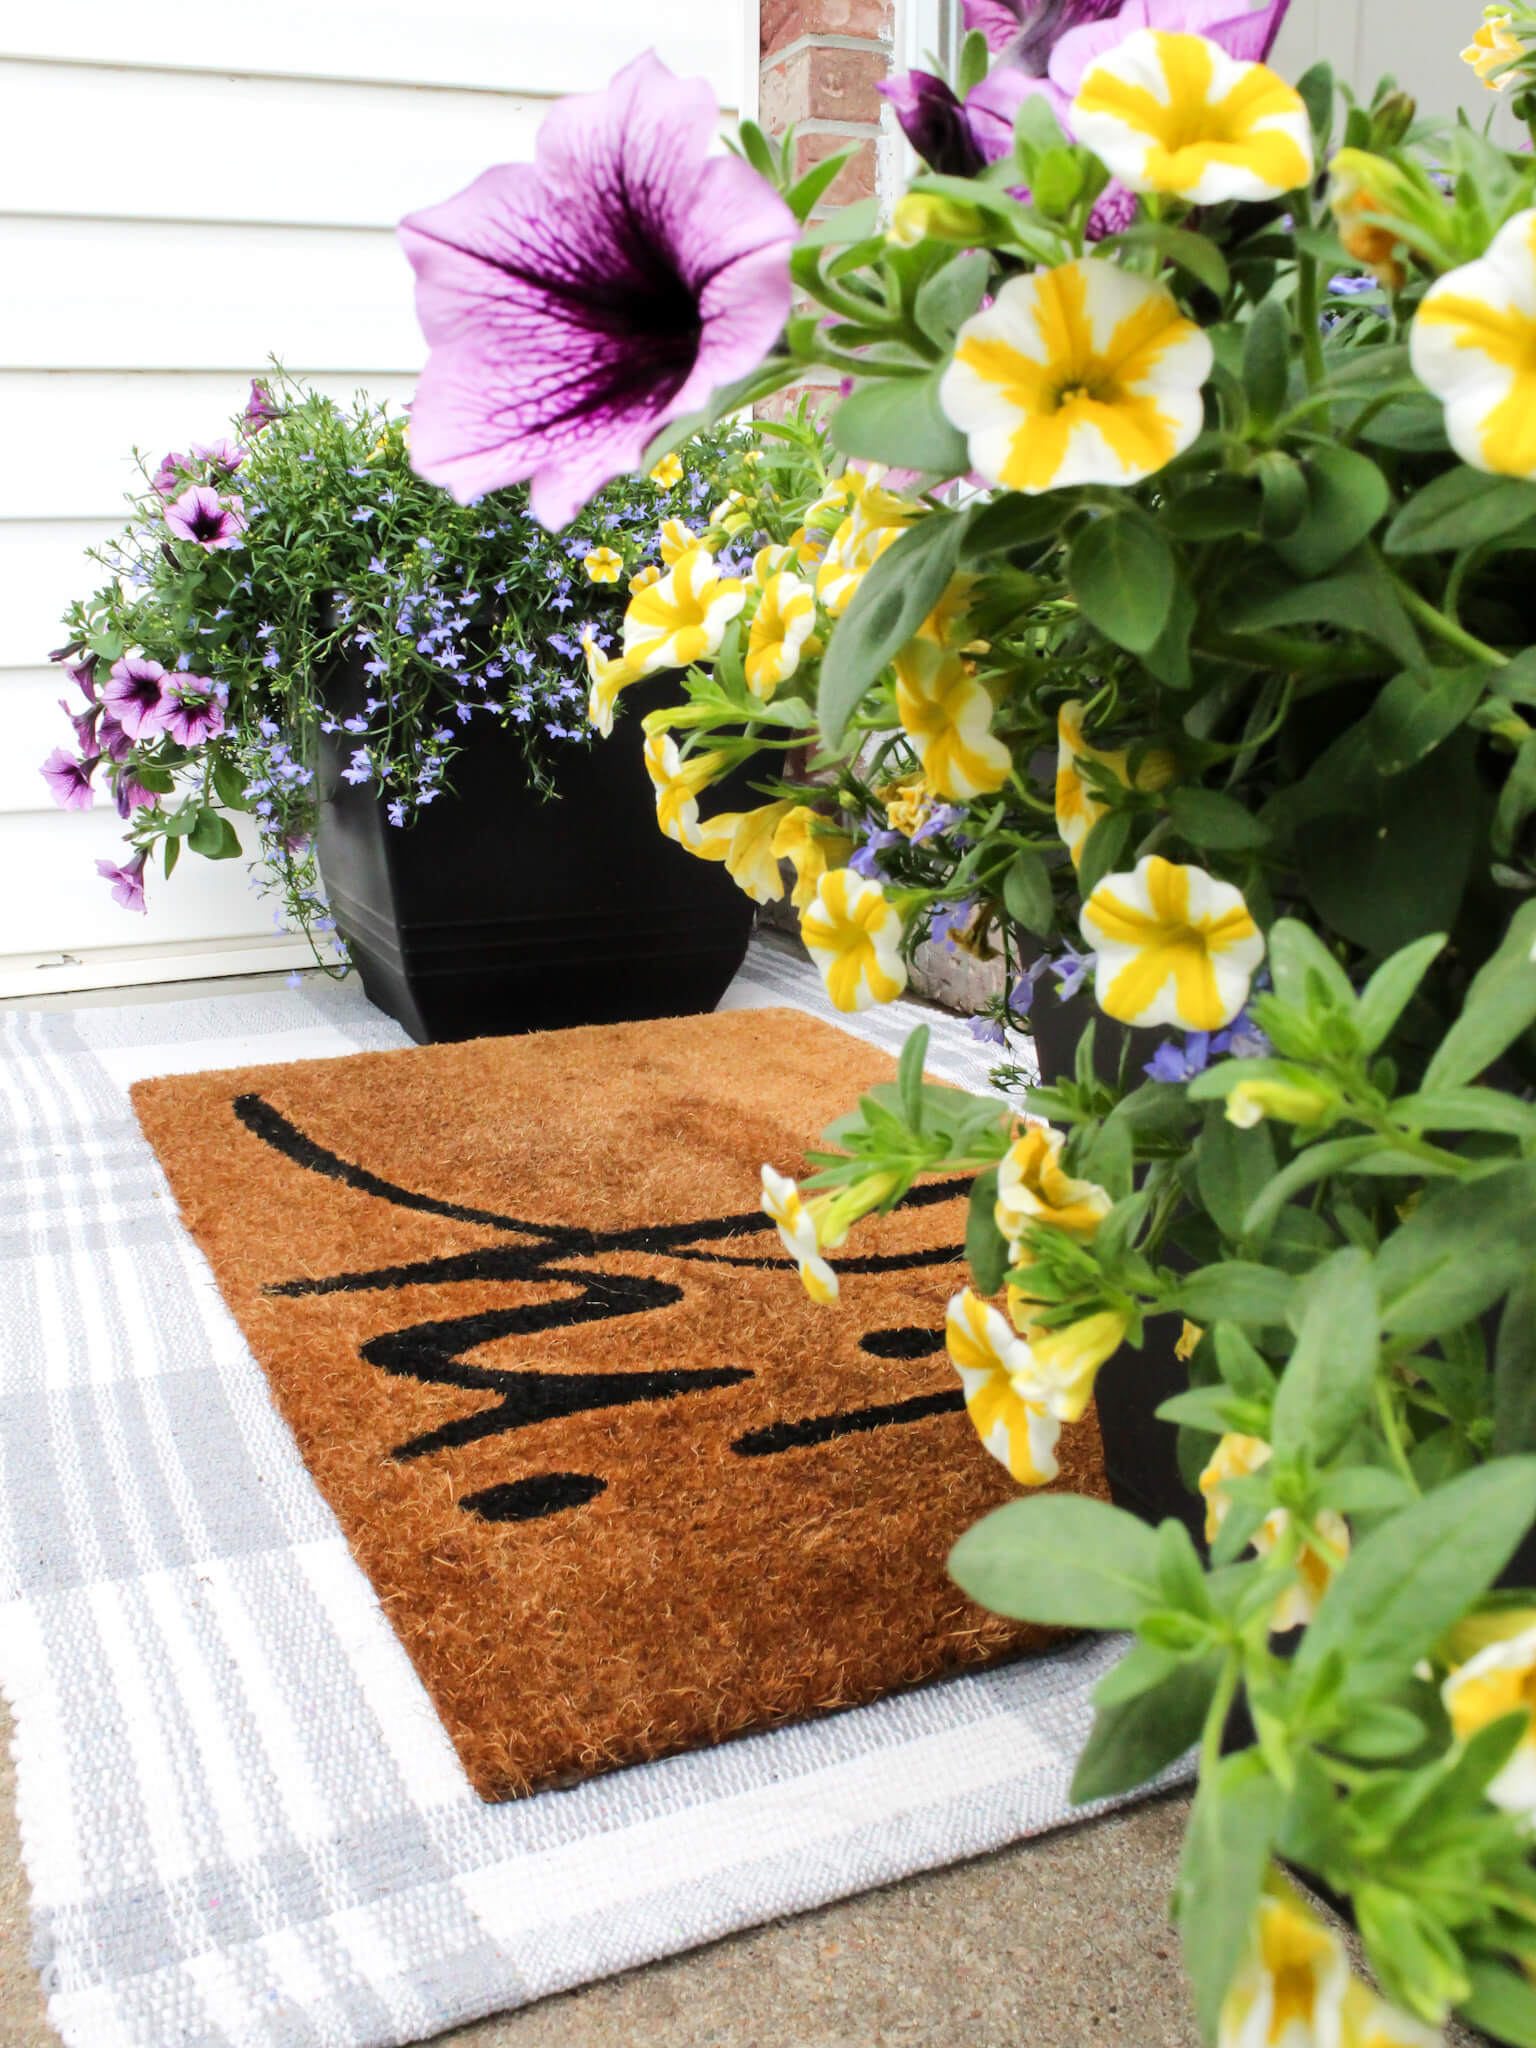
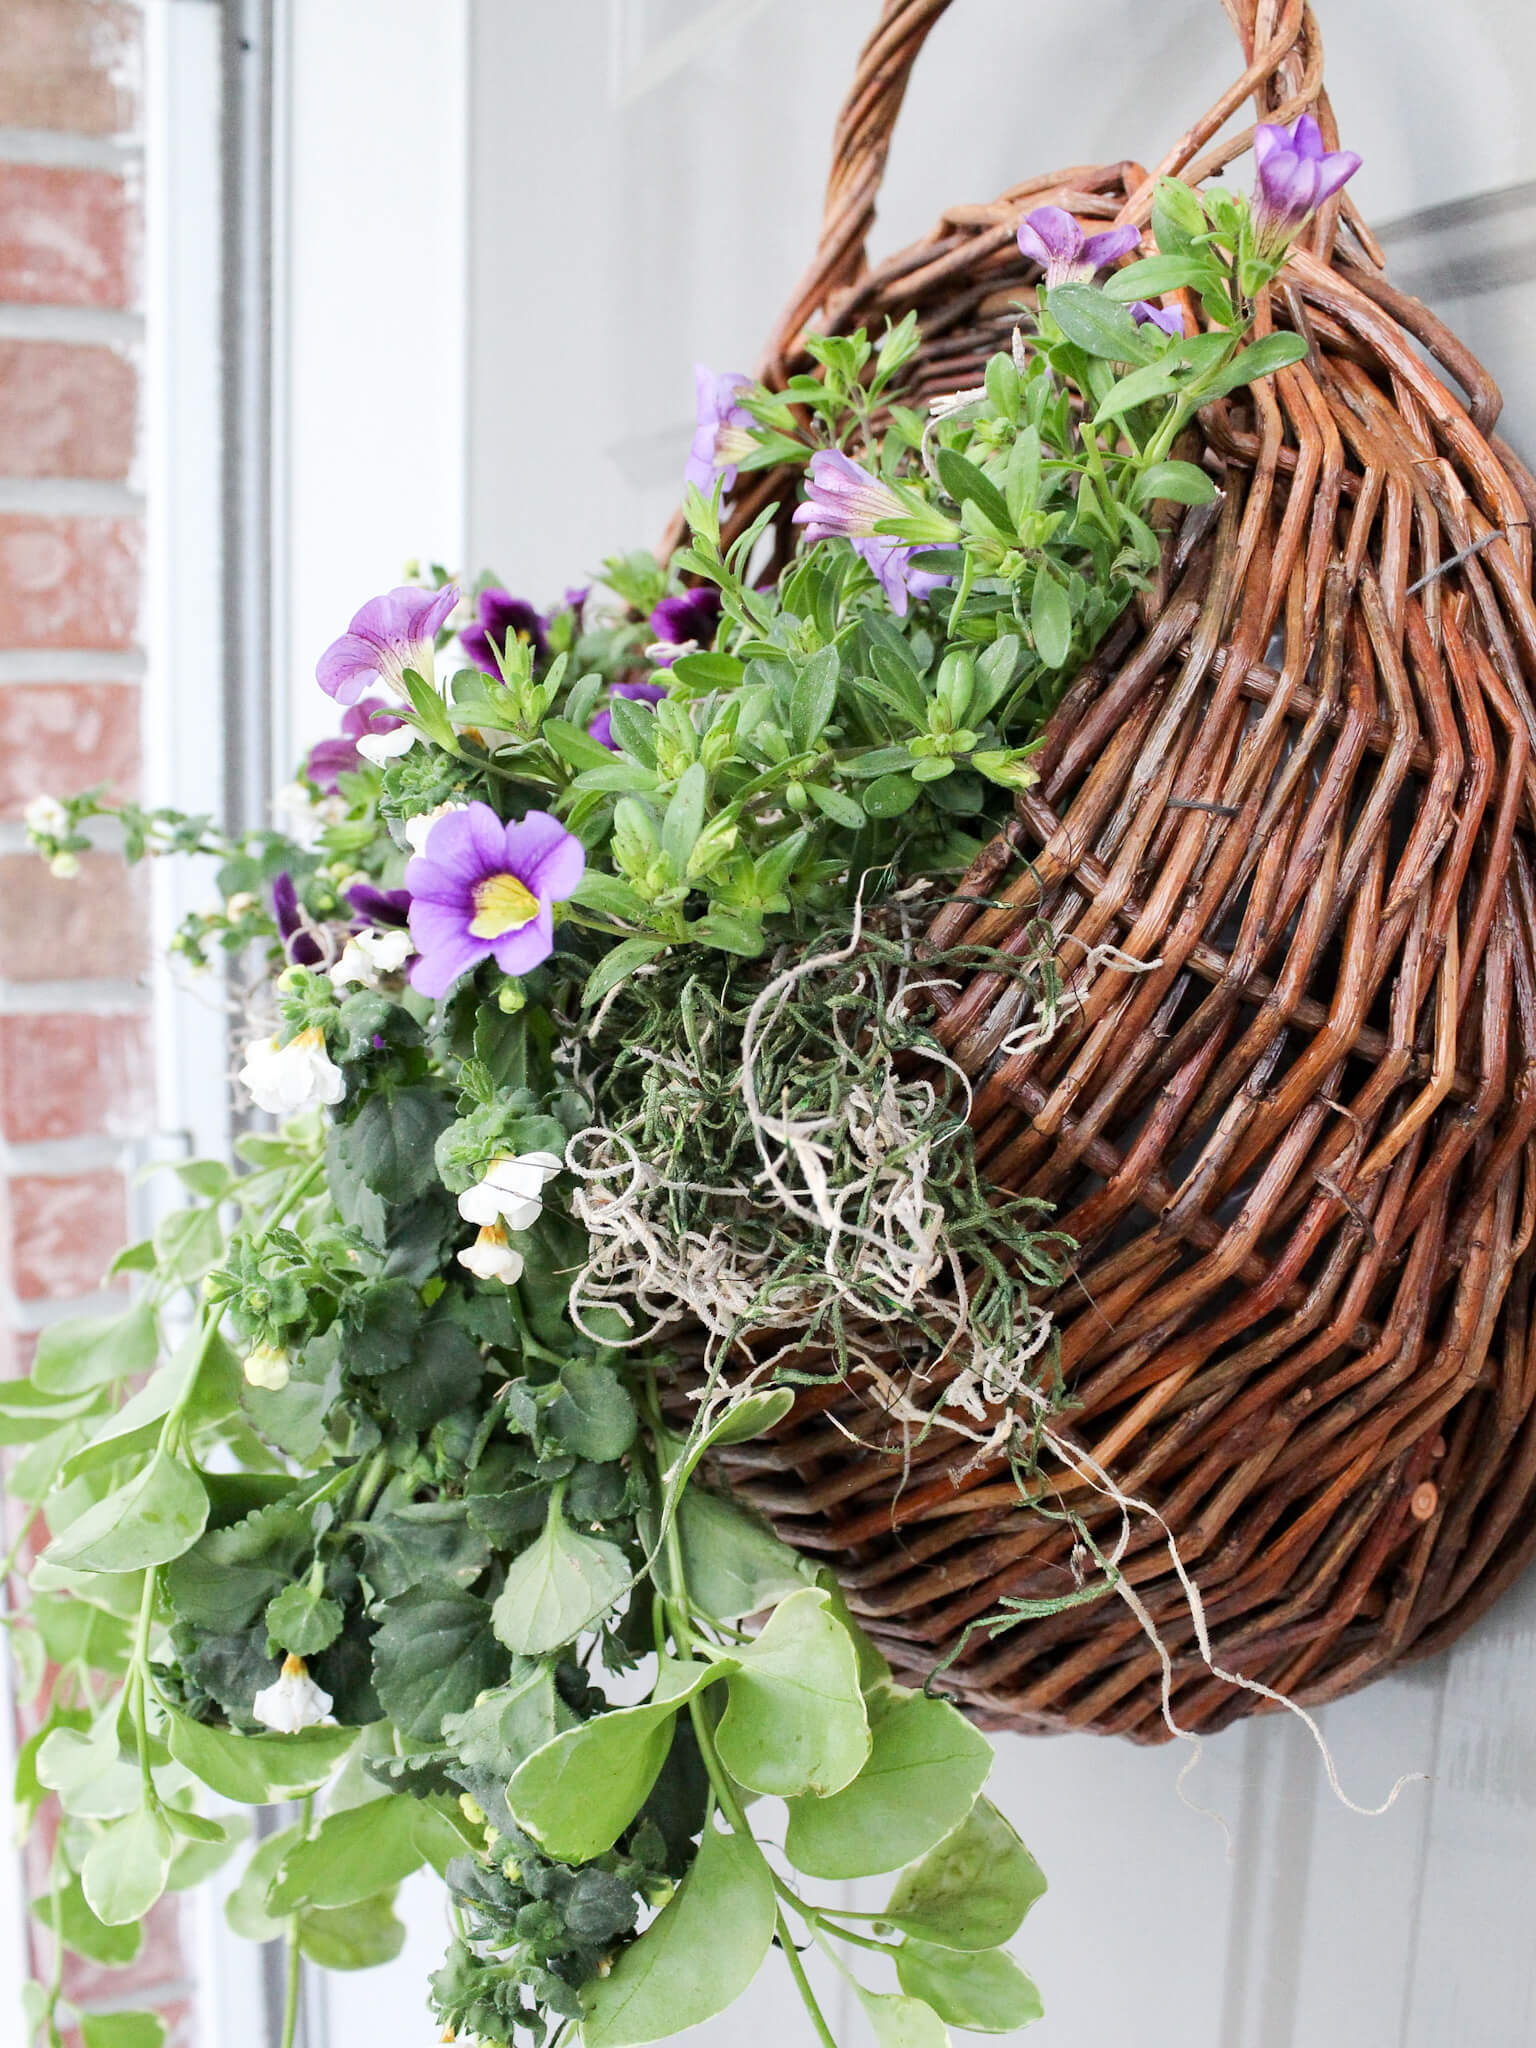
Here’s a peek at some of the planters I used on my porch last spring and summer, including my DIY door basket.
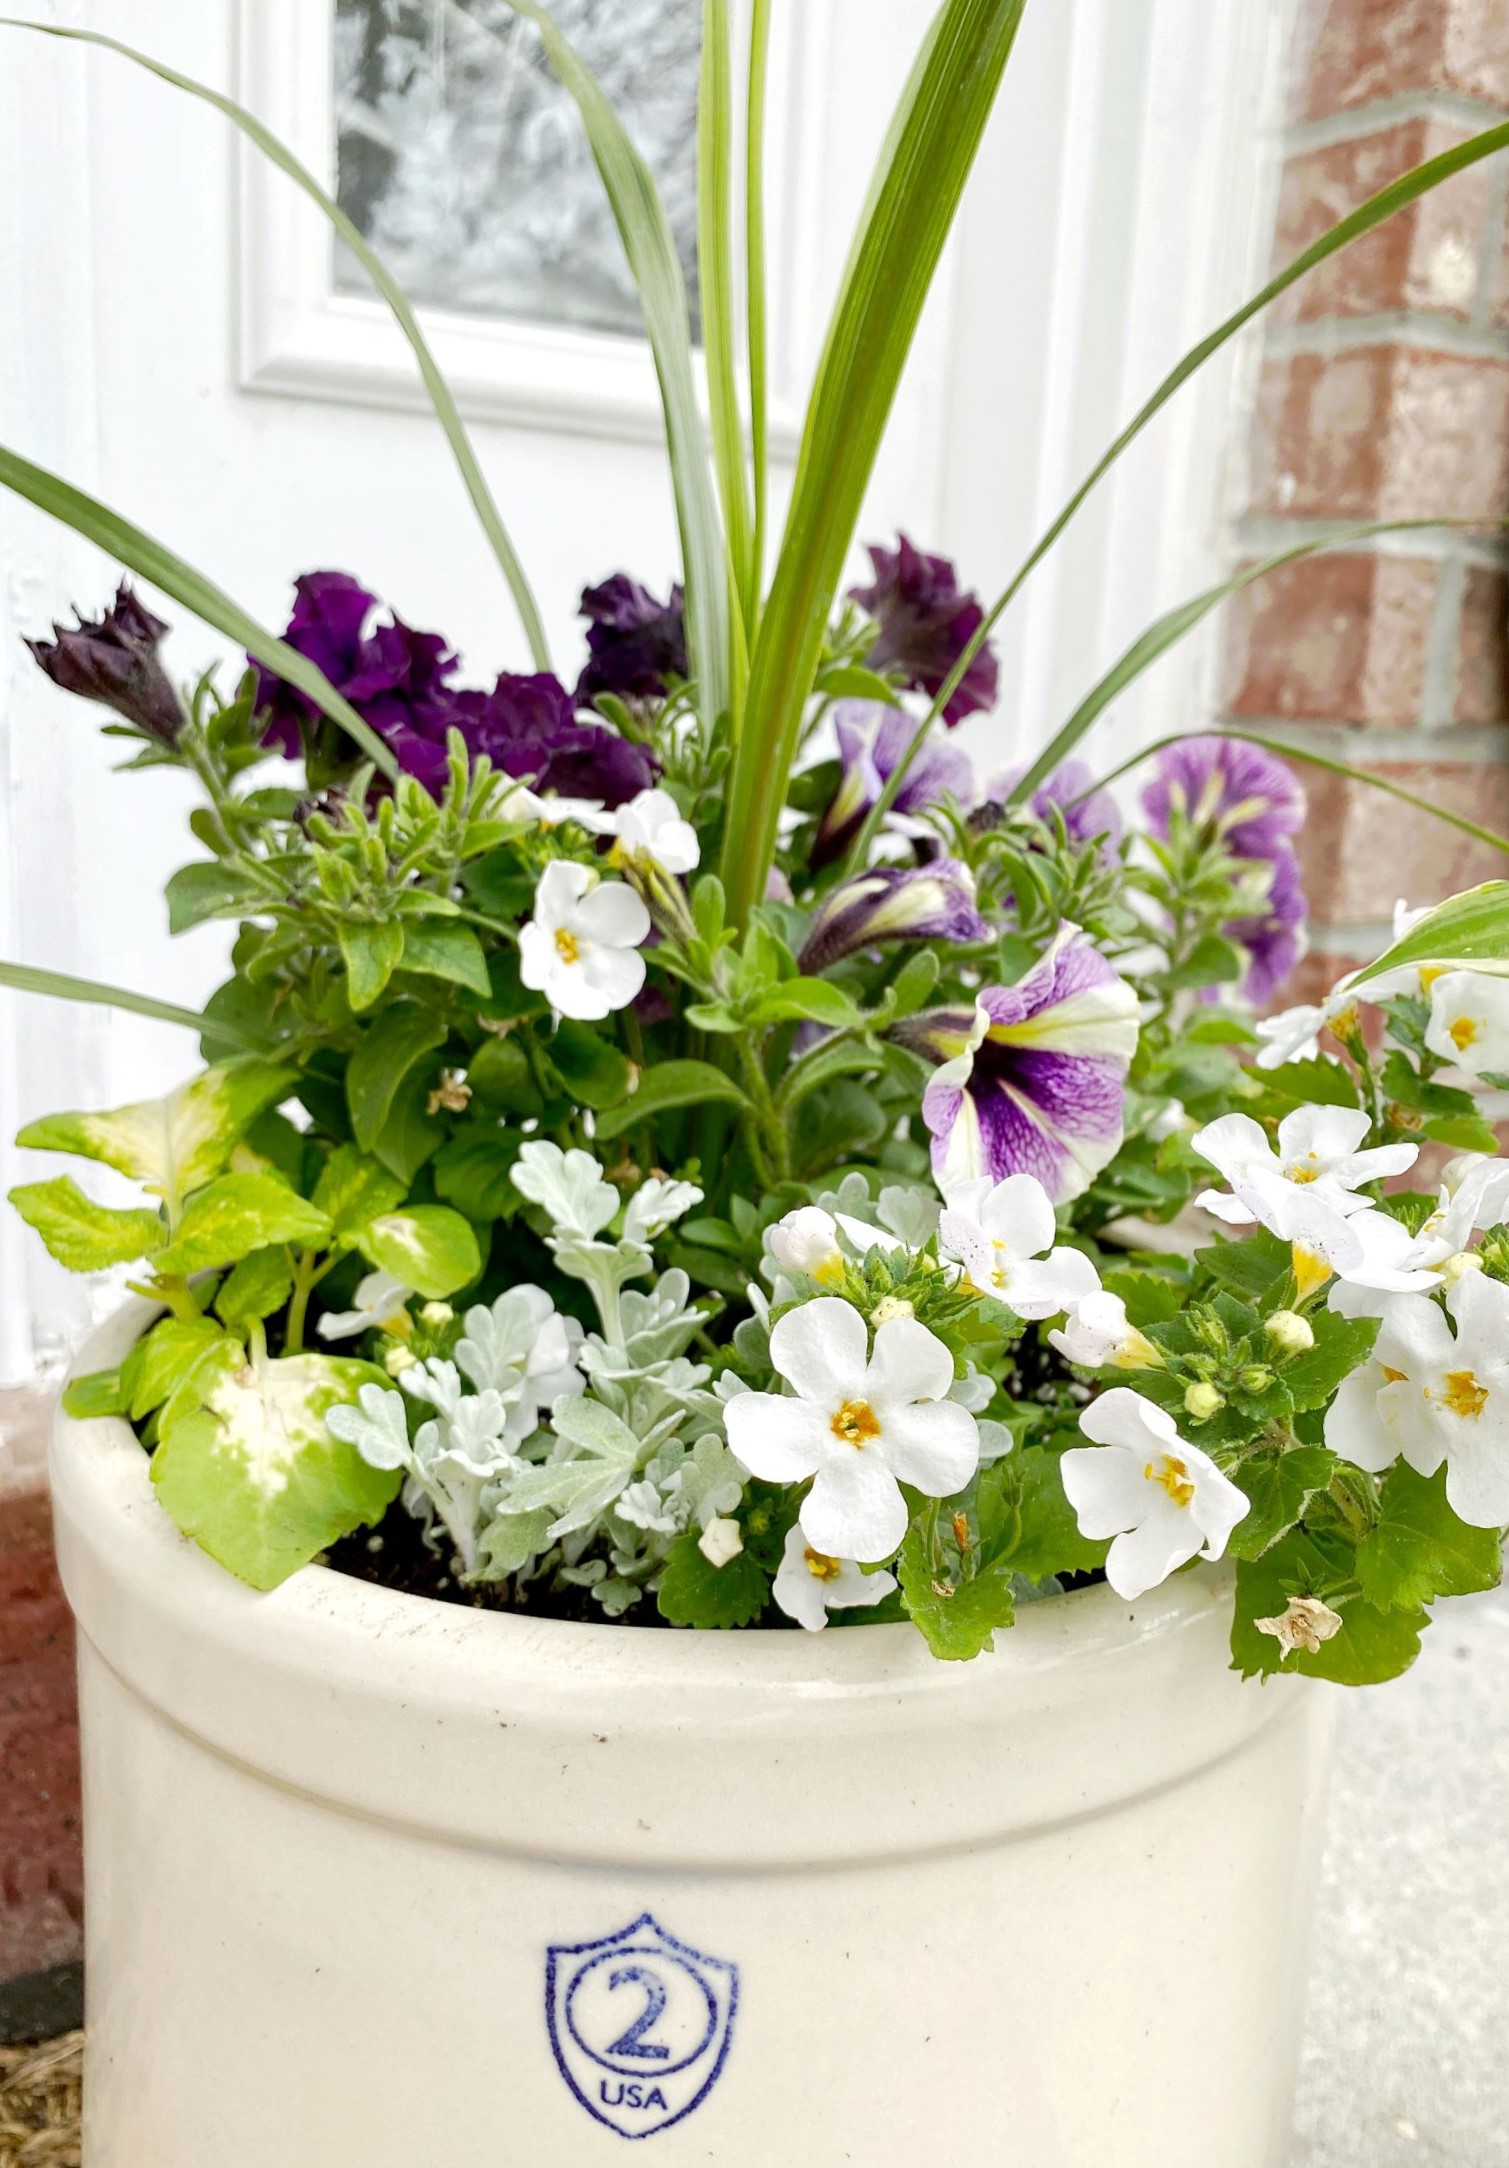
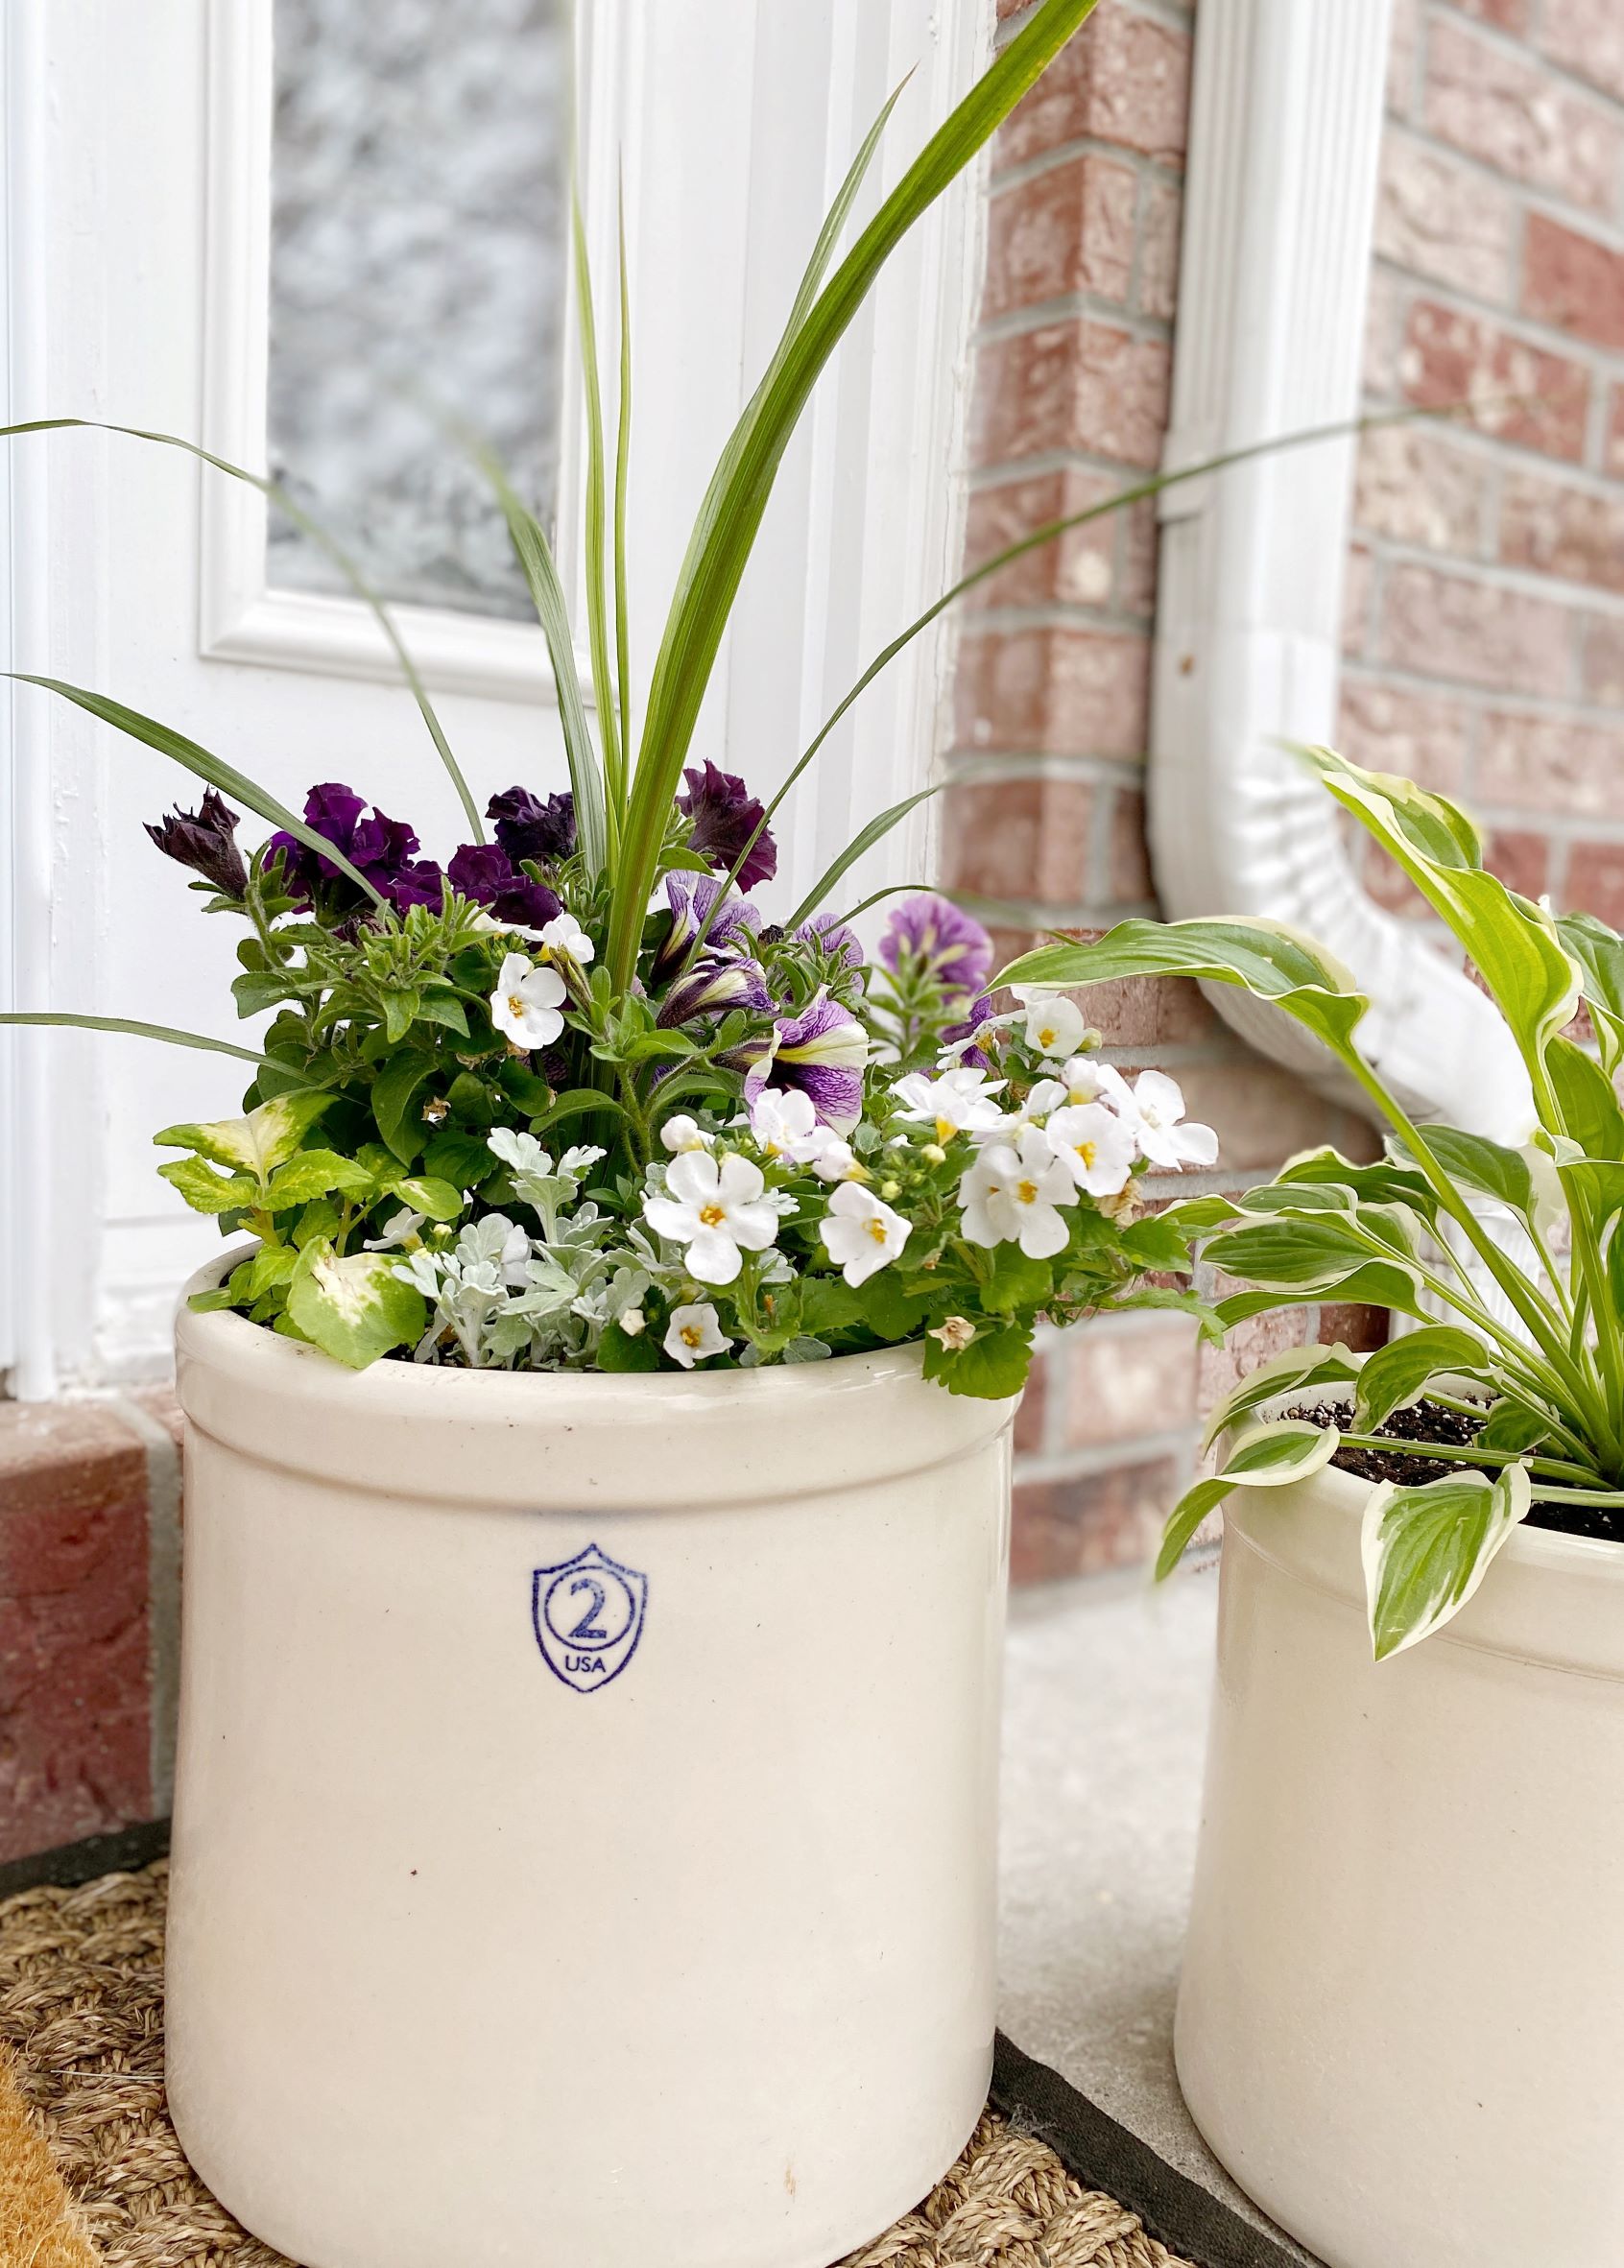
And these are the planters I created for our summer porch back when I first started my blog two years ago.
Hmm…Can you see the trend?
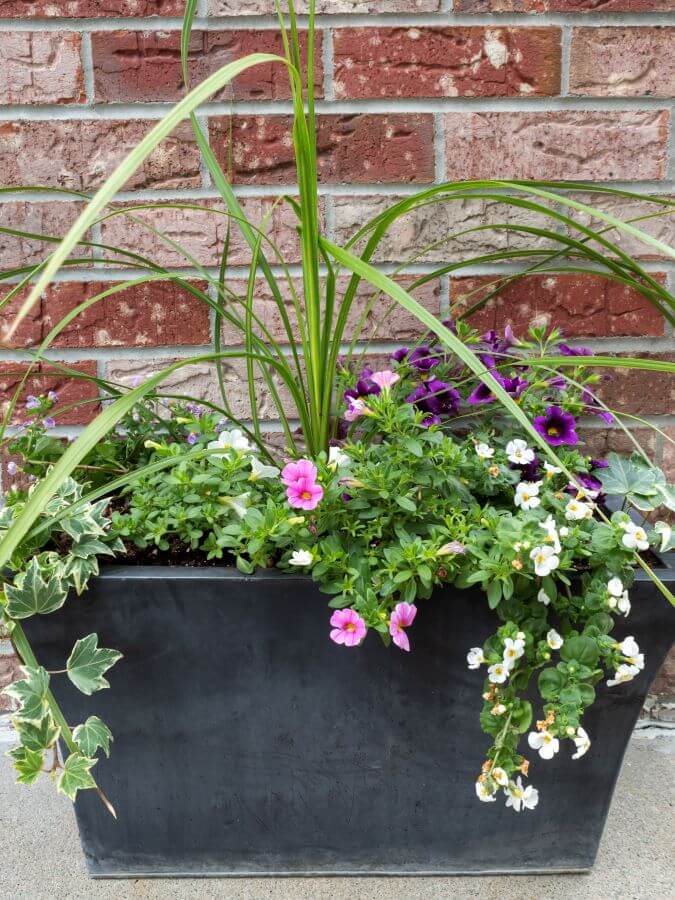
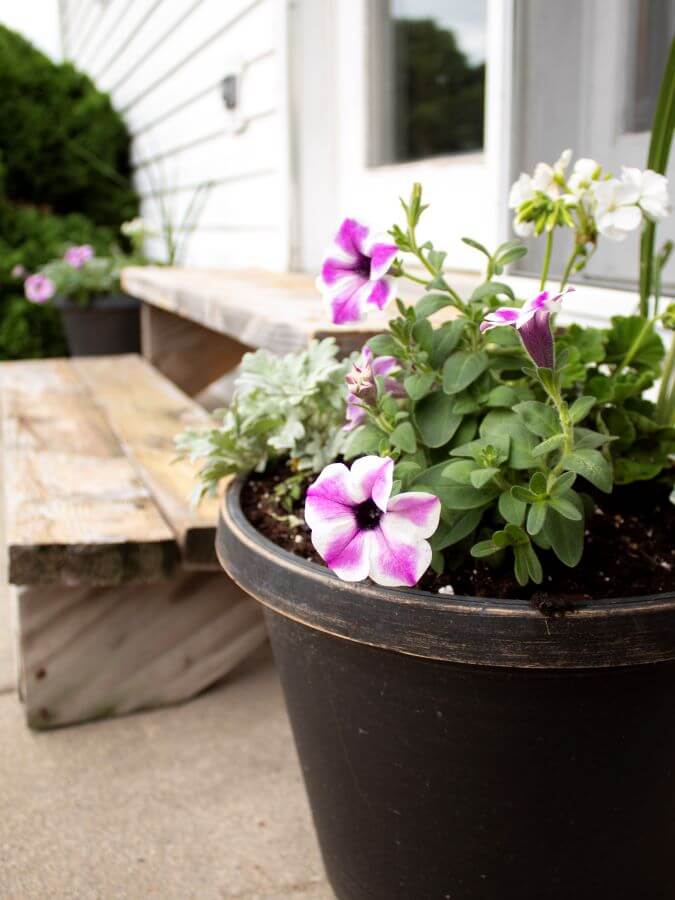
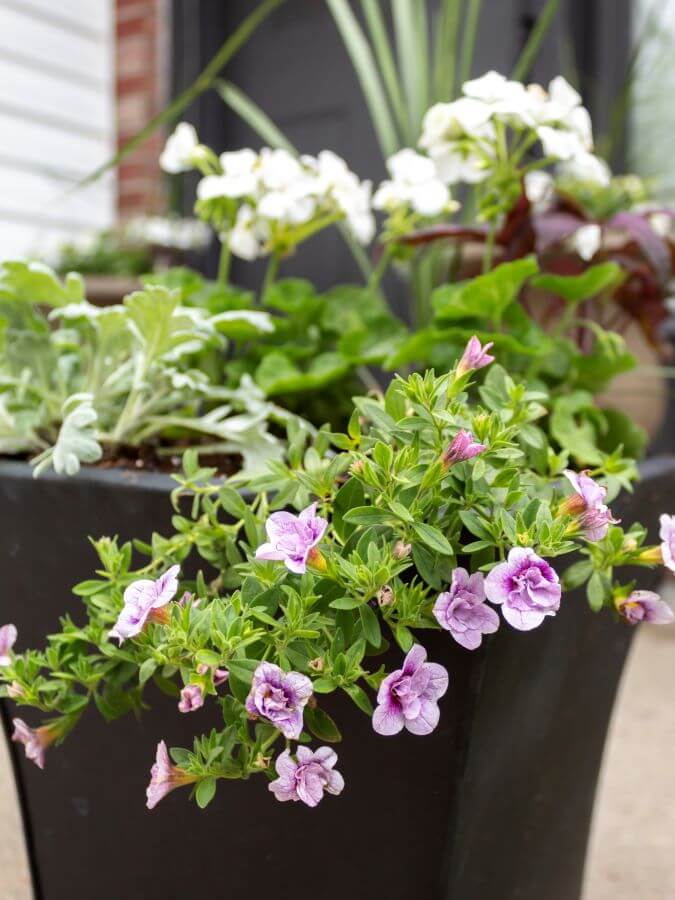
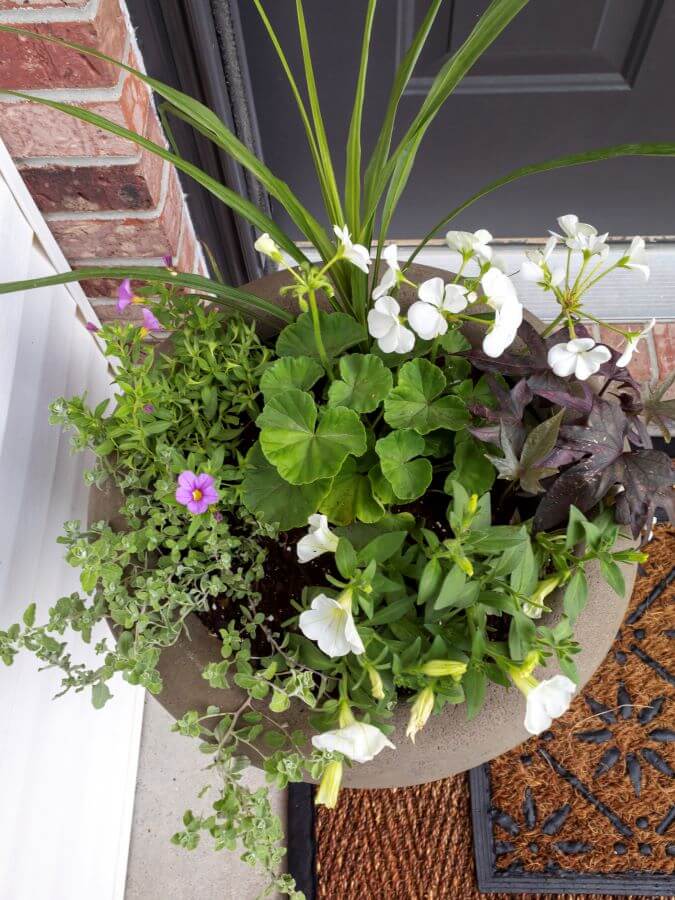
To fill my planters this year, I used shades of white and green with (you guessed it) just a few purple accents.
Three Main Color Schemes
When you’re ready to decide what color(s) to use to create your planters, it helps to keep these color trends in mind.
- Monochromatic – A monochromatic palette uses one color in a combination of tones and shades. You can mix the color with black, white, gray, or silver to add depth and contrast. (And don’t forget that your planter plays a part in the overall design, too!)
- Complementary– This one takes me straight back to my elementary art days. Complementary colors are those that are opposite one another on the color wheel. Examples are red and green, orange and blue, and yellow and purple.
- Triad – The last color scheme is known as a triad. As the “tri” would suggest, this palette consists of three different colors equally spaced from one another on the color wheel. There are two triad combos, red-yellow-blue or purple-orange-green.
All of that to say, these are only suggestions. Know that there’s no right or wrong way to choose. Just go with your heart and stick to what you love!
Step 2 – Get Your Supplies
One of the things that I love most about container gardening is you don’t need fancy equipment. Anyone can do it. Even if you have a small yard or no yard at all!
All you need are a few basic tools and supplies to get started.
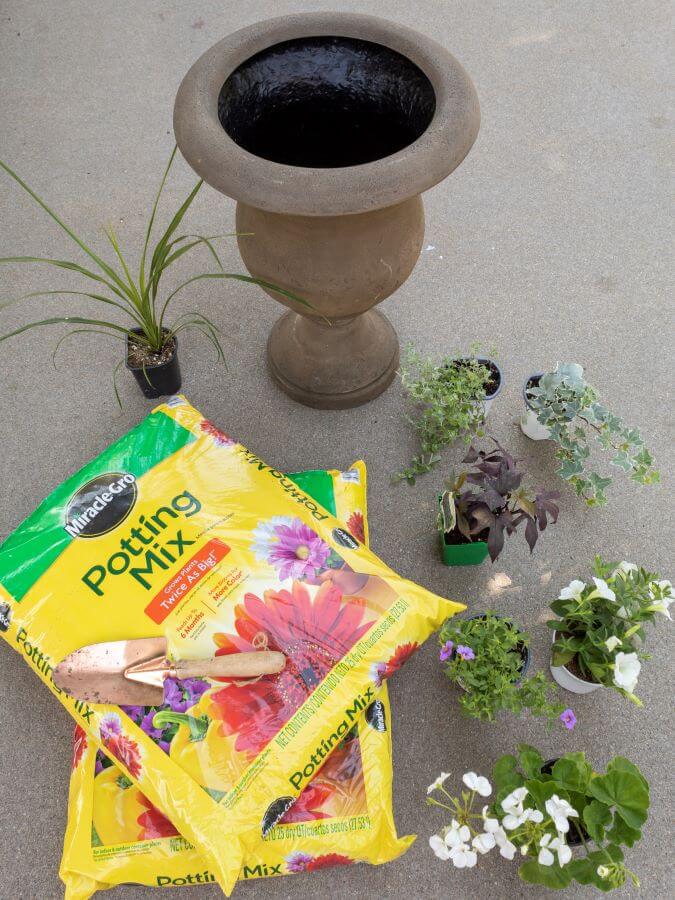
Potting Supplies
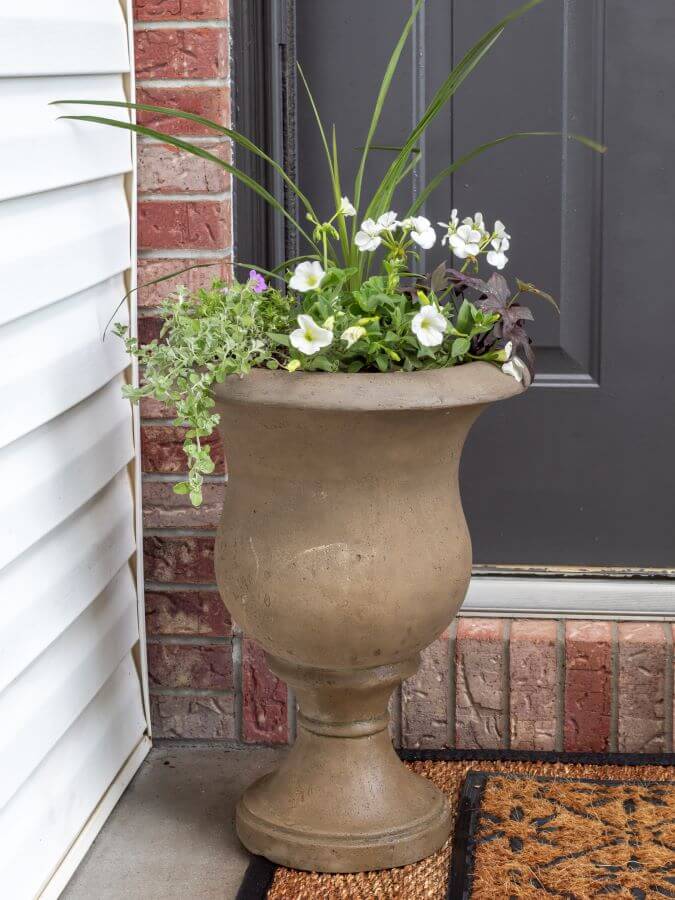
- Planter(s)– I used a gift card to buy these new urn planters. They look like stone but are made of a synthetic material. And the bonus? They’re lightweight and can stand up to a beating from our crazy Midwest weather.
- Potting soil – Any potting soil will work, but I swear by the Miracle-Gro brand.
- Hand trowel – I use my hands to do a lot of my planting, but I always have a hand trowel on standby.
Step 3 – Select Your Plants
So what’s the secret to creating a beautiful spring flower planter like the pros? It’s all about selecting the right plants.
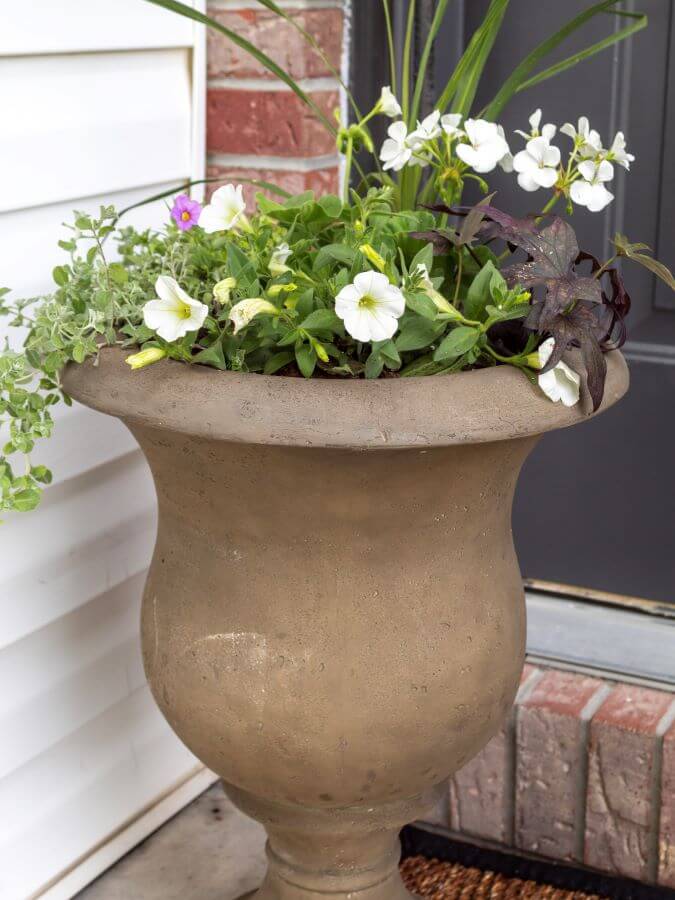
First, think about where you will be planting. Is it sunny? Or is it cool and shady? It’s important to take note of how much sun your planter will get each day so you can pick flowers that will thrive and bloom all season long.
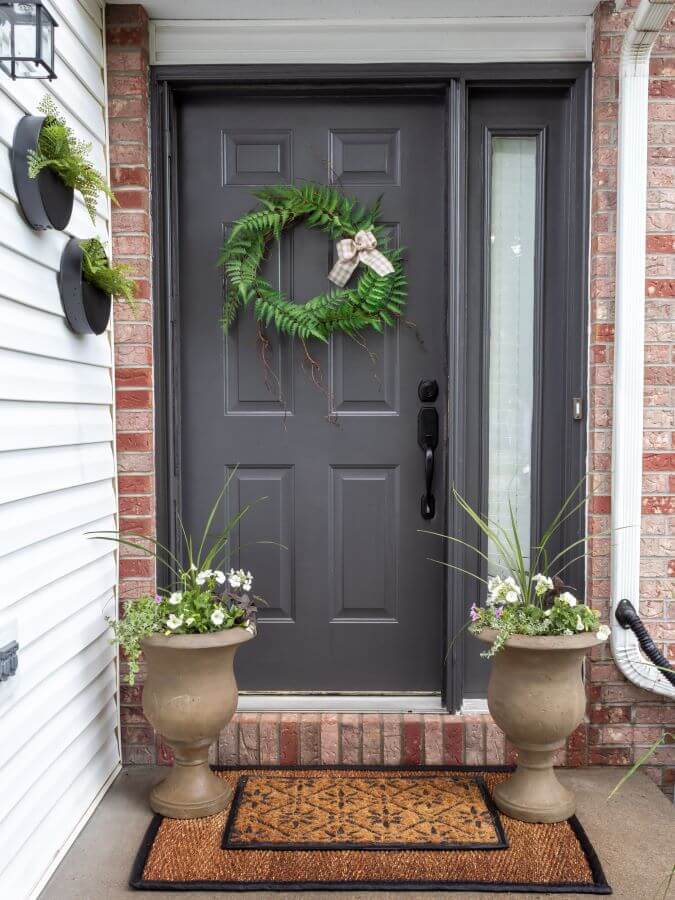
Our front porch faces the west. In the late spring and summer, it takes the brunt of the afternoon heat for at least two hours each day. When I choose flowers for our porch pots, I look for plants that thrive in partial to full sun.
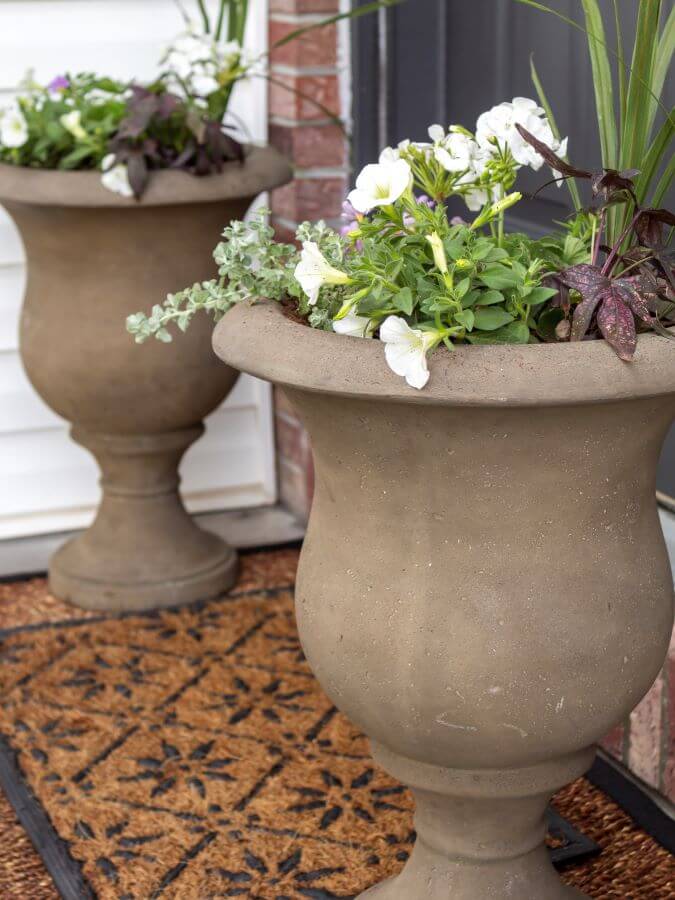
Next, when it comes to how I plant my flowers, I remember a trick my mom taught me a long time ago. The thriller, filler, spiller method.
Here’s a breakdown of what that means and the flowers I used for my spring containers.
NOTE: The plants I selected from my local nursery are based on what grows best here in my neck of the woods. In southeast Nebraska, we are in hardiness zone 5b. The plants in your nursery may vary based on what thrives best where you live. You can find your zone by entering your zip code here. You can also get more gardening tips from your local county extension agent.
Thrillers
Thrillers are tall plants that add height and interest to your container.
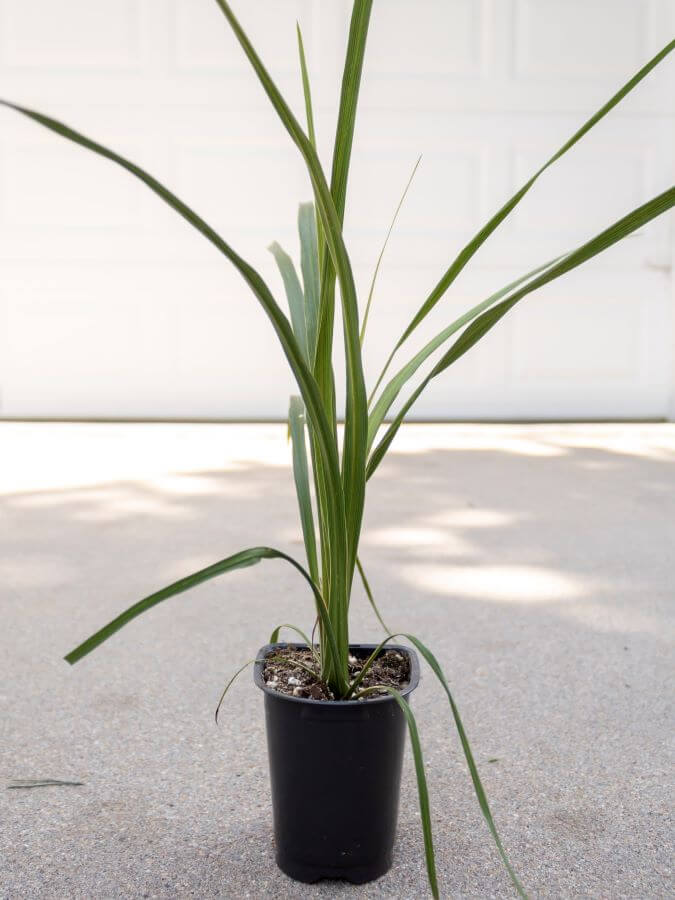
I love to use these spike plants for all of my planters. You can also use ornamental grasses, caladiums, or tall annuals with blooms.
Fillers
Fillers do just that. They fill the middle of your container. Sounds easy enough, right?
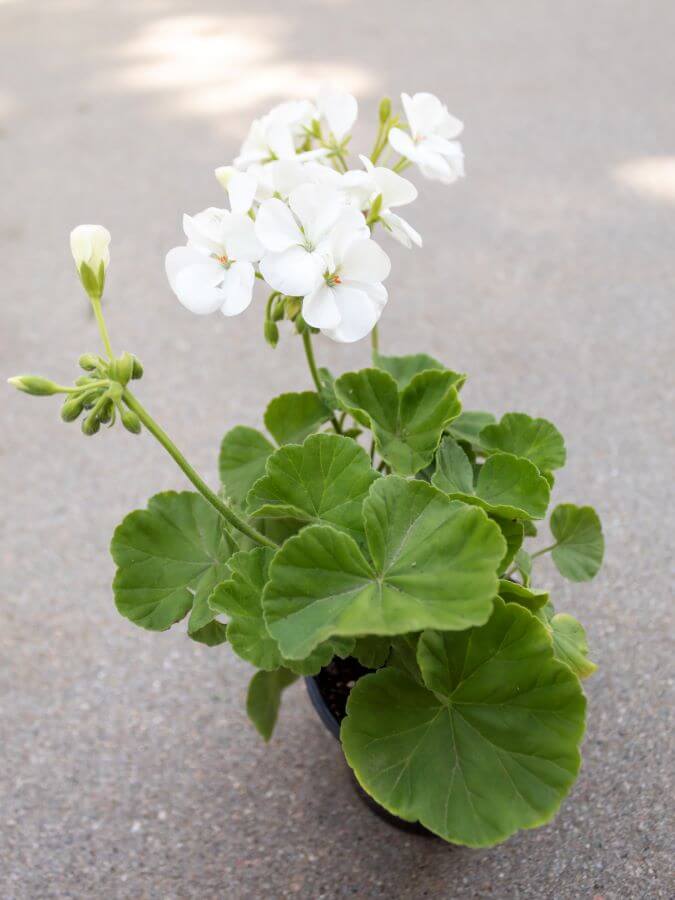
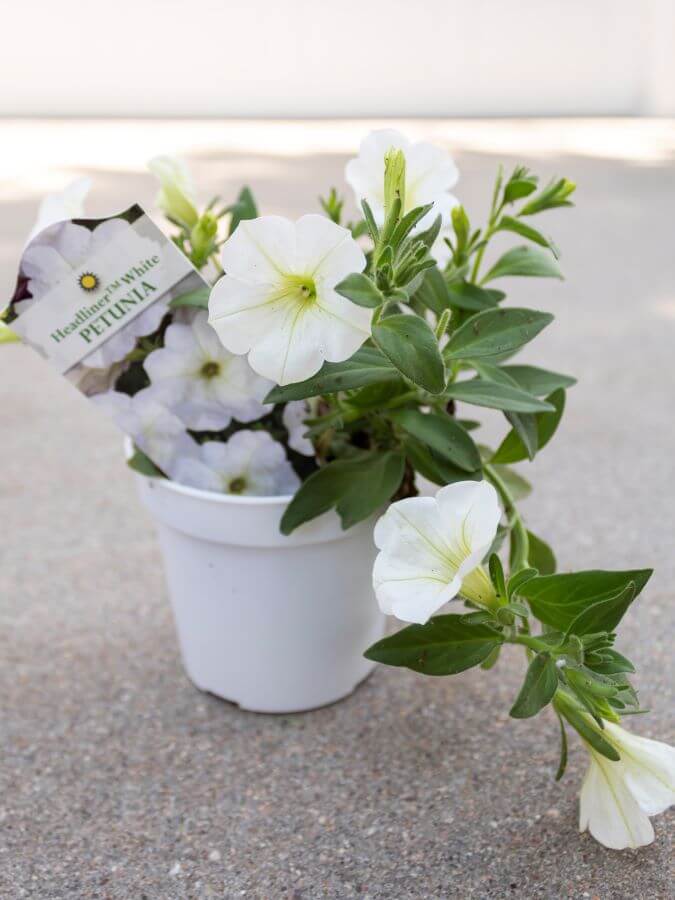
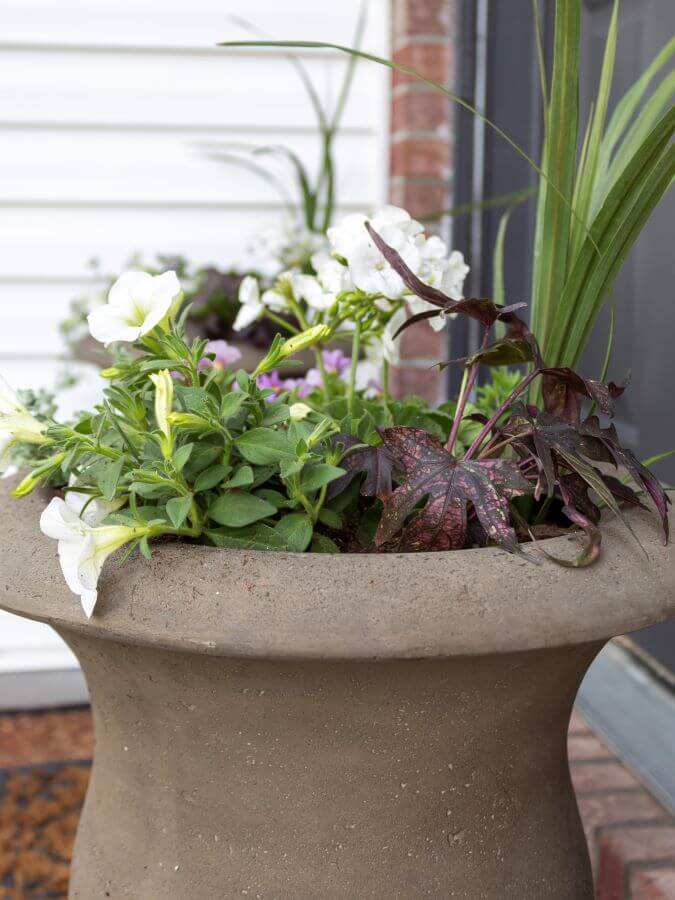
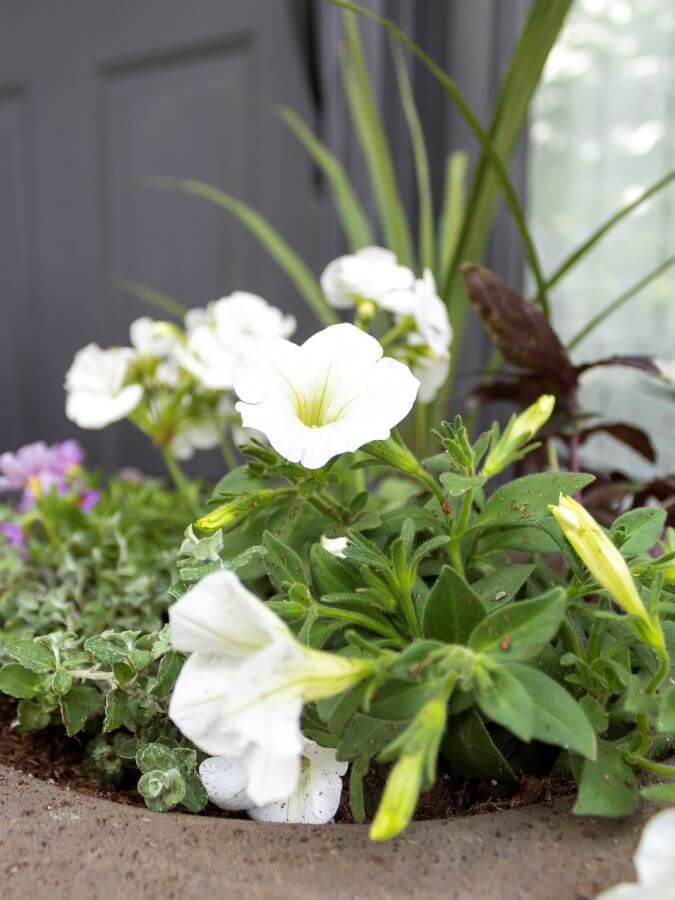
These flowers tend to be the focal point of your planter and are shorter and more round in shape than thrillers. For my planters, I used a mix of sun-loving geraniums and petunias.
Other examples of fillers include inpatients, coleus, and begonias.
Spillers
And finally, the spillers. Spillers are vining plants that often trail or spill over the side of your container.
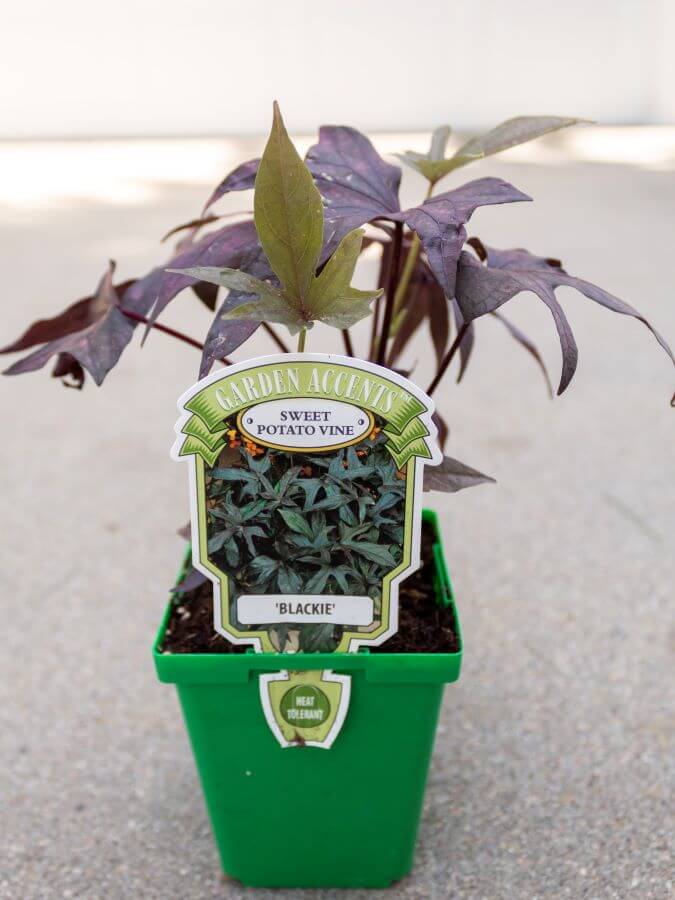
Sweet potato vine like this dark black variety is one of my favorite spillers to use.
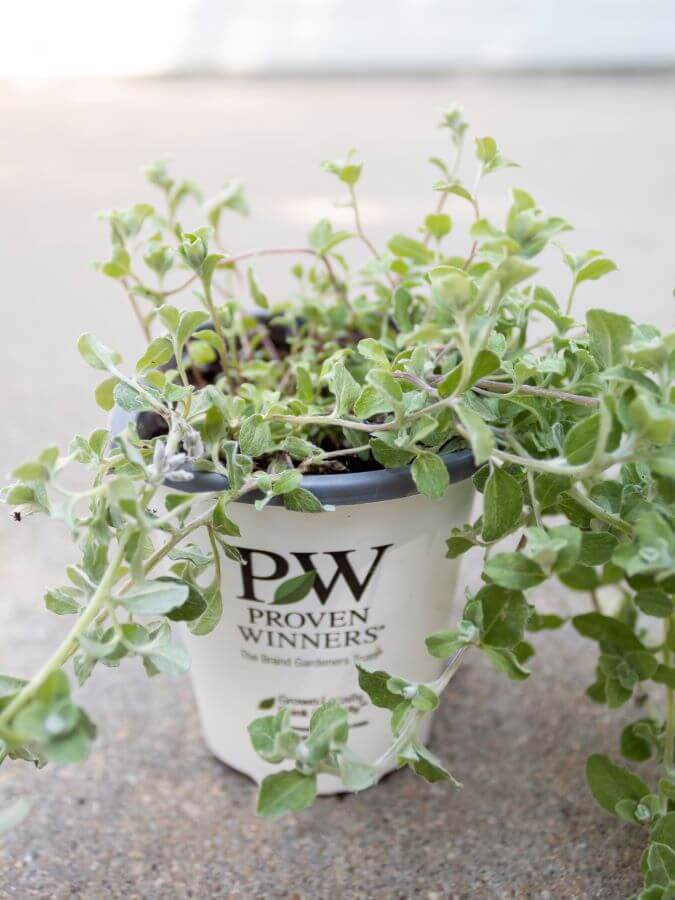
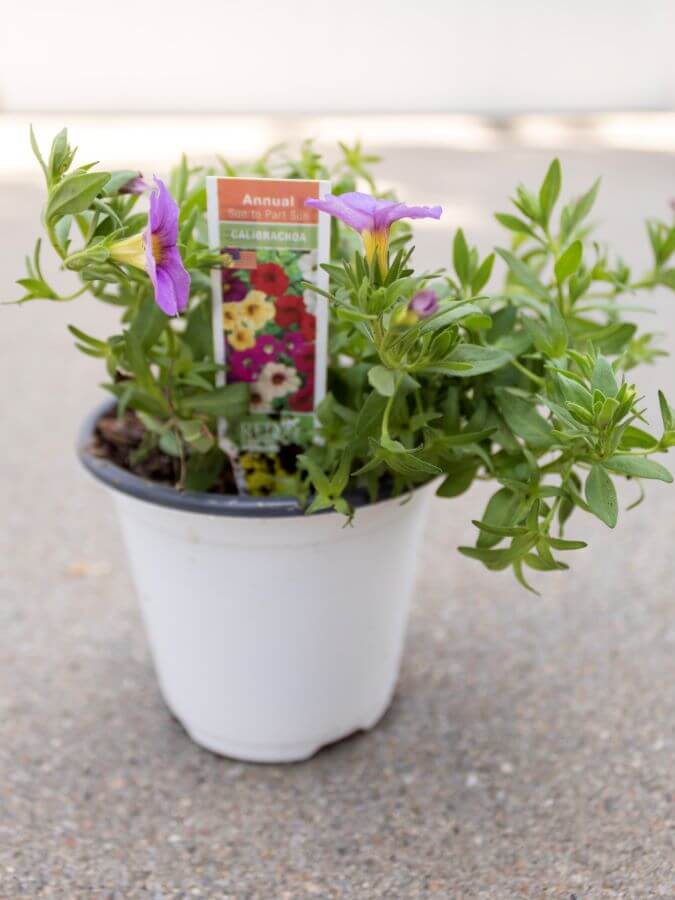
I also used some silver mist and purple calibrachoa to create some contrast with colors and textures.
There are a lot of different types of spillers to choose from. Others that you can use include vinca vine, ivy, wave petunias, and bacopa.
Step 4 – Create Your Planter
You’ve got your supplies. You’ve got your flowers. Now it’s time to plant!
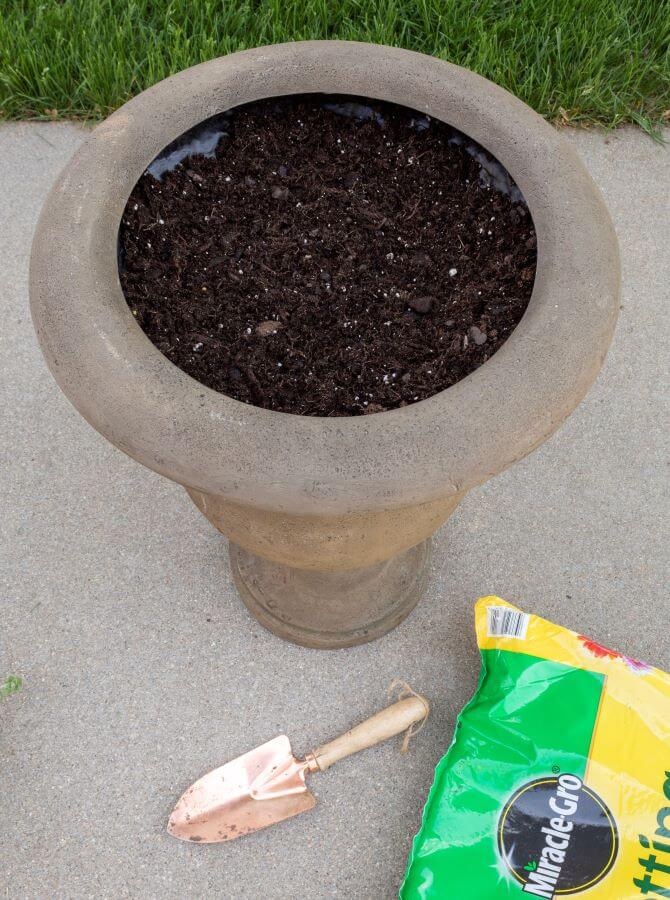
To start, fill your container with potting soil. Make sure to leave a few inches of space near the top and don’t overfill your planter.
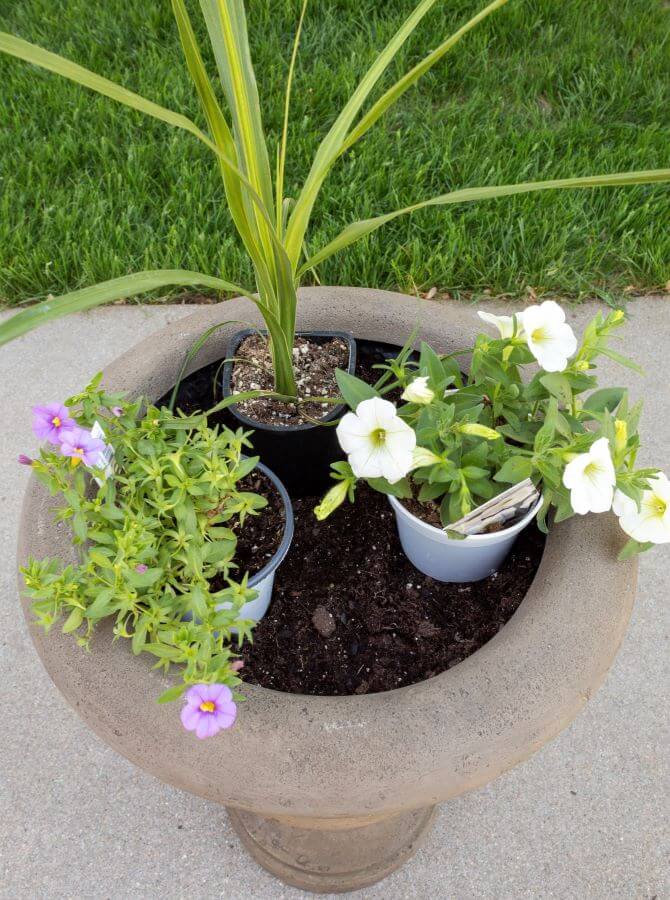
While the plants are still potted, do a test run to see how they best fill your planter. Place each plastic container on top of the soil, and move them around until you find an arrangement you like.
Keep the taller plants (thrillers) in the back and the shorter plants (fillers and spillers) near the front or sides of the container.
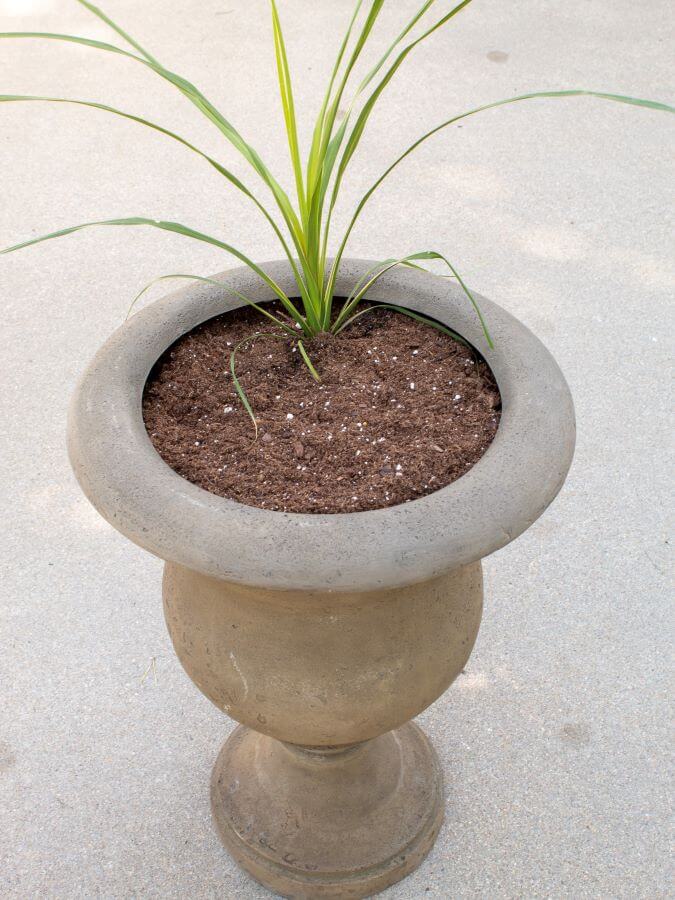
Once you’ve found what you like, you’re ready to plant, starting with your thriller.
If your pot will be seen from all sides, place the thriller in the center of your container.
Since my planters face our house, I placed my tall spikes near the far back of my planter to leave more room near the front for the more showy flowers.
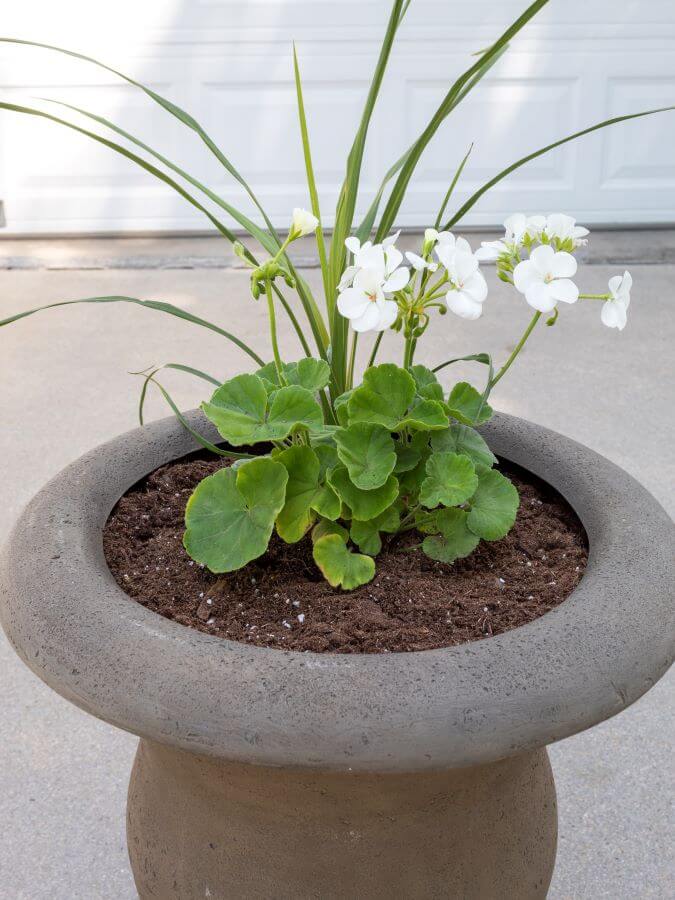
After the thriller is in place, work toward the front of your planter and add the fillers.
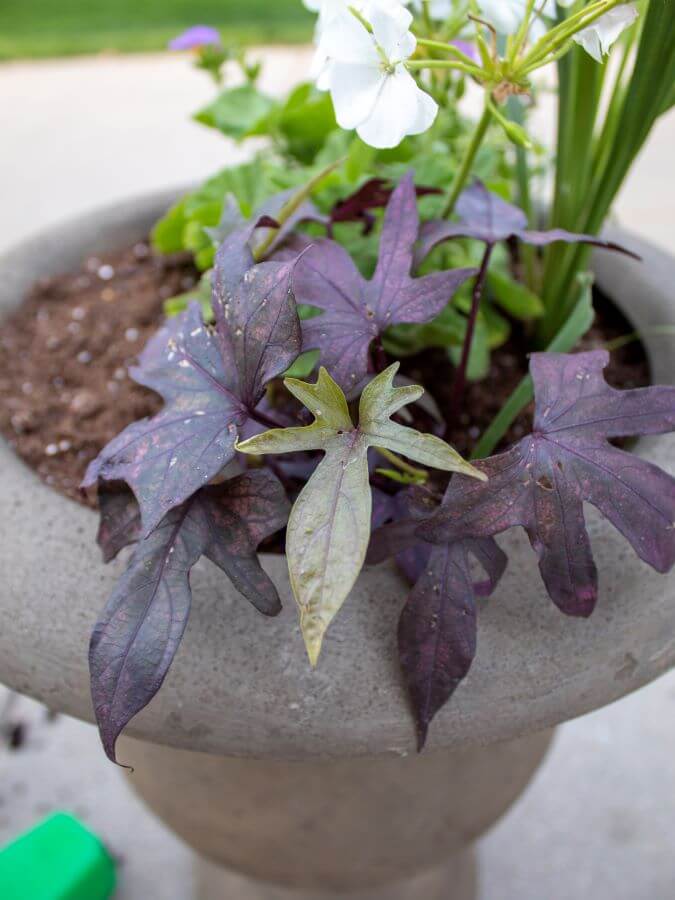
Then finish your planter with the spillers. I placed my spillers near the front and around the edges of my urn to help fill in any bare spots.
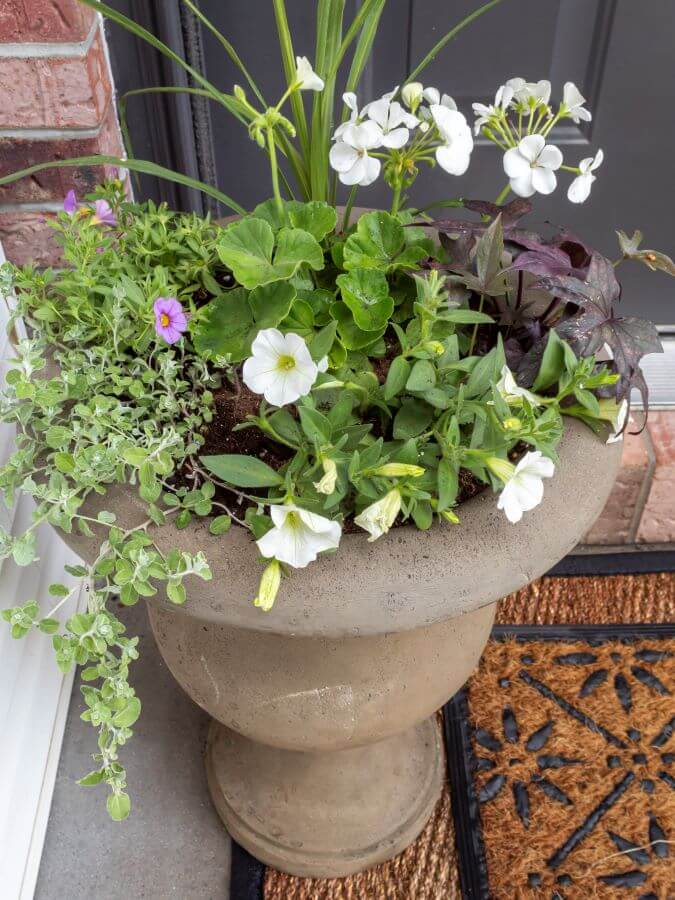
As they continue to grow, they’ll trail over the sides of the planter and cascade towards the ground to create a polished and professional look.
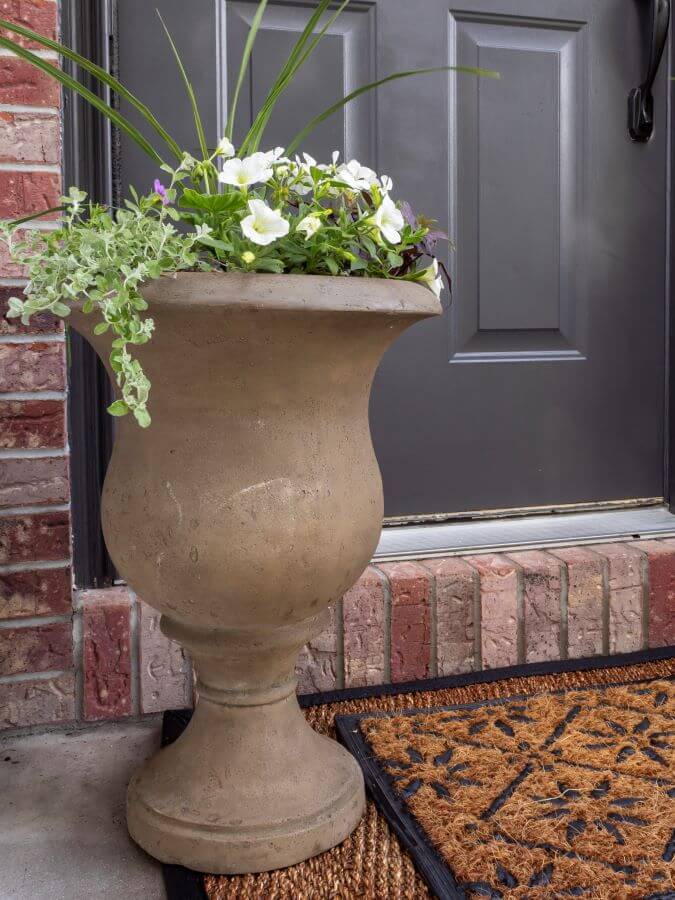
And that’s it! You’re spring planters are done. All that’s left to do is stand back and admire your work.
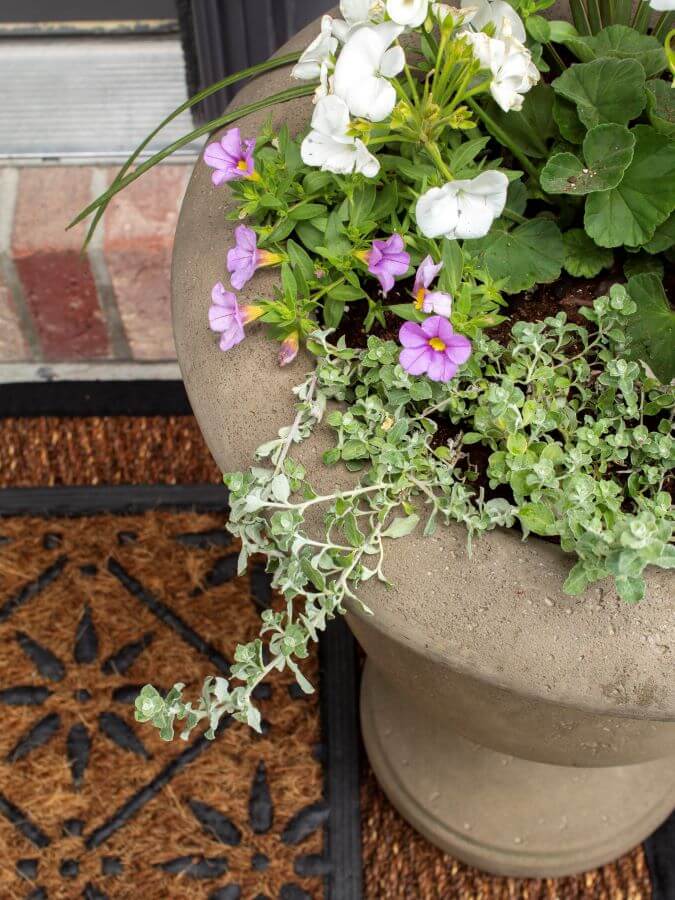
Front Porch Sources
- Door color/Shadow Mountain by Behr
- Seagrass rug
- Starlight doormat
- Urn planters
- Square black planters (similar ones here)
- Metal wall planters (similar ones here)
- Magnetic wreath hanger
- DIY fern wreath (tutorial here)
How To Create Beautiful Spring Planters In 4 Easy Steps
As always, thanks for stopping by. I hope you enjoyed my tips for how to create beautiful spring planters in just 4 easy steps.
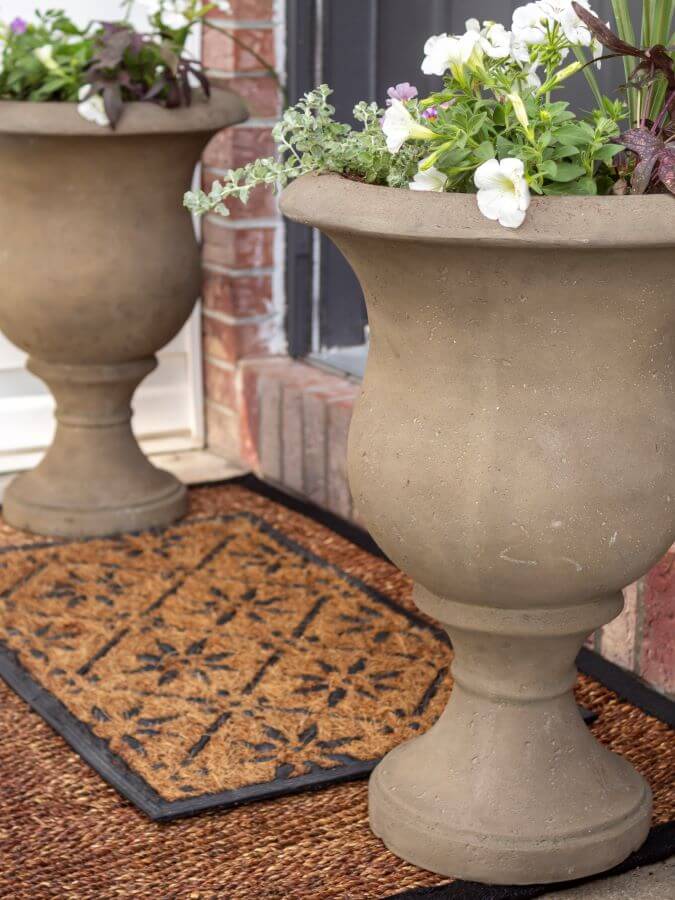
Adding spring planters to your outdoor living space is a quick and easy way to create instant curb appeal.
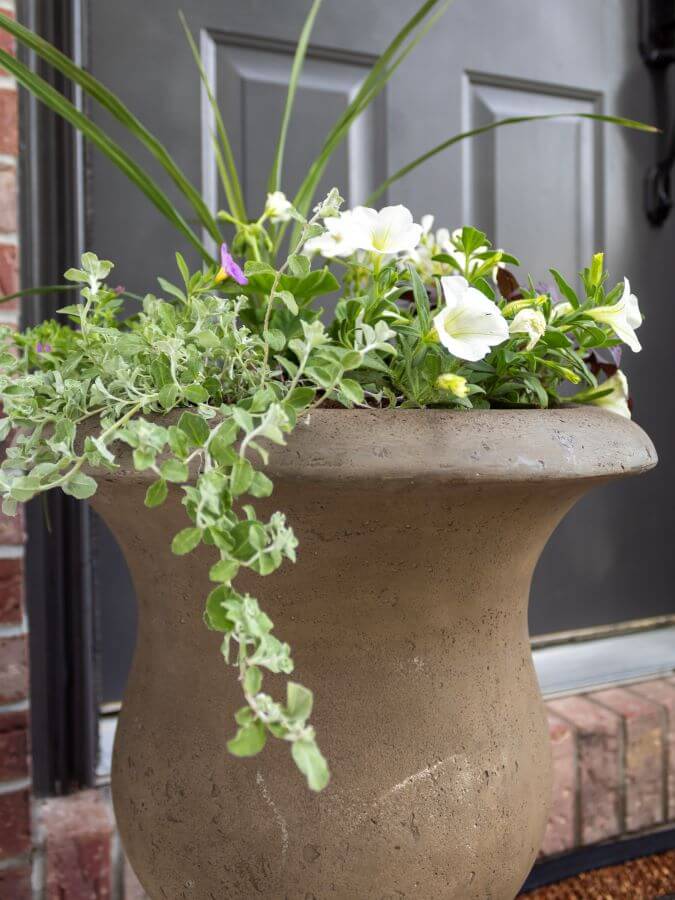
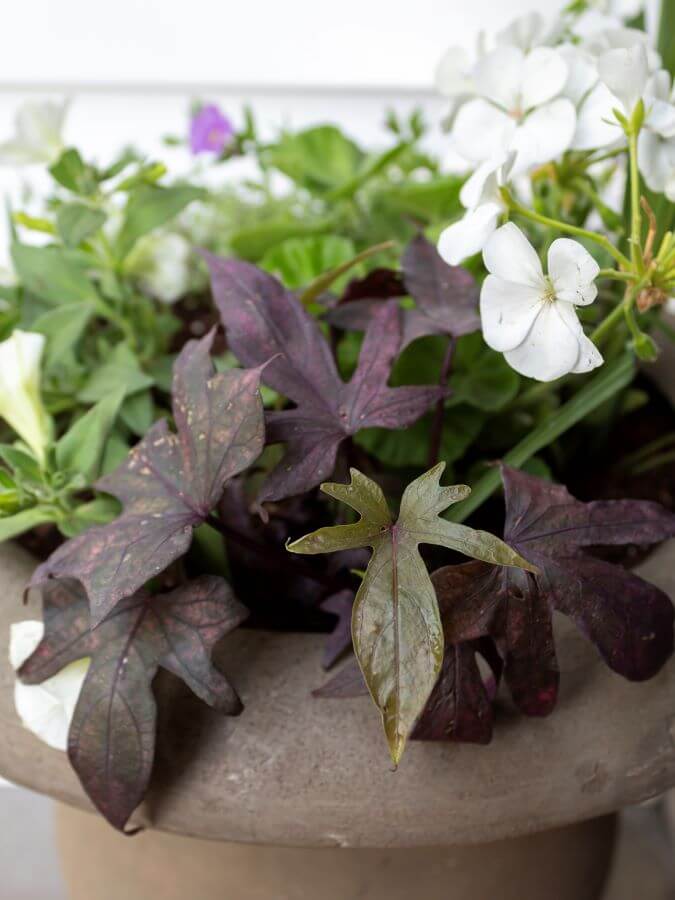
To care for your planters, water, deadhead, and fertilize as needed, and you’ll have gorgeous blooms on your porch and patio all season long.
If you enjoyed this post, you might also like to read my tips for how to start a container herb garden. Or check out my tutorial for easy DIY wood garden markers.
Don’t forget to join me on my other social channels to see more of my garden adventures, and join me on Pinterest for more outdoor living projects.
Happy Planting!

Did You Enjoy this Post? PIN It for Later!


Leave a Reply