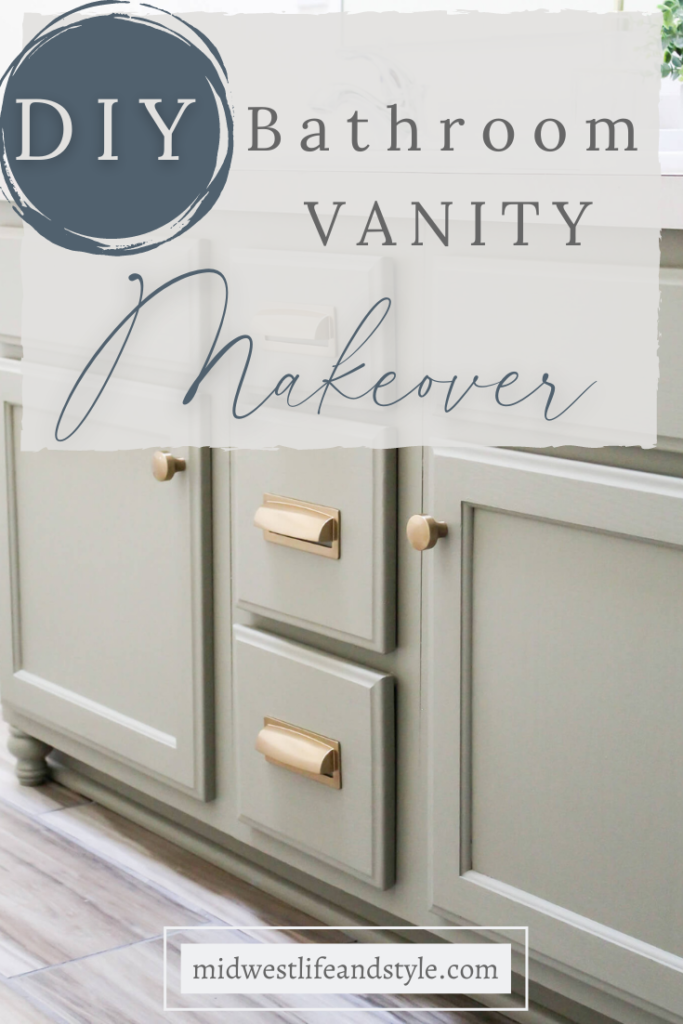
See how I gave our builder’s grade bathroom vanity a DIY makeover without breaking the bank.
*As an Amazon affiliate, I earn from qualifying purchases at no extra cost to you. My blog contains other affiliate links as well for your convenience. To learn more, you may read my Disclosure Policy. Thank you for supporting my blog!
DIY Home Decor Blog Hop
This week I am excited to be joining a group of blogging friends for a DIY Home Decor Blog Hop, hosted by Aliya at Open Doors Open Hearts. If you are visiting from my friend Kelly over at The Tattered Pew, I am so glad you are here!
For those who may be new, thank you for stopping by, and welcome to Midwest Life and Style! My name is Jen. I am a wife, a mom of two, and an event planner by day, turned DIYer by night.

As if being a wife, mom, and working full time wasn’t enough to keep me busy, I decided to start a blog in the summer of 2020 as a way to share my passions or all things home, and Midwest Life and Style was born.
Here at MWLS, you will find posts on topics like made-from-scratch recipes, decorating for the seasons, and good ole’ Midwestern hospitality. From simple DIY projects to home styling tips and more, my goal is to inspire you by showing you that you do not need to spend a lot of money to create a beautiful and inviting home.
For today’s DIY, I am sharing how I gave our boring builder’s grade vanity a brand new look for under $100! Seven friends are sharing their DIY projects today too, so I hope you will take some time to go and see what they created. I have linked all of their posts at the bottom of the page.
Easy DIY Bathroom Vanity Makeover
Note: This post is part of a series about how we transformed our outdated, builder’s grade bathroom from blah to beautiful and how we did it on a budget! Missed a part of the journey? See our bathroom transformation from the beginning by clicking [HERE] here to see part one and [HERE] to see part two of the project.
When we set out on our bathroom reno journey, my husband and I were determined to keep things as budget-friendly as possible. This included upgrading our less than attractive 90’s gold-oak vanity.
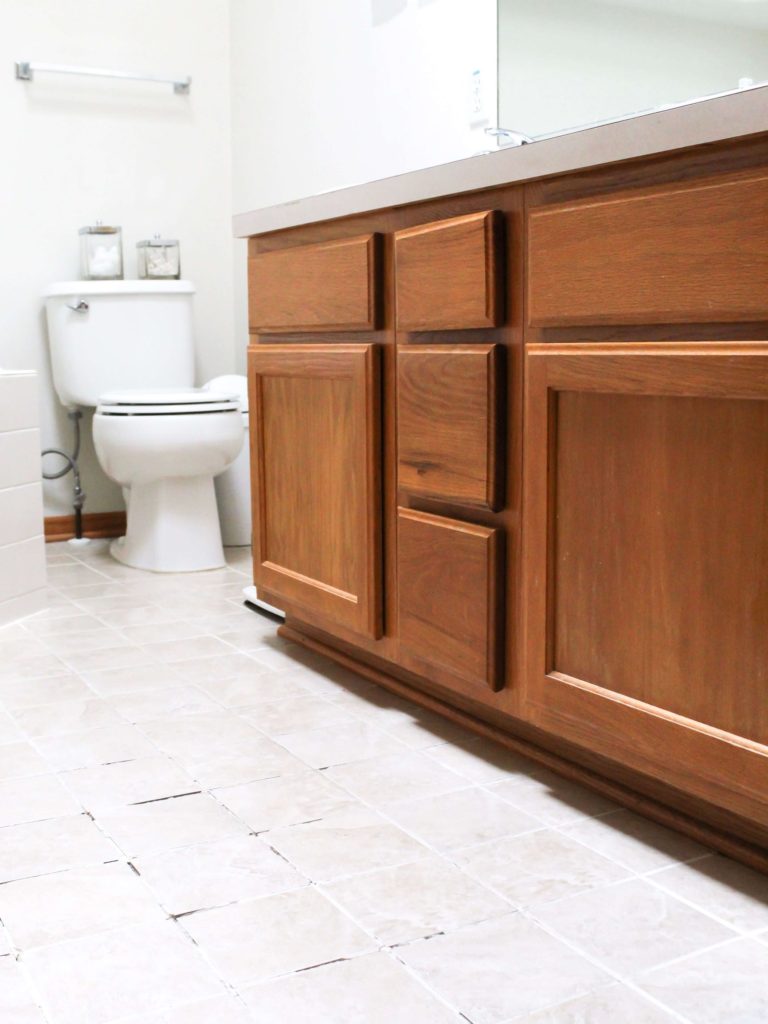
There is nothing wrong with the vanity itself. In fact, it is in great condition! But, as we slowly update our home, we (okay, really more me) decided it just didn’t fit our style.
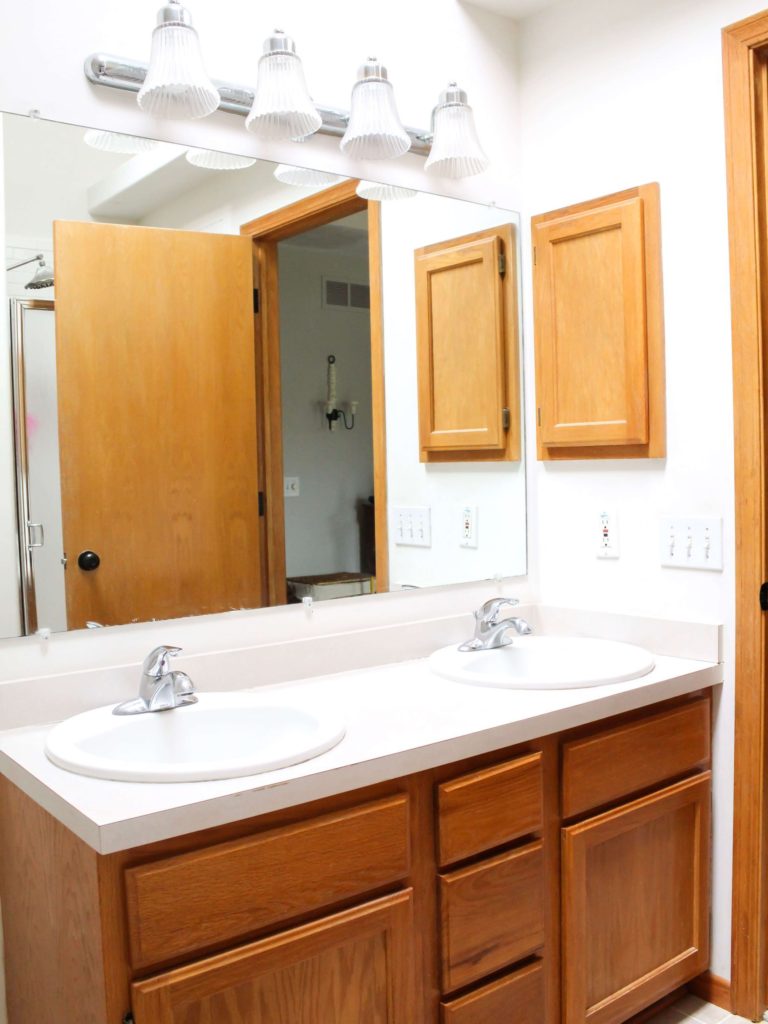
Brand new vanities can cost upwards of $1,500 (or more!), and that was just not in our budget. So, I decided to give our bathroom vanity an easy DIY makeover with some paint and new hardware.
Selecting The Paint
When I shared the original bathroom design board, I chose a deep gray color for the vanity. But after we picked out our new tile flooring, I started to have second thoughts.
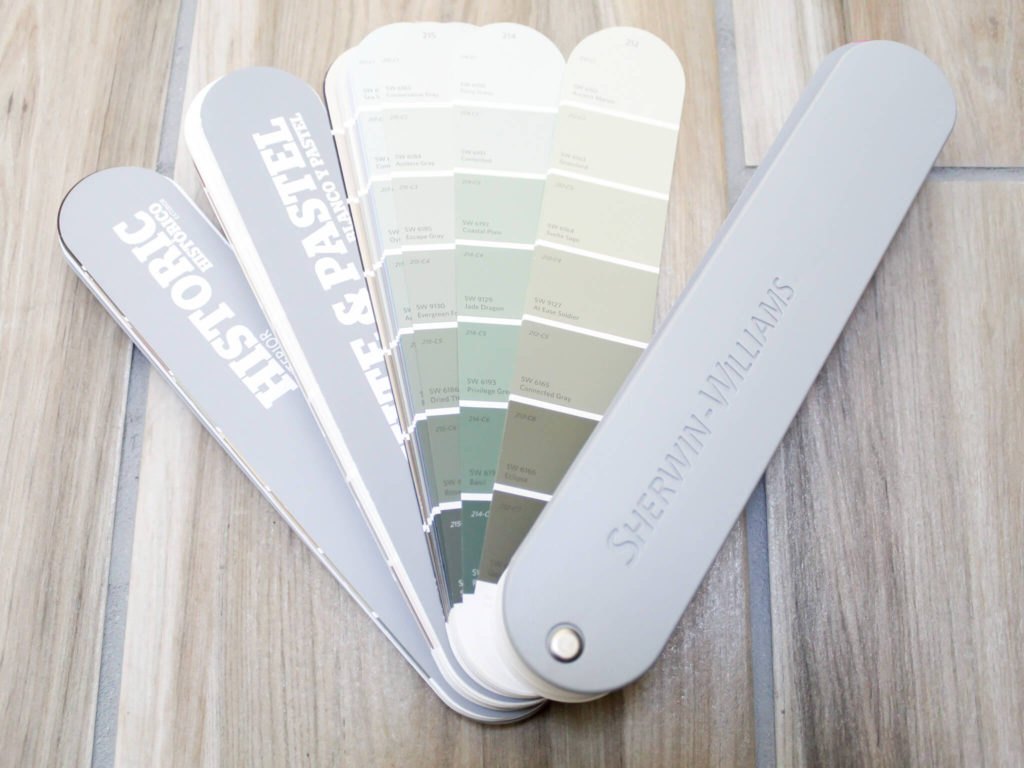
After comparing paint colors from my fan deck to the tile, I decided to go with a shade of green instead. With samples in hand, I went to my local Sherwin Williams to pick up the paint.
I was still torn between two colors. At Ease Soldier and Connected Grey. While I stood staring at the wall of colors, an employee came to offer help. I showed her my two choices, and as luck would have it, she told me that there was a brand new gallon of At Ease Soldier available as a mistint…for only $6 instead of $70.
I bet you can guess which color I chose.
Until this project, I had no idea what mistint paints were. Mistints are paints that are unused or returned by customers because they are not the right color match or finish. In this case, someone else’s loss was my gain!
Prepping The Vanity
After I had my paint and supplies, I prepped the vanity by removing all of the cabinets and drawer fronts.
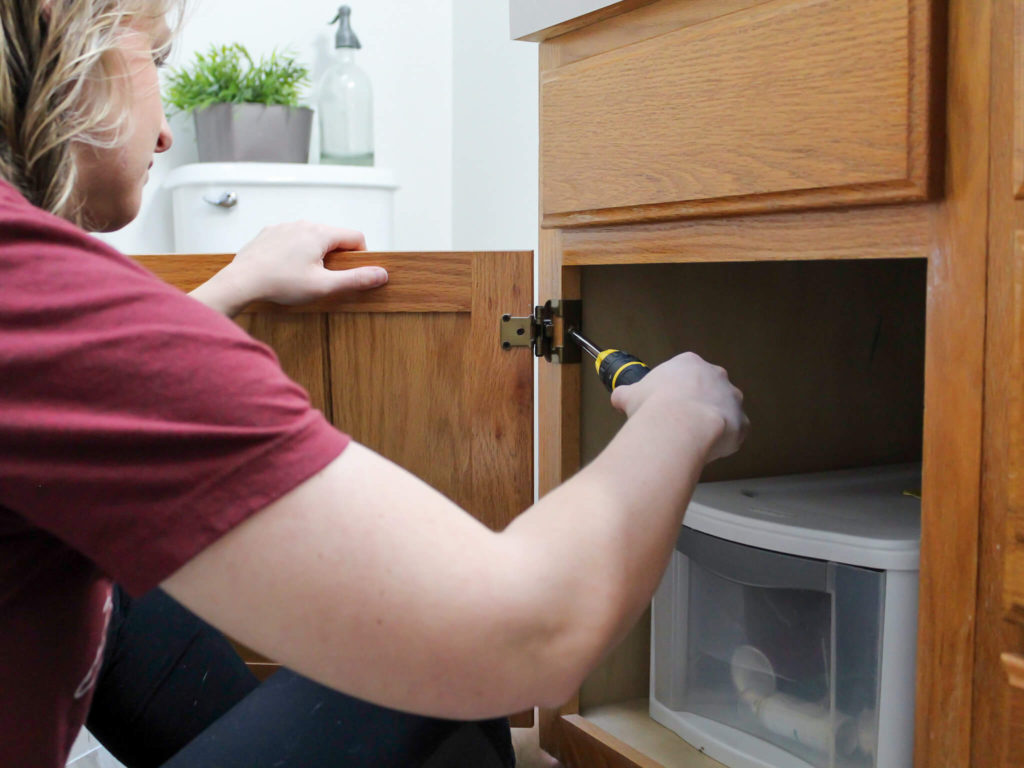
Once I removed everything, I used painter’s tape to label the drawers, and I used plastic storage bags to keep all of the screws and hardware organized.
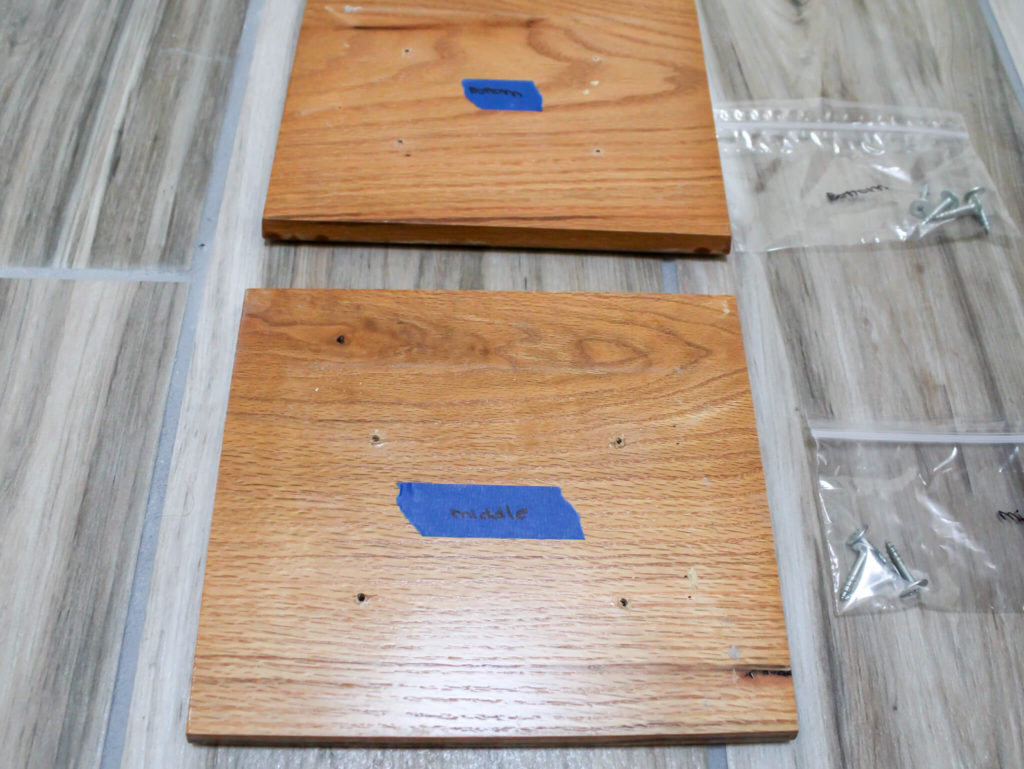
TIP: Labeling drawers and cabinet fronts is helpful to make sure everything gets put back in the right spot without any mix-ups.
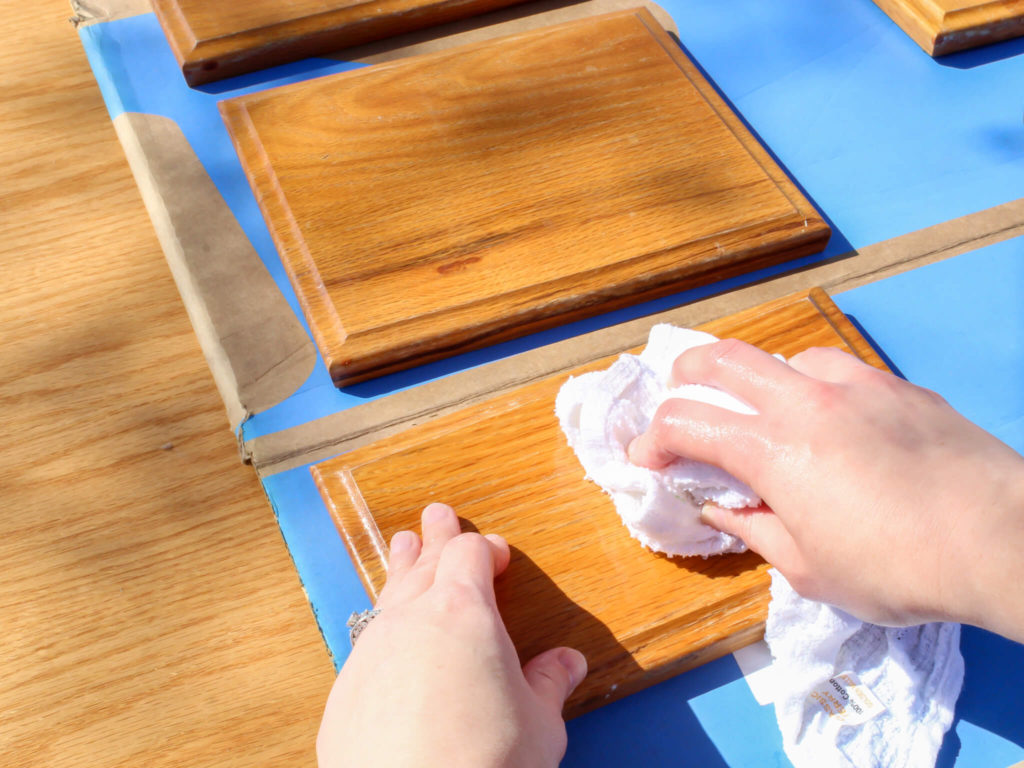
Then I took all of the cabinets and gave them a good scrub with a damp rag to remove any dust or stuck on grime.
Painting The Vanity
Once the cabinets were dry, it was time to paint. I started with one coat of primer to help cover the oak color. I had a gallon of Kilzbrand primer leftover from another project, so I did not need to buy any. It is an amazing quality paint, but any brand will work for a project that requires priming.
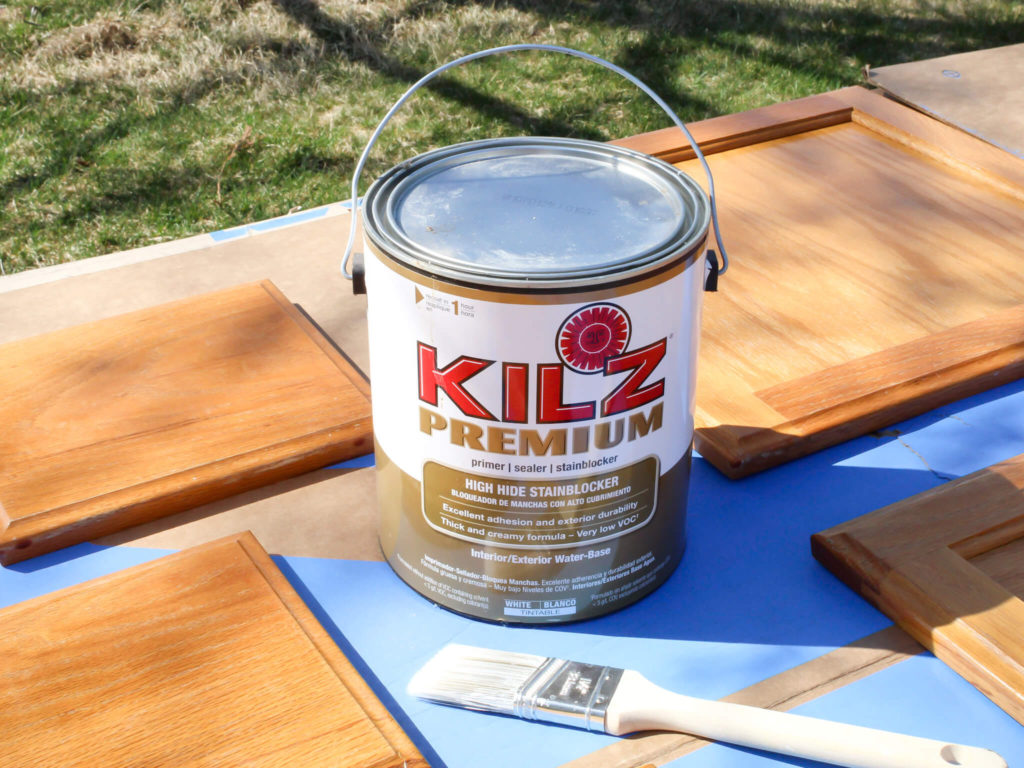
I did not sand my cabinets or use a liquid deglosser. If you are painting cabinets that might get banged up (like in a kids’ bathroom or kitchen), I would recommend using a deglosser first.
Also known as liquid sandpaper, deglosser removes any extra glossy sheen, which helps your paint stick better and prevents chipping and peeling.
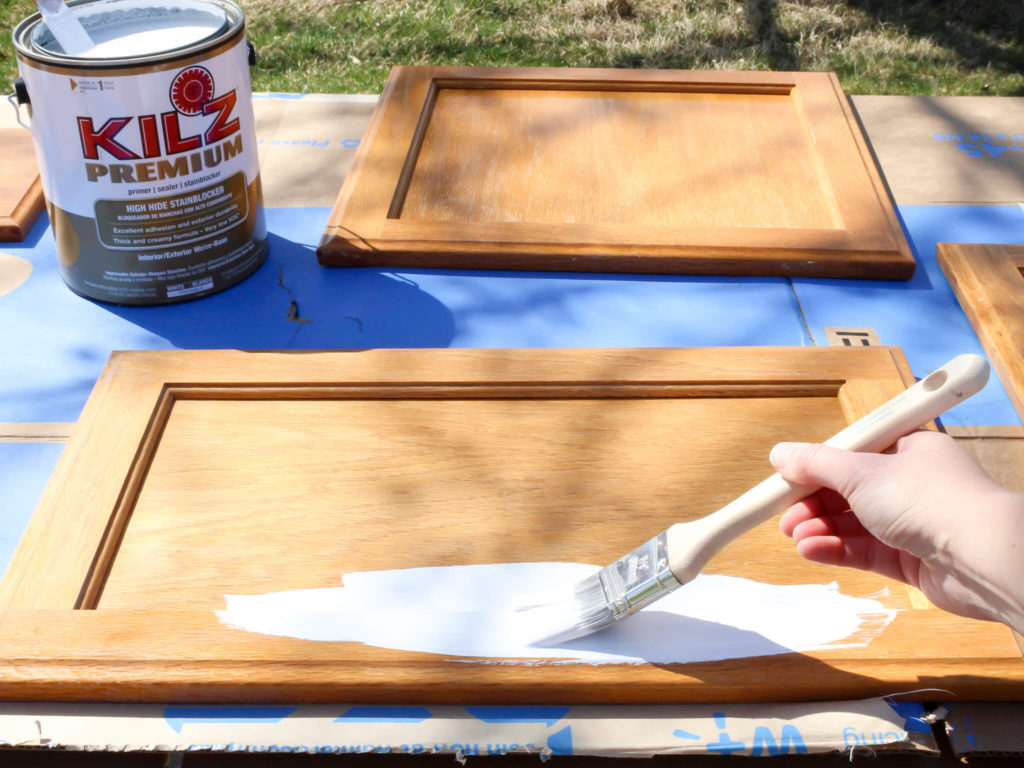
To apply the primer, I started with a brush to work the paint into the detailed edges of the cabinet. (I used a brush and roller to apply primer to the base of the bathroom vanity, too.)
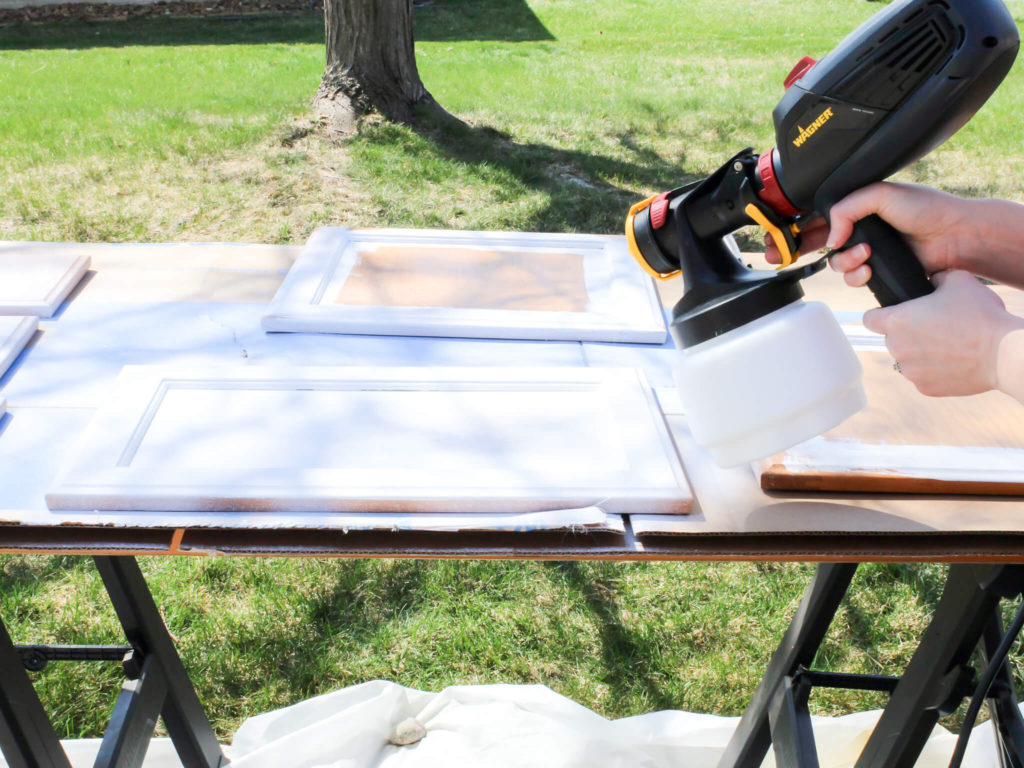
Then I used my paint sprayer to apply the primer to the rest of the cabinets.
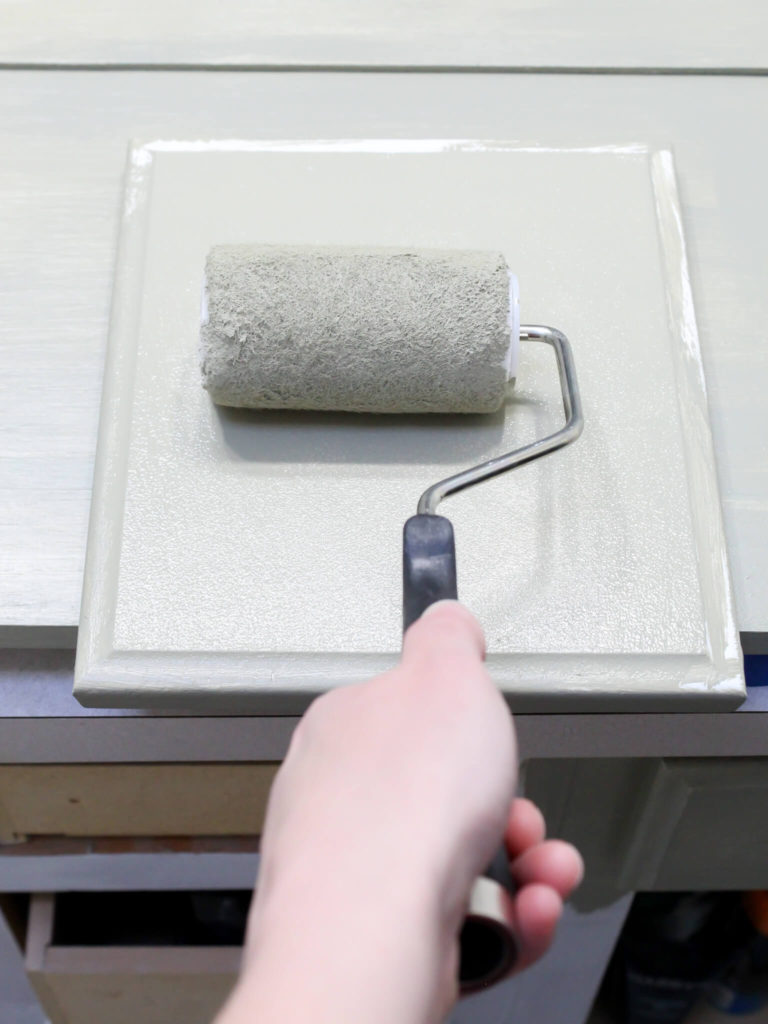
I had planned to use my sprayer for the whole project, but mother nature and the wind had other plans. So I used a combination of a trim brush and a roller to add a smooth coat of paint to the rest of the vanity.
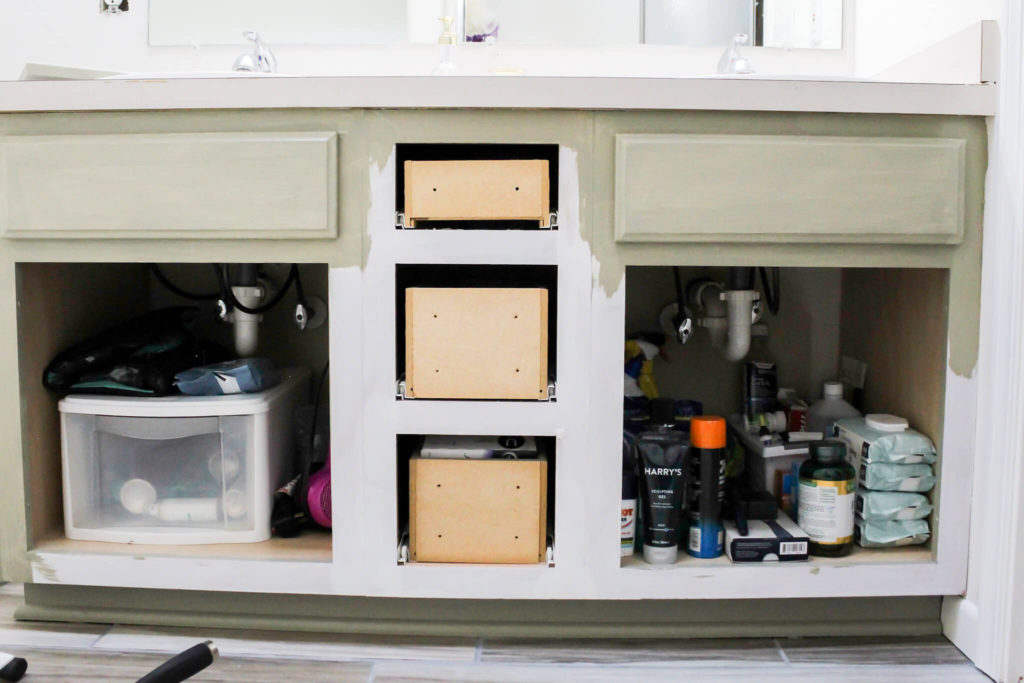
Here is the painting in progress.
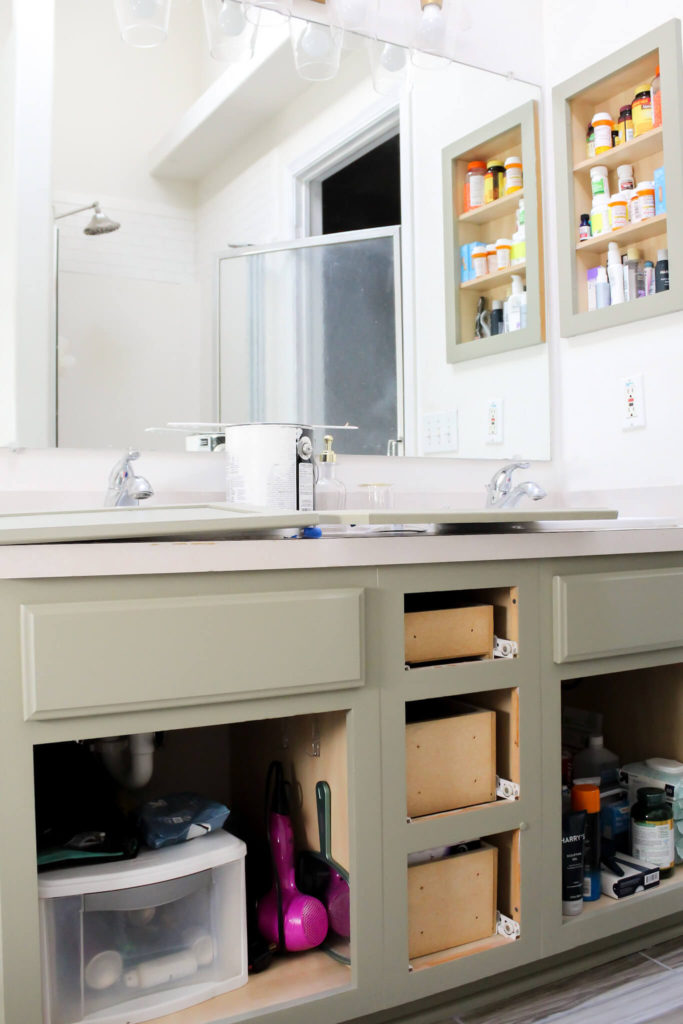
And here is the painting all done. I only used two coats of paint for the vanity and medicine cabinet, so I still have over half of a gallon of paint leftover that I can use for another project. Talk about getting bang for my buck!
Adding Some Hardware
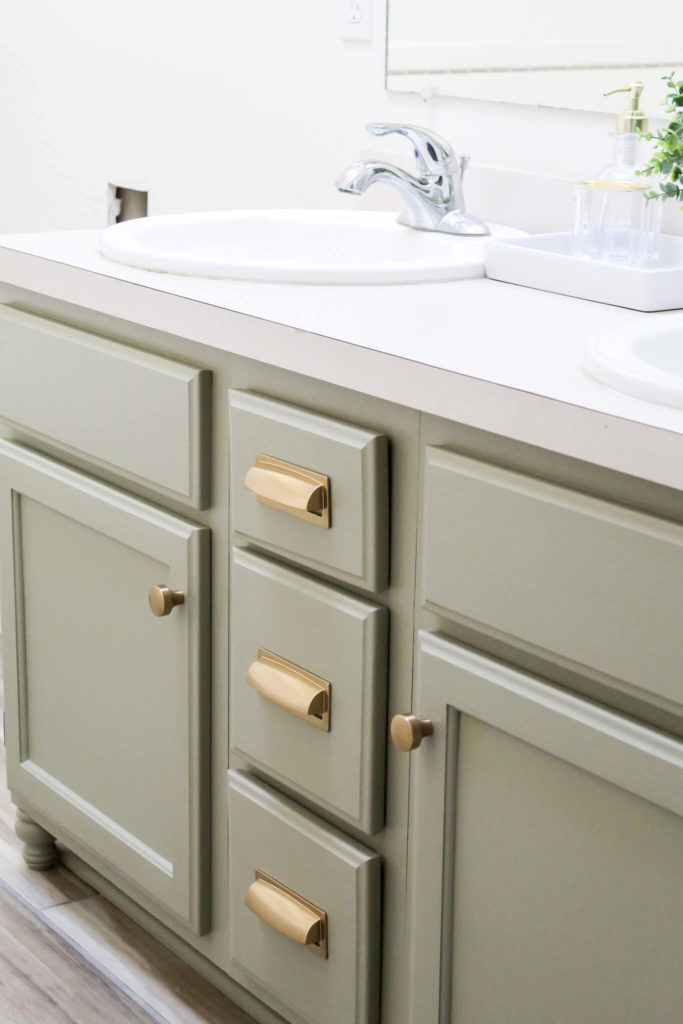
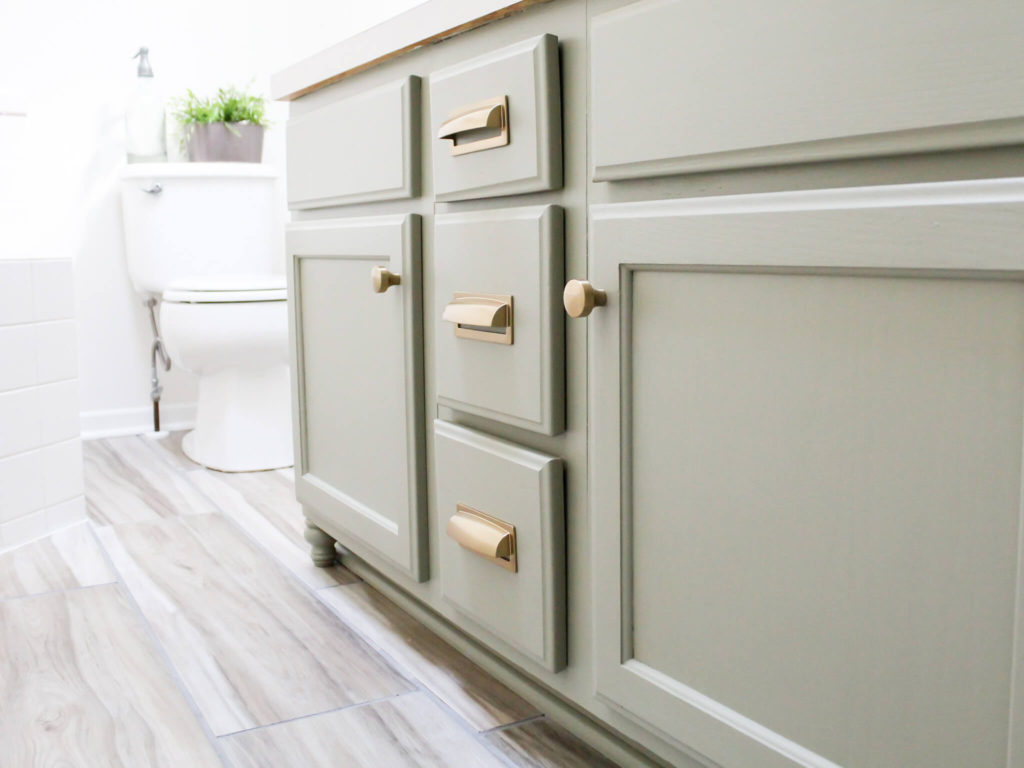
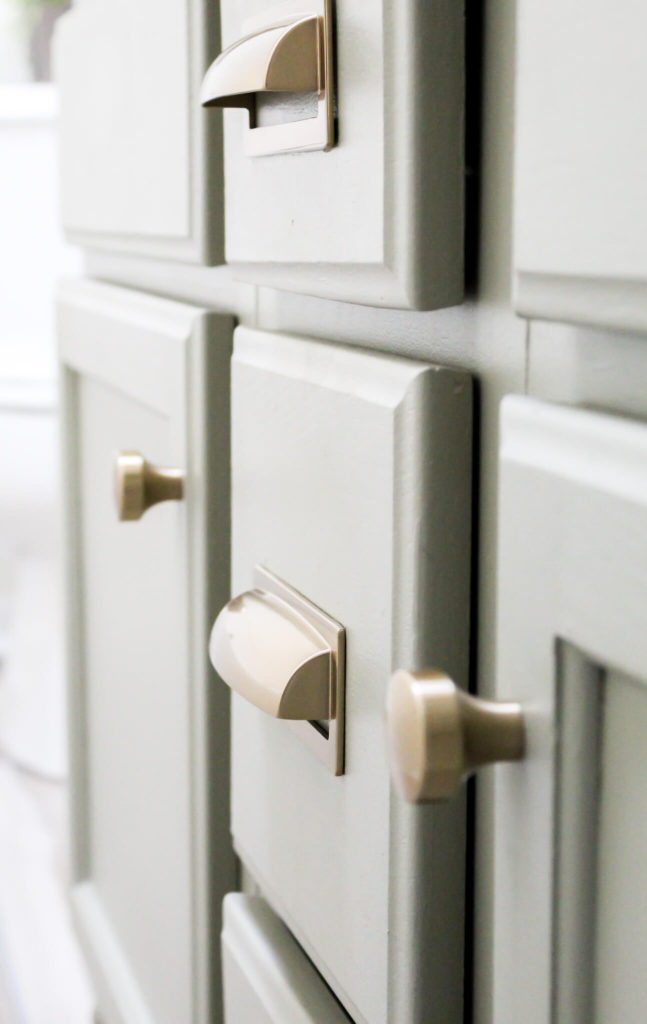
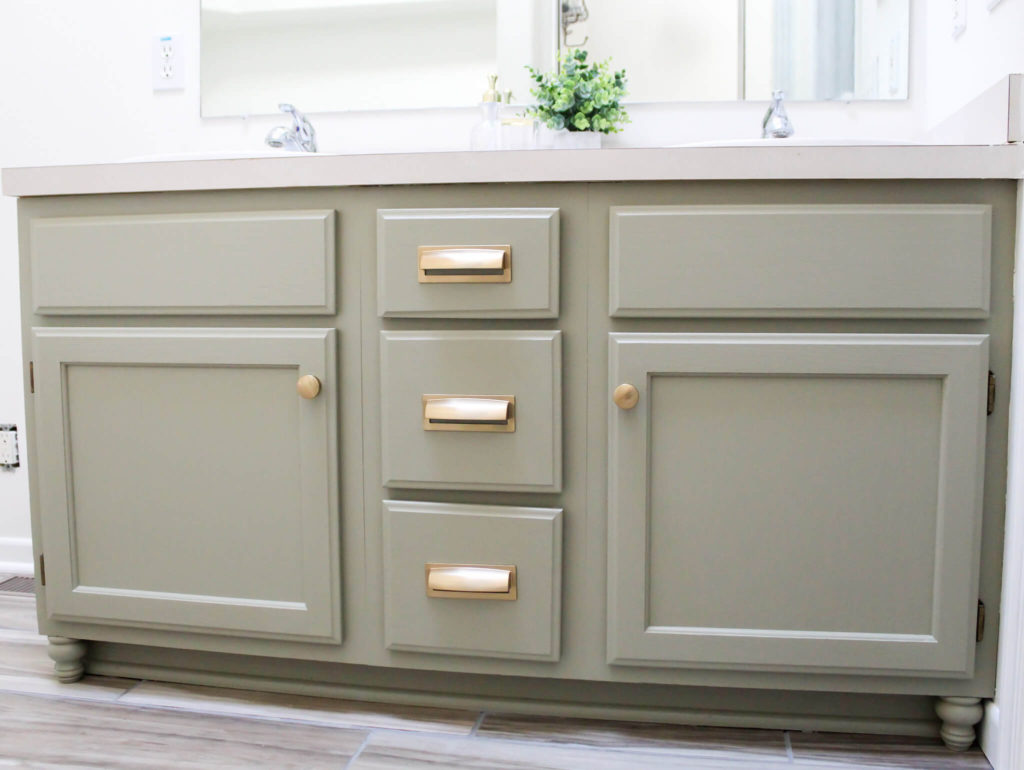
For the vanity hardware, I chose a brushed brass finish. Like the paint color, the brass was a bit of a brave choice. But once again, I am so glad I decided to go with my gut. I love how the soft brass color pops against the green paint and lends to the blend of traditional and modern cottage styles that I am drawn to.
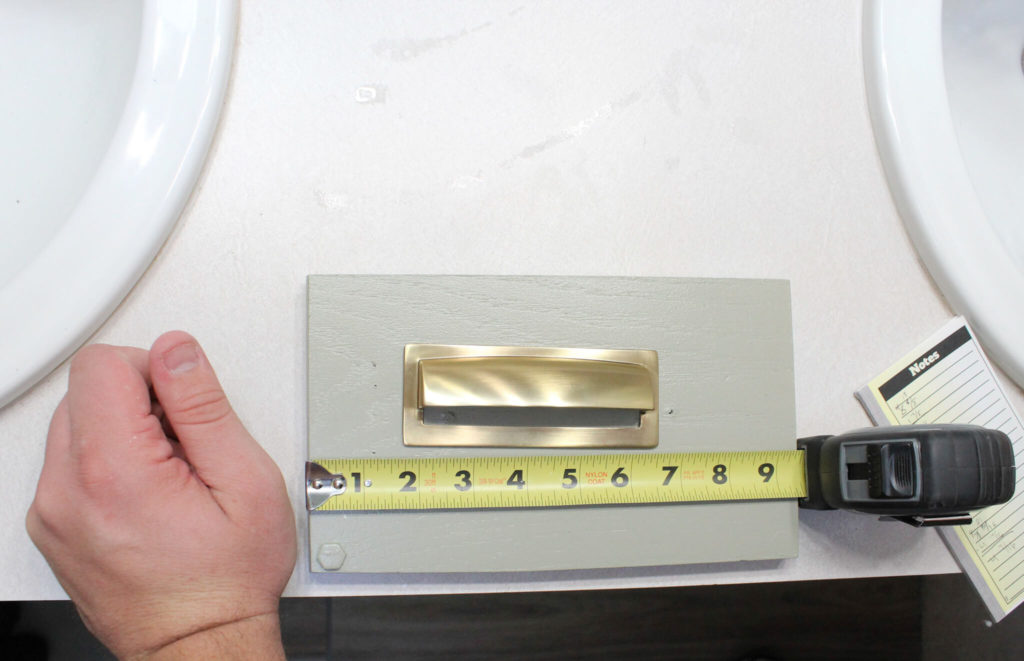
The hardware was the biggest splurge item for the DIY bathroom vanity makeover. I looked at other retailers, but in the end, I could not stop thinking about these knobs and pulls from build.com.
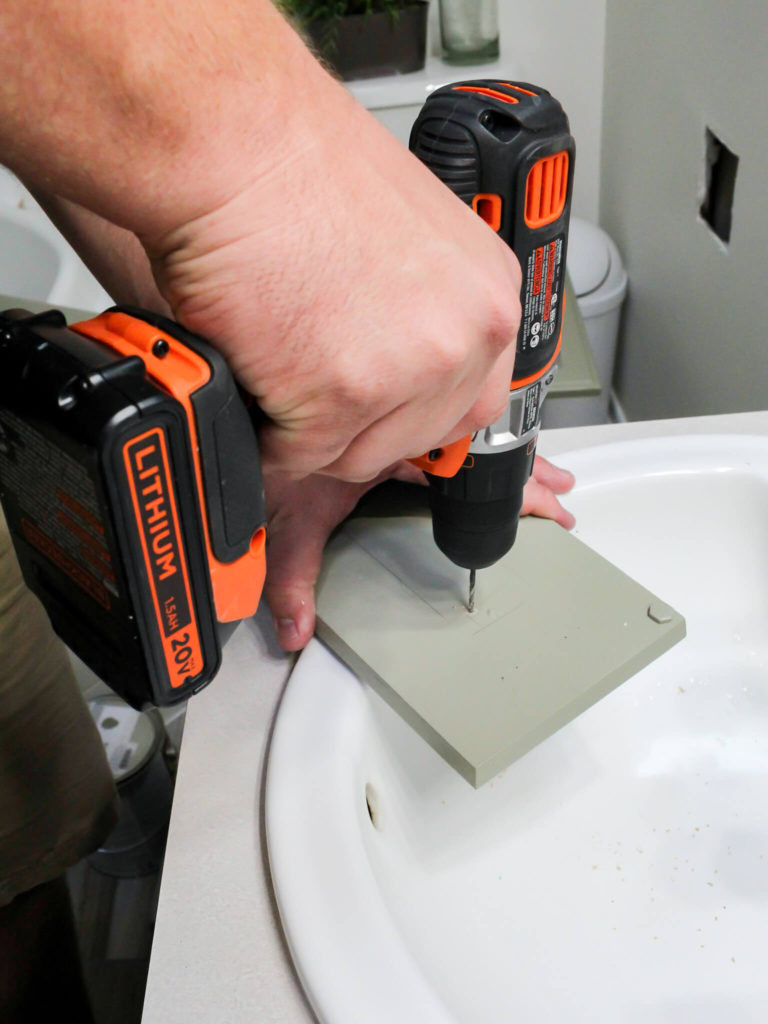
Buying the hardware was easy. Attaching it…not so much. I will confess that math is not my strong suit. If it were up to me, I would just eye-ball everything. But since that doesn’t work well when it comes to drilling precise holes, my husband stepped in to help attach the hardware.
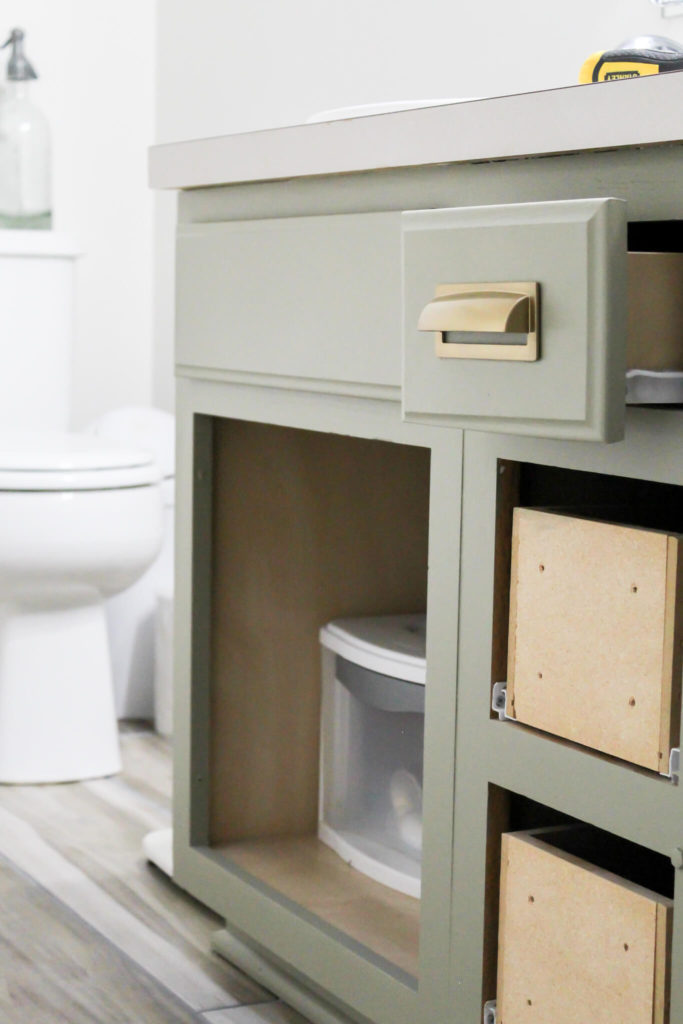
Once my husband added all of the hardware, I re-attached the drawer fronts and cabinets.
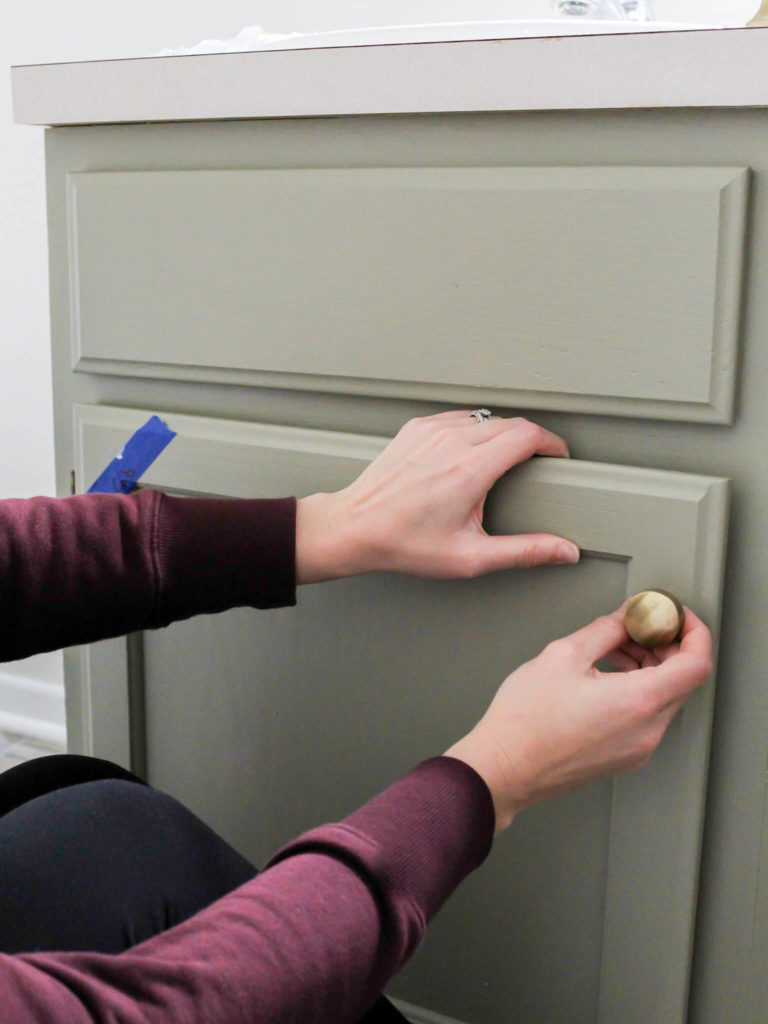
Then to finish, I added the knobs. The hardware makes such a big impact and makes it easier to open and close the cabinets, too.
Creating a Built-in Look
The last step in our DIY bathroom vanity makeover was creating a built-in look with the help of some furniture feet.
I found a pack of four 3″ furniture feet on Amazon for less than $20. I was so excited when they arrived, but they were just a tiny bit too big to fit underneath the vanity. Remember what I just said about me and math? Argh!
Math – 1 / Jen – 0
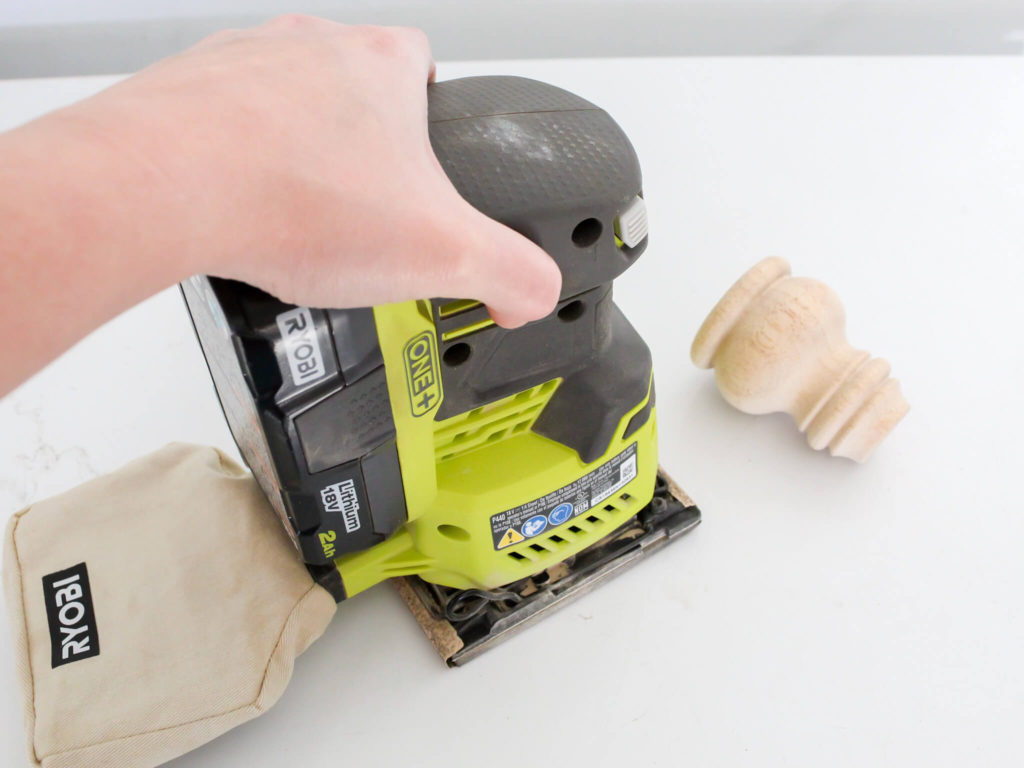
Luckily I used my power sander to carefully sand the feet down to the right height. Then I painted them and gently tapped them in with a rubber mallet.
Since the feet are just decorative and fit snug, I did not use anything to attach them. Depending on your project, you may want to use something like wood glue or small nails to keep the feet in place if needed.
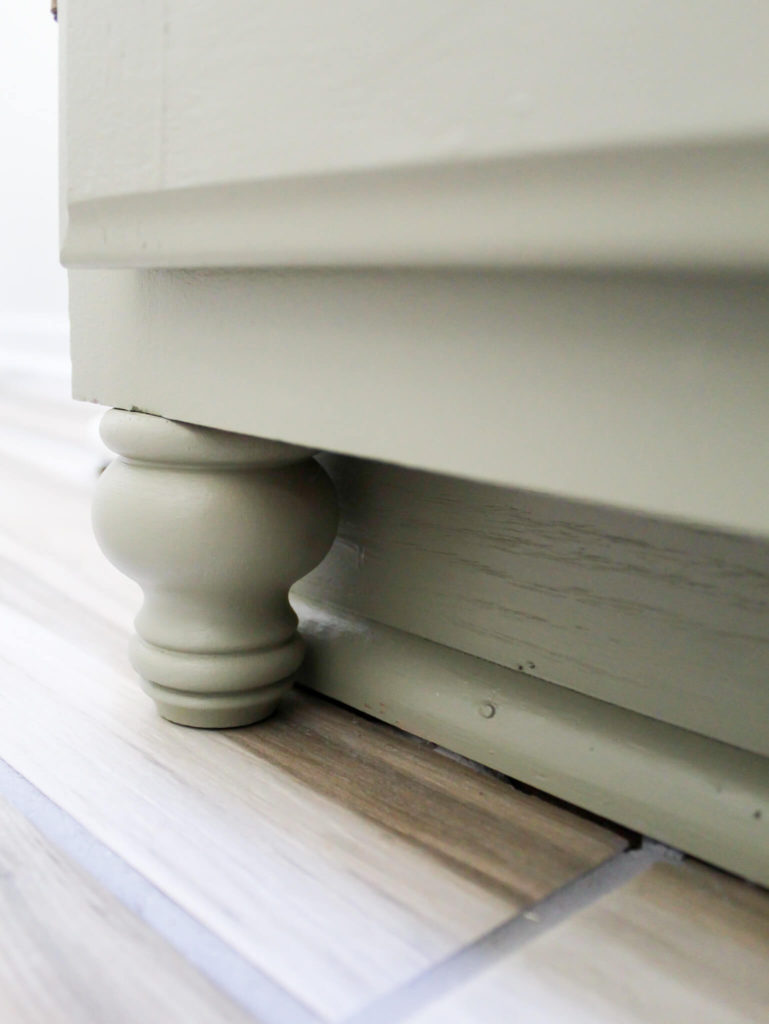
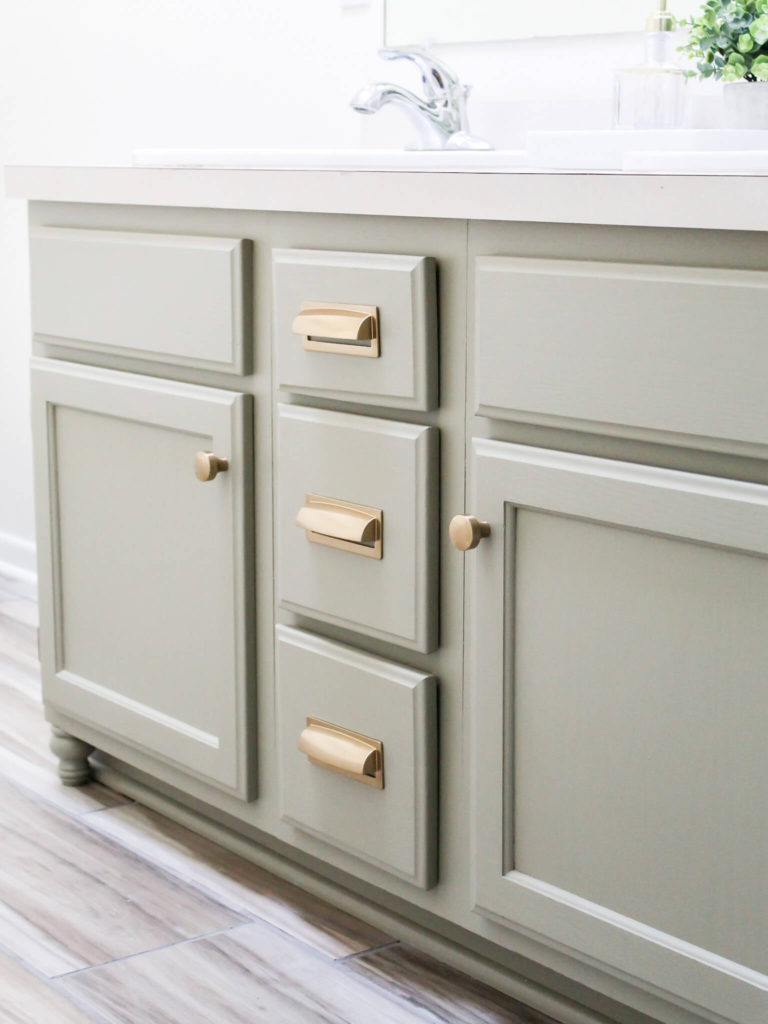
They may have taken a bit of extra work, but they were worth it. I love the extra detail the feet add to the vanity, and it was such an easy way to create a custom built-in look without the high price tag that comes with built-in cabinetry.
Cost Breakdown and Vanity Sources
I did save some money by using tools and supplies that I already had on hand, like the primer, paint brushes, and rollers.
So what did I spend for this DIY bathroom vanity makeover? Here is the cost breakdown, as well as the sources.
Paint. Sherwin Williams “At Ease Soldier” in Satin Finish – $6
Hardware. Knobs and Pulls from Build.com – $45.54
Furniture Feet – $18.97
Total Project Cost = $70.54
For your convenience, I have linked all of the supplies I used for our bathroom vanity makeover. Just click on any of the blue links or photos to shop.
Easy DIY Bathroom Vanity Makeover
I am so glad to have this part of our bathroom reno project done. As a reminder, here is a picture of the vanity before I did the refresh…


And this is what it looks like now!
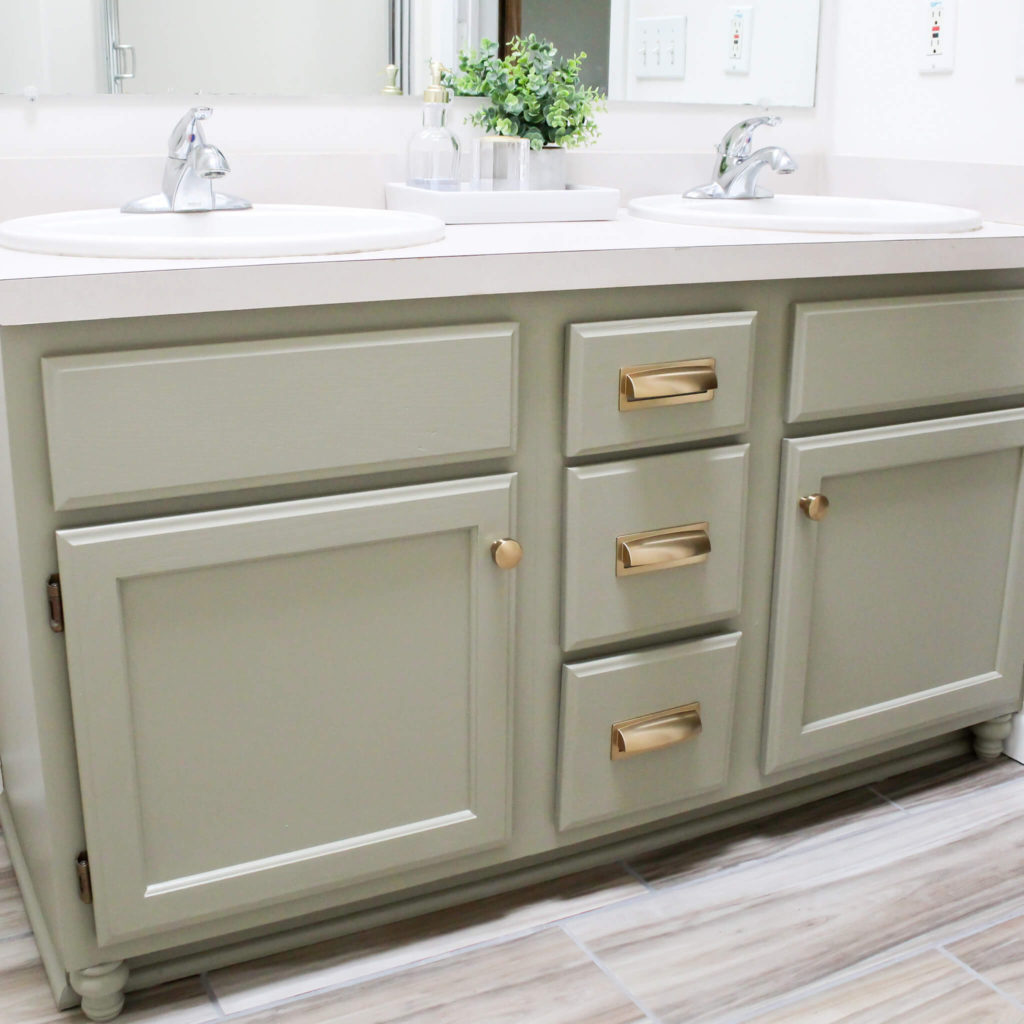
What do you think? I am in love with the green paint and so happy that I chose a color that was a bit outside of my comfort zone.
I think that $6 gallon of mistint paint was meant to be!
Still to come in our bathroom are new faucets, hardware, shower updates, and replacing the blah, builder’s grade mirror with two new mirrors from Wayfair.
I shared a sneak peek of the mirrors on Instagram a few days ago, and I can not wait to get them hung!
Of course, I will share all of the progress here, and you can also follow along on my other social channels including, Facebook and Twitter.
More DIY Inspiration
Thank you so much for visiting today! I hope this post helps inspire you and shows you how easy it is to do a DIY bathroom vanity makeover.
Next on the DIY Home Decor Blog Hop, be sure to visit Brendt at She Gave It A Go to see how she created beautiful sea glass vases on a budget. And don’t forget to check out all of the other DIY projects linked below.

8 DIY Home Decor Projects

Midwest Life & Style| Easy DIY Bathroom Vanity Makeover
She Gave It A Go | DIY Sea Glass Vases on a Budget
Open Doors Open Hearts | DIY Aged Stone Vase
First Day of Home | DIY Macrame Plant Hanger

A Blue Nest | DIY Pleated Lampshade
Pasha is Home | DIY Built-in Ideas
Robyn’s French Nest | Architectural Salvage Lamp DIY
The Tattered Pew | DIY Block Printing on Fabric
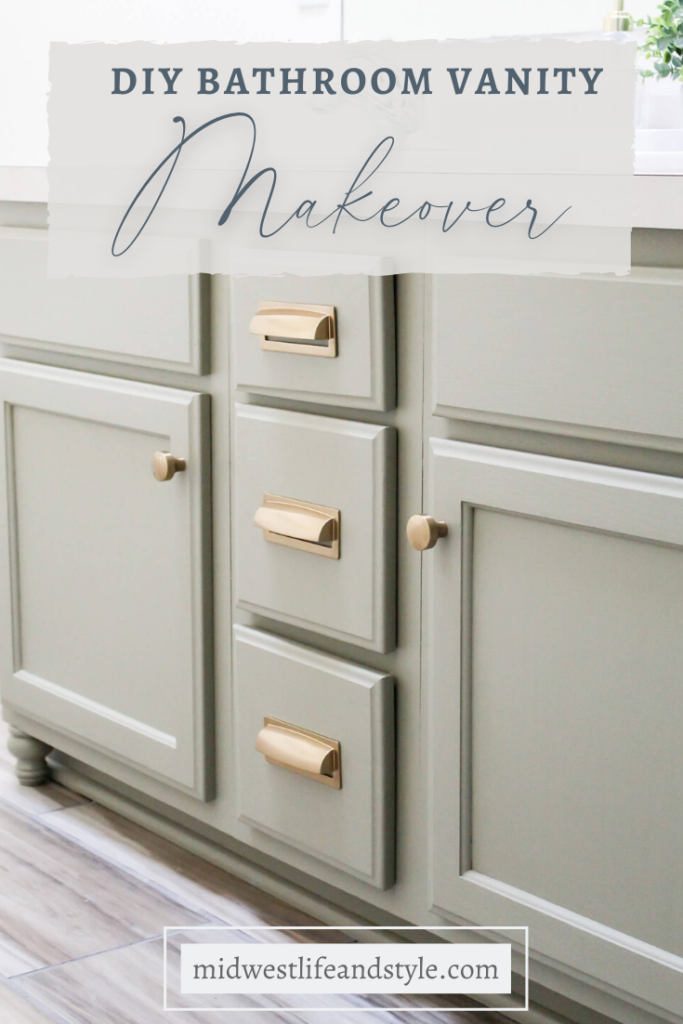
Did You Enjoy this Post? PIN It for Later!



Hi Jen, it always amazes me how much paint can change the vibe of any room! I have a similar orangy-oak cabinet with peachy vanity top, and I must do something about it, and seeing you post gives me hope ;-). If you don’t mind sharing, what are the facets on your vanity? Did you also change out your mirror? I have a typical square rectangular mirror that I was thinking of swapping out or at least coming up with some frame/border around it. Anyhow, job well done!
Hi Eva! Thank you for stopping by and for your kind comments. I’m in love with the changes. So much better than that orangy-oak like you referenced.😉 The faucets are original, although I bought some new ones. I just haven’t had time to change them out yet. I did buy new mirrors too and plan to take down the large one and put up two scalloped wood mirrors. They’ve been sitting in my closet for months…I need to hang them!
It looks soooo good and I just LOVE the hardware you chose!
Thank you, Ana. I think the hardware makes the vanity pop and is my favorite part of the makeover!
Jen,
This bathroom vanity makeover looks AMAZING!! You did a great job, and I feel so inspired to do my own now.
Thank you for organizing this DIY hop!!
xoxo,
Brendt
Thank you, Brendt. I love how it all turned out. So much better than I even imagined. Happy you could join us!
The vanity looks amazing Jen. That color is gorgeous and the gold hardware is perfect.
Thanks so much, AnnMarie! I am so happy with the final look. MUCH better!
It turned out so beautifully! What an amazing deal on the paint too. I love those little decorative legs you added. I’m now considering painting the boys bathroom vanity in this colour.
Thank you, Shawna. It is such a pretty green/gray color and I think it was exactly what my bathroom needed. I’m so glad you like it too!
I love that color so much! What a steal! It was totally meant to be.
Thank you, Jordan. I love it too. And it’s pretty hard to beat a $6 gallon of paint!
It doesn’t even look like the same cabinet! The color choice is perfect So inspired!
Thank you, Robyn. Isn’t it amazing what a little bit of paint can do? I am so happy with how it all turned out.
What a great makeover, Jen! That color was so perfect, and the hardware was totally worth the splurge. That mistint was just fate! Lucky you! What a transformation your bathroom has undergone. It looks so professionally done! Thanks for hosting this fun hop for us!
Thank you, Crissy! I am so happy with how it is all coming together. Now I just need to get it finished!!
Whoa I am shocked that it cost you under $75! Say what? That is seriously amazing! And the paint color was totally meant to be! You are an inspiration. I think I need to try the girls bathroom upstairs. I love how you added feet!!!!
Awe…thank you, friend. I was actually shocked too when I added up the total. The mistint paint was a huge help with the cost savings! And the feet were such a fun addition. I really think they help complete the project. Minus the sanding (darn math miscalculations!) it was a super easy addition.😘
It looks soooo good Jen! I had no idea mistints were a thing! That’s great to know! I love your color- what luck ☺️
Thank you, Pasha. I had no idea about mistints either, but I am definitely going to keep that in mind the next time I have a small paint project to do. Hard to beat $6 for a gallon of paint!
Jen!!! I can’t wait to see your bathroom all finished! IT’S GONNA BE GORGEOUS!! Such a beautiful space and definitely a nice place to go hide from the little people when you need 30seconds to yourself haha Not that I’ve ever done that or anything!!! haha Thanks so much for helping get this blog hop organized!! I’m so excited!
Thank you, Aliya! I am SO ready to get it all done. I can’t believe how different it looks already with a new floor and the icky gold oak vanity upgraded. THe door is still off the hinges, but you can bet that once it goes back on I’ll be hiding in our new retreat enjoying some me time. 😉