Fifteen minutes and $10 are all you need to create a simple DIY upcycled winter wreath.

*As an Amazon affiliate, I earn from qualifying purchases at no extra cost to you. My blog contains other affiliate links as well for your convenience. To learn more, you may read my Disclosure Policy. Thank you for supporting my blog!
DIY Upcycled Winter Wreath For Under $10
It’s still very much winter here in the Midwest. And, as much as I’m dreaming about spring, I can’t quite bring myself to bust out all of the tulips and the bunnies yet.
But can you blame me? It’s just a bit hard to think about spring when the temps are well below freezing. Sigh.
I DO have plans to share some spring-inspired projects in the next few weeks. Stay tuned for posts that include tips to style an Easter table and easy projects to get your home ready for the new season. (Among other things.)
But, since I’m not ready for spring crafting just yet, I decided to refresh the New Year’s wreath that I made last month as part of my winter porch refresh.
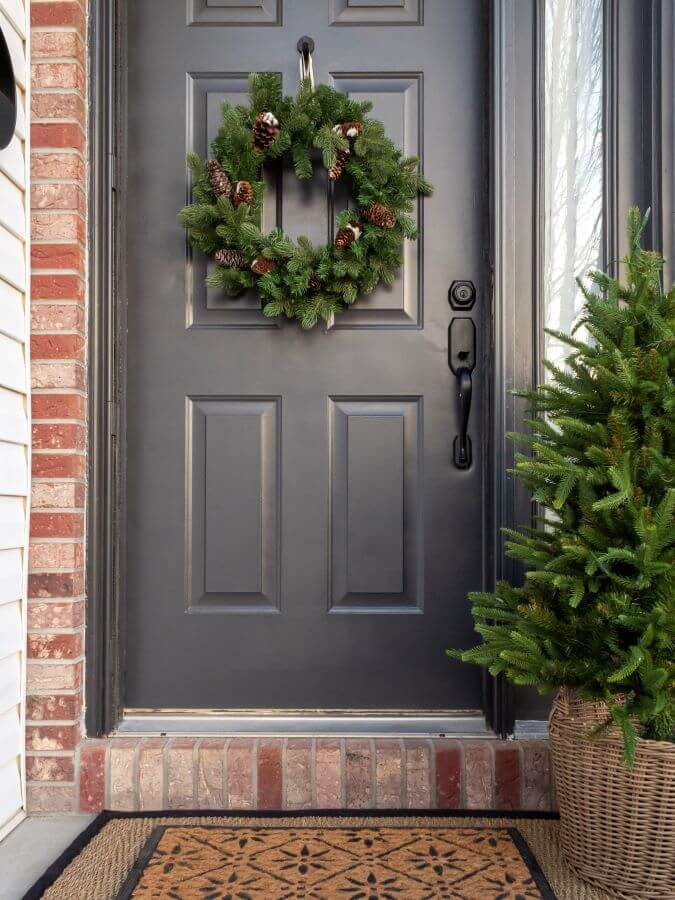
If easy (and cheap) projects are your thing, then you’ll love this one. This DIY upcycled winter wreath took me less than 15 minutes and cost under $10 to make. See. I told you. Easy and cheap. That’s a win, win in my book!
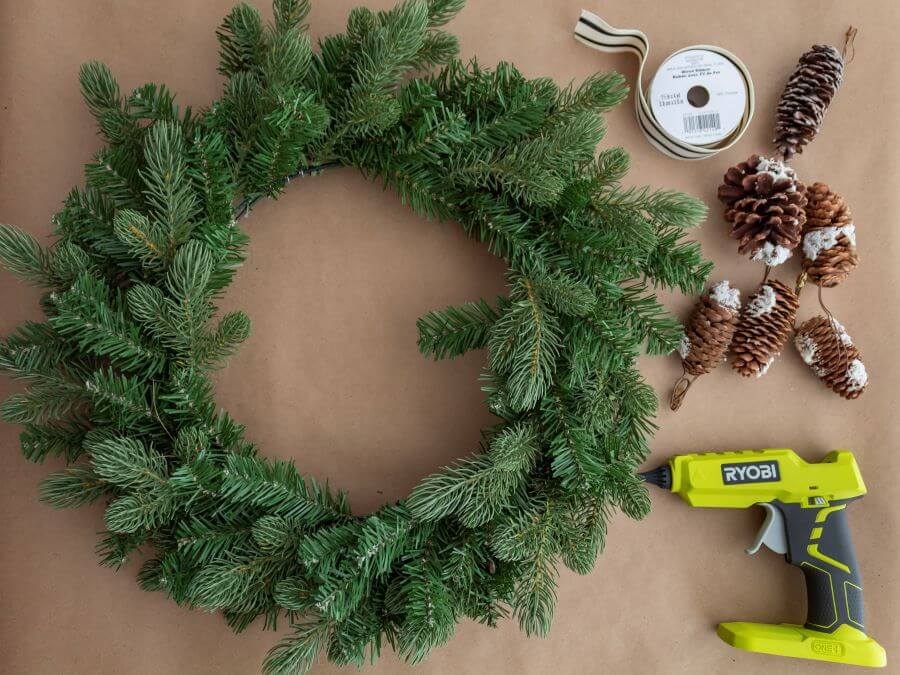
Supplies
- Old Christmas wreath
- Pinecones
- Wired ribbon like this
- Hot glue gun
- Glue sticks
- Magnetic wreath hanger
How To Make An Upcycled Winter Wreath
1 . Add Some Pinecones
To give my wreath a new look, I took off the old gold bow and twinkle lights. Then once the wreath was stripped bare, I added a few flocked pinecones that I found in my stash of Christmas greenery.
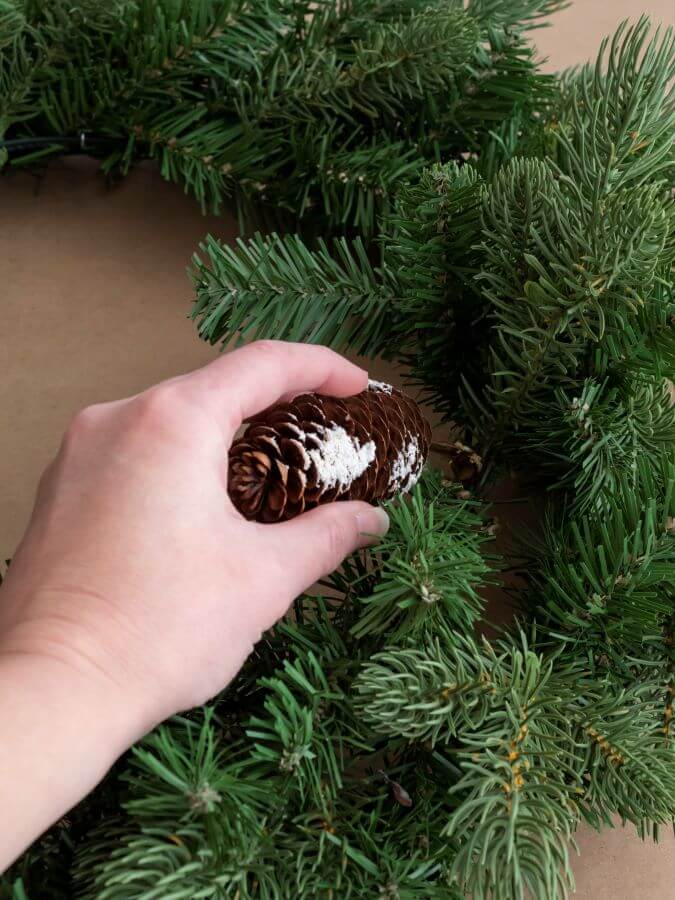
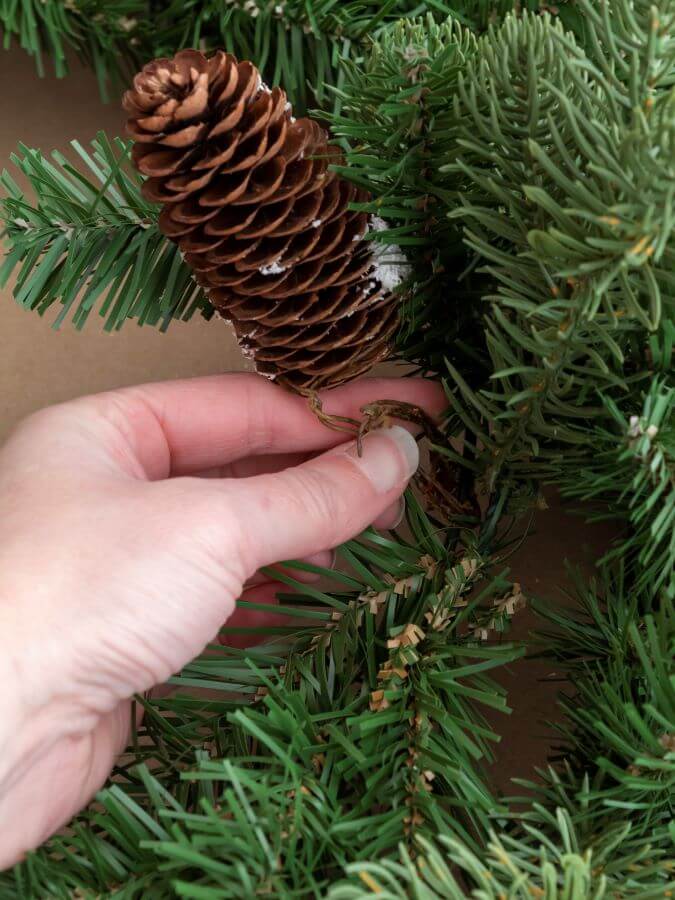
At one point, the pinecones were part of a larger floral pick. I took it apart several years ago so I could use them in garlands and arrangements around my house during the winter.
Since the pinecones were already attached to some wire, it was easy to secure them on the wreath. Once I had each pinecone where I wanted it, I tucked it into the greenery and wrapped the wire around the wreath frame to hold it in place.
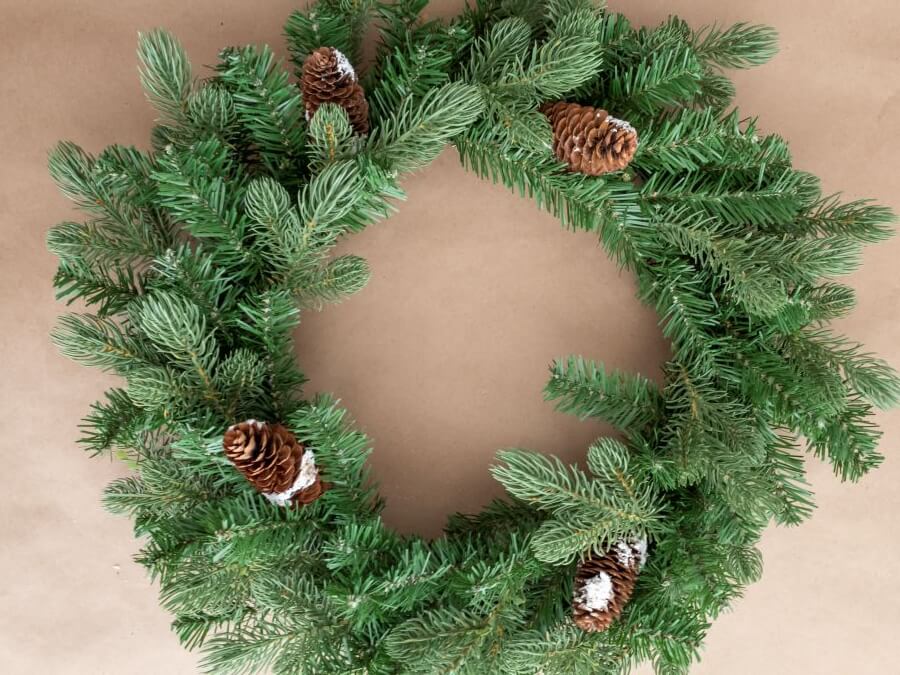
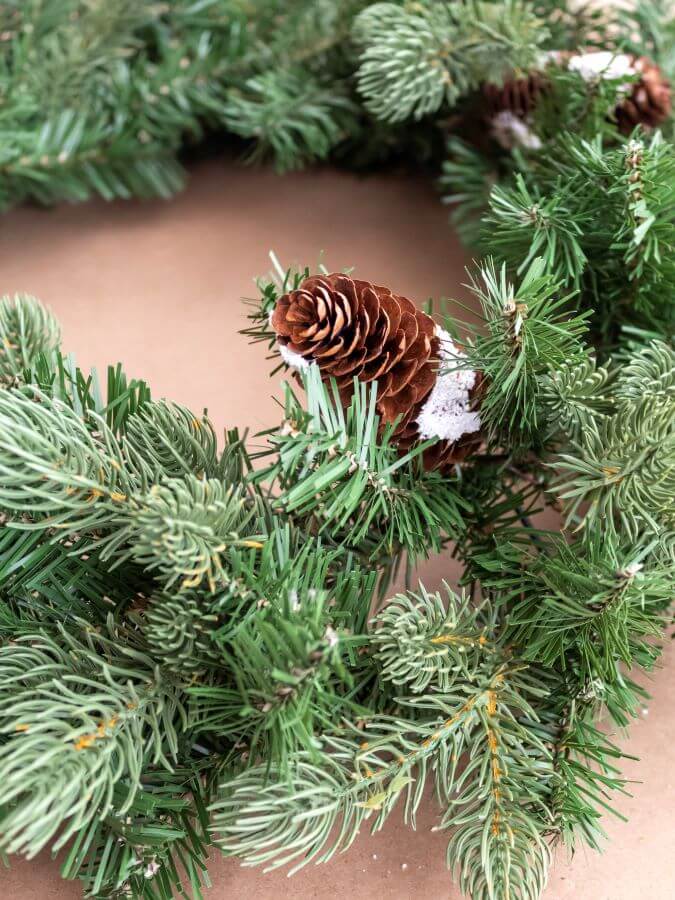
I added the pinecones on the wreath at random and kept adding them until I liked how it looked.
2 . Measure And Cut Ribbon
After the pinecones were attached, I used some ribbon to create a loop to hang the wreath. This step is optional, but I like the little bit of extra color and pattern that the ribbon adds.
I chose to stick with neutral winter colors and fell in love with this black and white ticking stripe ribbon from Michael’s. I think the white ties in with the flocking on the pinecones, and the black is the perfect complement to our newly painted front door.
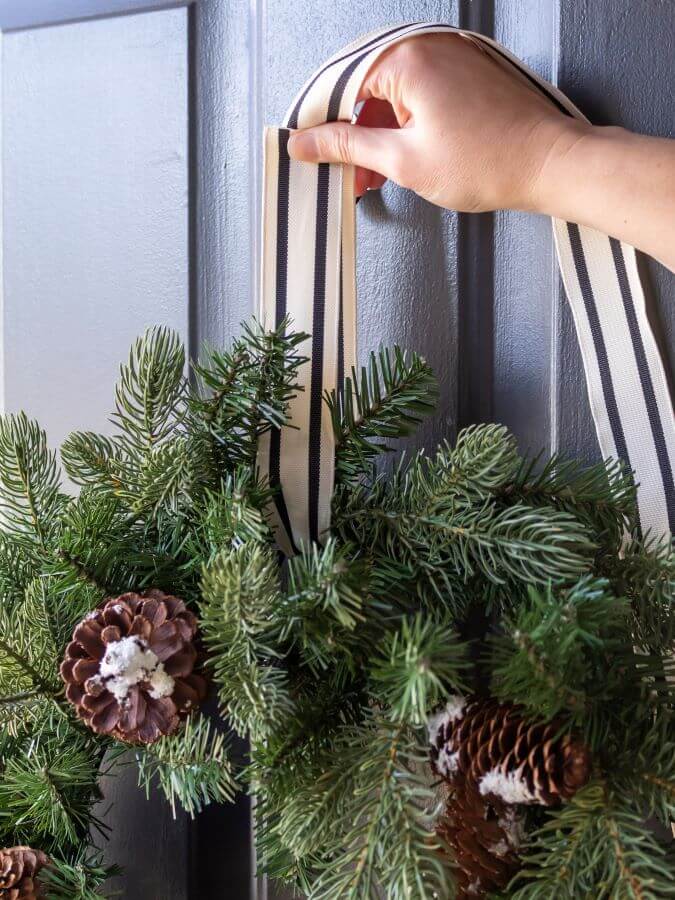
To make the loop, I wrapped some ribbon around the wreath and pinched it together. Then, to test the length, I held the wreath up by the loop next to the magnetic wreath hanger.
On the first try, the ribbon was too long, and the wreath hung lower on the door than I liked. I continued to adjust the ribbon until I found the right length and then cut it from the roll.
3 . Attach Ribbon And Hang
I’m not a big fan of exact measurements (which drives my husbands nuts), but I did grab a quick one on this project for a point of reference.
The ribbon I used measured about 17″ long, but you can make your loop as short or as long as you like.
Or, if you prefer, you can skip the ribbon and just hang the wreath as is. Although I think it adds a little something extra, don’t you?
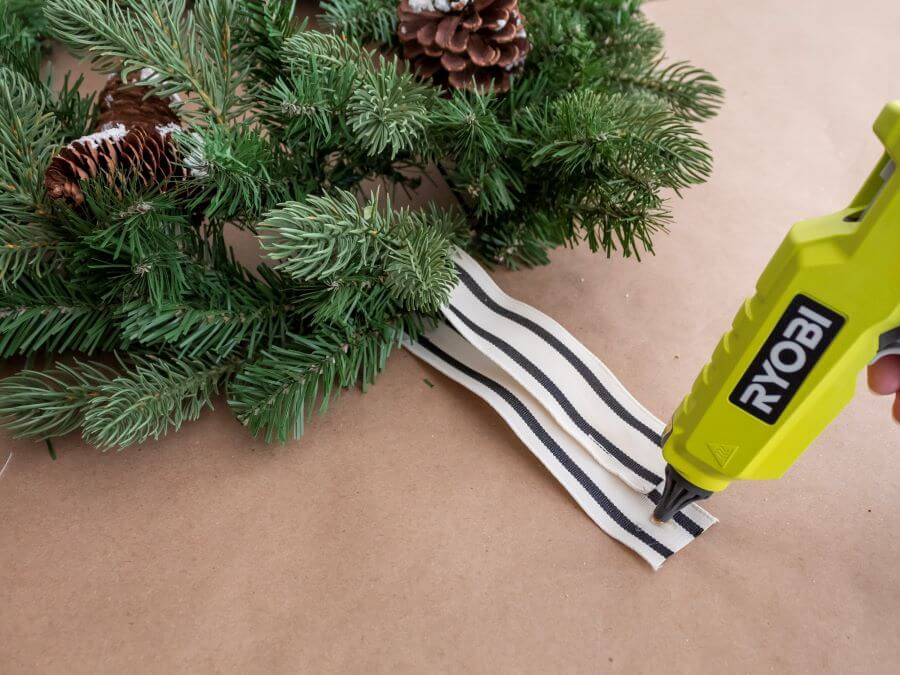
To finish the wreath, I attached the two sides of the loop with a hot glue gun. Once the glue was dry I twisted the ribbon so the glued side was hidden by the greenery.
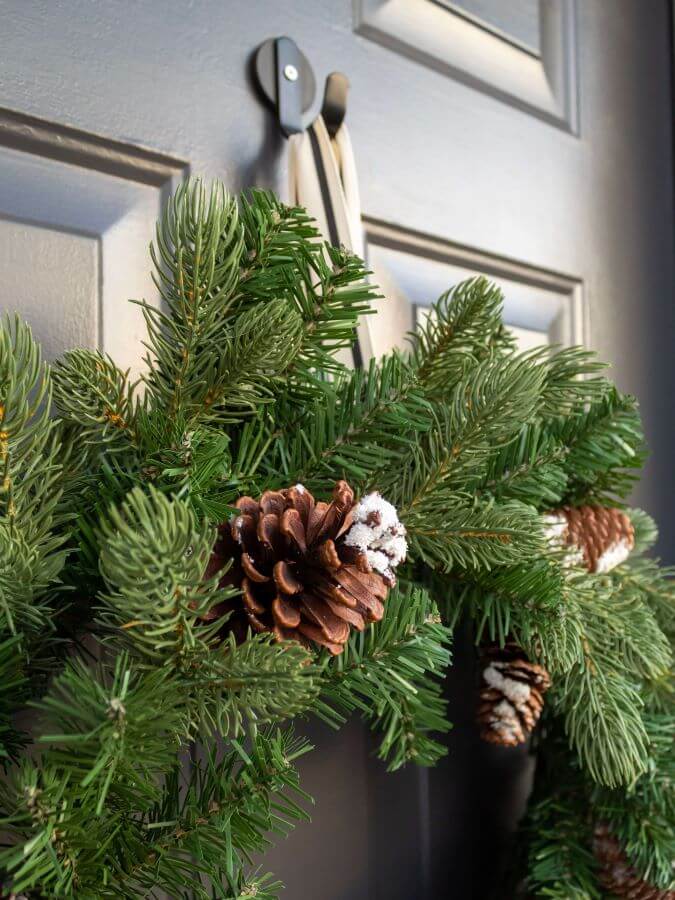
To hang the wreath on the front door I used a magnetic hanger.
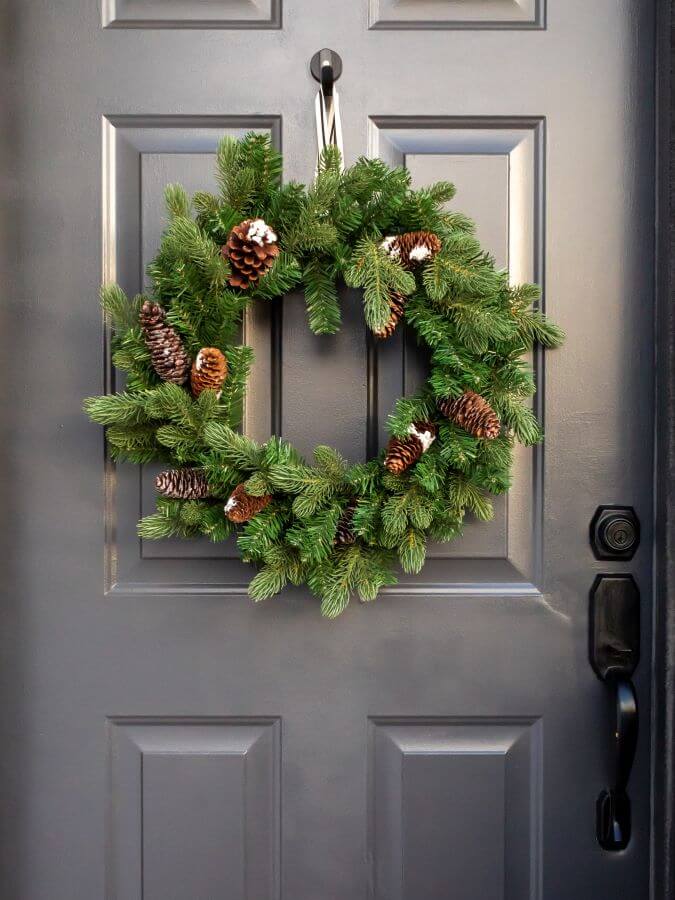
I discovered these wreath hangers over the holidays thanks to some blogging friends, and I absolutely love them. They are so much sleeker than an over-the-door hanger, and much less bulky too.
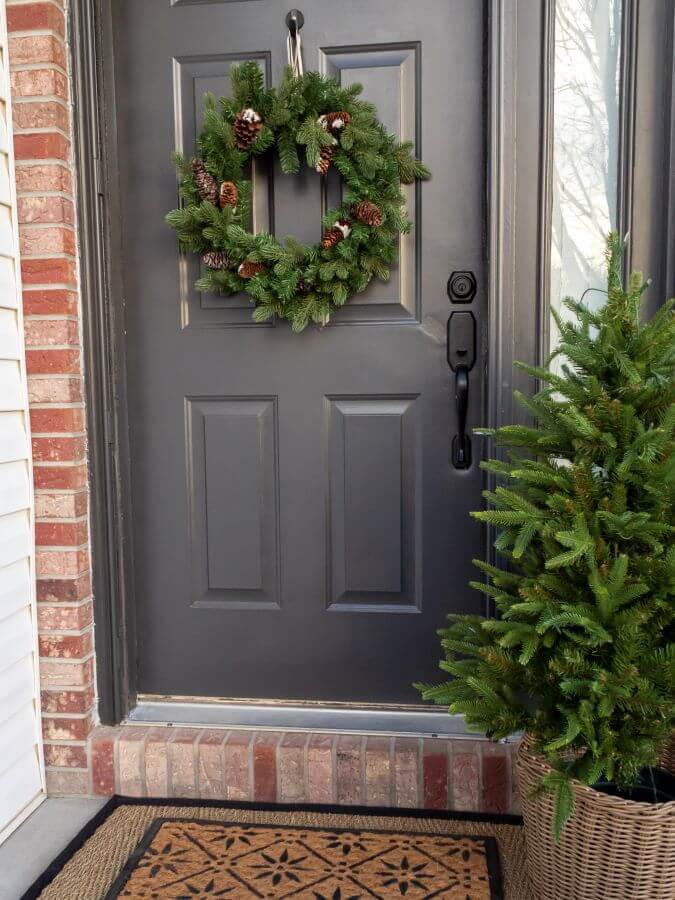

And that’s it! A quick and easy winter DIY made from an upcycled wreath for under $10.
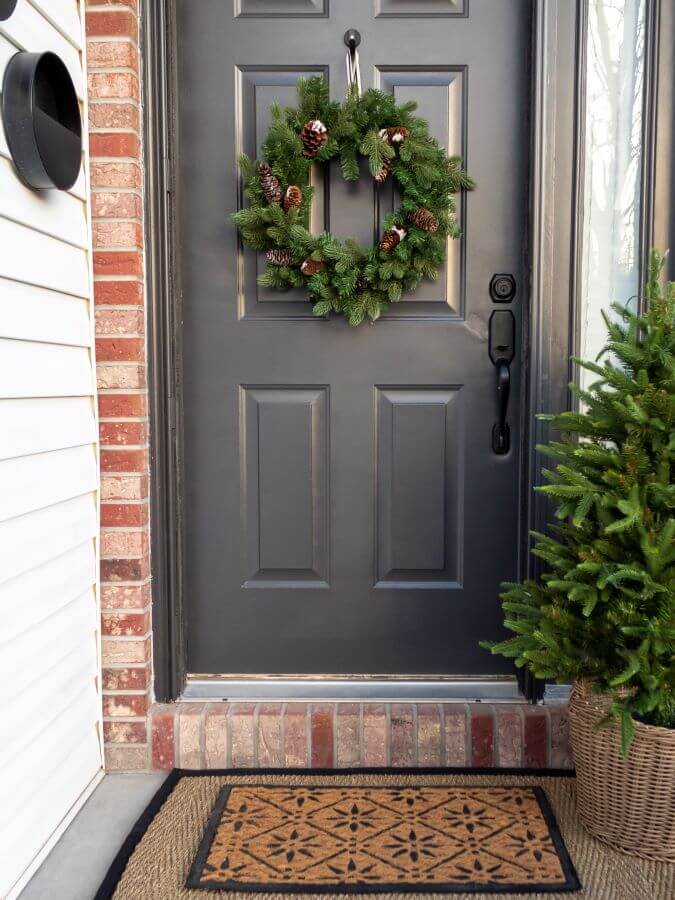
I love the look of the wreath on our door, and better yet, I love that this project cost me next to nothing!
Thanks for stopping by today. If you loved this project, you might also like some of my other winter favorites like my DIY centerpiece with greenery and pinecones or my hurricane candle holder with Epsom salts. And don’t forget to follow along with me on Pinterest to get ideas for even more winter DIY and craft projects.
Xo,

Did You Enjoy this Post? PIN It for Later!



This is so creative, it looks so good on your front door!
Thank you, Stacy. It was so easy since I already had almost all of the supplies on hand. And I love how it turned out!
This wreath is perfect for winter. It looks wonderful on your front door.
Thank you, Paula.