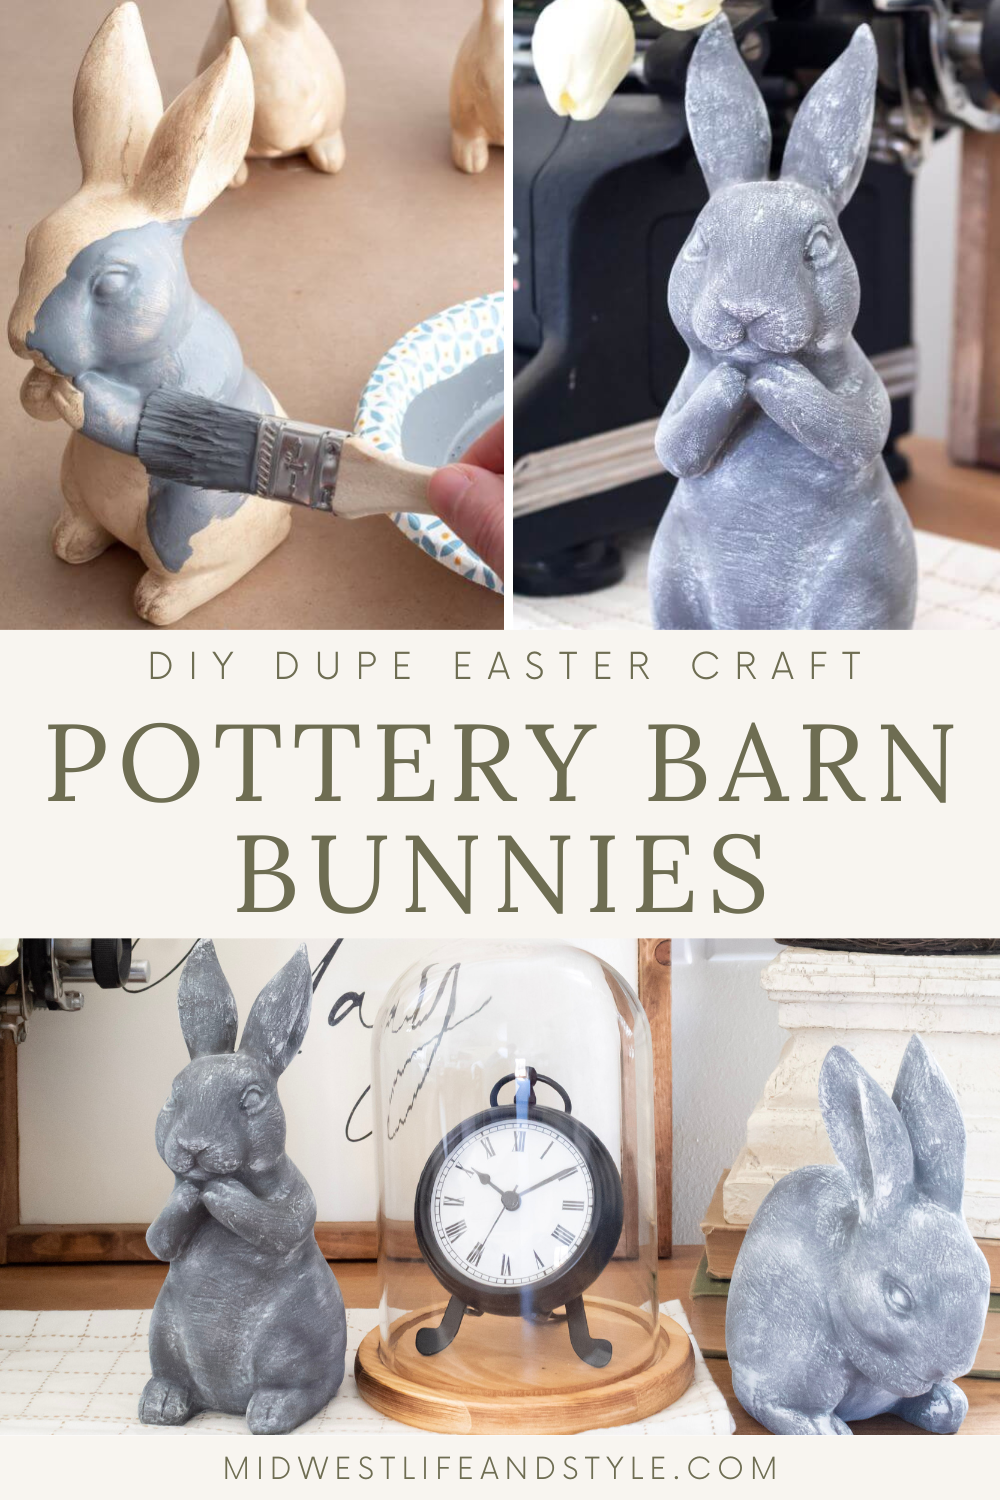
Get the look for less and learn how to make a DIY dupe of the popular Pottery Barn Essex Easter bunny statue for a fraction of the price.
*As an Amazon affiliate, I earn from qualifying purchases at no extra cost to you. My blog contains other affiliate links as well for your convenience. To learn more, you may read my Disclosure Policy. Thank you for supporting my blog!
This post was originally published on March 16, 2022. Last updated on March 4, 2025
Pottery Barn on a Budget: DIY Easter Bunny Statue Dupe
A few years ago, I purchased the ultra-popular Essex bunny statues from Pottery Barn during an end-of-the-season sale.
They’re some of my favorite decor pieces to use around my home throughout the spring.
After all, does anything say spring more than some cute bunnies?
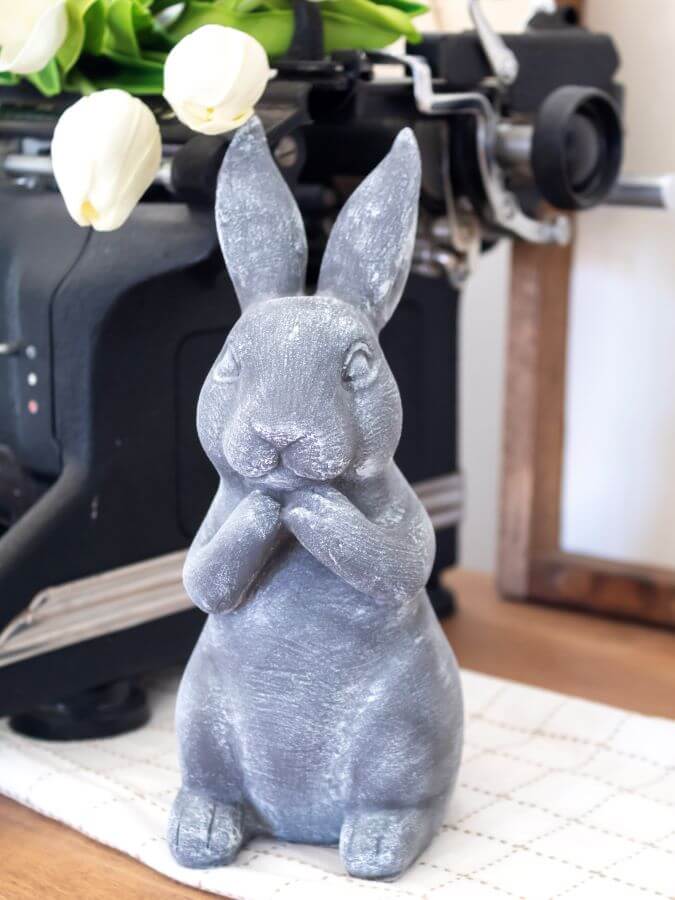
In the past, they’ve graced my Easter table and made an appearance as part of my spring home tour.
But even on sale, they are a bit of an investment.
As much as I love the Pottery Barn version, I knew I could make more bunnies myself for much less!
Instead of splurging on more Pottery Barn bunny statues, I decided to grow my collection by crafting some budget-friendly DIY Easter bunny figurines inspired by the PB original.
So grab your craft supplies and I’ll show you how to make this easy DIY Easter Pottery Barn look alike without breaking the bank!
Table of Contents
- Pottery Barn on a Budget: DIY Easter Bunny Statue Dupe
- Tools and Supplies Needed to Make a DIY Pottery Barn Easter Bunny Statue
- Where to Find Where to Find Bunny Statues for Your DIY Project
- How To Make Your Pottery Barn Bunny Dupe
- How to Style Your DIY Pottery Barn Easter Bunny Statue
- Shop The Post
- Did You Enjoy this Post? PIN It for Later!
Tools and Supplies Needed to Make a DIY Pottery Barn Easter Bunny Statue
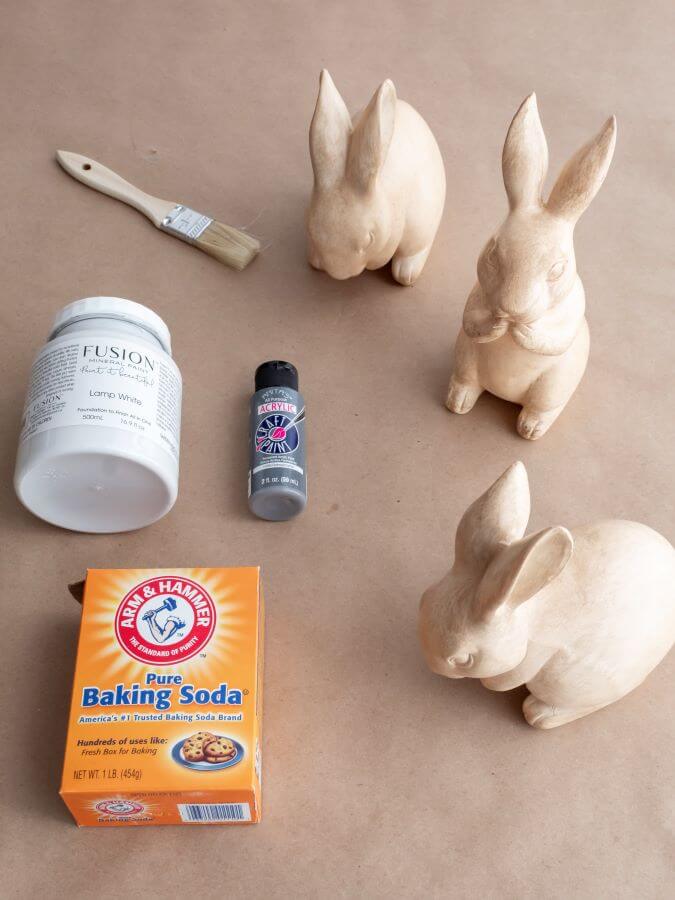
Here’s everything you’ll need to create these cute bunnies and get the Pottery Barn look for less!
- Small wood or resin bunny statues
- Gray craft paint
- White craft paint
- Paintbrush
- Baking soda
Where to Find Where to Find Bunny Statues for Your DIY Project
First things, first. You need to find a bunny…or several bunnies to make this Pottery Barn knock off DIY.
Because you can never have too many of these little cuties in the spring!
A couple of years back, I snagged a few wooden bunnies from Target to use for my faux stone bunny rabbit statues.
At just $5 each they were a steal!
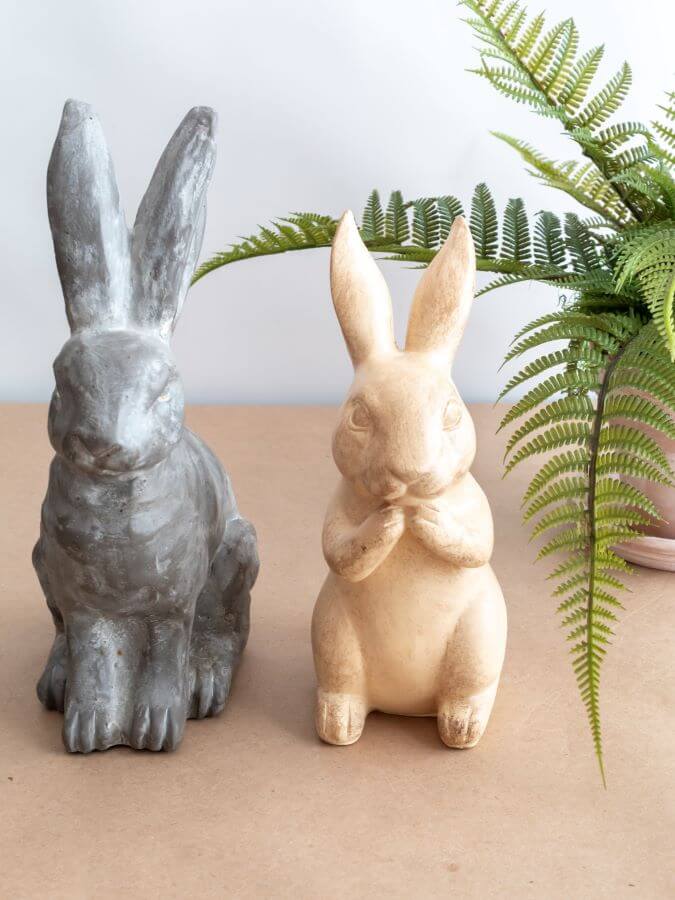
In the photo above, you’ll spot the original small Pottery Barn Essex bunny statue on the left and my Target find on the right.
I have not seen these bunnies at Target recently, but you can often find bunnies similar to these at the dollar store or just about any craft store.
I have also linked some similar small bunny figurines for you here, and here.
TIP FROM JEN: If you’re having trouble finding bunnies at big stores or online, now’s the perfect time to hunt for old Easter decorations at thrift stores, yard sales, or even estate sales. You might be surprised to find a cute (and budget-friendly) Easter bunny statue just waiting for you to scoop it up for your DIY Pottery Barn project!
How To Make Your Pottery Barn Bunny Dupe
Now that you’ve gathered your supplies it’s time to get started crafting your own Pottery Barn-inspired Easter bunny!
Step 1: Mix Your Paint
This paint mixture is the same one that I used for my DIY aged spring planter, and the best part is it’s super easy to make!
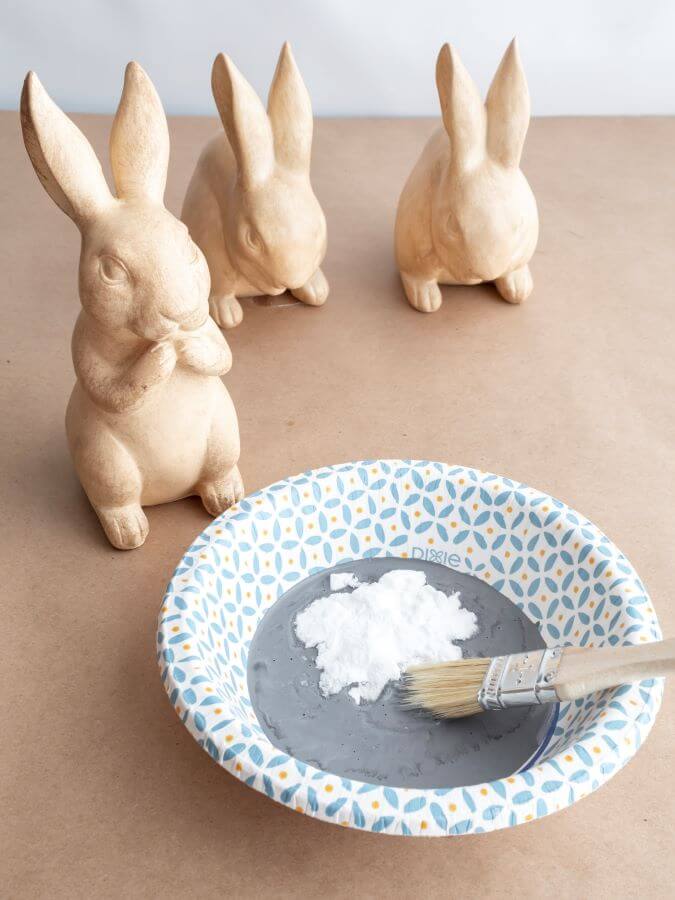
IMPORTANT NOTE: Oil-based paints will NOT work for this DIY project! Make sure you only use water-based or latex-based paint.
First, pour one cup of paint into a disposable paper bowl.
Next, add 1/4 cup of baking soda, then use your paintbrush to stir the paint until the baking soda is thoroughly mixed in.
The paint should have a thin consistency and appear as if it contains bits of sand.
This effect is from the baking soda, which will contribute to giving your DIY Pottery Barn-inspired Easter bunny statue a textured look once the paint dries.
TIP FROM JEN: Try testing the color on a small spot on the bunny before committing. If you find it needs a tweak, you can easily adjust by adding more white for a lighter shade or introducing a touch of black paint for a darker hue.
Step 2: Paint Your Bunny
Once the paint is mixed, begin to paint your bunny DIY.
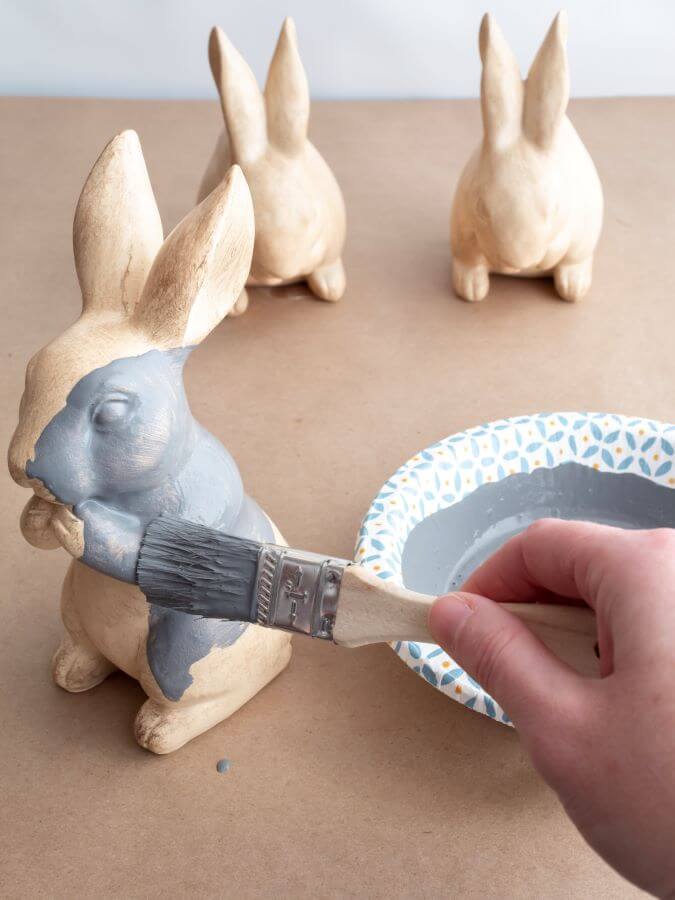
The first coat will look a bit thin and streaky, but don’t worry!
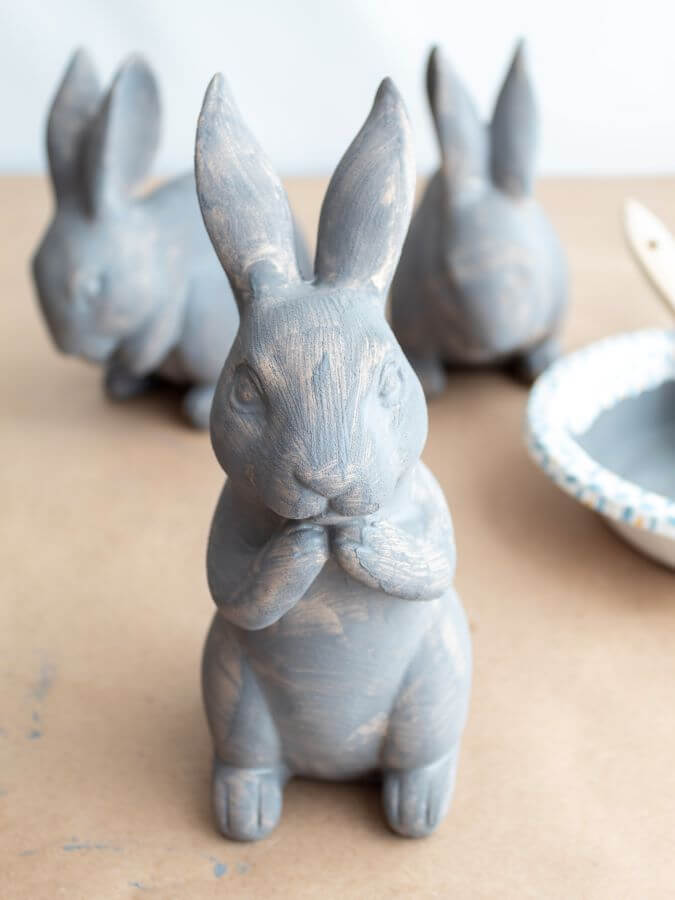
Here’s how my bunny looks after just one coat of paint!
For the full coverage and that perfect Pottery Barn decor look, you’ll need at least two coats.
Remember to give the paint a good 30-40 minutes to dry before adding the second coat.
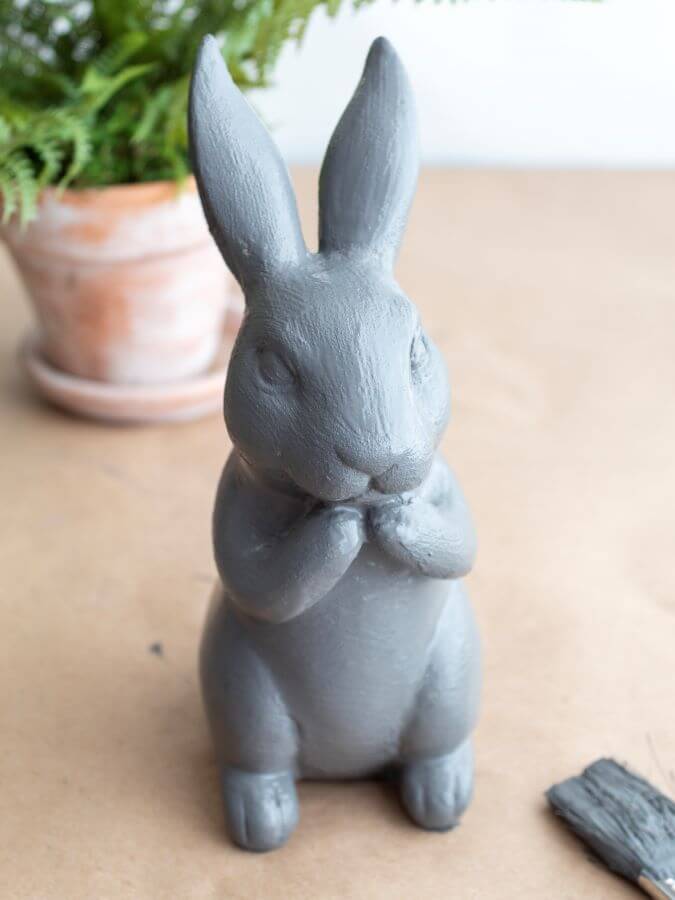
And Here’s the same bunny after a second coat of paint.
Much better, right?
Step 3: Distress Your Bunny
The last step is to add a distressed look to your bunny by lightly applying some white paint.
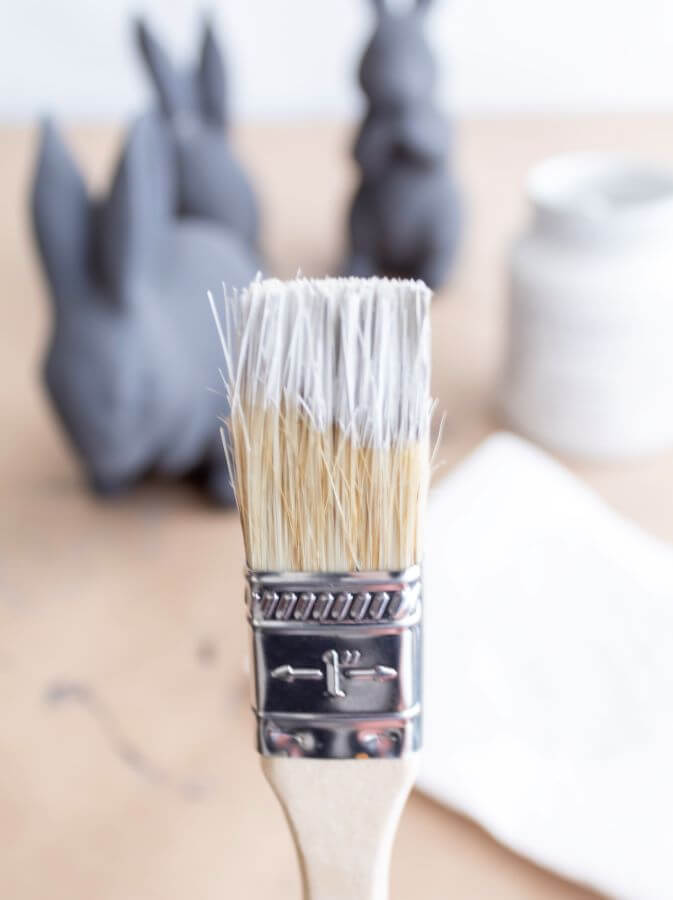
To apply the white paint, you will use a technique known as dry brushing. I
If you’re not familiar with it, no worries—this technique is easy!
And, by the end, your DIY Easter bunny statue will have that worn, same distressed charm as the Pottery Barn version without you ever needing to touch a piece of sandpaper.
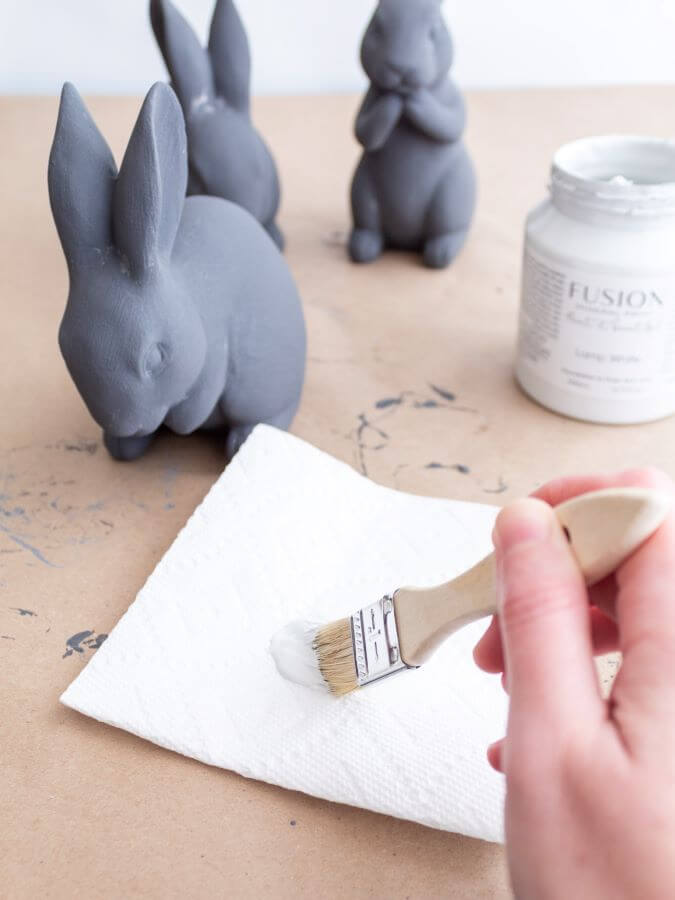
To distress your bunny, dip your brush in the paint, and use a swirling motion to dab the excess paint onto a paper towel.
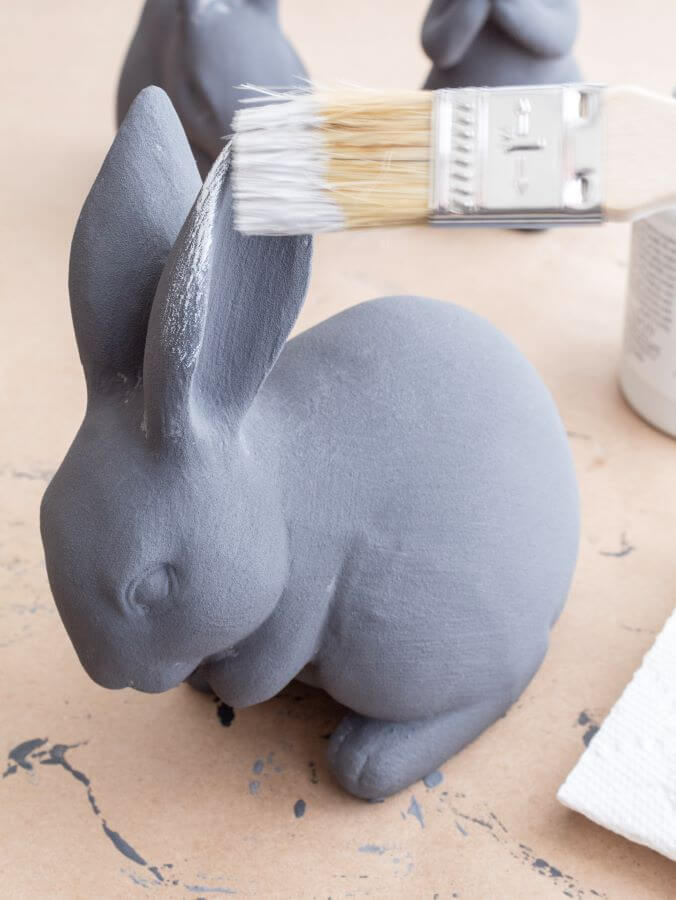
Then, using a light touch, apply the paint to the bunny.
Consider the areas where decor tends to naturally wear or chip, such as the ears or other raised surfaces, and begin by applying your paint to those spots first.
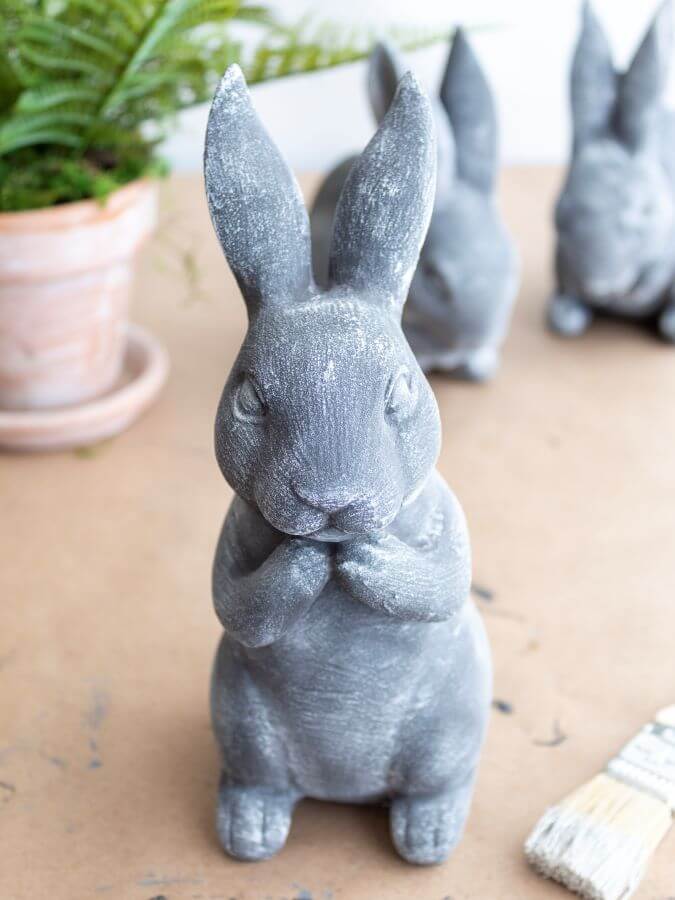
As you work, rotate your bunny to identify areas that could benefit from a touch of distressing.
And don’t forget to step back once in a while to check your progress!
Feel free to distress your bunny as much or as little as you’d like—there’s no wrong way to do it!
The most important tip I can share is don’t be afraid to mess up!
If you don’t like how your bunny looks when you’re done, you can always paint over it and try again.
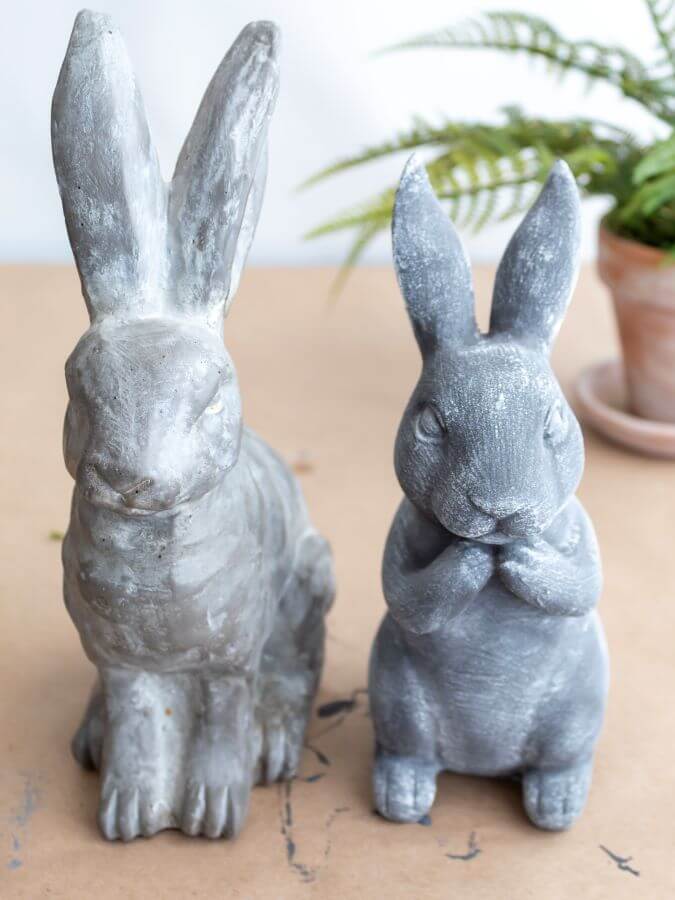
Here’s one of my bunnies side by side with the Pottery Barn version.
What do you think?
For just under $20 I made three of the small look-alike bunnies for less than the cost of one of the Pottery Barn ones.
Now that’s my kind of dupe!
How to Style Your DIY Pottery Barn Easter Bunny Statue
Show off your adorable DIY Pottery Barn Easter Bunny Statue by giving it a special place in your home.
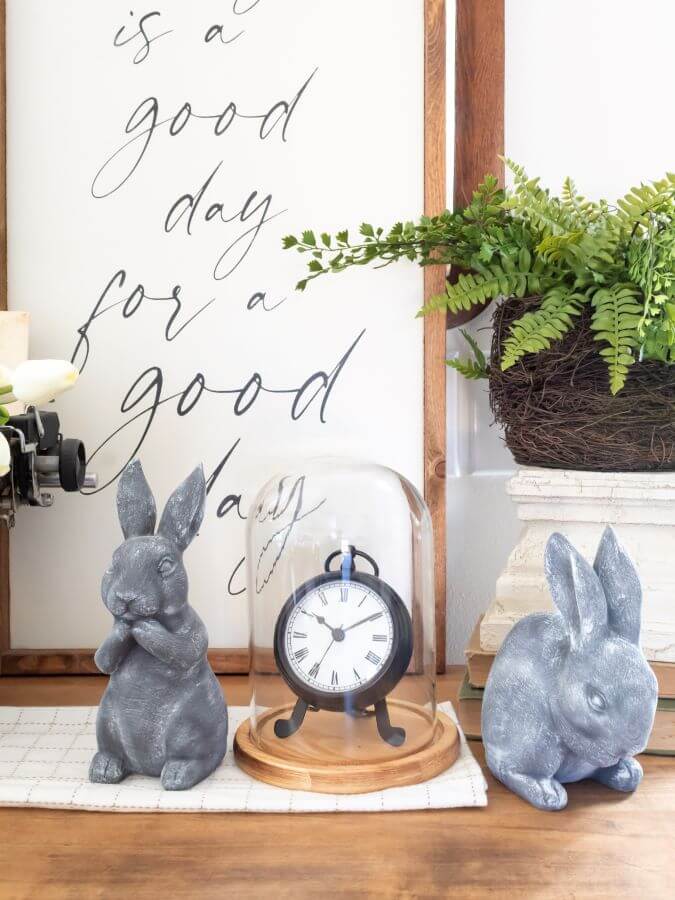
I placed my bunnies on top of my refinished antique dresser in our entry to create a simple Easter vignette.
Play around with different setups until you find that sweet spot where your bunny feels right at home!
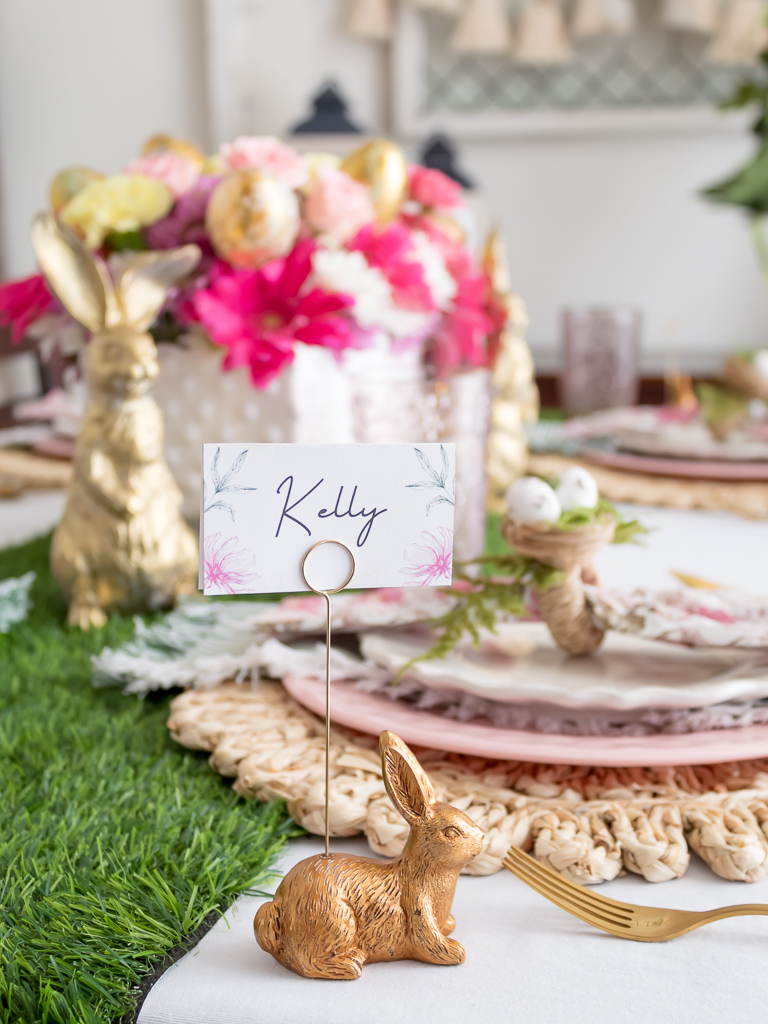
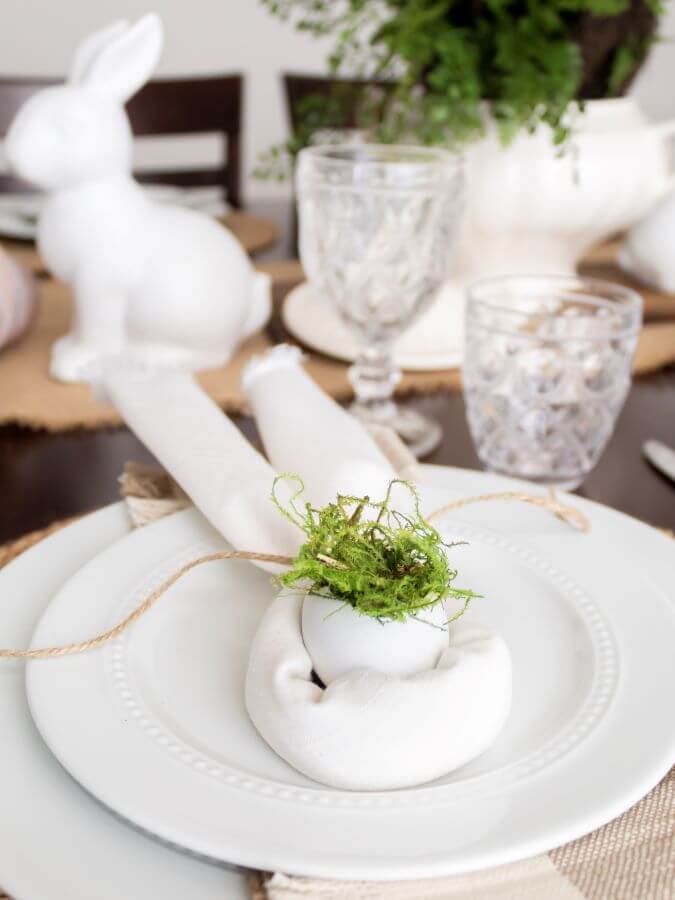
If you’re gearing up for the holiday, you can also let your bunny steal the show as the centerpiece on your Easter brunch table.
And bunnies aren’t just for Easter!
These little bunnies would make the perfect addition to any spring tablescape or a beautiful garden party themed table setting.
Shop The Post
Want to recreate this look at home? I’ve linked all the finds I used in this post below! Please note, that sometimes things sell out quickly, so if something isn’t available anymore, I’ve linked a similar item that you might love just as much. Happy shopping!
DIY Pottery Barn Bunny Statue Replica Sources:
Gray Craft Paint / White Craft Paint / Paintbrush / Baking Soda / Pair of Rabbits / Bunny Quartet Figurines
More DIY Easter Inspiration from Midwest Life And Style
If you love this Easter DIY inspiration, you might also enjoy these other Easter crafts.
Thanks for stopping by, today, and don’t forget to leave any questions or comments below.
Remember to pin this post to save it for later and get more of my favorite spring decor ideas [HERE].
Happy crafting!

Did You Enjoy this Post? PIN It for Later!


I love this DIY, Jennifer! Great Pottery Barn dupe, and I think it’s even cuter! 😉 So happy to be featuring your post at Tuesday Turn About this week!
Thank you, Julie. I love how they turned out. Even all these laters and I still proudly display them every spring. And thank you for sharing. I appreciate it!
Jen these bunnies are adorable! Such a great idea.
Thank you, Elizabeth!
Jen, this is such a great project and dupe. It’s amazing what you can do with paint.
Thank you so much, Tammy!
Jen, I love this project! Your dupe looks AMAZING! I am excited to feature your post at this week’s Tuesday Turn About link party. Thank you so much for sharing!
‘
Thank you so much, Lynne. I appreciate the share! I can’t wait to stop by and see all of this week’s features!
Love these! They turned out so good. I’ll be on the look out for some bunnies to paint!
Thank you, Marie. They were so fun to make. I am hoping to make some more again this spring!
Jen-Huge bunny fan here. I just love your PB Dupe. You nailed it. I never thought to paint white on top to look distressed. Between you and Rachel I’ve learned lots about distressing.
Thank you, Regina. I’m so glad you like them. I just love how they turned out and can’t wait to get them out of storage again this spring.
You NAILED this project! I love all the depth you created with the paint. They look so adorable!
That is so kind of you to say. Thank you, Anne. I’m so glad you like them.
OMG these are adorable Jen!!! Love it!
Thank you, Stacy. I’m so happy with how the turned out. I’m glad you like them too!
Ohhh my gosshhhhh I LOVE These!!!!! I love bunnies….and these are just so stinking cute!! I’m FOR SURE going to go find me some wooden bunnies in a few weeks and try to re-create yours. So good, Jen!!
Thank you, Rachel. I hope that Target has these bunnies in their bargain bins again this year. I want to make some more!
Cute idea.. Your bunnies look great…I love it when the dupes turn out so great, side by side Thank you for your idea.
Thank you! I love how they turned out. I can’t wait to get out the bunnies and blooms again in a few weeks! It’s been a long winter and I’m ready for spring!
Oh Jen, what a sweet dupe! I love the addition of the whitewash, it adds so much dimension! Thanks for the inspiration! Pinned 😉
Thank you, Cindy!
Jen,
Oh these are so cute. Such a money saver. I’d like to share them next week on my Dirt Road Adventures.
Thank you, Rachel. That would be amazing. Appreciate you, friend!
Jen!! A secret, between you and me, yours are cuter than the pottery barn bunnies!! Love how simple this project is!!! XoXo
That is too kind of you! Thank you, Aliya. I appreciate it!
Jen these turned out so cute!!! I love how simple the technique is. Yours are even cuter than the Pottery Barn ones!
You are too sweet. I’m really happy with how they turned out. I’m glad you like them too. Thank you, Kelly.
Jen, you did a great job on these bunnies! A great decor piece you’ll have for many years to come! Thinking spring and Easter with you!!
Thank you, Kim. Yes, we are finally getting some gorgeous spring weather here in Nebraska and I couldn’t be more excited!