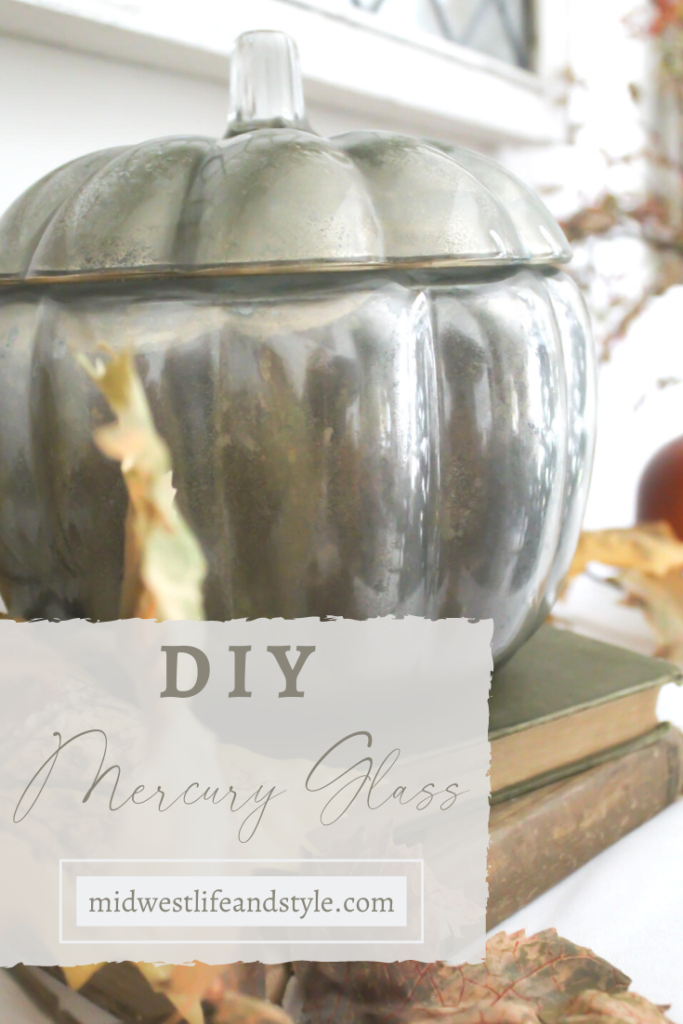
Love the look of mercury glass, but not the price tag? Learn how to make your own, with my tutorial for a DIY mercury glass pumpkin.
*As an Amazon affiliate, I earn from qualifying purchases at no extra cost to you. My blog contains other affiliate links as well for your convenience. To learn more, you may read my Disclosure Policy. Thank you for supporting my blog!
DIY Mercury Glass Pumpkin
I love the look of mercury glass decor, but authentic mercury glass can be a bit pricey. Like this mercury glass pumpkin candle from Pottery Barn. Even on clearance, the price tag is still $48! That’s a big ole’ nope from me.
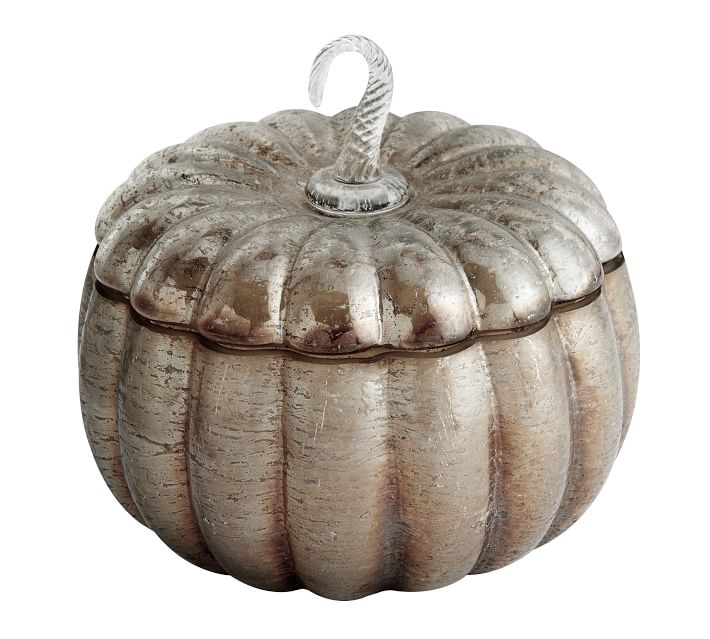
Since making my own DIY Corn Husk Wreath, I had been looking for another fun project to tackle this fall. So this piece from Pottery Barn was the perfect inspiration for a new DIY.
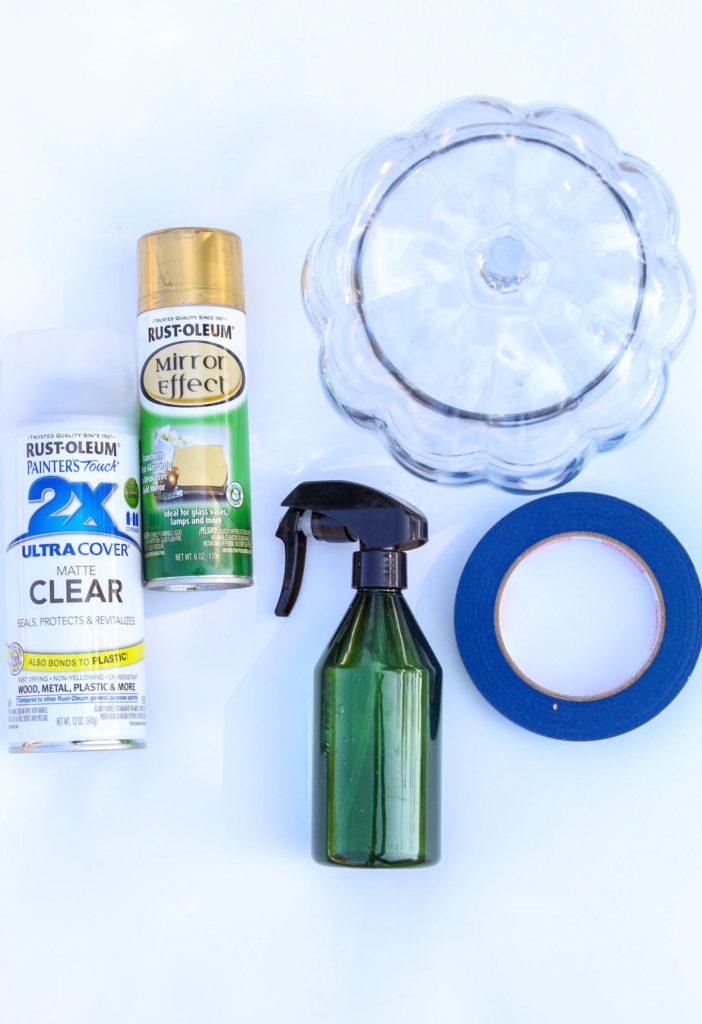
Supplies to Make a DIY Mercury Glass Pumpkin
After doing a lot of research, I found several how-tos for creating DIY mercury glass on Pinterest. At first, I was nervous to give it a try. What if I mess it up? Just in case you are feeling this way too, I’m going to let you in on a secret. There is no need to stress! The great thing about creating DIY mercury glass is there is no wrong way to do it.
Here is a list of everything you need to make your own mercury glass for less in just four easy steps.
- Rust-Oleum Mirror Effect Spray Paint (I bought this paint in gold, but it also comes in silver.)
- Painter’s Tape
- Glass Pumpkin. I’ve had this pumpkin stashed away in my fall decor for years! Thrift stores are a great place to find one or try your local dollar store.
- Spray Bottle filled with 1/3 vinegar and 2/3 water
- Paper Towels
Directions to Make a DIY Mercury Glass Pumpkin
Step 1: Prepare your Glassware
First, clean your glass inside and out. For this DIY, I used an old glass pumpkin, but you can use any type of glass like votive holders or hurricane lanterns.
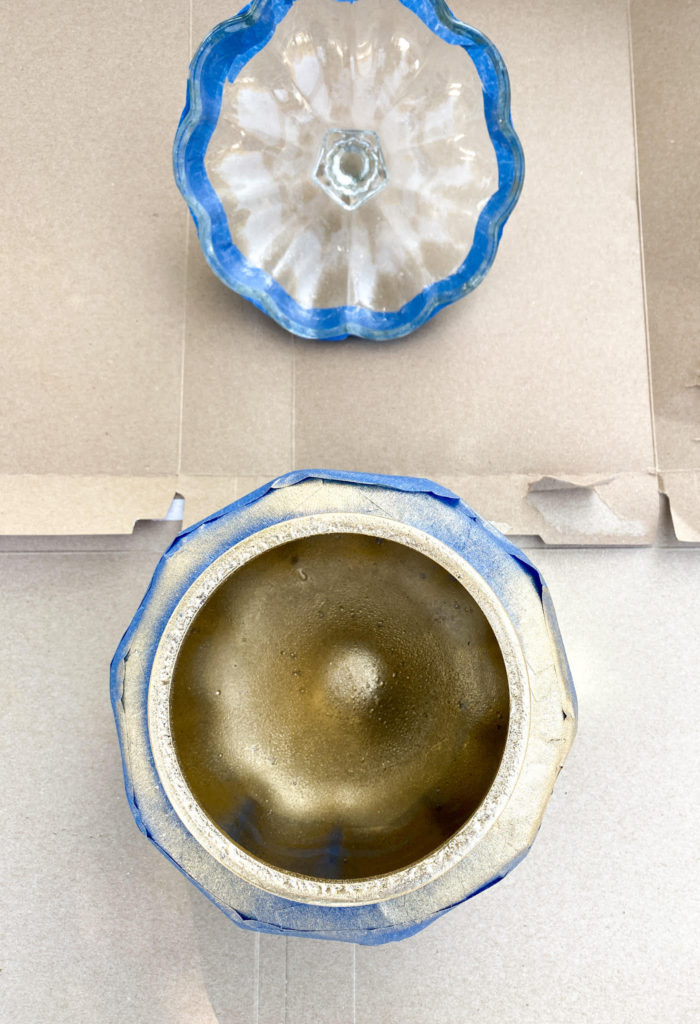
Then, tape off the outside of your glass piece using painter’s tape. This will help protect the outside from any overspray.

Step 2: Apply the Spray Paint
Before you begin painting, make sure you are in a well-ventilated area. I also recommend wearing protective gloves and old shoes. (Just don’t wear flip-flops, or you might just end up with gold feet like me…oops!)
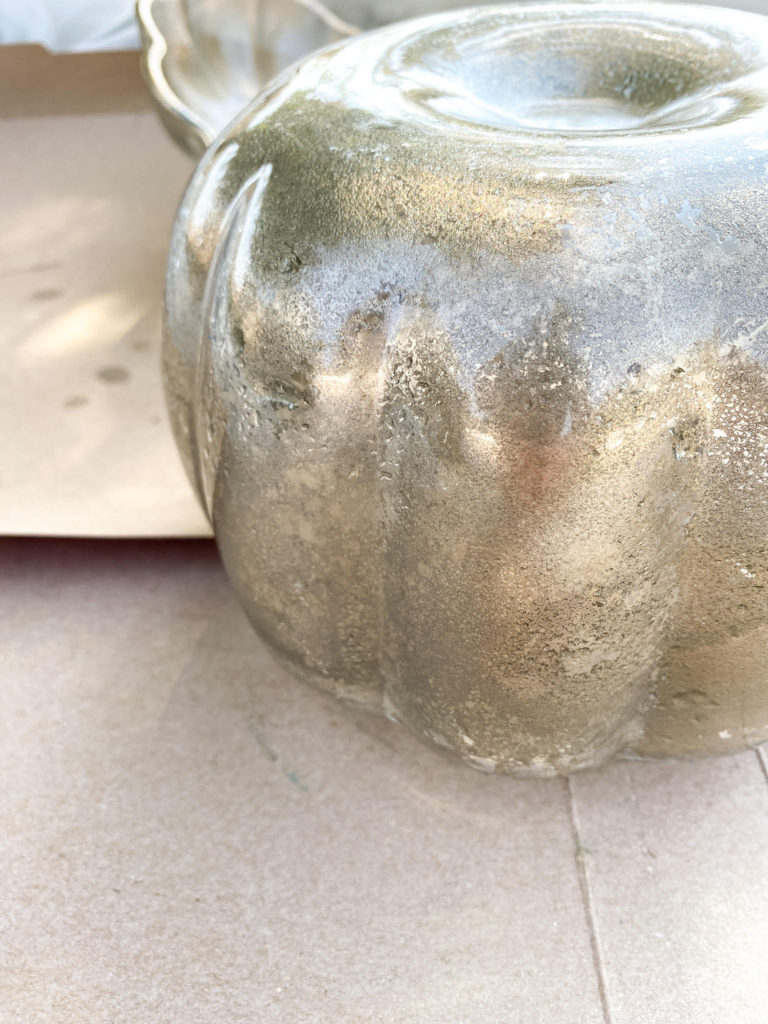
Next, spray a light coat of paint on the inside of the glass. You will want to be quick so the paint doesn’t dry before the final steps.
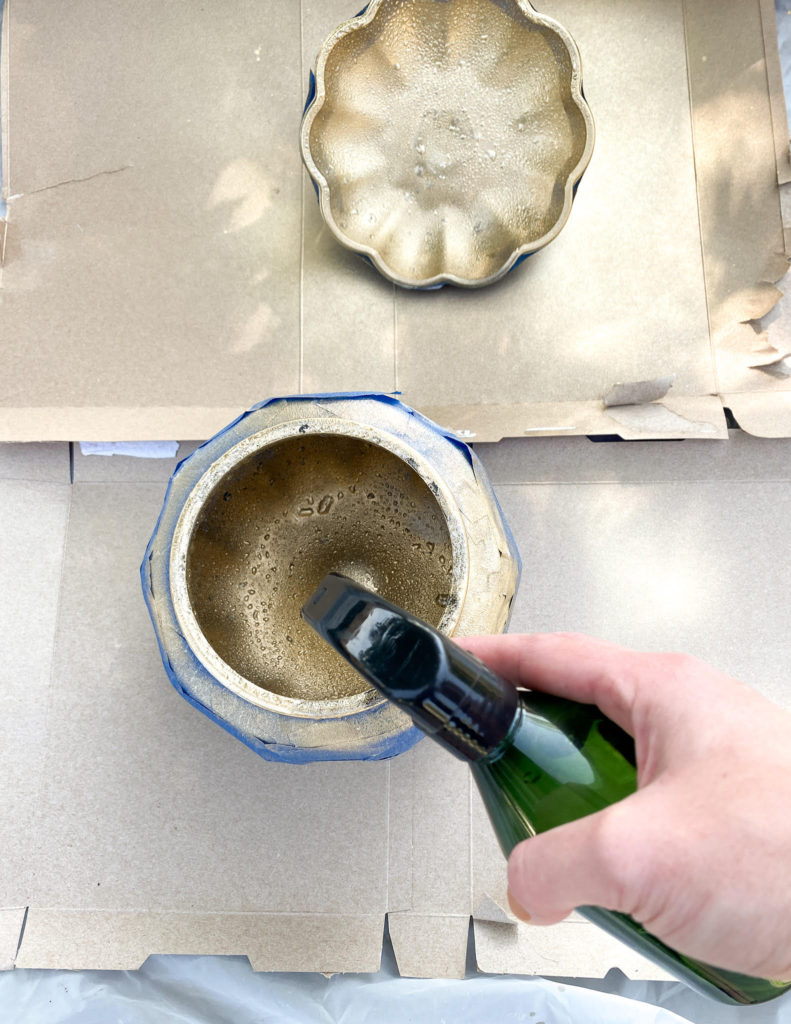
Step 3: Spritz with the Vinegar Solution
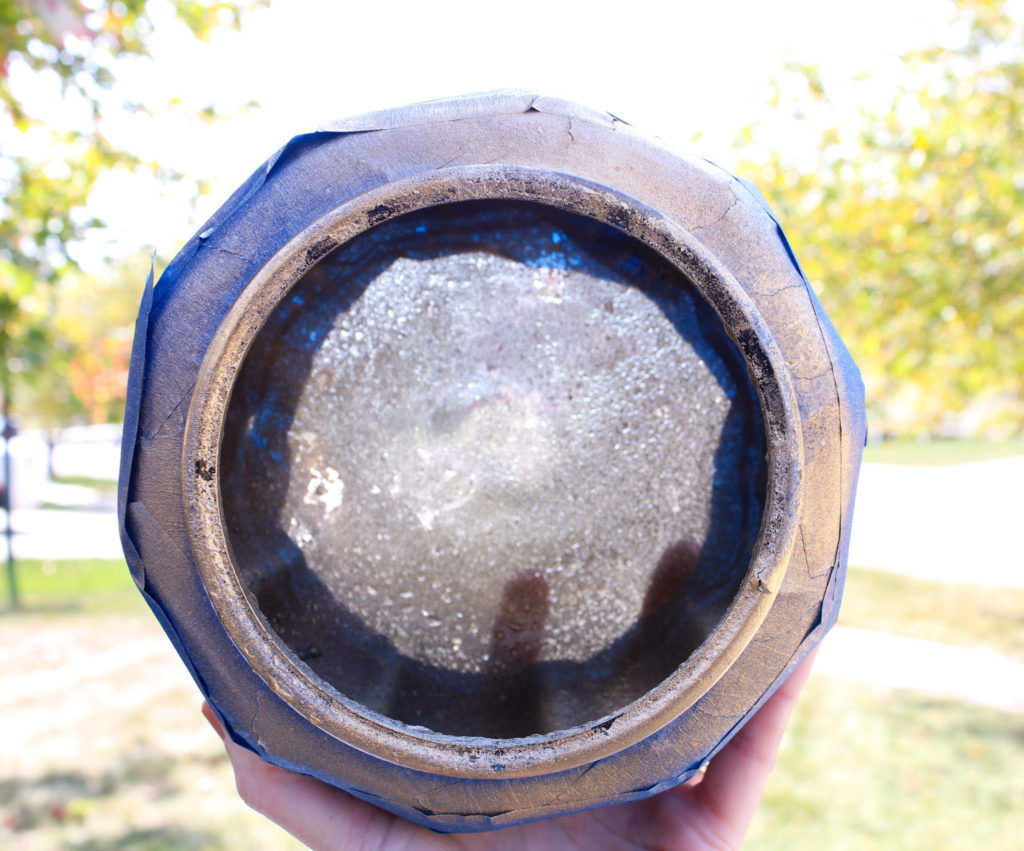
Once you have applied a light coat of paint, spritz the glass with the water and vinegar mixture. The water will begin to form little beads on the paint creating a speckled effect.

Step 4: Repeat as Needed
Continue to spray with paint and the water mixture until you achieve the desired look you want.
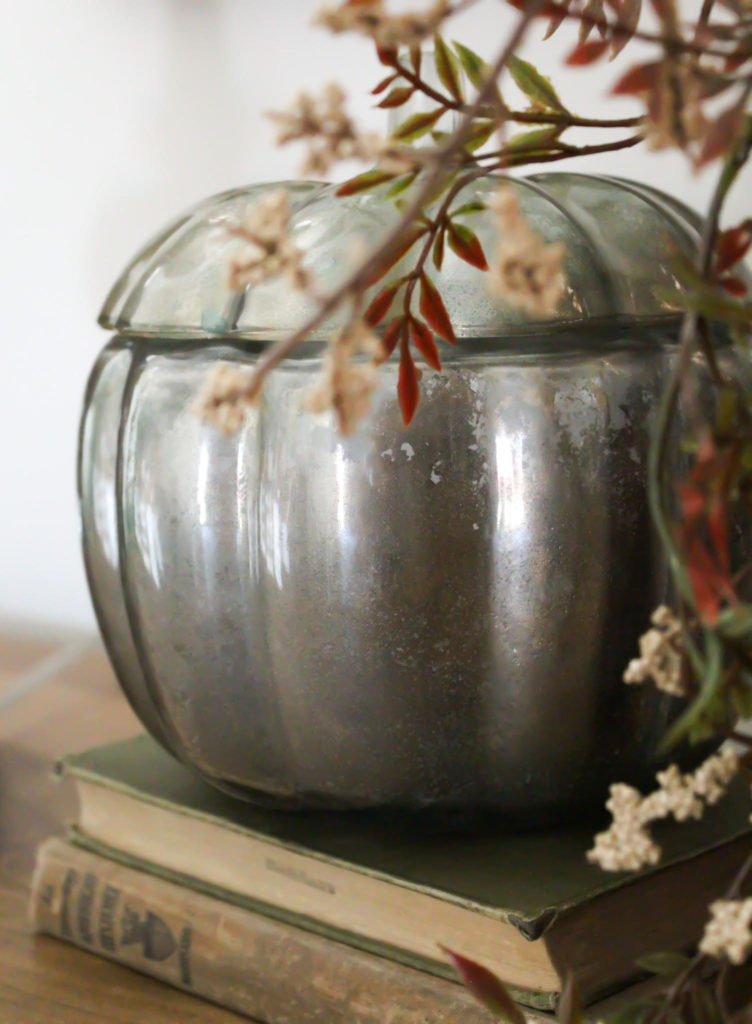
I sprayed my pumpkin with two coats of paint, but you can spray as much or as little as you’d like.
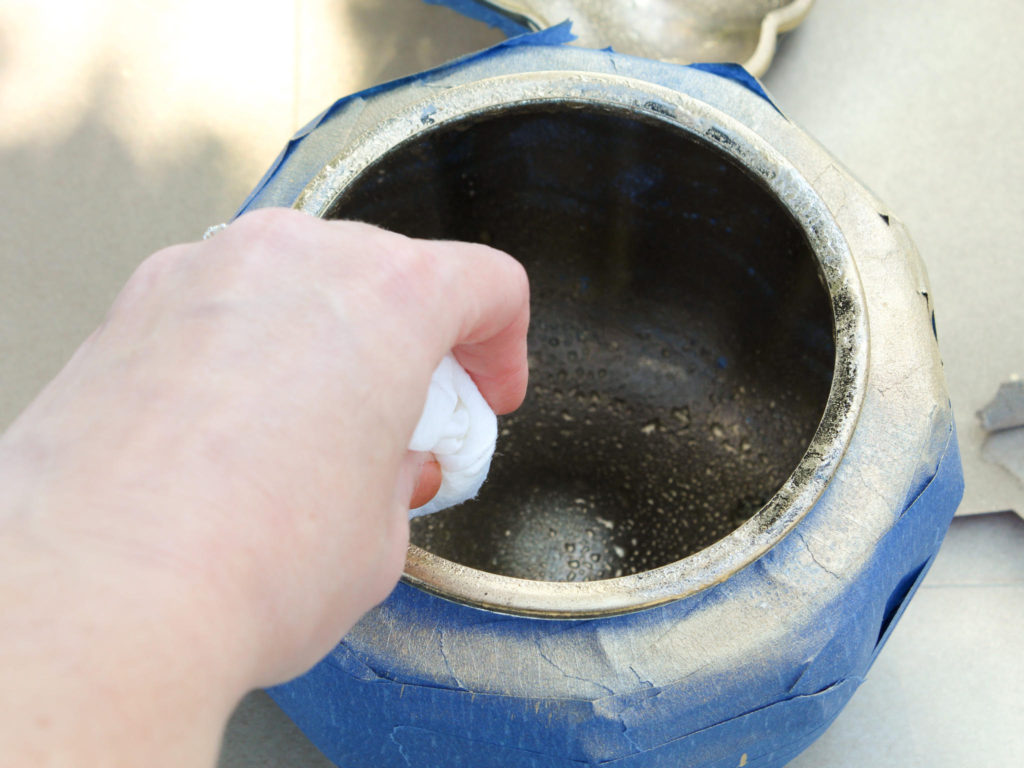
If you accidentally spray too much paint or too much of the water and vinegar solution, simply dab off the excess with a paper towel.
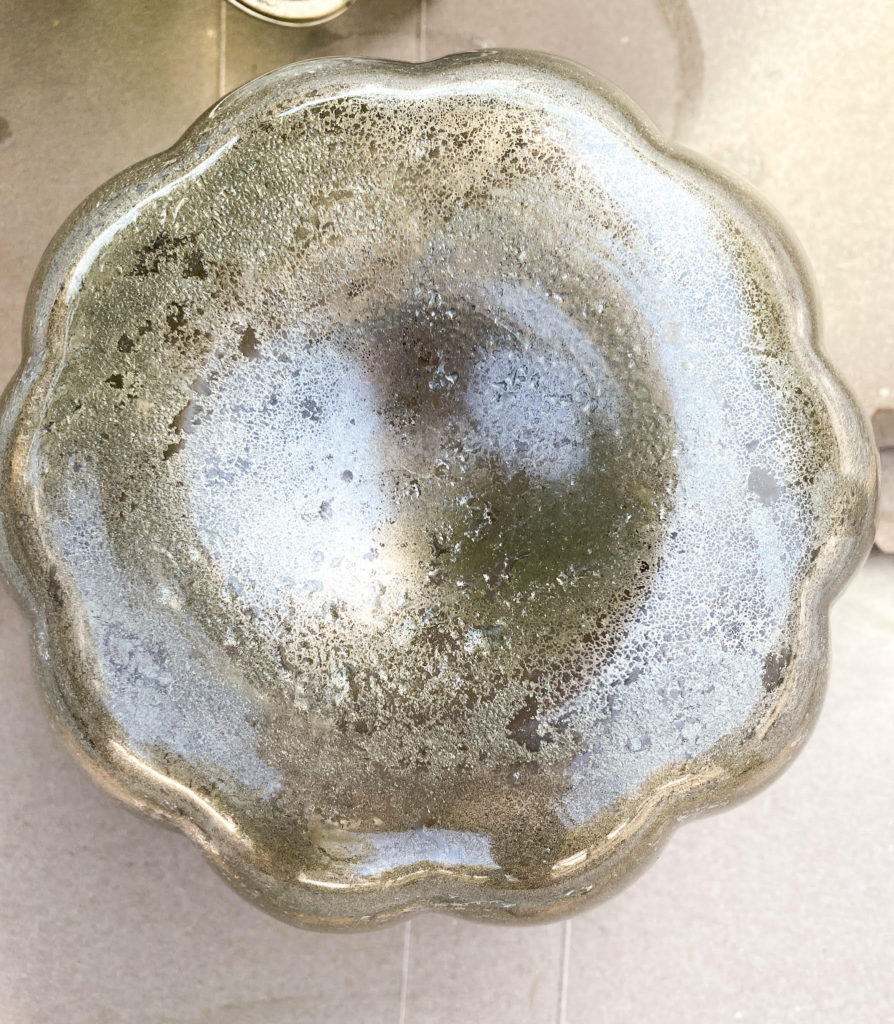
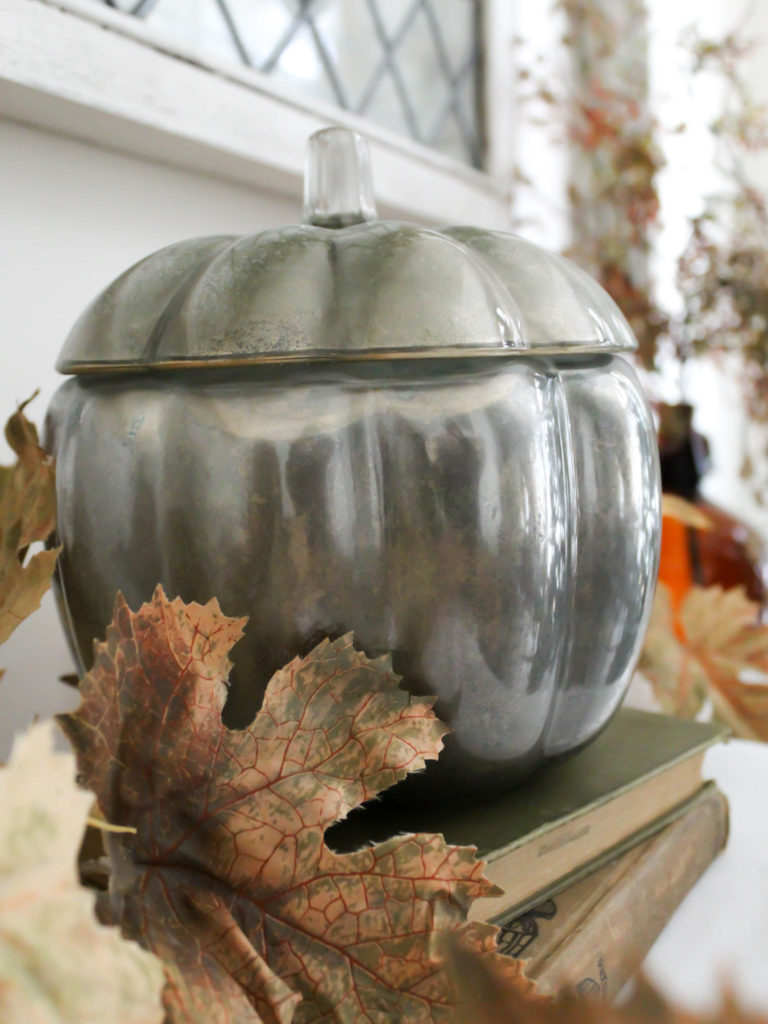
Then, let the paint dry, remove the tape, and voila! Your DIY mercury glass is done.
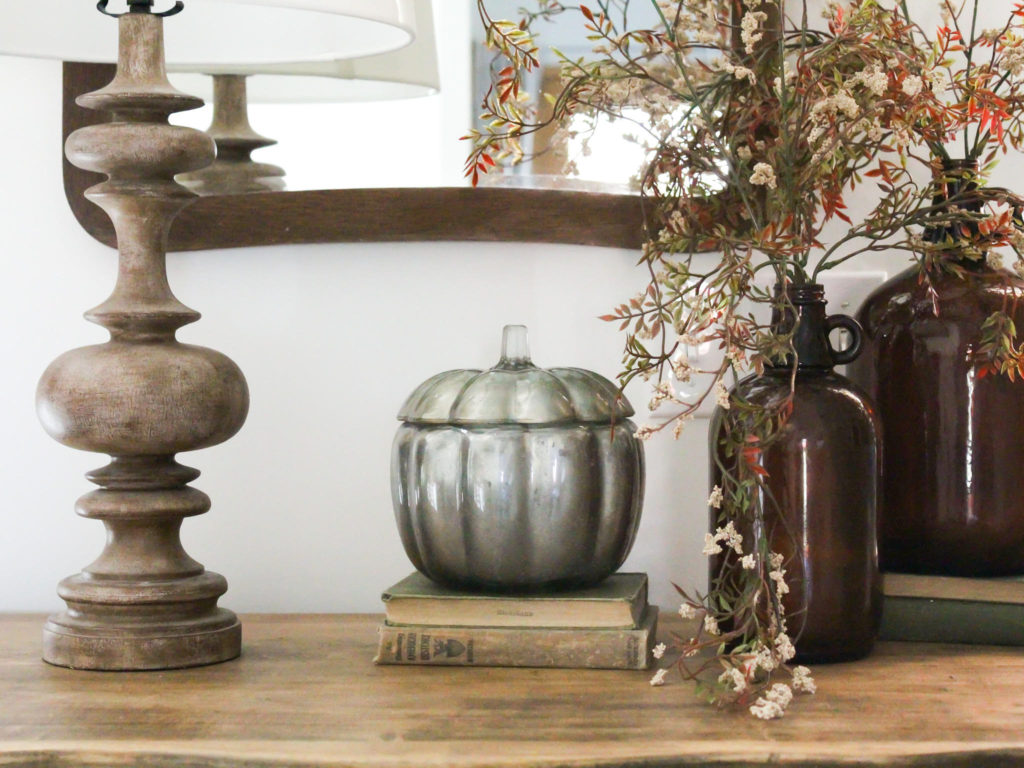
Isn’t it so pretty? I really love how it turned out, and can’t wait to try this DIY again.
So there you have it! My quick and simple steps to make a DIY mercury glass pumpkin in four easy steps.
Not too bad for less than $15, right? If you loved this project, don’t forget to pin it below, and check out some of my other DIY projects.
Happy DIYing!

More FALL DIY INSPIRATION:
Looking for even more fall DIY ideas? Be sure to check out these other posts.
How To Make A Corn Husk Wreath
Did You Enjoy this Post? PIN It for Later!


I love this DIY! The way it turned out looks so glamorous.
Thanks so much, Jenn!
This is fabulous! I love mercury glass so much and the pumpkin is beautiful and elegant.
Thank you, Shawna! I agree that mercury glass is elegant and classic. All reasons why I love it so much!
Ok now I want to transform everything to mercury glass! So cool…spraying the inside is so smart. Pinned!
Thank you, Kelly! I want to do the same.🥰 Can’t wait to try it out on a few other glass pieces that I have stashed away
This is such a great idea! I am a tad surprised it’s done on the inside. I haven’t researched this as you have but I love the final product. Better than almost $50!
Thank you, Torie! I was surprised too, but it helps to prevent it from scratching off.😉 I also sprayed mine with a matte sealer on the inside (which I realize I forgot to include in the list of supplies and instructions…oops!) Just for an extra layer of protection. I did see other tutorials that used this method on plastic or foam items and sprayed the outside. It seemed to work okay, so I think you could probably do either. And I agree…I like the cost of this project much better!
That is so cool! I had no idea you’d spray the “inside” instead of the outside. It turned out great! Hope you have all that gold paint off your feet by now!
Thank you, Lori. I was surprised by that part too, but it really helps to protect from scratches. I’m so happy with how it turned out. I have some glass trees that I’m dying to try this out on for Christmas.