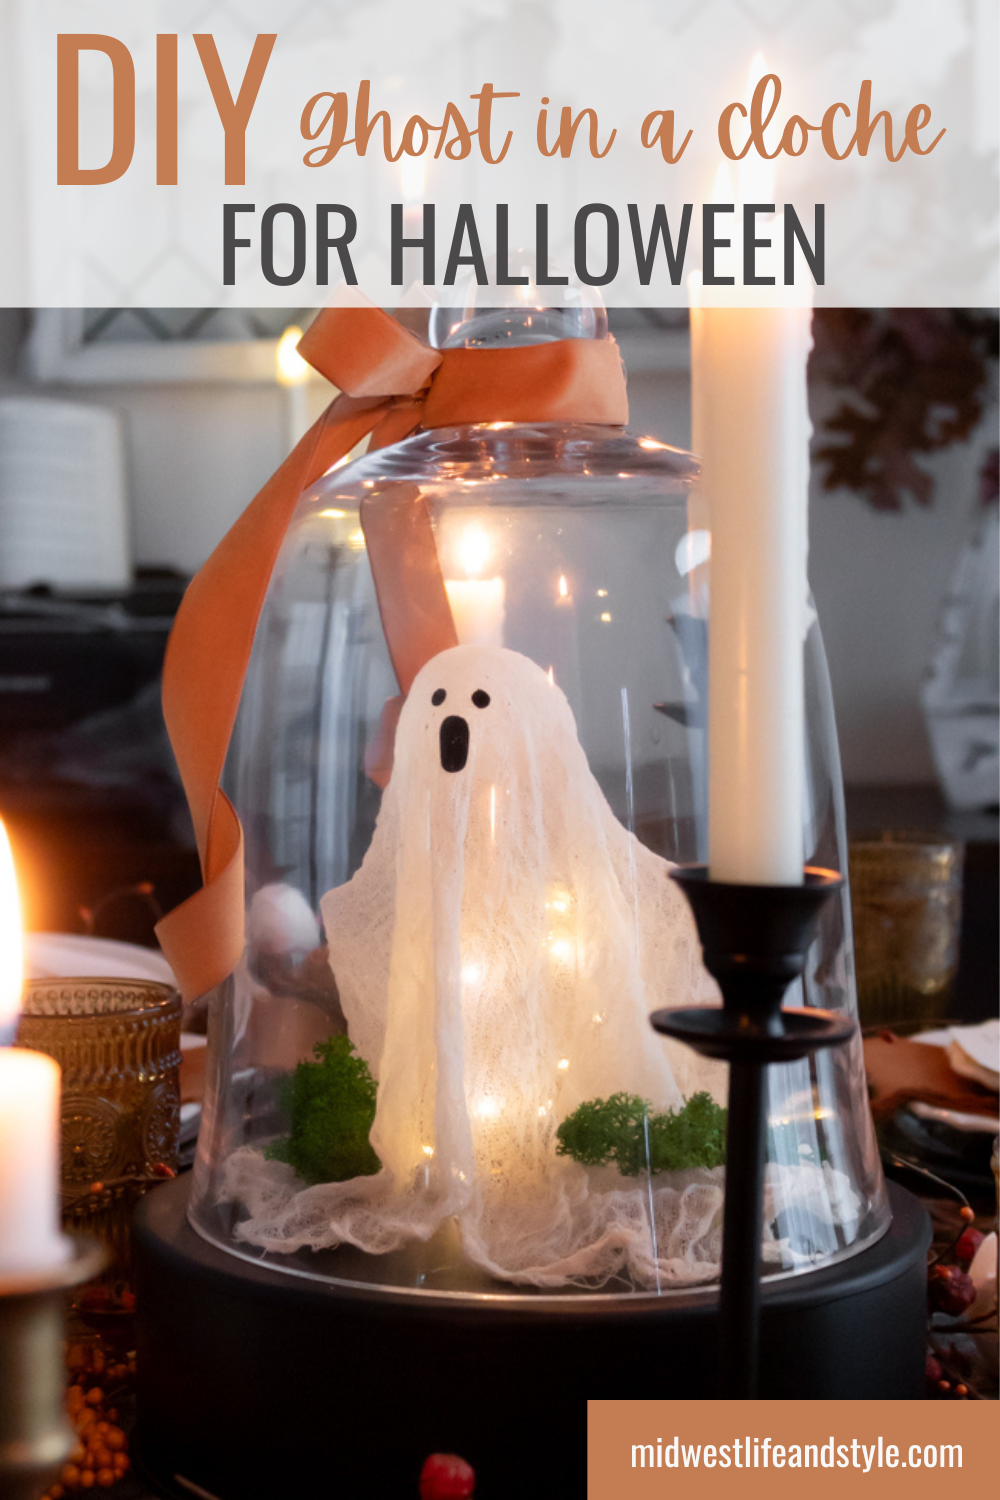
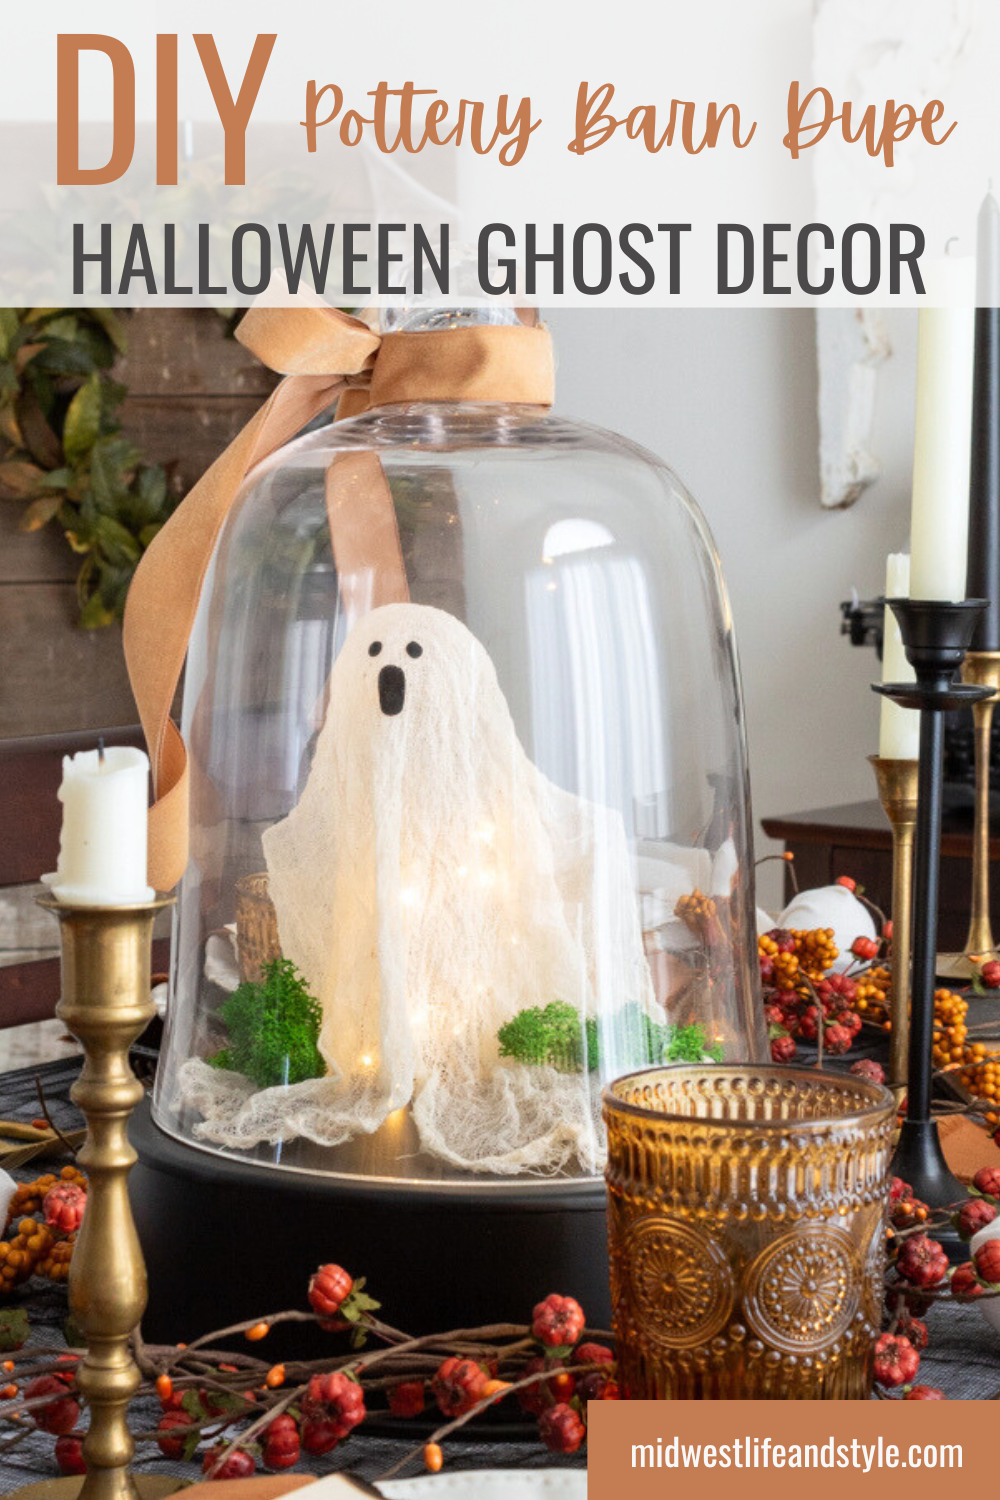
Learn how to make a DIY ghost under a cloche for Halloween! This easy project is a fun way to add a spooky touch to your home decor for fall.
*As an Amazon affiliate, I earn from qualifying purchases at no extra cost to you. My blog contains other affiliate links as well for your convenience. To learn more, you may read my Disclosure Policy. Thank you for supporting my blog!
DIY Ghost Under a Cloche
Confession time…I meant to share this adorable and budget-friendly DIY ghost with you last year, but life got in the way, and I never quite finished it.
But, as they say, better late than never, right?
I’m not usually one to decorate for Halloween, but the Pottery Barn Halloween decor is always so darn cute!
The price tag though…not so much.
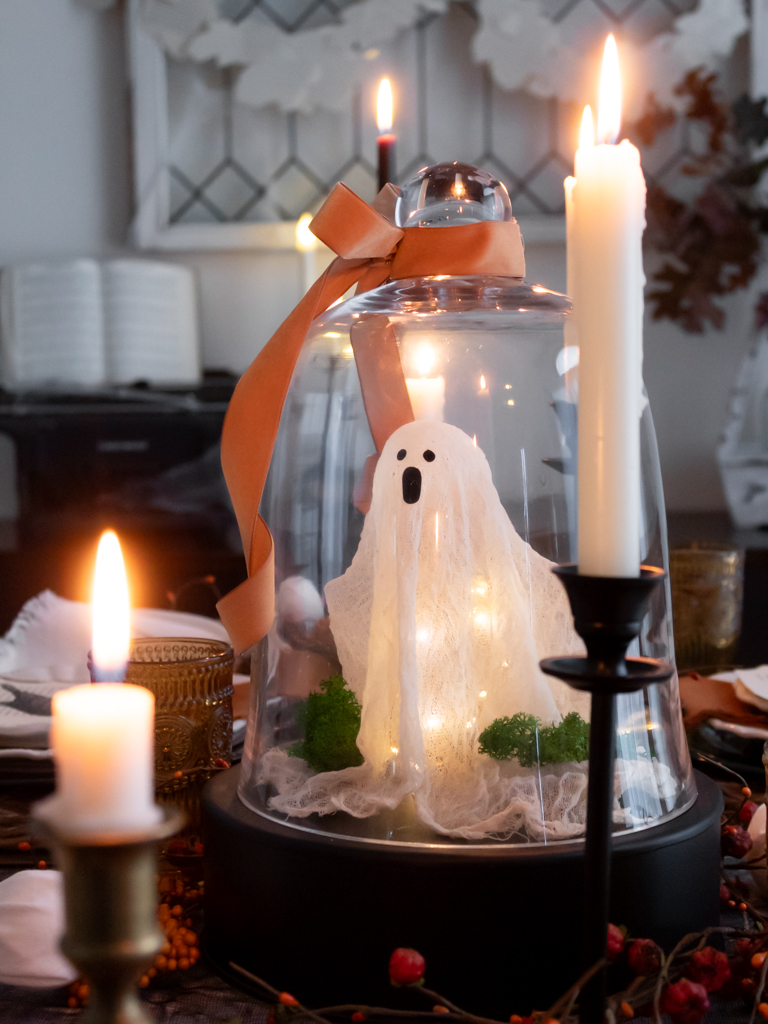
This DIY project is a dupe for the popular Pottery Barn ghost cloche.
Made with cheesecloth, and just a few basic supplies, I made my cheesecloth ghosts for a fraction of the cost!
It’s great if you’re looking for quick and easy Halloween decorating ideas.
This is one fall craft anyone can do, plus, this DIY ghost is perfect for adding an adorably spooky touch to your Halloween decor.
Table of Contents
- DIY Ghost Under a Cloche
- Supplies Needed to Make a DIY Ghost Under a Cloche
- How to Make Your DIY Ghost
- How to Display Your DIY Ghost Under a Cloche
- More Halloween Favorites from Midwest Life and Style
- Ready to Make Your Own DIY Ghost?
- Did You Enjoy this Post? PIN It for Later!
Supplies Needed to Make a DIY Ghost Under a Cloche
Here’s what you’ll need to create your own cheesecloth ghost:
- Cheesecloth
- Mod Podge
- Glass cloche
- Pedestal or base for your cloche
- 2″ foam balls
- Floral foam block
- Wood skewers
- Black self-adhesive felt
- Velvet ribbon
- Moss
- Fairy lights
- Scissors
How to Make Your DIY Ghost
Step 1: Create the Ghost Form
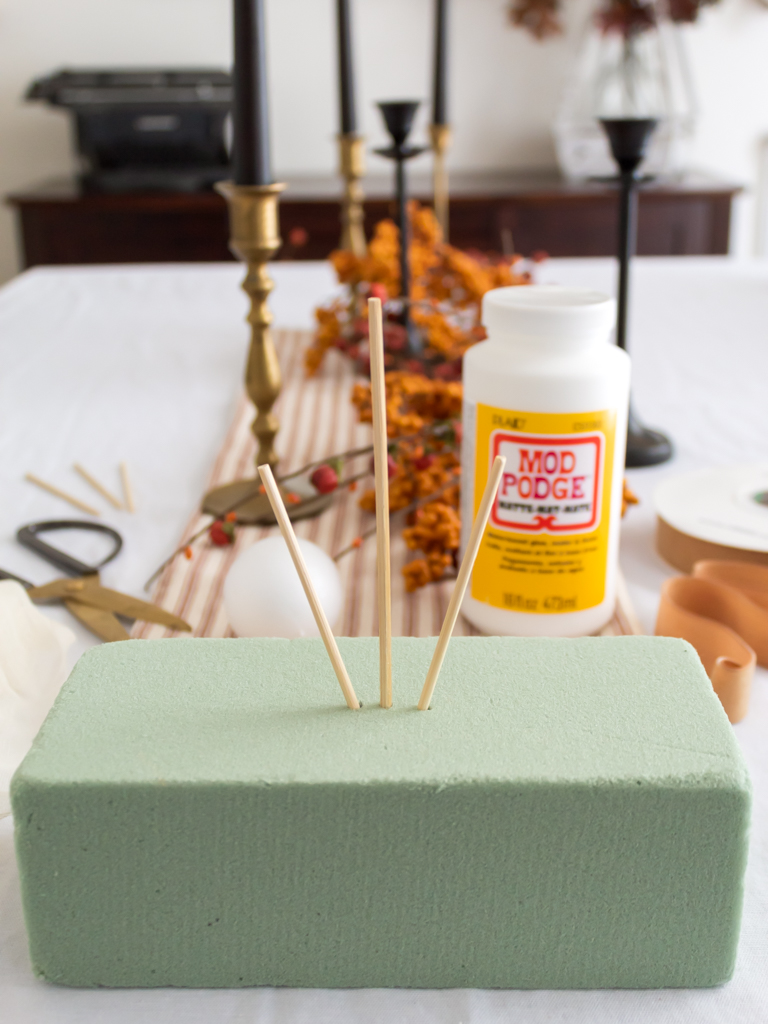
First, start by grabbing a floral foam brick to hold up your DIY ghost while you work.
Then, carefully insert three wooden skewers into the foam—one taller skewer in the middle for the body and two shorter ones angled on either side for the arms.
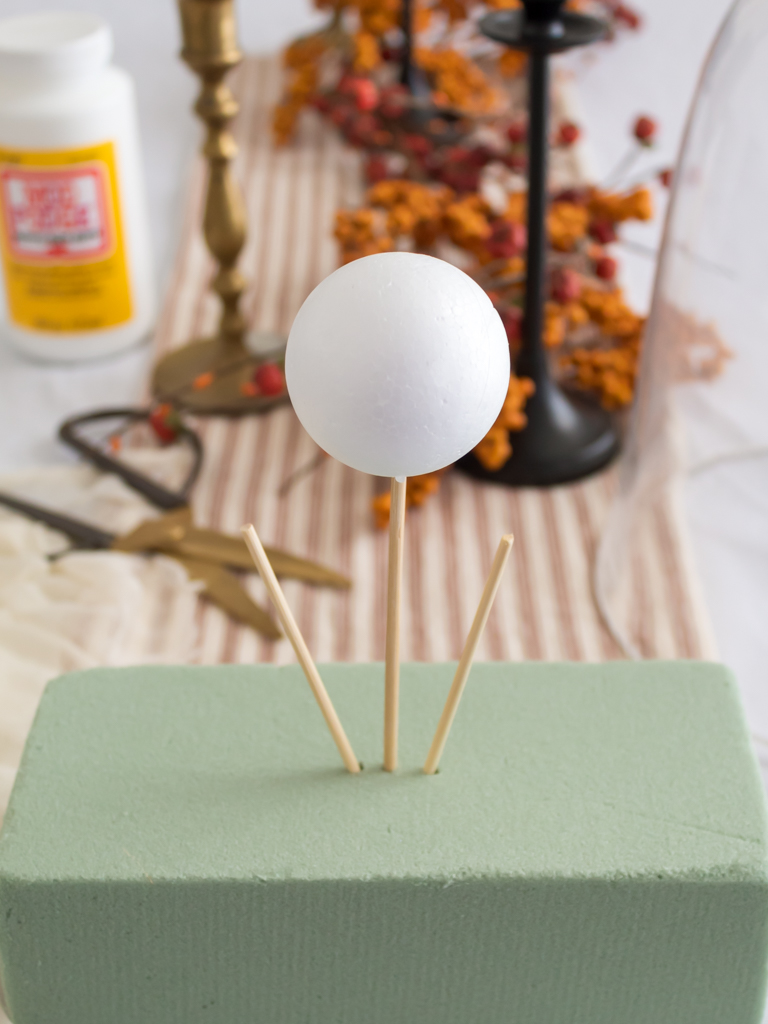
Next, place a small foam ball on top of the center skewer to form the head.
Before moving on, check that the height and width of your ghost will fit under your glass cloche so it’s not too big once you’re done.
Step 2: Mix the Mod Podge Paste
To ensure your cheesecloth ghost holds its shape, you need to stiffen it, and this is where the Mod Podge comes in!
In a small bowl, combine two parts Mod Podge with one part water to create a thin, sticky paste.
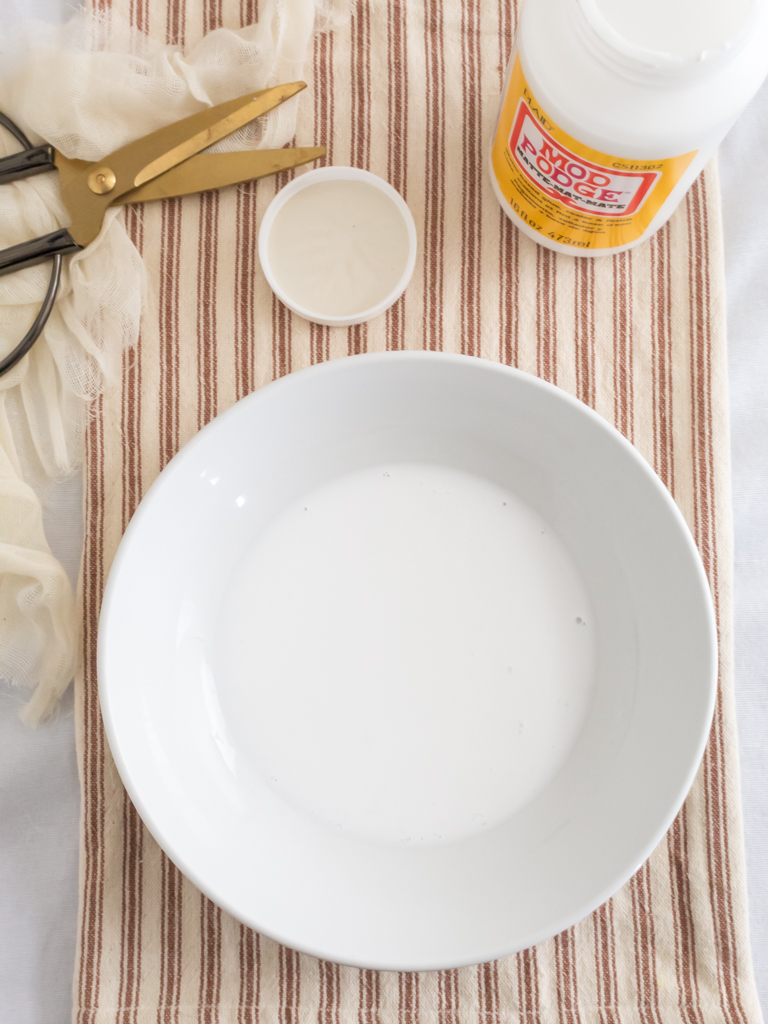
If you accidentally add too much water, add another dab of Mod Podge to thicken up the solution.
The mixture should be thick enough to stiffen the cheesecloth as it dries, but still thin enough to wring out the excess.
Aim for a consistency similar to laundry detergent.
Step 3: Coat the Cheesecloth in the Paste
Cut a rectangular piece of cheesecloth to the length you want.
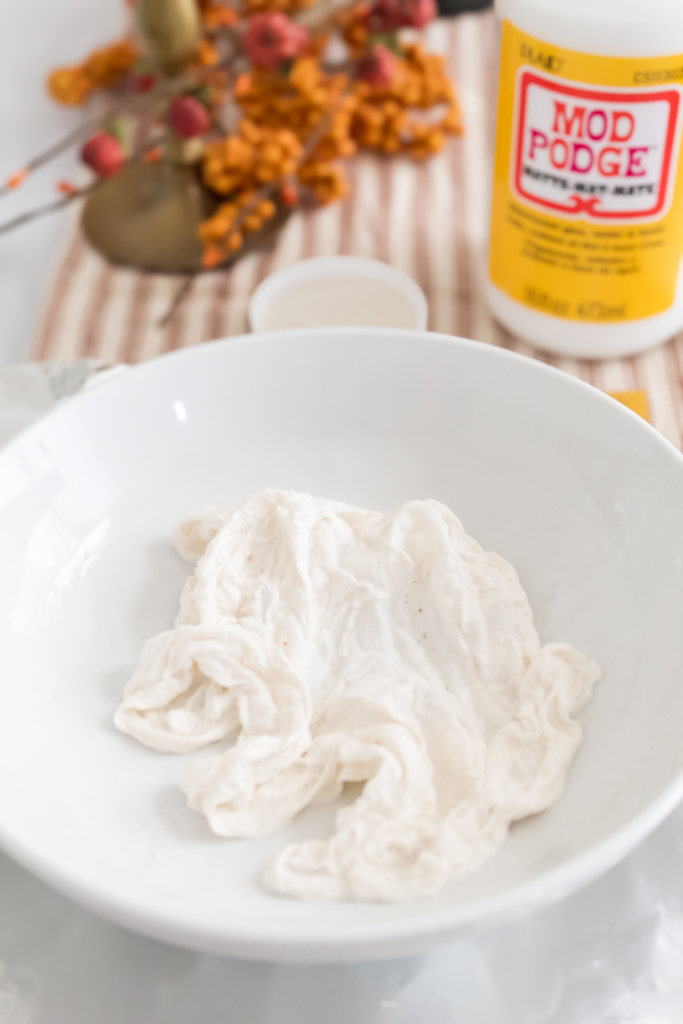
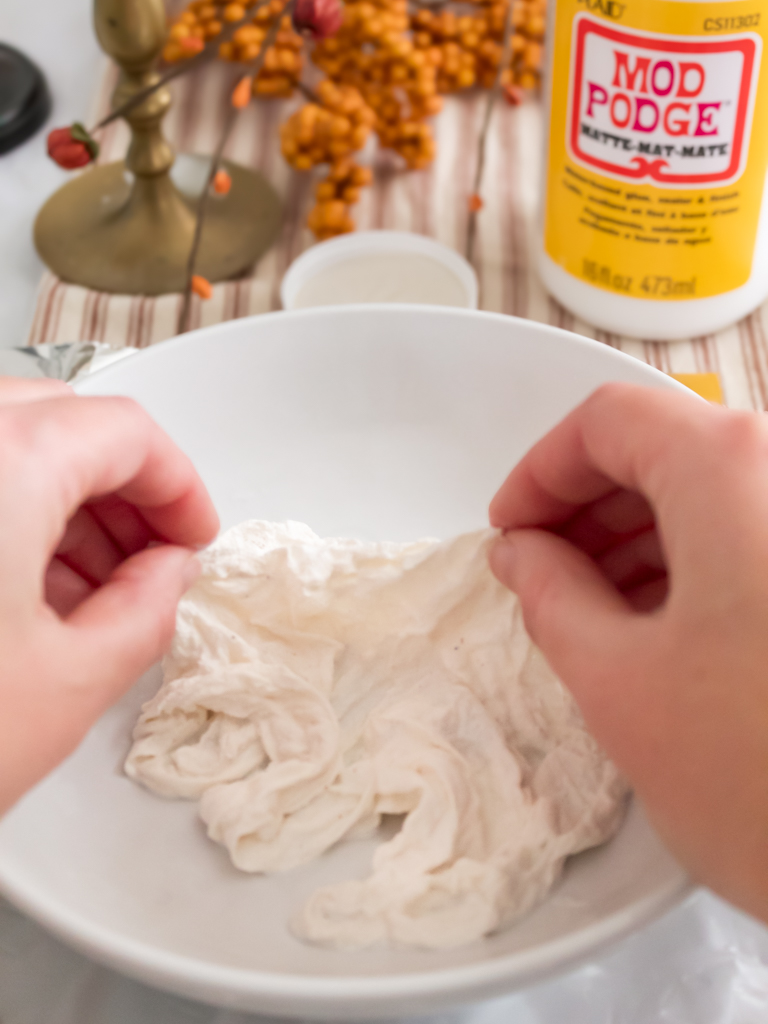
Soak it in the Mod Podge mixture until it’s fully covered, then give it a good wring to get rid of the excess.
Step 4: Drape the Cheesecloth
Once it’s ready, untangle the cheesecloth and spread it out, draping it over your ghost frame.
Adjust the fabric until it looks just right and be sure to bunch the fabric together at the bottom where it meets the base to help your ghost stand up!
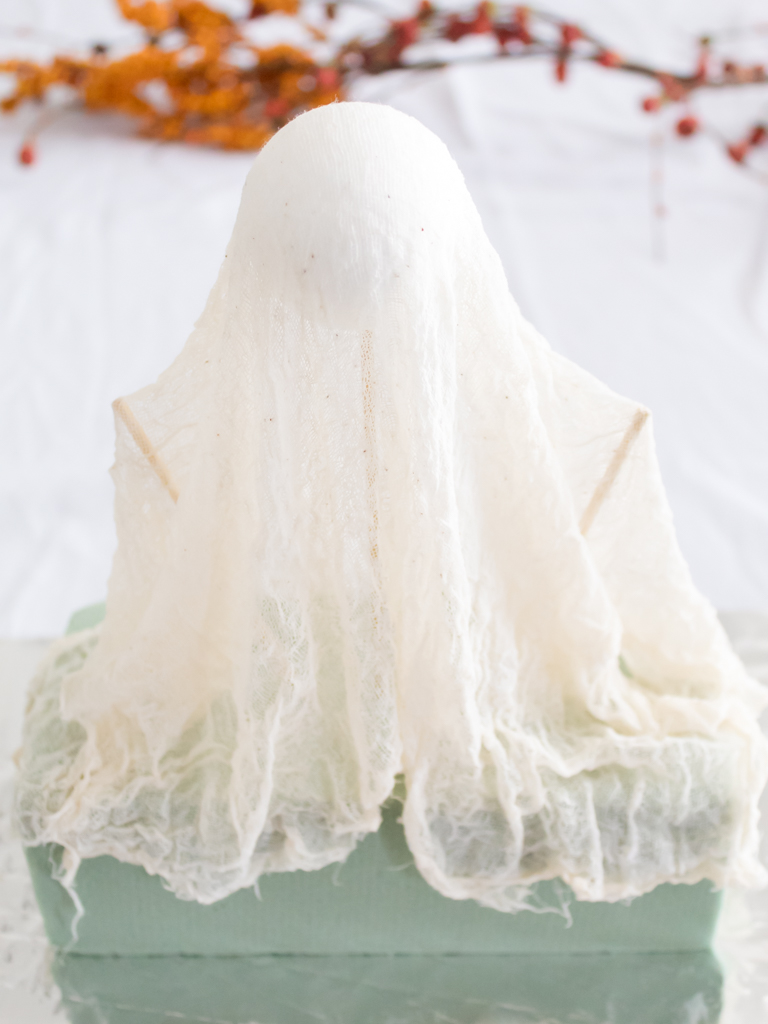
Now for the hardest part of this whole project—being patient while your adorable ghost figure dries!
Be sure the cheesecloth is completely dry before moving on.
Depending on how much Mod Podge it absorbs, drying can take anywhere from 24 to 48 hours.
Step 5: Add Eyes and a Mouth to the Ghost
Now it’s time to give your ghost some personality!
This step is always fun and adds a cute touch to your Halloween ghost crafts.
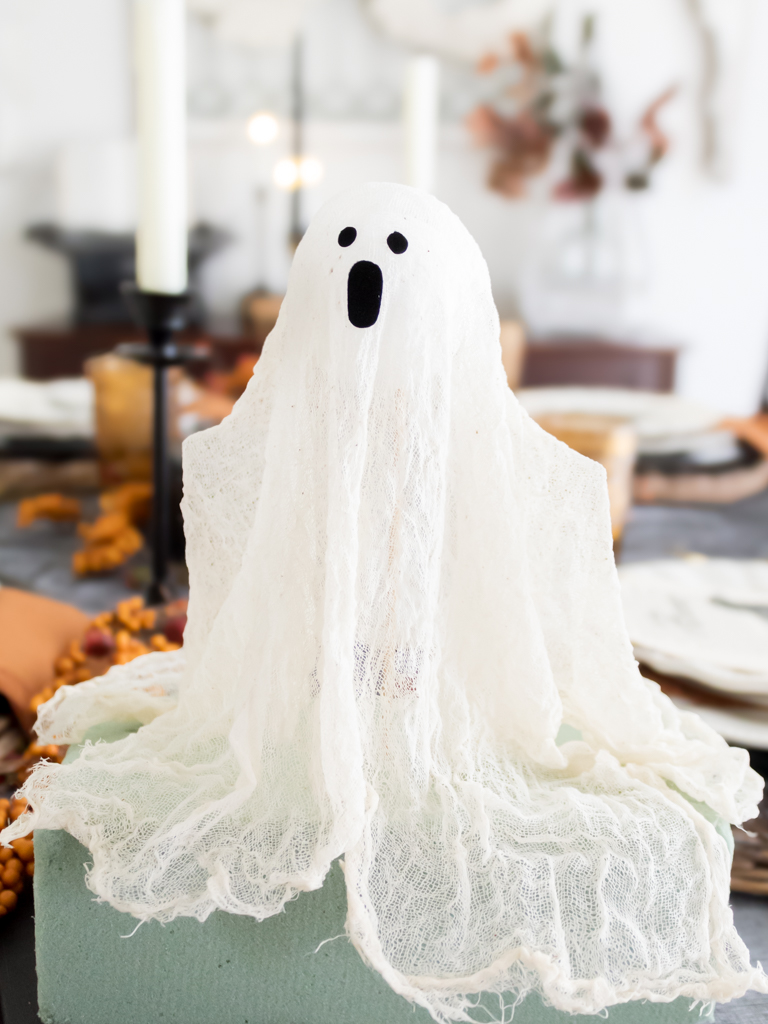
I used black self-adhesive felt for my ghost, but you could also use a paint pen or a fine-tip marker. (Just be careful that the marker doesn’t bleed!)
I used a single hole punch to cut out my ghost’s eyes and used scissors to cut out the shape of the mouth.
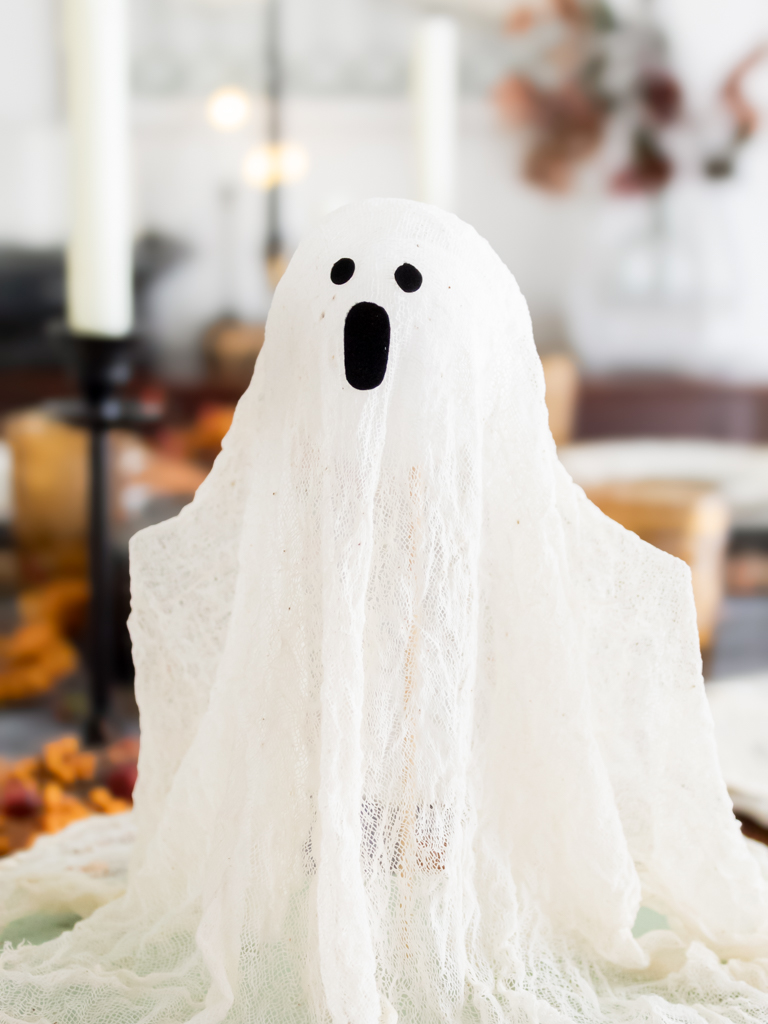
Then I peeled the sticky backing off the felt and attached the shapes onto my ghost.
Easy peasy!
5. Place the DIY Ghost Under a Cloche
Once your DIY ghost is finished, place it on a pedestal and cover it with a glass cloche.
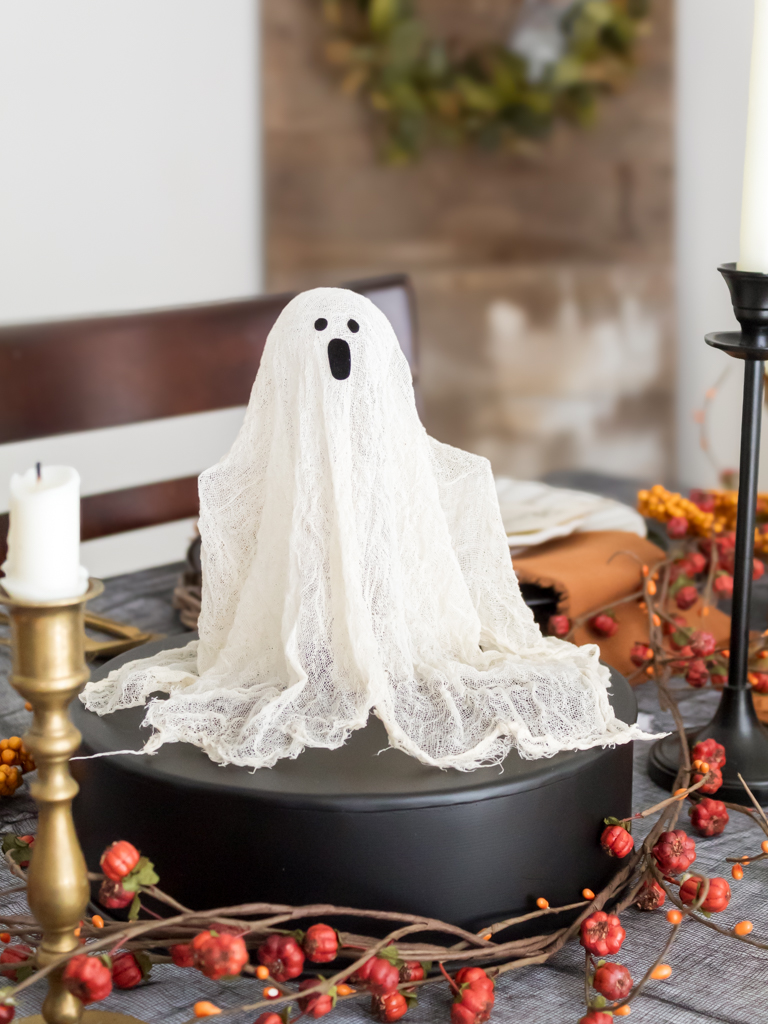
This not only keeps your ghost protected but also gives it that polished, spooky look—perfect for Halloween decor!
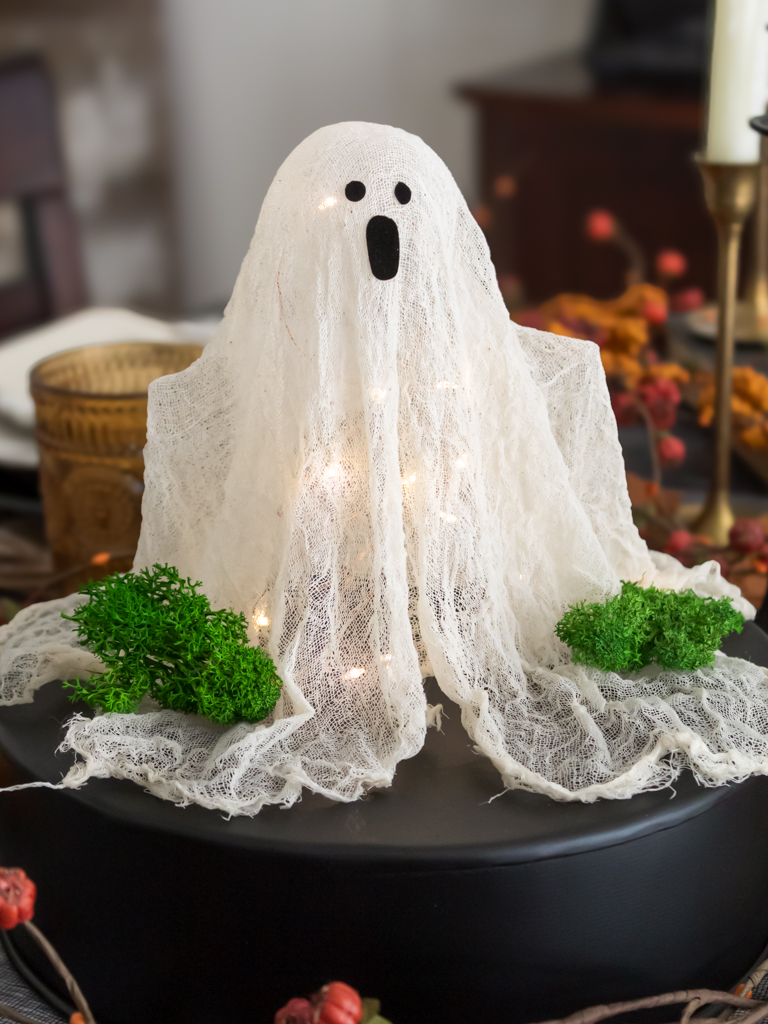
Before putting the cloche over your ghost, set it on a small riser and tuck some fairy lights underneath.
To tie in with the rest of my Halloween decor, I simply spray-painted a galvanized metal riser using a matte black color.
For a little extra Halloween flair, I added some moss around the base of the ghost.
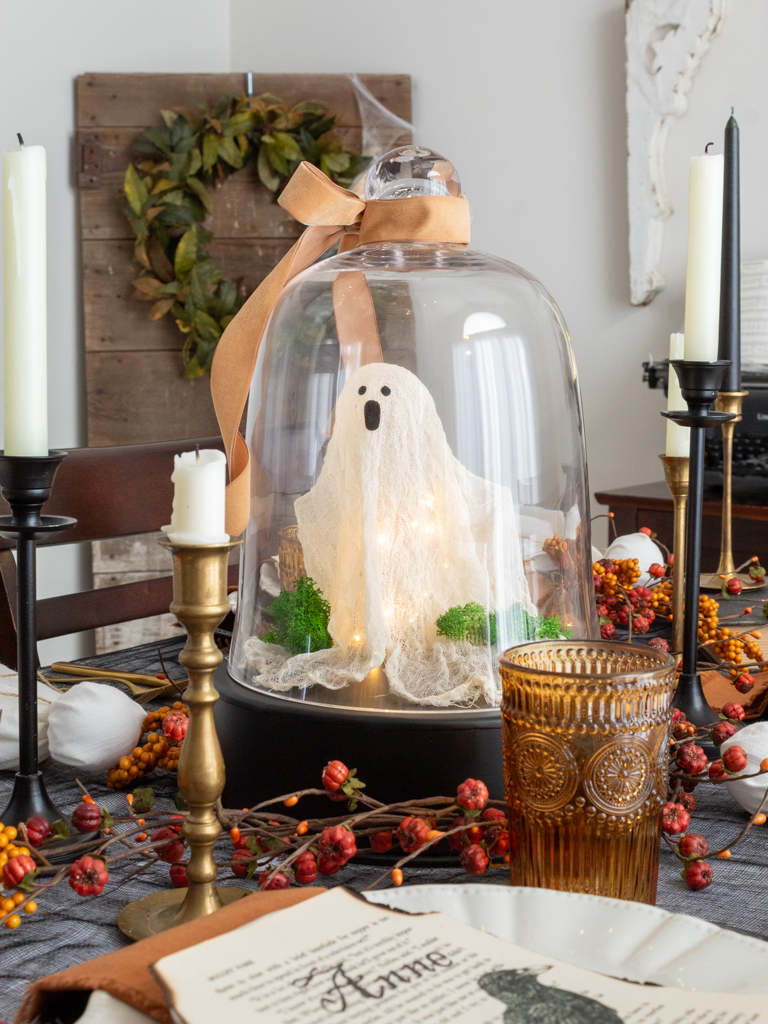
I also carefully hid the extra fairy lights and battery pack underneath the riser.
Once everything was in place, I added the cloche and tied an orange velvet ribbon around the top for a fun finishing touch.
How to Display Your DIY Ghost Under a Cloche
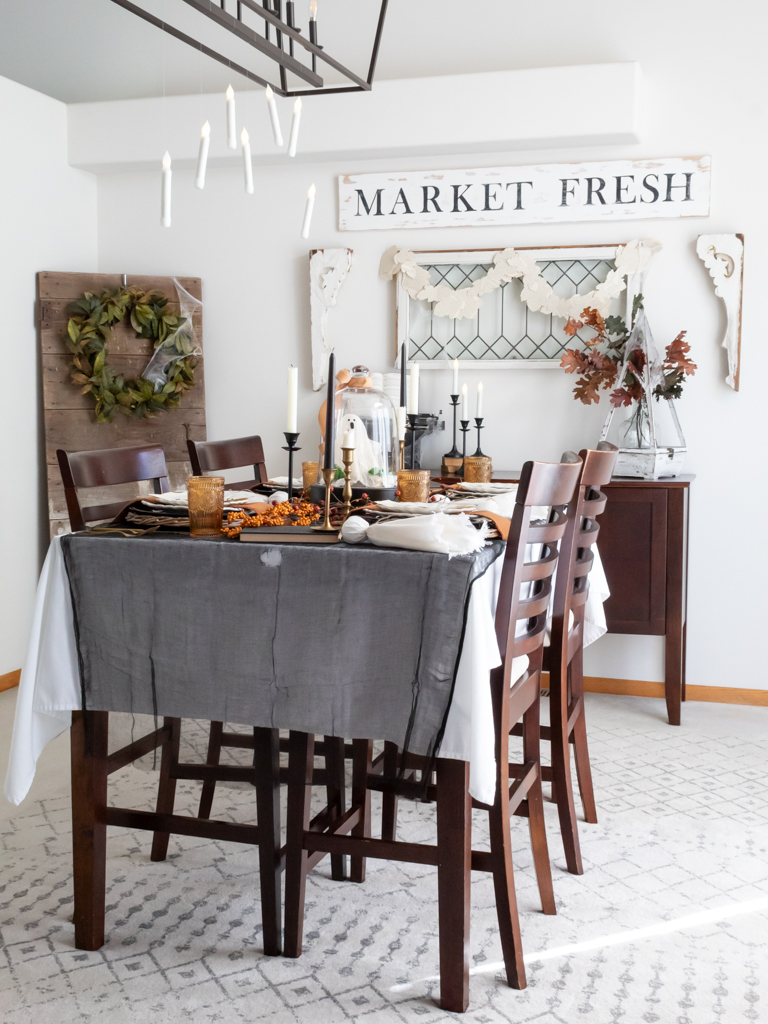
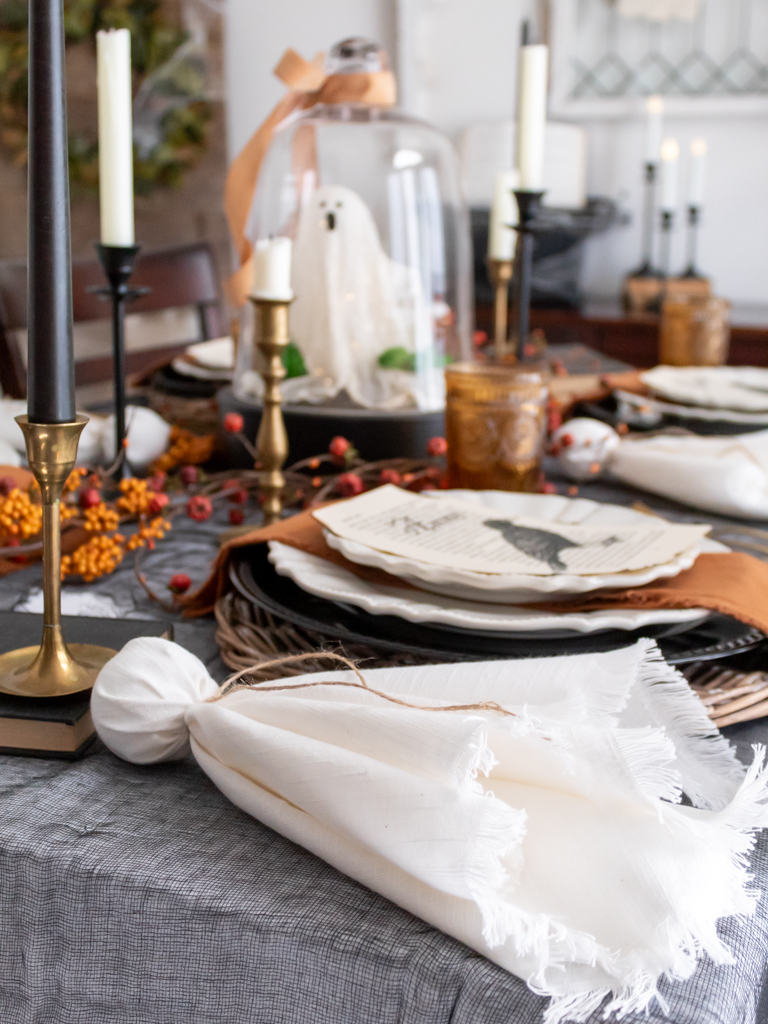
I used my DIY ghost as a centerpiece for a Halloween party, and it stole the show on my Halloween tablescape!
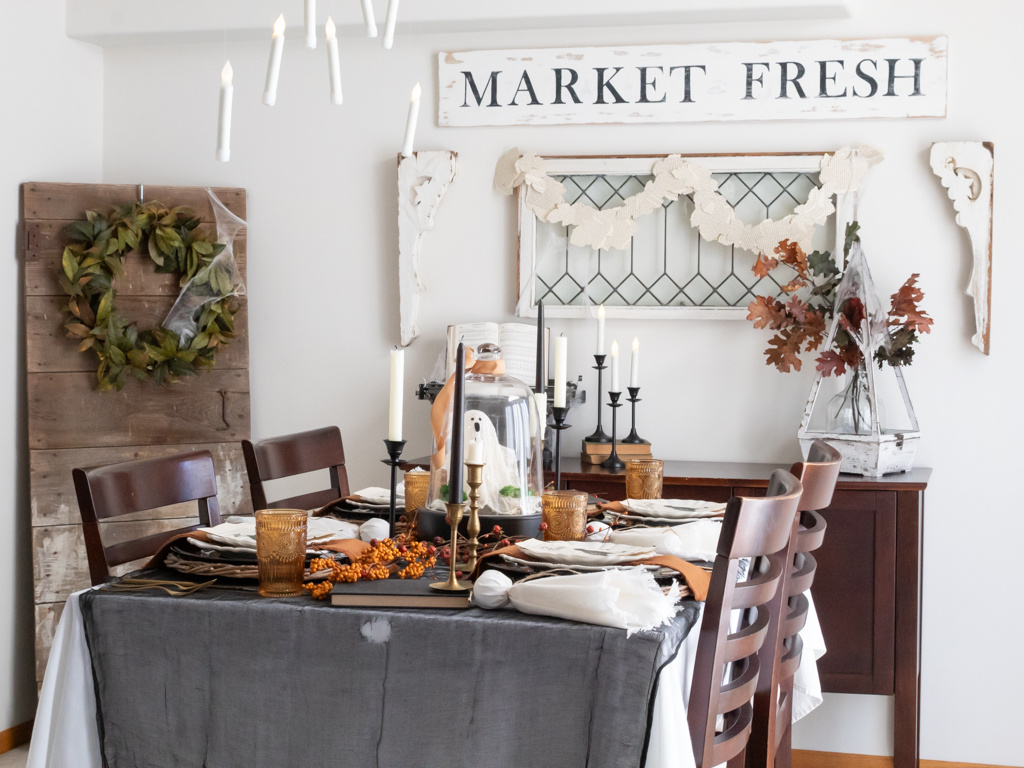
But honestly, you can display your ghost under a cloche just about anywhere.
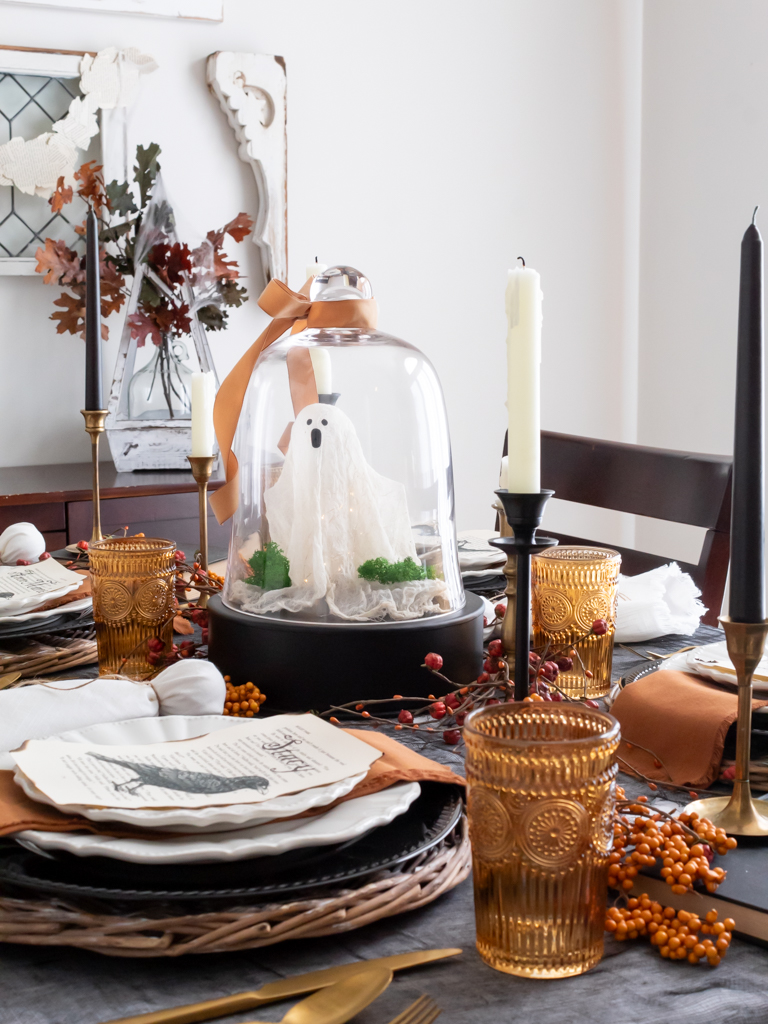
It would look great on a coffee table in your living room, a dresser or console table in your entryway, or even as part of a spooky Halloween vignette on your kitchen island.
The possibilities are endless.
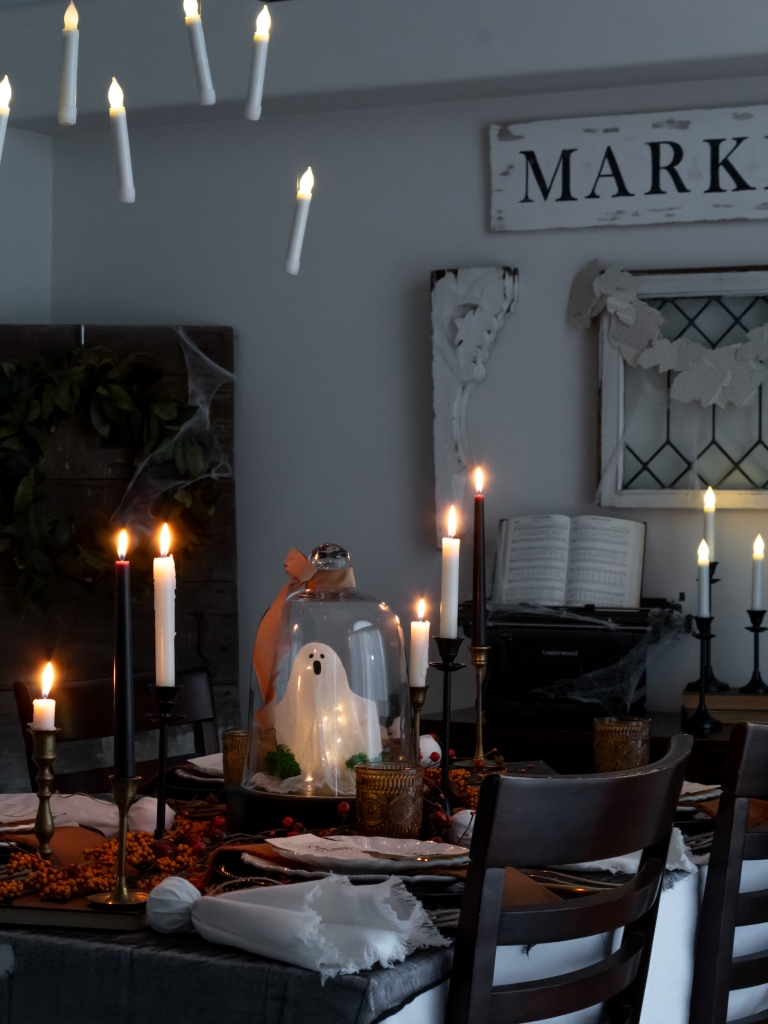
Wherever you put it, it’s sure to add a fun, haunting touch to your home this Halloween.
More Halloween Favorites from Midwest Life and Style
Looking for even more Halloween ideas? If you love this DIY ghost decor, be sure to check out these other easy Halloween-inspired crafts.
Ready to Make Your Own DIY Ghost?
I hope you enjoyed this fun and easy DIY ghost project!
Whether you use it as a Halloween party centerpiece or add it to your seasonal decor around the house, this little ghost is sure to bring some spooky charm to any space.
Plus, it’s a great way to get creative without breaking the bank.
I can’t wait to see how you make it your own!
Happy Halloween!
Xo,

Did You Enjoy this Post? PIN It for Later!





This little ghosty is too cute! I love him haha. I need one in my house!!!!
Hi Jackie! I’m so glad you enjoy this little ghost craft as much as I do. If you make one be sure to share! I’d love to see a photo of your finished project!
This is seriously so stinking cute, Jen! Two of my nephews are obsessed with Spooky Season in the best possible way so I’m excited to make this for them. They’ll be tickled pink! Can’t wait to share this on Thursday. Big hugs, CoCo
Thank you so much, CoCo! It doesn’t get muche easier than this project. Your nephews might even like helping make their own ghosts! Thank you for sharing. I appreciate it!
Such a FUN DIY, Jen! Also love the floating candles and the rest of the tablescape!
I’d love for you to join us over at the Creatively Crafty Linky Party every Wednesday through Sunday
https://creativelybeth.com/creative-crafts-linky-party/
Followed and Pinned!
Creatively, Beth
Thanks so much, Beth!
Thank you so much for sharing this with us on Farmhouse Friday 366 last week. I love it and plan to share it tomorrow. Hope you have a great weekend. pinned
Thanks so much, Cindy. I can’t wait to pop over and see all the features!
Jen this is just the cutest ghost centerpiece! Pinning for inspiration!!
Thank you, Michelle!
SO cute, Jen!! I love how your spooky little ghost turned out and looks amazing styled on your table!
Thanks so much, Rachel! I’m glad you love him as much as I do!