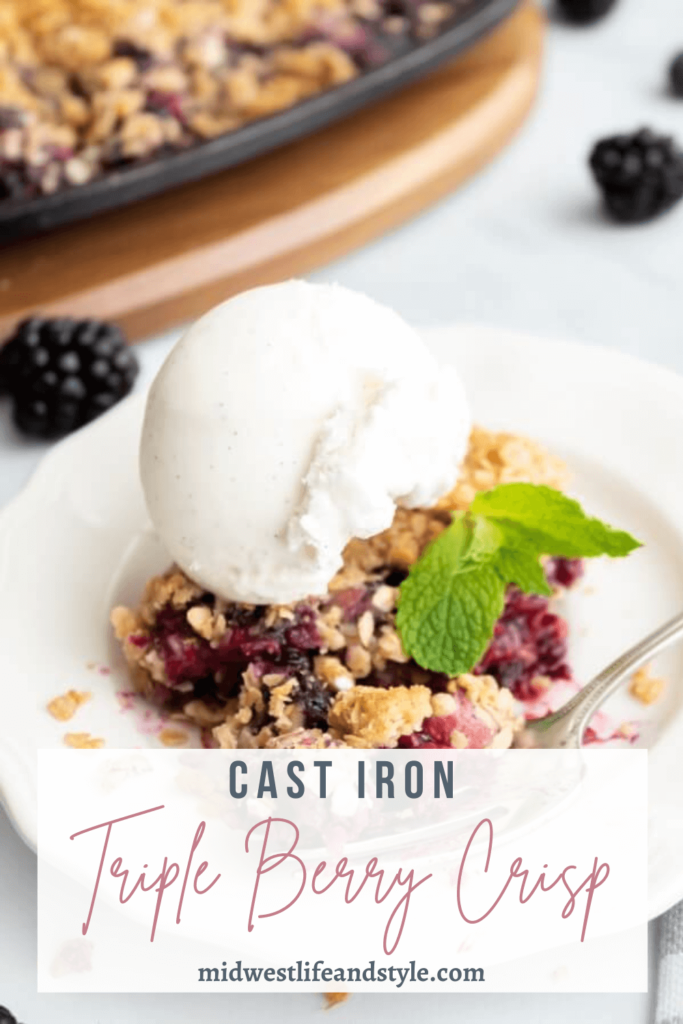
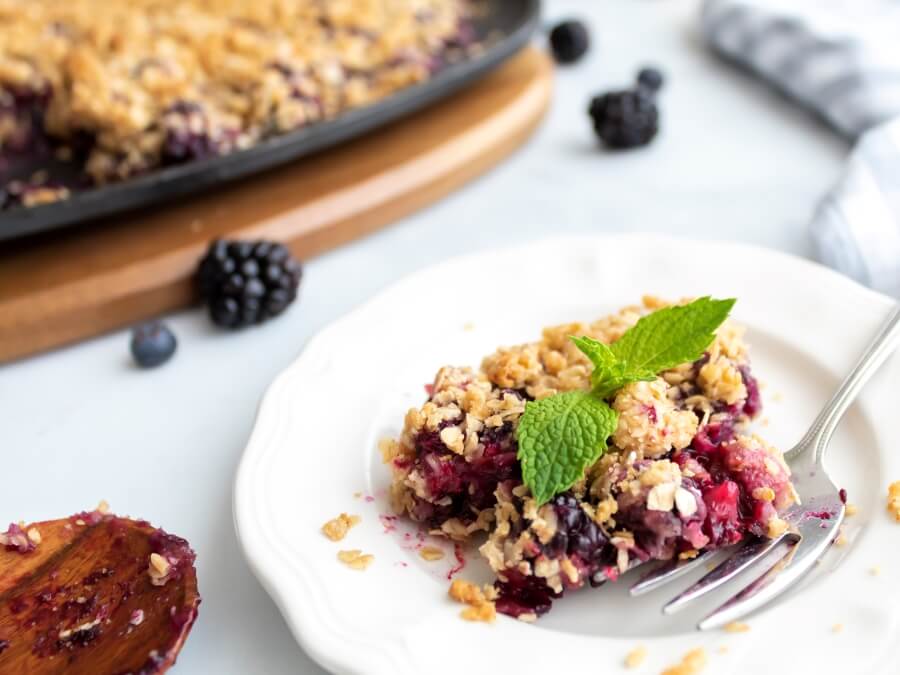
With a generous helping of fresh summer fruit, this triple berry crisp is easy to bake in a cast iron skillet and too good to resist!
*This post is generously sponsored by Pampered Chef. All opinions shared here are 100% my own. To learn more, you may read my Disclosure Policy. As always, thank you for supporting my blog!
Easy Cast Iron Triple Berry Crisp
There is nothing like the taste of fresh berries in the summer. And when those berries are baked into a dessert? Well, that’s even better!
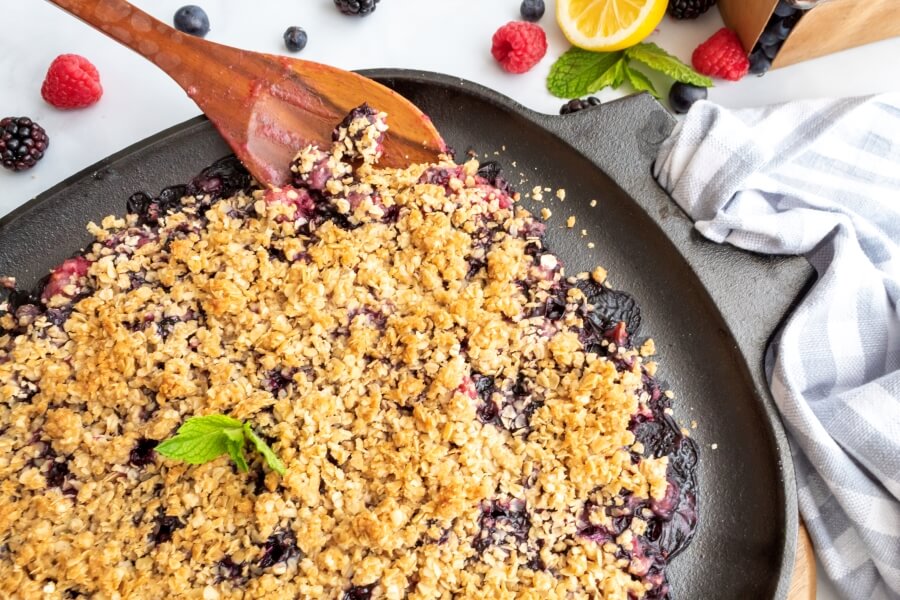
I was inspired by the tastes of the season to use my cast iron sizzle skillet and wood trivet from Pampered Chef to whip up this simple triple berry crisp.
Made with a trio of fresh blueberries, raspberries, and blackberries, the sweet flavor is pure heaven for your tastebuds.
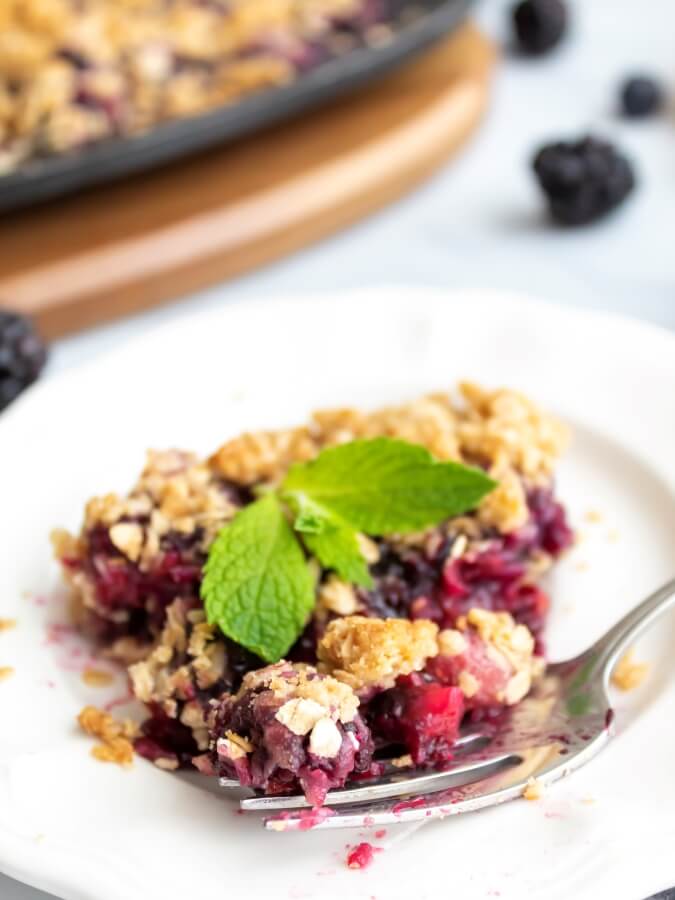
The crisp is nice and light. (Perfect for a hot summer day.) And the sizzle skillet and trivet make it easy to take it from the oven straight to the table for your family to enjoy.
Ingredients For Easy Cast Iron Triple Berry Crisp
Here are the ingredients you will need to bake your own easy cast iron triple berry crisp.
Berry Filling
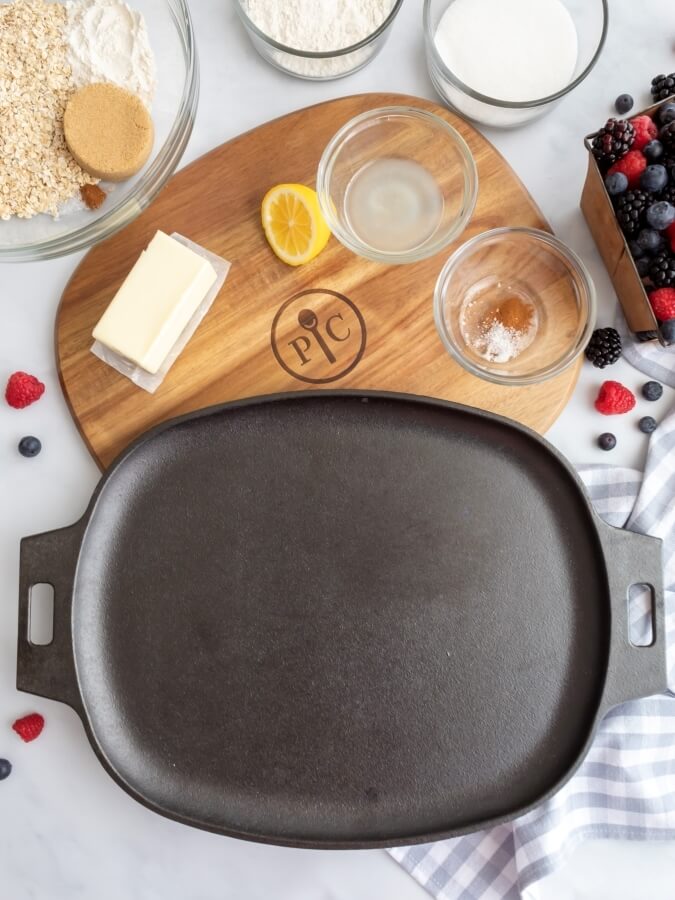
- 1 pint (approximately 2 cups) fresh blueberries
- 1/2 pint (1 cup) fresh raspberries
- 1/2 pint (1 cup) fresh blackberries
- 1/3 cup all-purpose flour
- 1/2 cup granulated sugar
- 1/4 teaspoon ground cinnamon
- 1/8 teaspoon kosher salt
- 4 teaspoons fresh lemon juice
Crumb Topping
- 1 and 1/4 cup old-fashioned oats
- 2 tablespoons all-purpose flour
- 1/3 cup packed brown sugar
- 1/8 teaspoon kosher salt
- 1/8 teaspoon ground cinnamon
- 5 tablespoons cold unsalted butter, cut into cubes
How To Make Easy Cast Iron Triple Berry Crisp
Good food doesn’t have to be complicated to make, and this triple berry crisp recipe is proof. All you need is a cast iron skillet and a few basic kitchen tools to whip some up.
Read in less than two hours, it’s ideal for a small family get-together, backyard picnic, or any weeknight when the craving strikes for a sweet treat.
Because life is short. So why not enjoy some dessert?
How To Prepare The Fruit Filling
As with any baking recipe, the first step is to preheat your oven. Set the temperature to 350℉. Then, while the oven warms up, mix the berry filling.
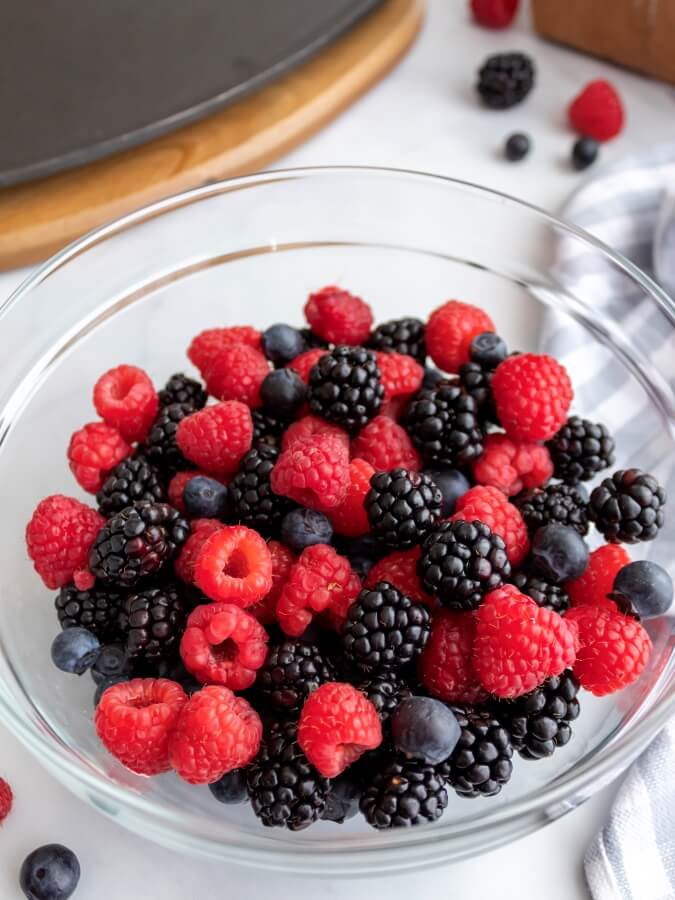
To begin, place all of the fresh berries in a colander. Gently wash them in the sink under cool water. Once rinsed, gently pat the fruit dry.
Next, add the blueberries, raspberries, and blackberries into a medium glass mixing bowl and set the bowl aside.
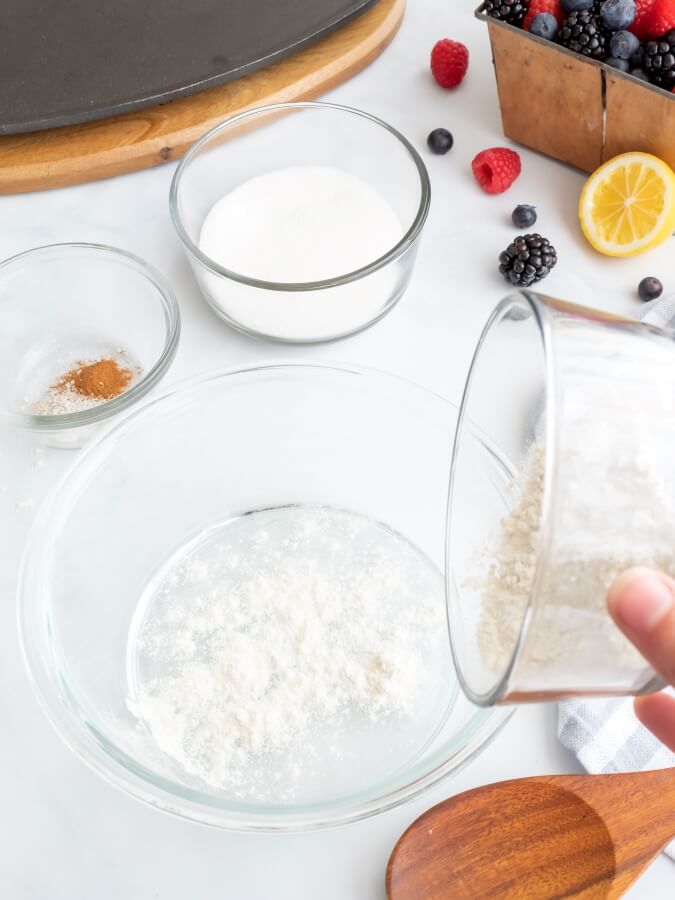
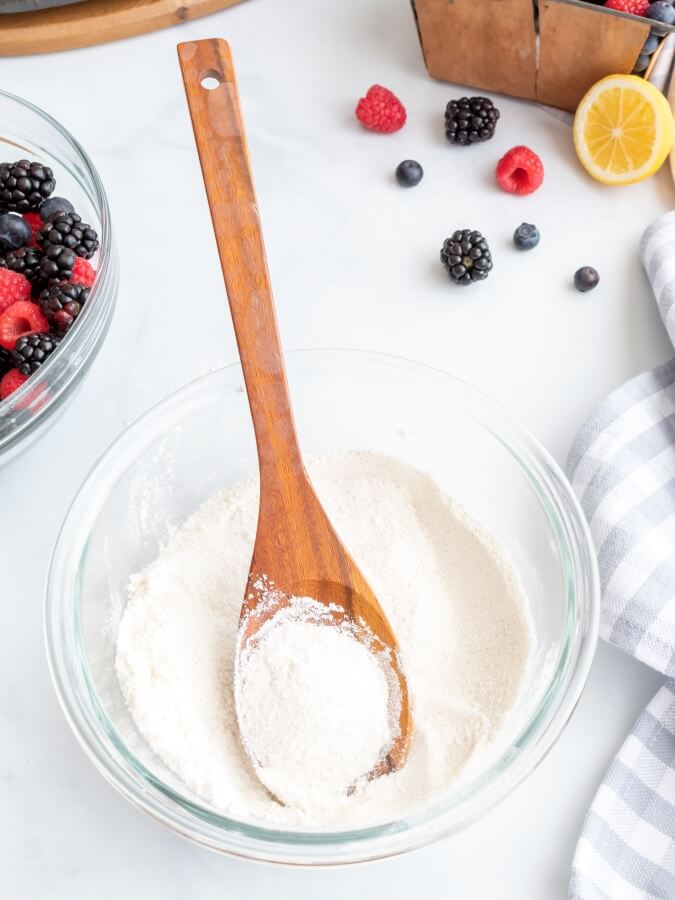
In a separate mixing bowl, combine 1/3 cup all-purpose flour, 1/2 cup granulated sugar, 1/4 teaspoon ground cinnamon, and 1/8 teaspoon kosher salt. Stir together until it is well combined.
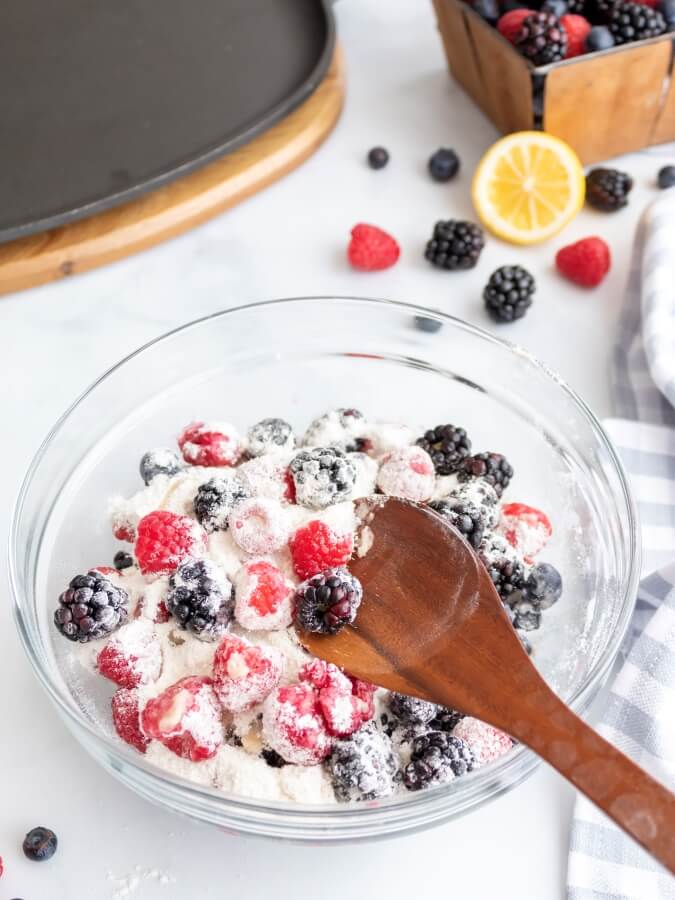
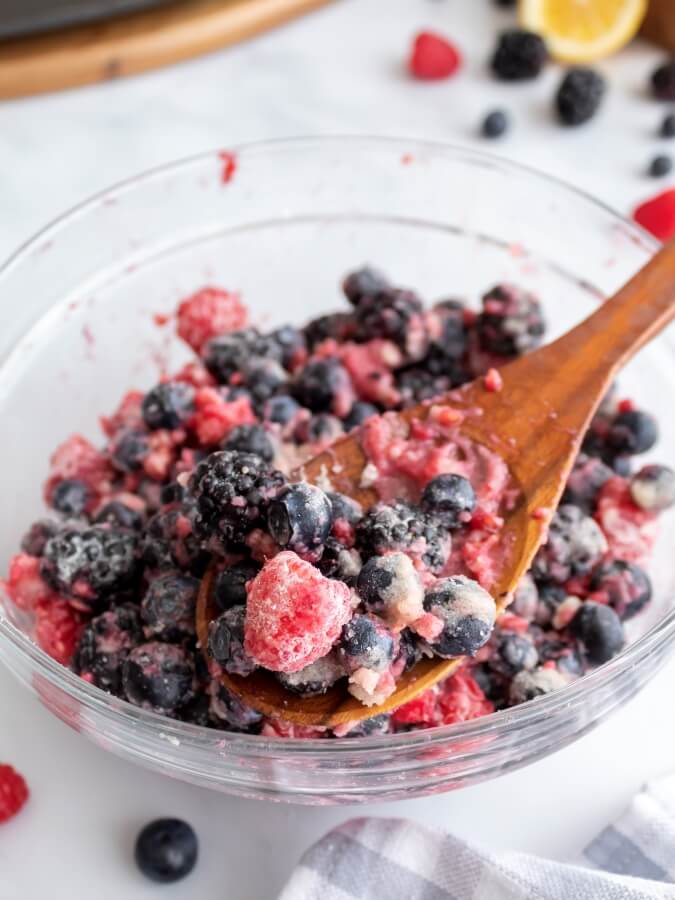
Once combined, dump the dry ingredients over the bowl of berries and add four teaspoons of freshly squeezed lemon juice. Use a wooden spoon to gently stir all of the ingredients just until the berries are evenly coated.
Then cover the bowl of filling with clear plastic wrap and place it in the fridge to stay cool while you make the crumb topping.
How To Prepare The Crumb Topping
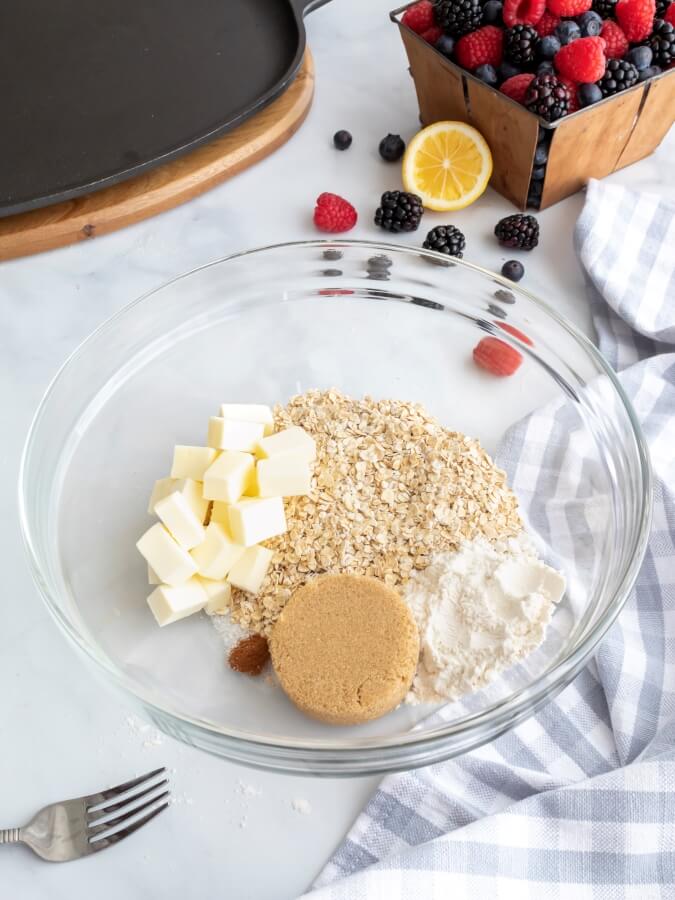
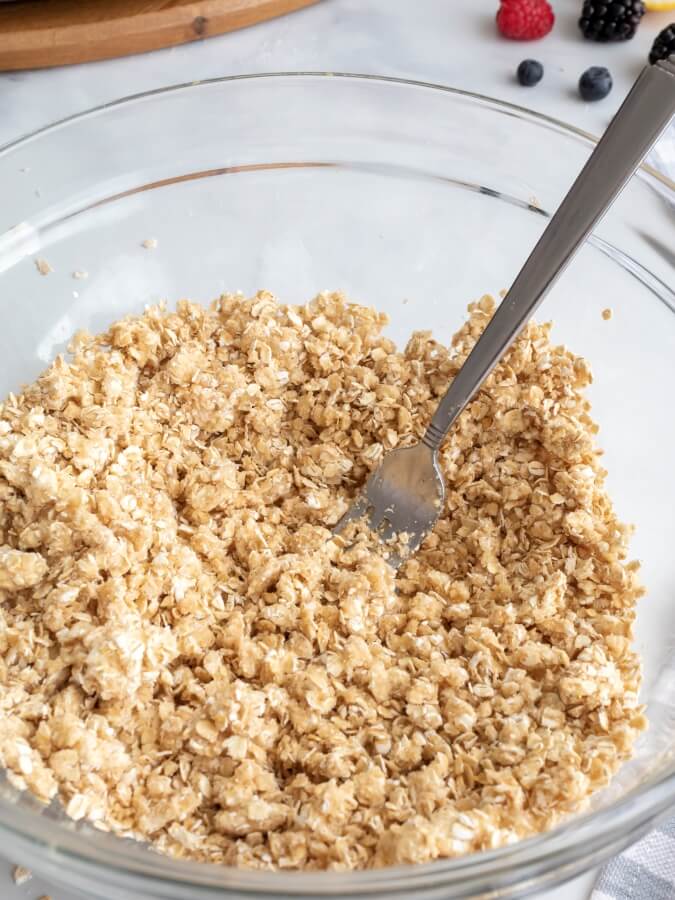
To prepare the topping for the crisp, add all of the remaining dry ingredients into a large mixing bowl. Then add the cold cubed butter.
Cut it in with a fork or a pastry cutter until it looks like small, pea-sized crumbs.
Assembling and Baking The Triple Berry Crisp
Once the prep is done, the triple berry crisp is easy to assemble.
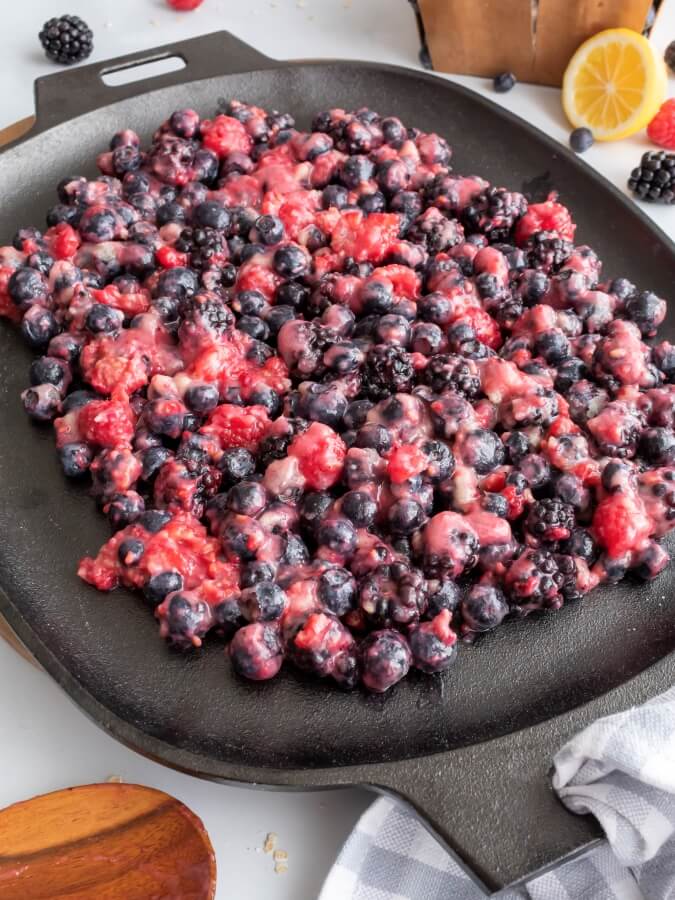
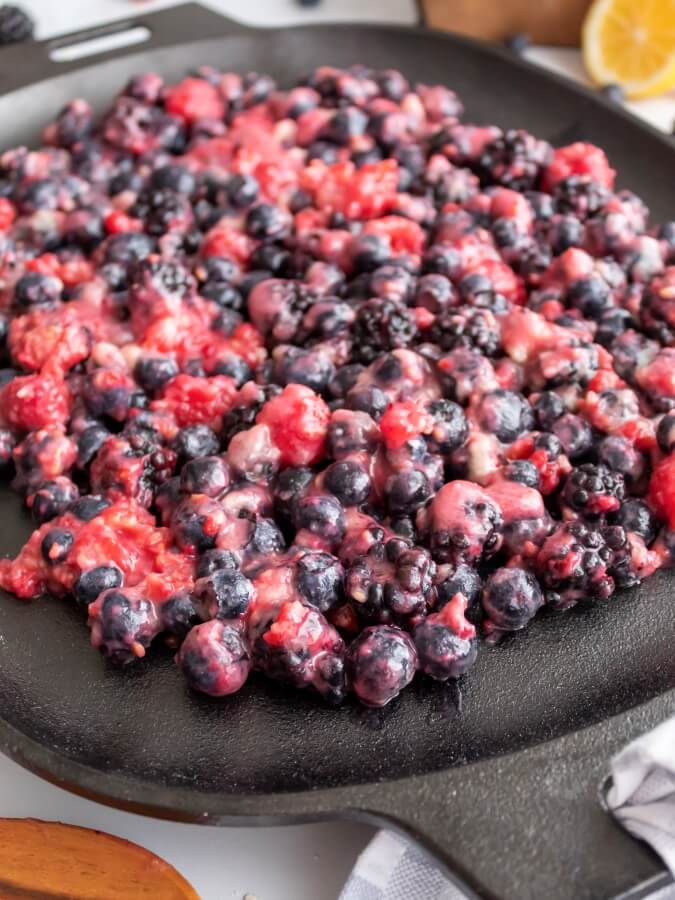
First, remove the filling from the fridge and evenly spread the berry mixture over the cast iron sizzle skillet.
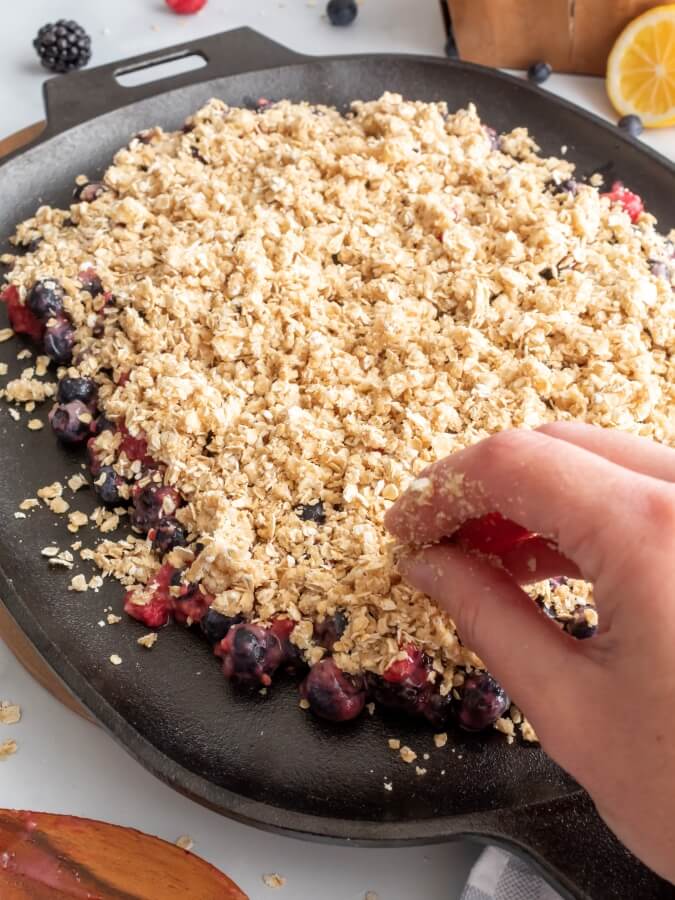
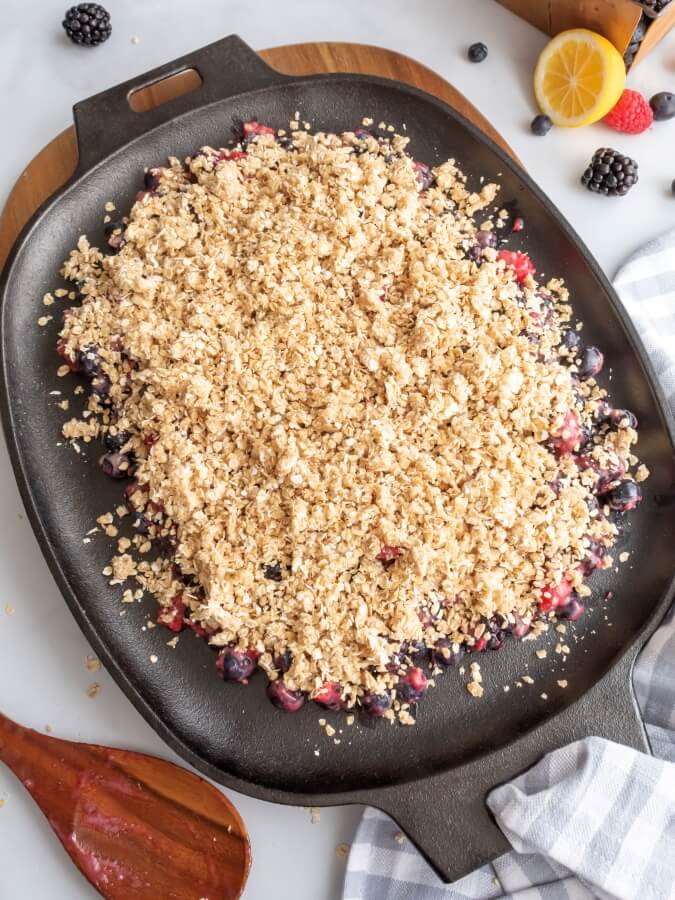
Then sprinkle the crumb topping over the filling. Be sure that the filling is well covered, and that no berries are peeking through.
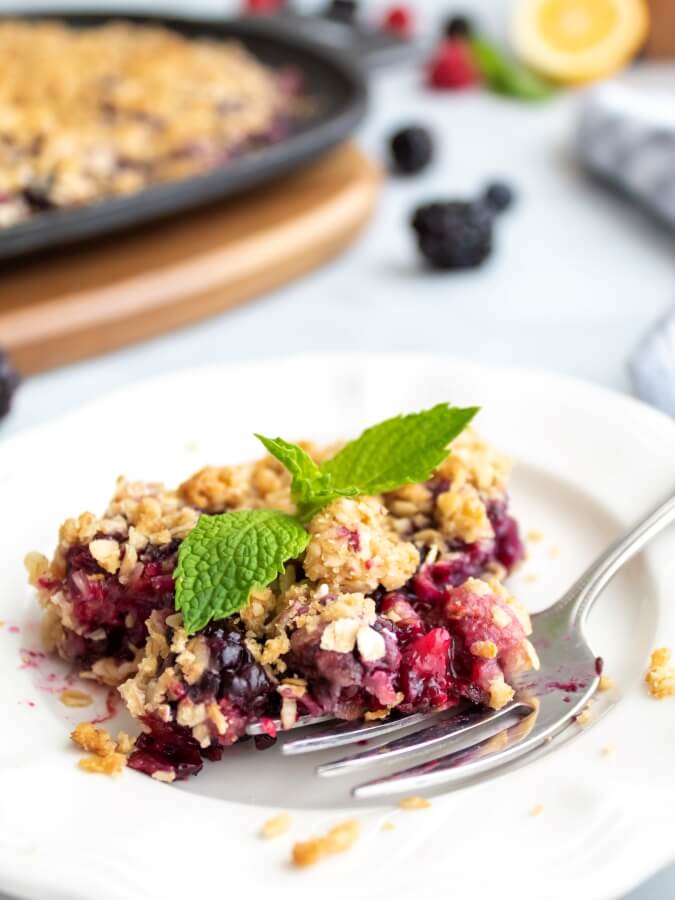
Slide the skillet into the oven and cook the triple berry crisp for 30-35 minutes, or until the fruit filling is bubbling and the topping is a deep, golden brown.
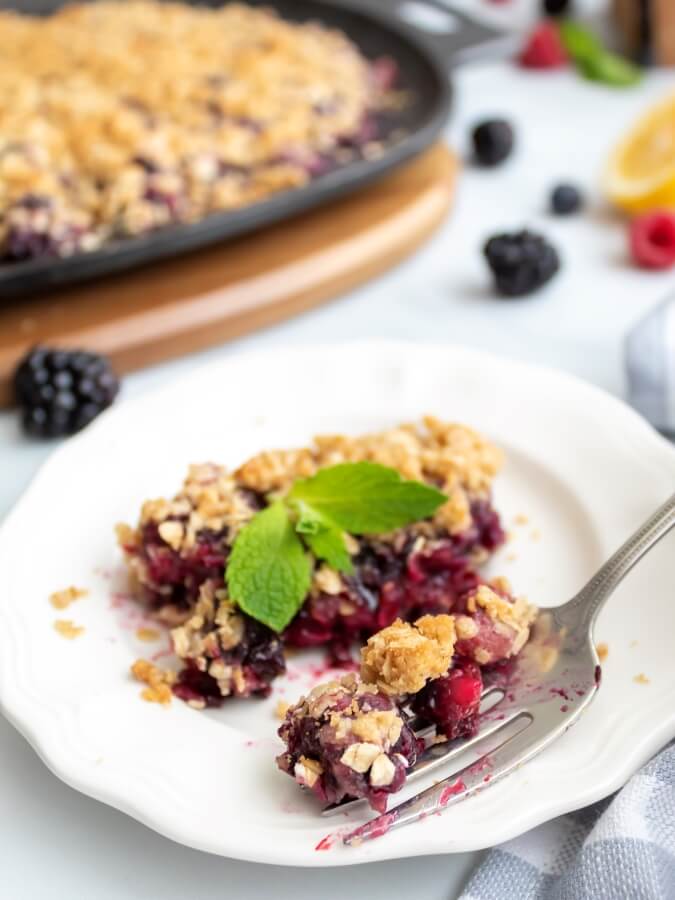
When done, use silicone oven mitts to remove the skillet from the oven. Allow the crisp to cool in the skillet for one hour, or until the filling is set before serving.
Then dig in and enjoy!
Tips For Baking With Cast Iron
The Pampered Chef cast iron sizzle skillet is preseasoned, so you’re ready to cook and bake right away.
The shallow design of the skillet makes it the perfect pan to whip up other desserts like a skillet cookie (yum!) or a strawberry basil galette, and it is safe to use on the grill campfire or stovetop.
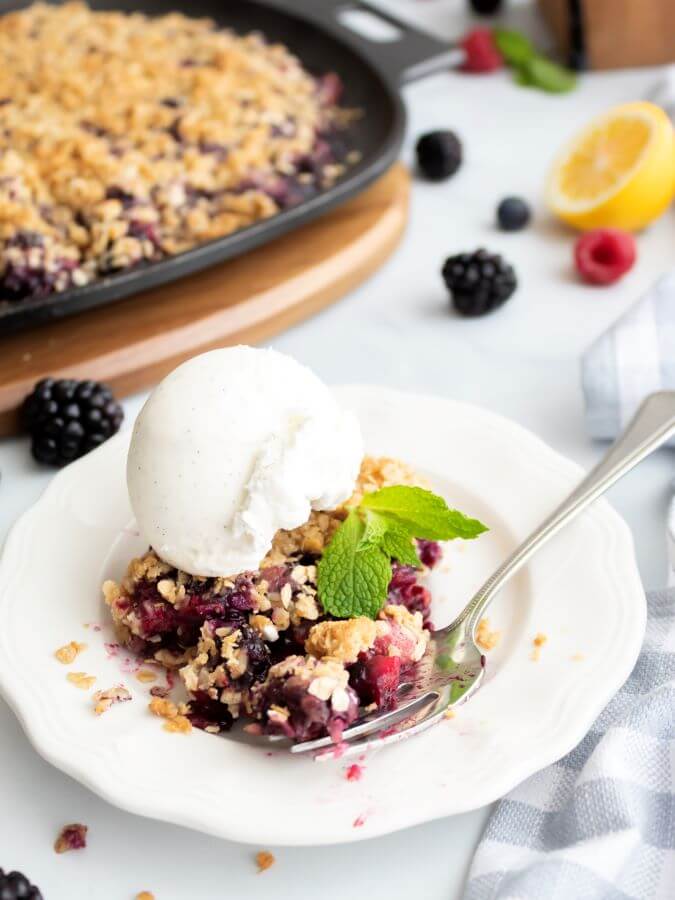
The acacia wood trivet protects your table or counter from the heat of the skillet while the triple berry crisp cools.
And it is safe to use with all of the other pans that are part of the line of cast iron products from Pampered Chef.
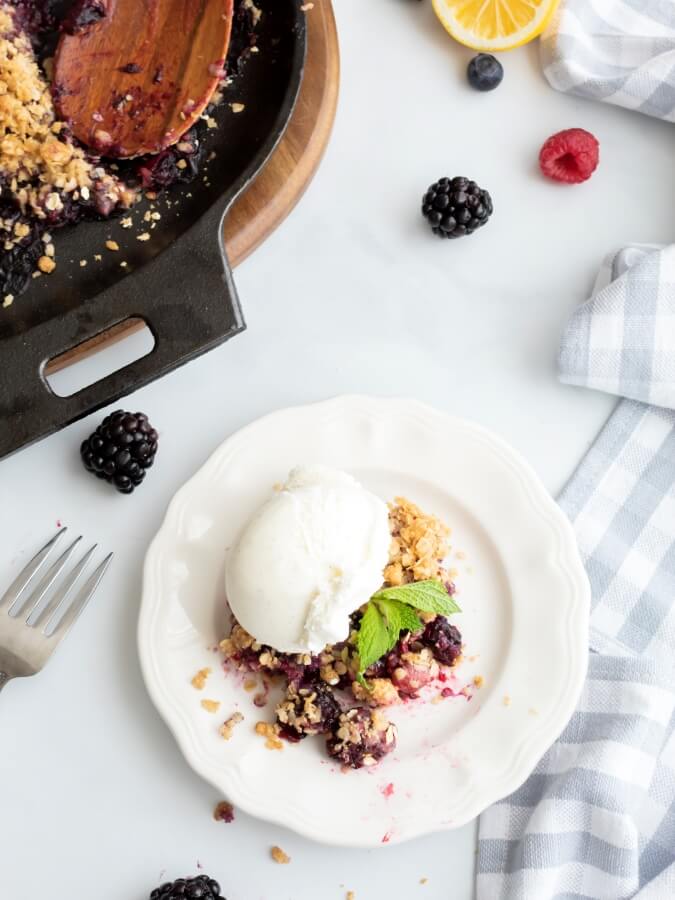
To maintain your skillet, wash it by hand after each use and dry thoroughly with a lint-free dish towel to prevent rusting.
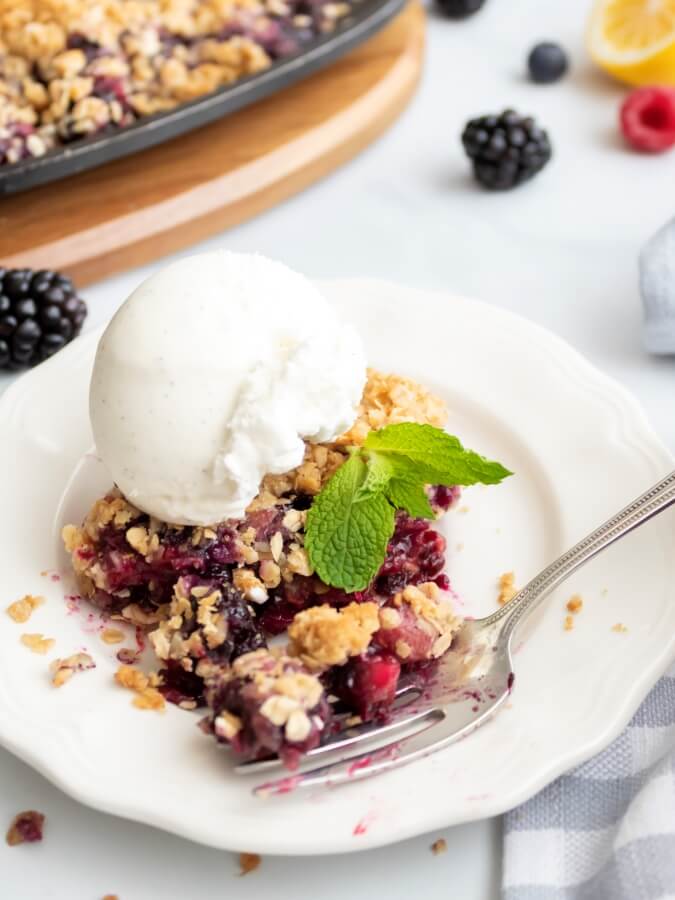
You may need to re-season your skillet once in a while to prevent it from becoming dull. To maintain the seasoning, rub your skillet with a light layer of food-safe cooking oil while it is warm. (Vegetable oil or canola oil are good choices.)
Then, when done, store your skillet in a dry place until its next use.
To Top Or Not To Top Your Crisp?
The triple berry crisp is perfect as is, but you can also top it off with a little something extra if you prefer.
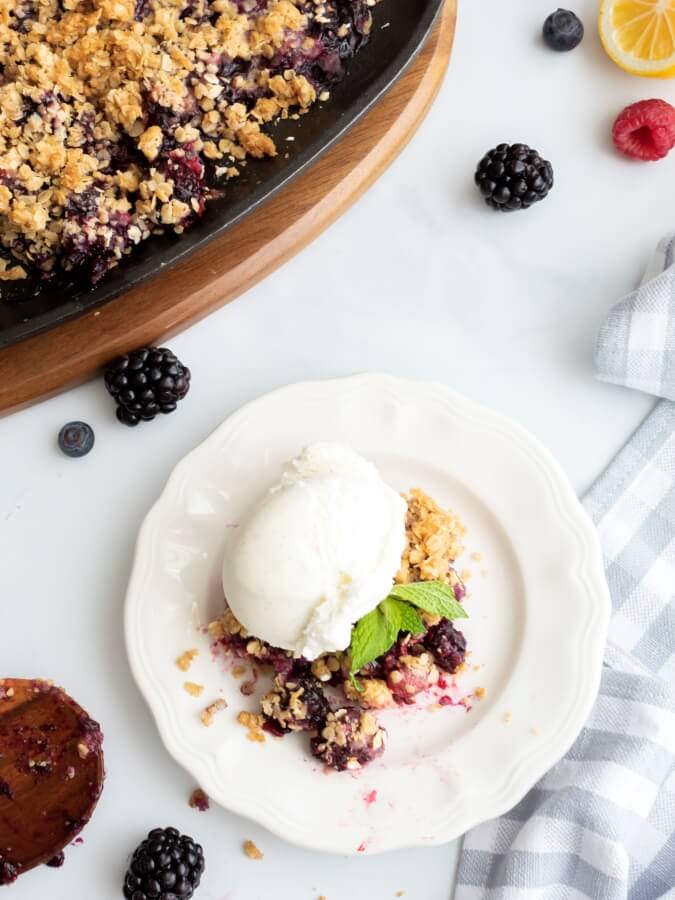
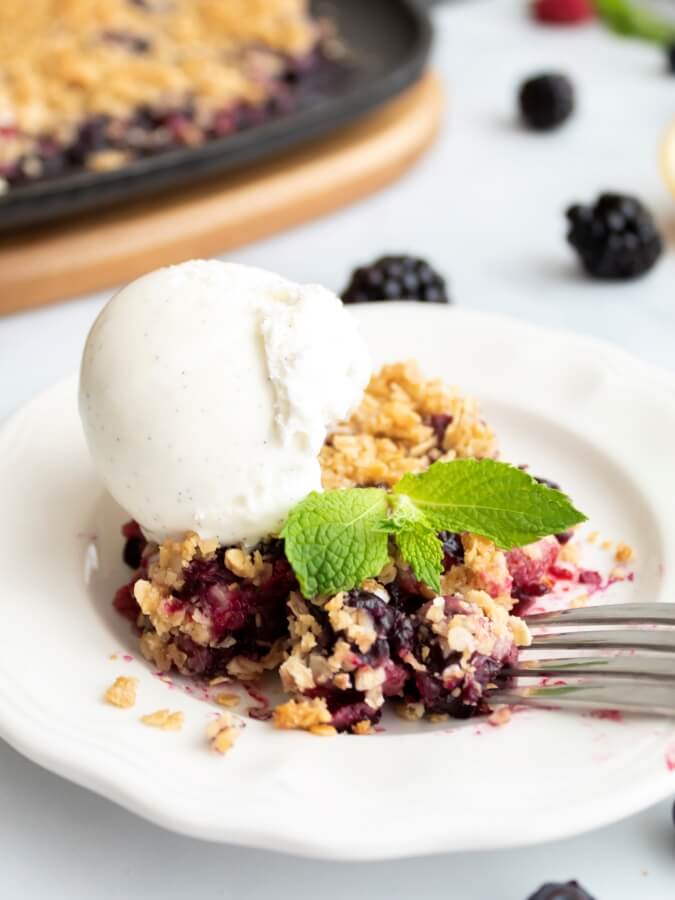
A scoop of creamy vanilla bean ice cream puts this dessert over the top. Or add a dollop of whipped cream and garnish with a spring of mint.
How To Store Your Leftover Crisp
Odds are this delicious triple berry crisp won’t last long. But, if you have some leftovers, it’s best to store them in the fridge.
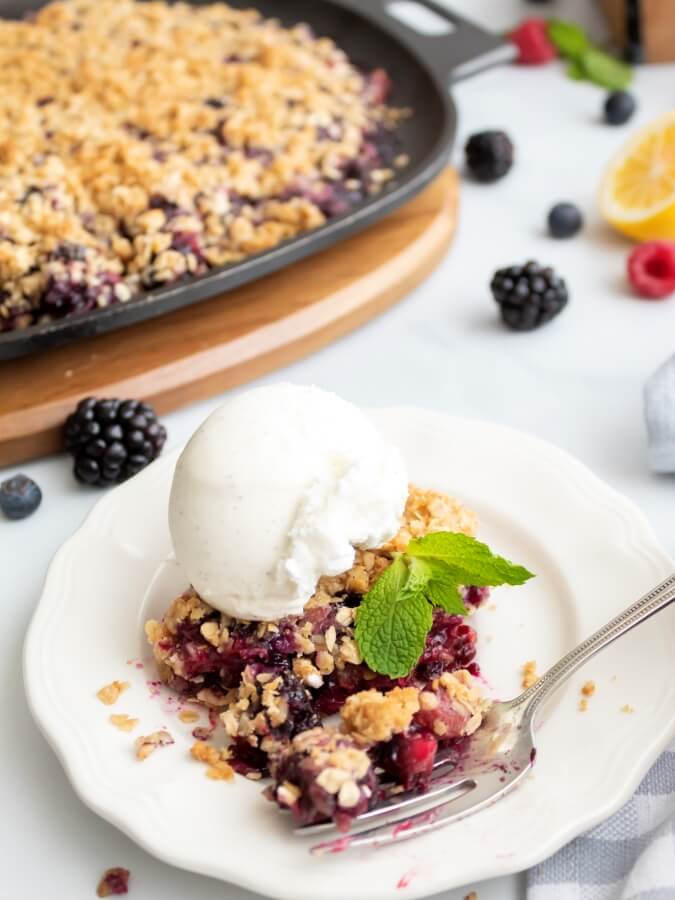
Remove the crisp from the cast iron skillet and place it in an airtight food storage container. It will keep in the fridge for up to four days.
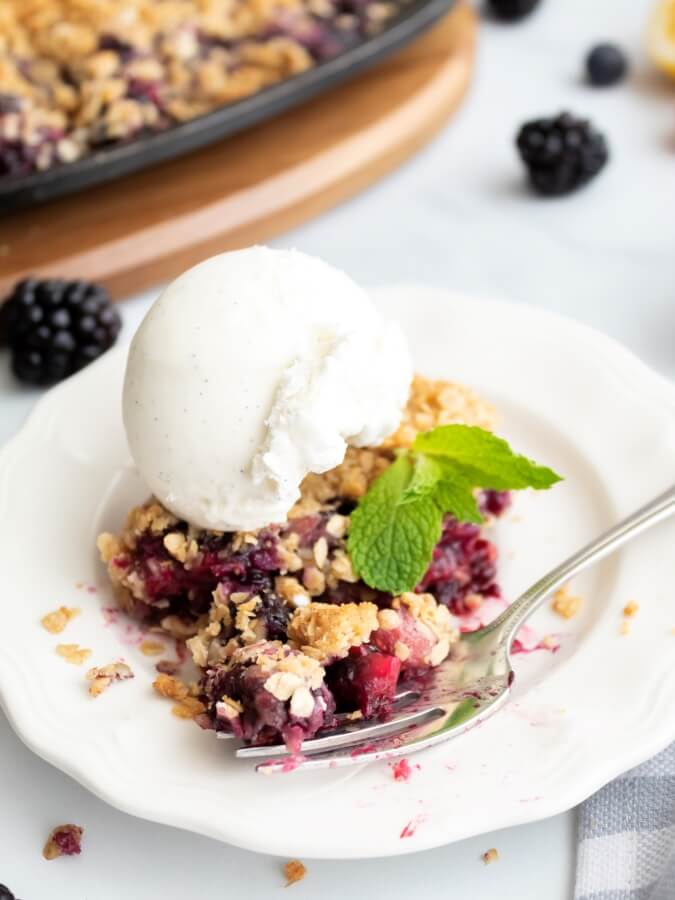
It can be eaten cold, or pop a helping in the microwave and heat until warm (but not hot!)
And that’s it! If you love to cook with cast iron and enjoyed this easy recipe for triple berry crisp, don’t forget to pin it to save it for later.
Looking for more sweet treats? Be sure to check out more of my favorite desserts [HERE].
Happy baking!

Recipe for Easy Cast Iron Triple Berry Crisp
Easy Cast Iron Triple Berry Crisp
Equipment
- Pampered Chef Cast Iron Sizzle Skillet
Ingredients
Berry Filling
- 1 pint fresh blueberries
- ½ pint fresh raspberries
- ½ pint fresh blackberries
- ⅓ cup all-purpose flour
- ½ cup granulated sugar
- ¼ teaspoon ground cinnamon
- ½ teaspoon kosher salt
- 4 teaspoons fresh lemon juice
Crumb Topping
- 1 and ¼ cup old fashioned oats
- 2 tablespoons all-purpose flour
- 5 tablespoons cold unsalted butter, cubed
- ⅓ cup packed brown sugar
- ⅛ teaspoon kosher salt
- ⅛ teaspoon ground cinnamon
Instructions
- Preheat the oven to 350℉. While the oven heats, rinse and clean berries under cool water Gently pat dry, pour into a mixing bowl and set aside.
- In a separate bowl, mix together all of the dry ingredients for the berry filling. Stir until combined. Sprinkle over the bowl of berries, add lemon juice, and stir gently until the berries are evenly coated. Cover the bowl of berries with plastic wrap and place it in the fridge to keep cool while you prepare the crumb topping.
- To make the topping, add all of the remaining dry ingredients into a bowl, including the oats, brown sugar, flour, cinnamon, and salt. Cut in the cold, cubed butter with a fork or pastry cutter until the mixture looks like pea-sized crumbs.
- Remove the bowl of berries from the fridge and gently spread them on the cast iron skillet. Sprinkle the crumb topping over the berries and place the skillet in the oven.
- Bake for 30-35 minutes or until the fruit is bubbling and the crisp topping is golden brown.
- Let cool for one hour, or until the fruit filling has set.
- Serve with vanilla ice cream or whipped cream (if desired) and garnish with mint.
Notes
Did You Enjoy This Recipe? PIN It for Later!
I would love to see what you make! If you try any of my recipes, be sure to tag me in your photos!
IG: @midwestlifeandstyle + #midwestlifeandstyle


There are so many recipes that call for a cast iron skillet. I need one! This looks so delicious. It’s making me hungry. Pinned so when I actually get the skillet I can make it!
Thank you, Cindy. I love this skillet! So easy to easy and lots of different recipes you can make with it. If you don’t have cast iron, you can use a regular 9×13 pan, you will just need to adjust the bake time and bake a bit longer.
I am making this one – it looks so yummy!
I hope you enjoy it as much as we do. It’s deeee-lish!!
Jen, this dessert looks incredible. I need to make this over the weekend.
Thank you, Tammy. I think it is one of my new summer faves. Sooo good! I’m making more tomorrow to have with our 4th of July BBQ. I can’t wait to hear what you think when you try it.
Yum is the word. Can’t wait to try this.
Yum is right! I hope you enjoy it!
This sounds delicious!
Thank you, Renae. I may or may not have eaten half of the skillet by myself, so I can vouch how good it is.😉