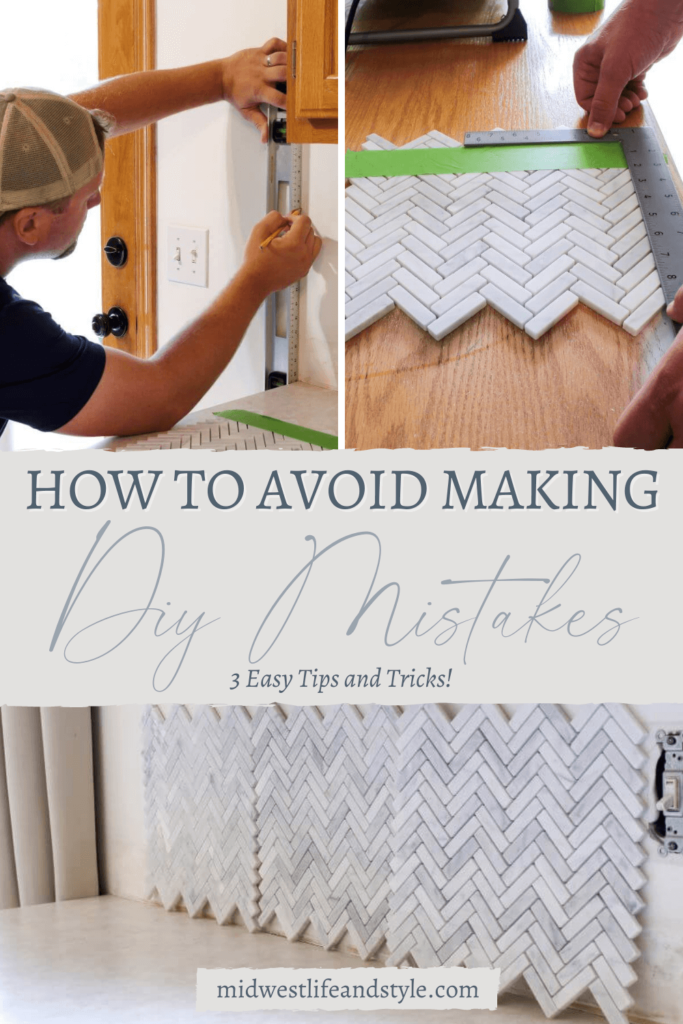
We’ve all been there. DIYs gone wrong. Avoid future DIY disasters with these tips for the top three ways to prevent mistakes.
*This post is generously sponsored by Jeffrey Court Tile. All opinions shared here are 100% my own. This post also contains affiliate links for your convenience. To learn more, you may read my Disclosure Policy. Thank you for supporting my blog and the brands I truly love!
Welcome To Week Four Of The Jeffrey Court Challenge
We’ve officially passed the halfway mark as we enter week four of the Jeffrey Court Renovation Challenge. We’ve been busy, busy behind the scenes, but before I share what we’ve been up to, let’s take a moment to see how far we’ve already come!
Over the past three weeks, I have shared ideas for adding modern cottage style to our kitchen and how we prepared for the reno.
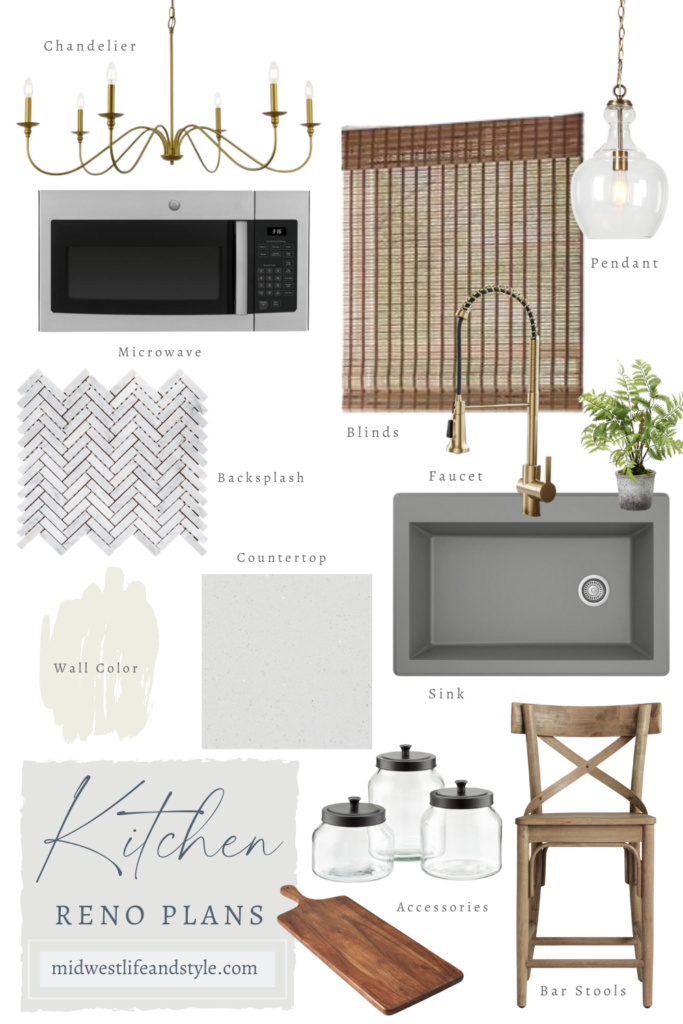
And, if you missed the very first post in this series with my big news, make sure to give it a read to learn more about the challenge and our plans (seen above).
The Top Three Ways To Avoid DIY Mistakes
Well, friends. It. was. a. week. So, if the title of this post feels a bit ominous, that’s because it is. You know it’s not a DIY project until you hit a snag, and this past week we encountered several.
If you read my last project update, then you know this week we had planned to tackle the counters. That was until I discovered I purchased the wrong paint kit. Womp. Womp. We had to PIV-OT (said in my best Ross Geller voice) and do it quick.
And it all seemed easy enough. Until the pivot plan went south too. So why am I sharing this and what does it have to do with our challenge?
Two reasons. First, I want to encourage you to try new projects yourself. But in doing so, I want to be honest and relatable. And the truth of DIYs is that sometimes projects don’t go as planned. Second, by sharing some DIY don’ts, I can help you avoid the same mistakes.
Here’s what we got done this week and the top three things we learned in the process.
Know Your Limits And Ask For Help
Remember the story of our master bathroom debacle? Let’s just say that plumbing is not in our wheelhouse. It’s okay to know your limits and ask for help. Which is exactly what we did for the install of the new sink and faucet.
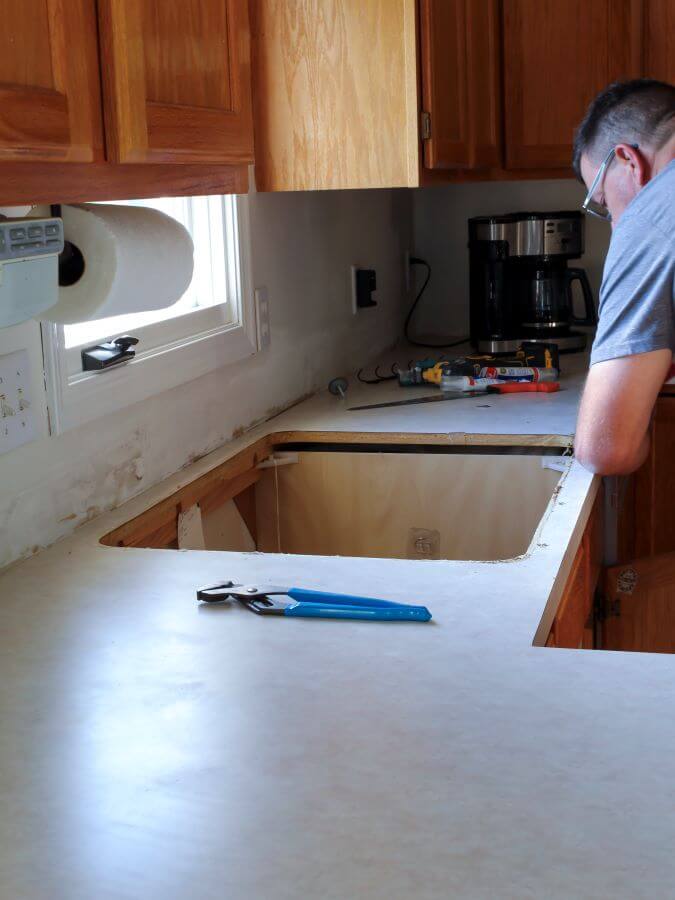
We had a local plumber help and it was without a doubt the best decision we could have made.
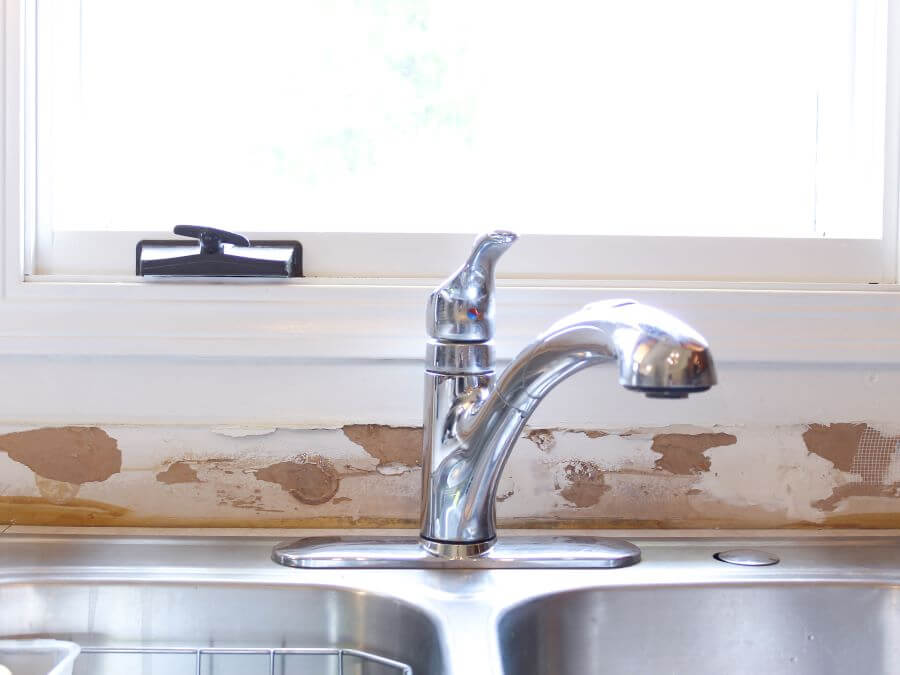
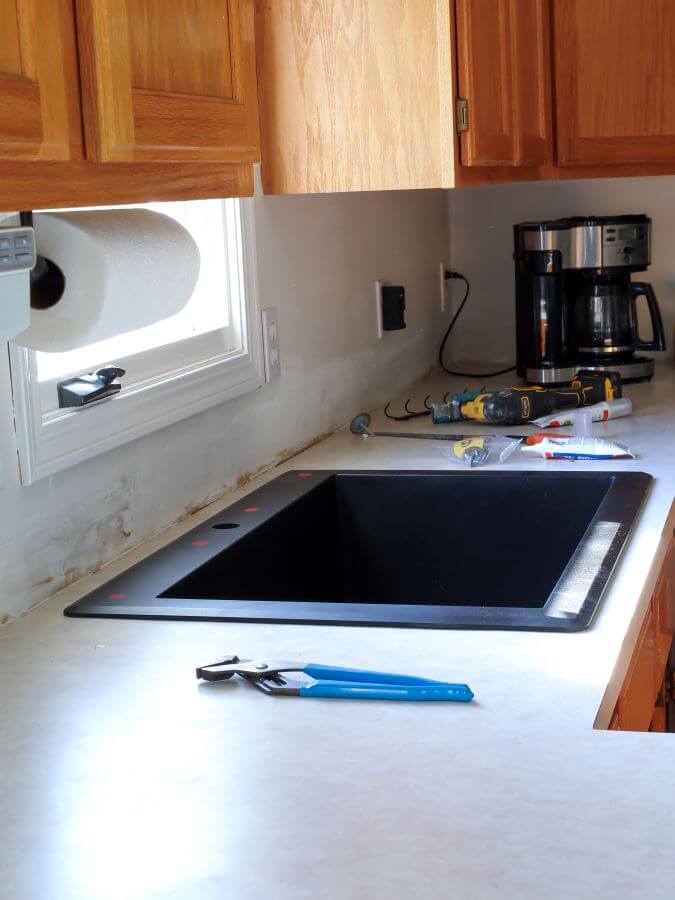
Here’s what the sink and faucet looked like before.
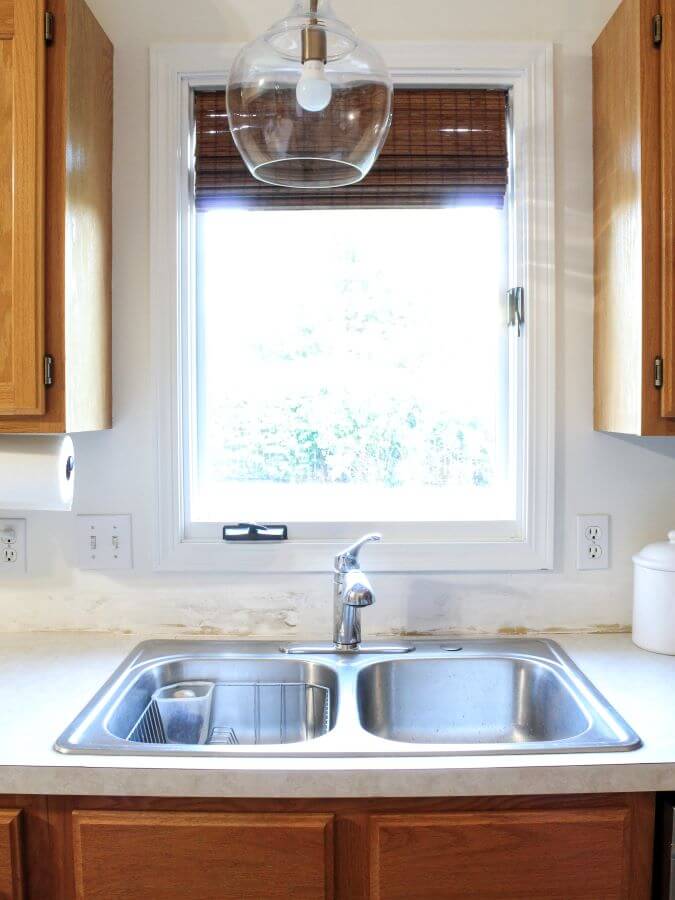
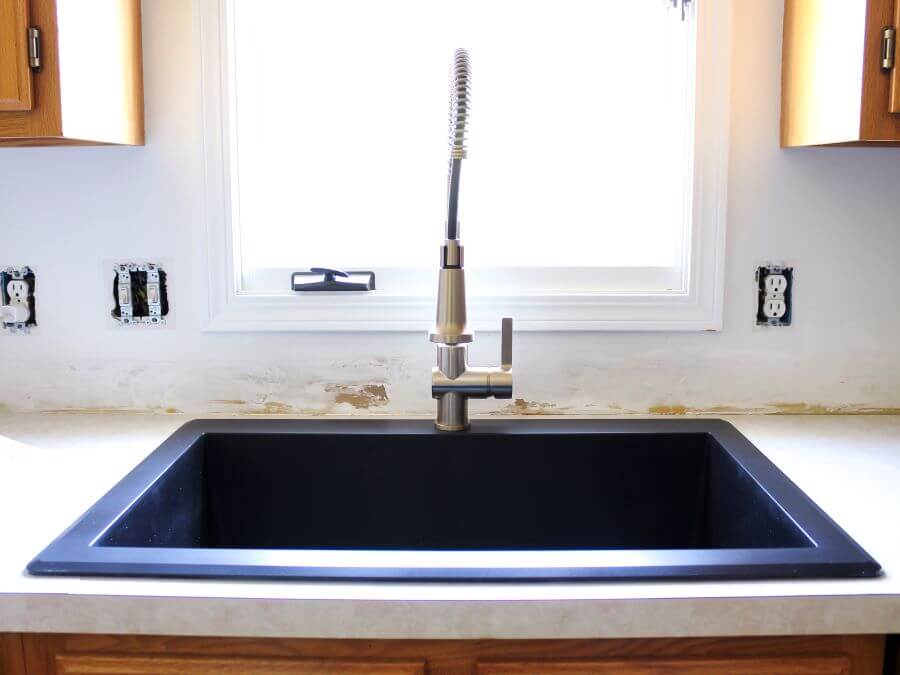
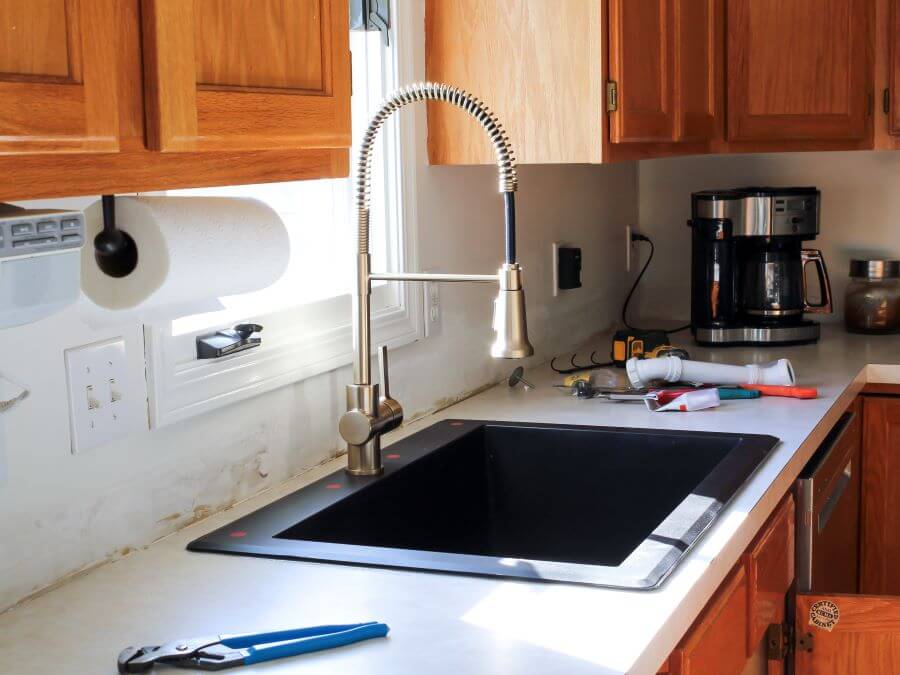
And here they are now. I can’t believe what a difference they make for the whole look of the kitchen!
The new granite sink has a much deeper, single bowl. And let me tell you, friends, it’s a game-changer! Not only do I love the matte black color, but the single bowl design makes it so much easier to cook and clean up than our old, double-bowl sink.
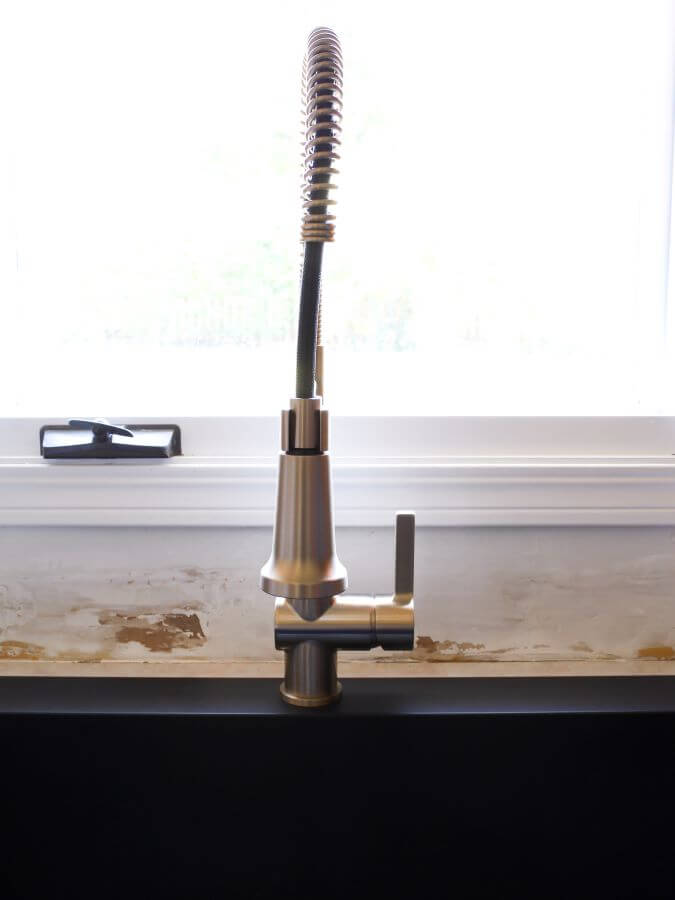
And can we just take a moment to admire our new faucet?
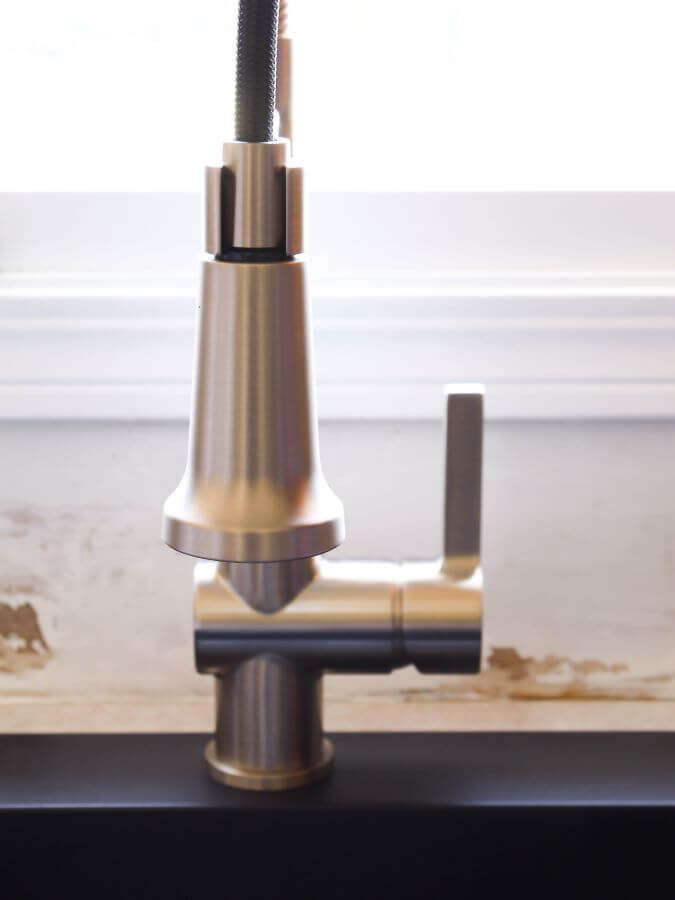
I love the soft champagne color that ties in with the pendant above the sink. Despite having a few other problems this week, this is one thing that went right. The lesson? Call a pro when you need to.
Do Your Homework
There’s an old adage that goes something like this. Measure twice, and cut once. The same can be said for doing your homework. The more you prepare before you start a DIY project, the less likely you are to encounter problems.
This is where I went wrong with the countertop paint. All of those YouTube videos I planned to watch? Yep. I didn’t. Because if I had, I would have realized sooner that the paint kit I purchased wasn’t what I thought. And could have purchased the right kit (that is only available online) a few weeks ago.
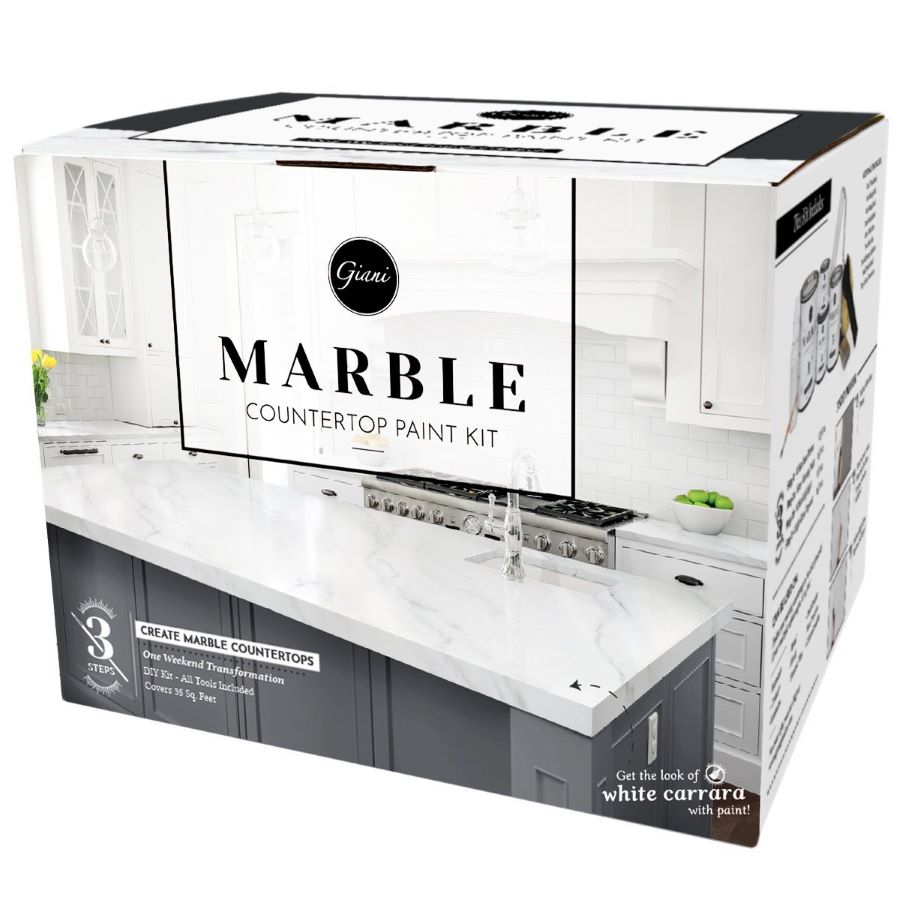
This is the countertop paint kit I should have purchased. I can’t wait to get started next week. Oh…and you can bet I’ll be watching the video tutorials before then.
The lesson here? Don’t skip steps, and research, research, and then research some more.
Don’t Rush
When the countertops fell through this week our pivot plan was to start on the backsplash. We thought we were ready, but, as you can probably guess, we thought wrong.
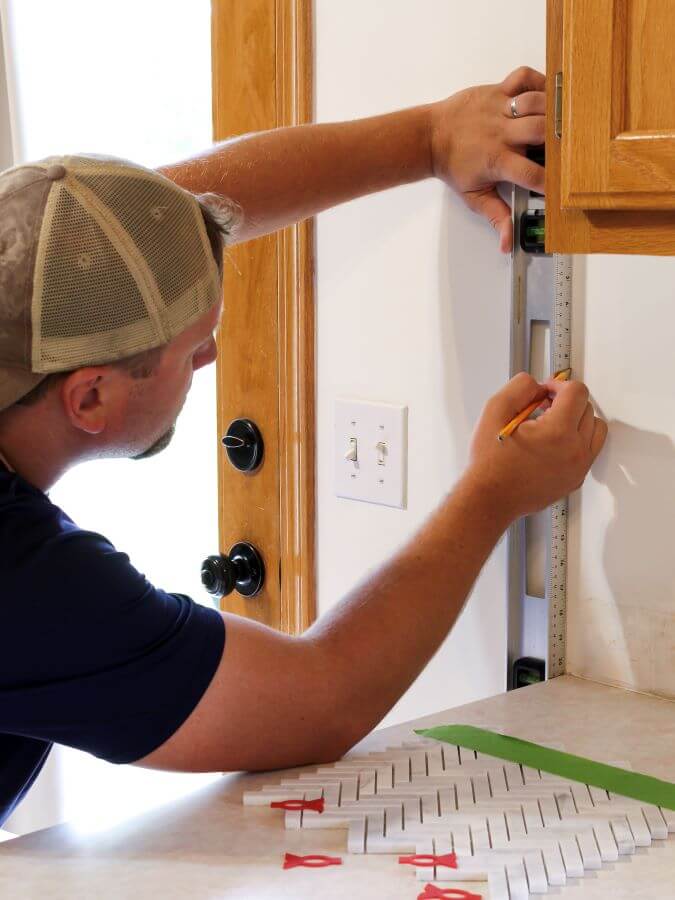
We’ve tiled before, but this is our first time working with mosaic tiles. And in our rush to get something…anything done to salvage the week we found ourselves struggling to get the crisp, clean cuts we wanted.
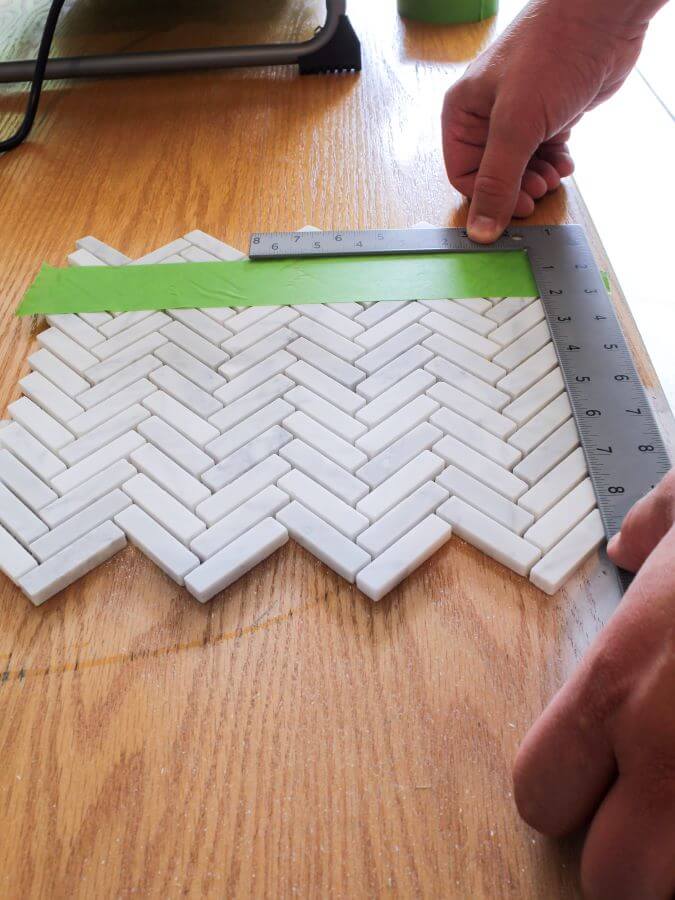
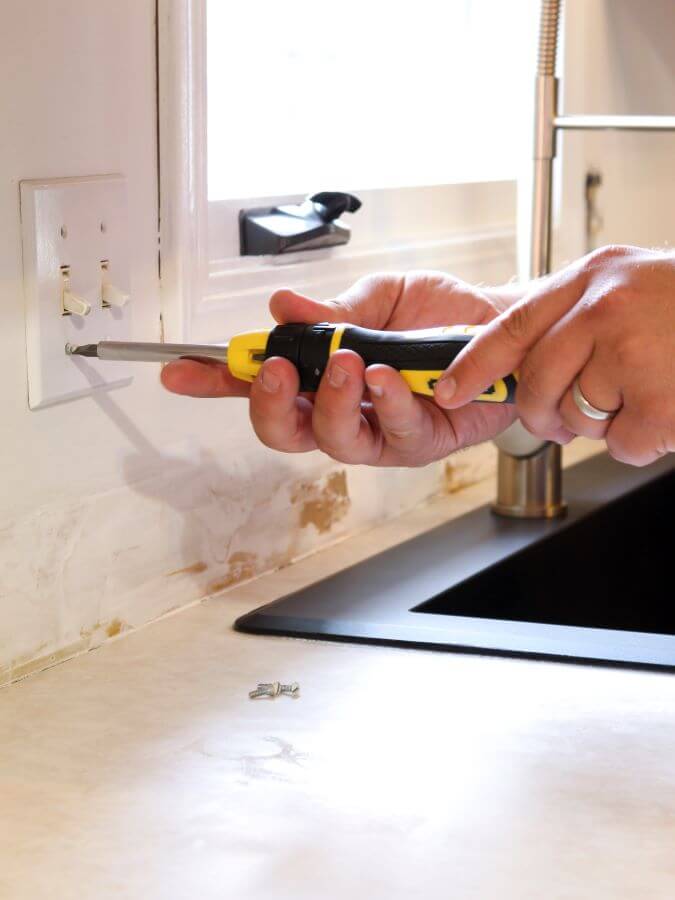
The more we struggled, the more frustrated we got. It was nothing to do with the equipment and everything to do with our mindset.
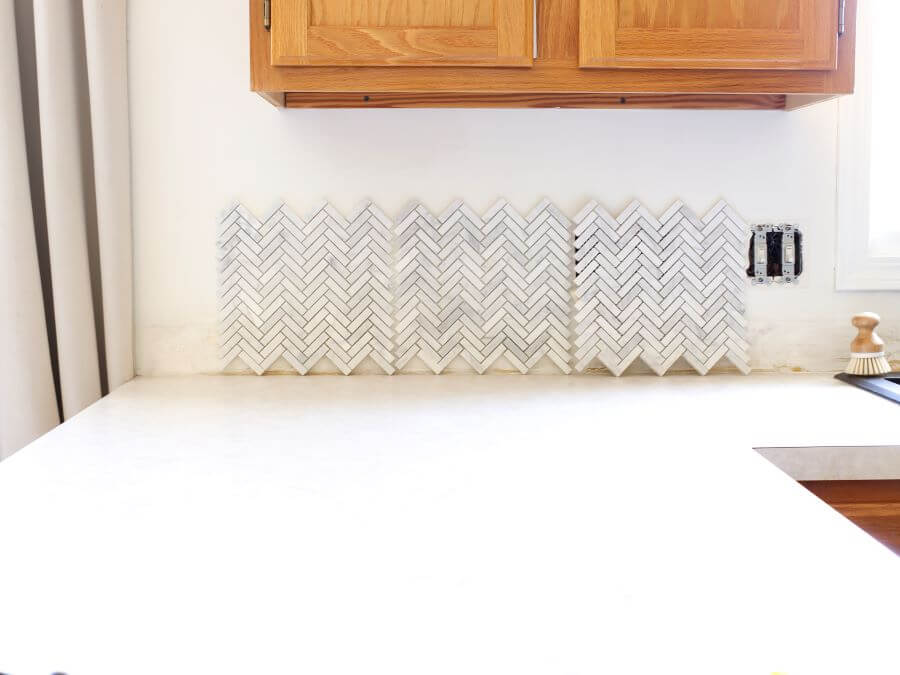
We did, however, get all of the prep-work done for the tile to be laid. The measuring is done, the walls have been patched and sanded, and we have all of the supplies on hand.
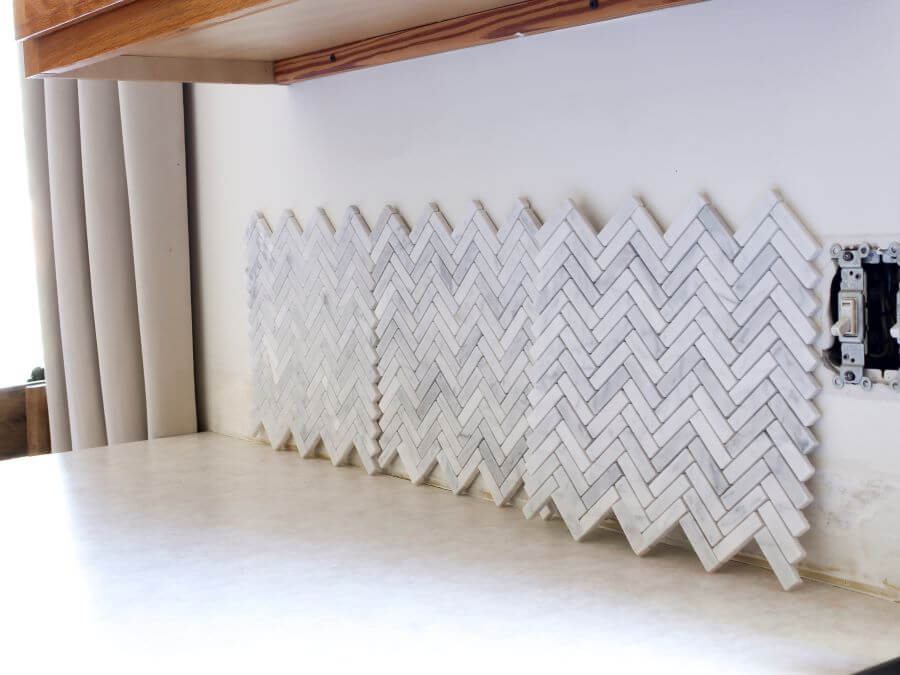
So, we’ll hit reset on the backsplash and give it a try again next week!
The lesson? Always do DIY projects when you can take your time and don’t feel rushed.
Week Four Recap
Was this the week we planned? Absolutely not. Did we learn a lot? You bet. Ultimately I hope that our DIY oopsies help you avoid the same mistakes too. Here’s a peek at what we’ve done and what’s left on our to-do list.
Add a fresh coat of paint on the walls and paint the window trimInstall a new cordless blindDemo the counter for backsplash installationUpdate our exisiting light fixtures with a new pendant and a new chandelierPurchase a new stainless steel microwave to match the rest of our recently upgraded appliancesReplace our old barstools and kitchen table chairs with some cottage-style barstools and dining chairsPaint our kitchen table- Paint the laminate counter tops to replicate quartz
Hire a plumber to install a new sink and faucet- Add a tile backsplash
The Top Three Ways To Avoid DIY Mistakes
Now for the good news! Next week is a new week, the right paint is on order for the counters, and we have a brand new plan in place to attack the backsplash.
Be sure to stay tuned and see all of the progress, or follow along on Instagram for all of the inside scoop. And don’t forget to vote for your favorite project on the Jeffrey Court webpage and to see updates from all the designers competing in the challenge.
Xo,

Did You Enjoy this Post? PIN It for Later!




I’m so glad you’re showing the real deal behind DIY home renovations, Jen! There’s never any shame in calling in the experts when needed. The new sink looks awesome! I’m so excited to see the full reveal. Thanks for keeping it real, my friend!
Thank you, Crissy. We’re almost there now. I know it will all be worth the bumps we have run into.
DIY projects inevitably run into problems . My granddad always said, “It’s not the work, it’s the dang aggravation.”
Isn’t that the truth? I know it will be worth it in the end. Trying to hang in there!
I love how real you are! I know how hard you have been working…so I also know this wasn’t what you wanted. Hang in there!!! Doing it right will pay off in the long run! Cheering you on:)
Thank you, Kelly. Your support and friendship are so valued. I appreciate it!