Are you thinking about a kitchen remodel? Not sure where to start? Here are some of my tips for how to prepare your kitchen for a DIY renovation.

*This post is generously sponsored by Jeffrey Court Tile. All opinions shared here are 100% my own. This post also contains affiliate links for your convenience. To learn more, you may read my Disclosure Policy. Thank you for supporting my blog and the brands I truly love!
Welcome To Week Two Of The Jeffrey Court Challenge
The kitchen reno is in full swing as we officially enter week two of the Jeffrey Court Challenge.
We got quite a bit accomplished this week on our 90’s kitchen remodel and have already learned a few do’s and a few don’ts of the DIY trade. But before we get into that, how about a refresher on how we got here?
If you missed my big news, make sure to read my last post that explains more about the challenge and our plans to give our outdated builders-grade kitchen a modern cottage makeover. We have a BIG to-do list and just six weeks to do it, so wish us good luck!
And don’t forget to stay tuned each week for updates and details on how you can vote for your favorite renovation at the end of the challenge in November.
How To Prepare Your Kitchen For A DIY Renovation
This is the biggest home improvement project that Kirk and I have tackled, and it has taken me a while to wrap my brain around everything we need to do. Kitchen renovations are no joke, and it can be easy to get overwhelmed fast.
If you’re thinking about tackling your own DIY reno, I thought it might be helpful to share what we’ve learned so far and the progress that we made this week. Here are three simple steps we’ve taken to help break down a big project and turn it into something that seems less scary and more doable.
1. Make A List
The first thing that is helpful before starting any renovation project is to make a detailed list of tasks to be done. It should include dates for what needs to be done first and when each task will be finished.
As a self-proclaimed list nerd, nothing makes my heart happier, and for me, this step was a must! Even though we’re only two weeks into the challenge, the list Kirk and I created together has already proven incredibly helpful to keep us motivated and on schedule.
Last week we did all of the prep work. This week we purchased our supplies so we could hit the ground running. This leads me to reno prep tip number two.
2. Select Your Materials
The next step to prepare your kitchen for a DIY renovation is to make sure that you have all of the materials and tools you’ll need. (This is where that project list comes in handy!)
To save time, we did most of our shopping online. Because who doesn’t love shopping in your cozies from the comfort of your couch? I know this girl does!
We got most of our building and reno materials like the paint for the counter and the grout for our gorgeous Jeffrey Court tile online from The Home Depot.
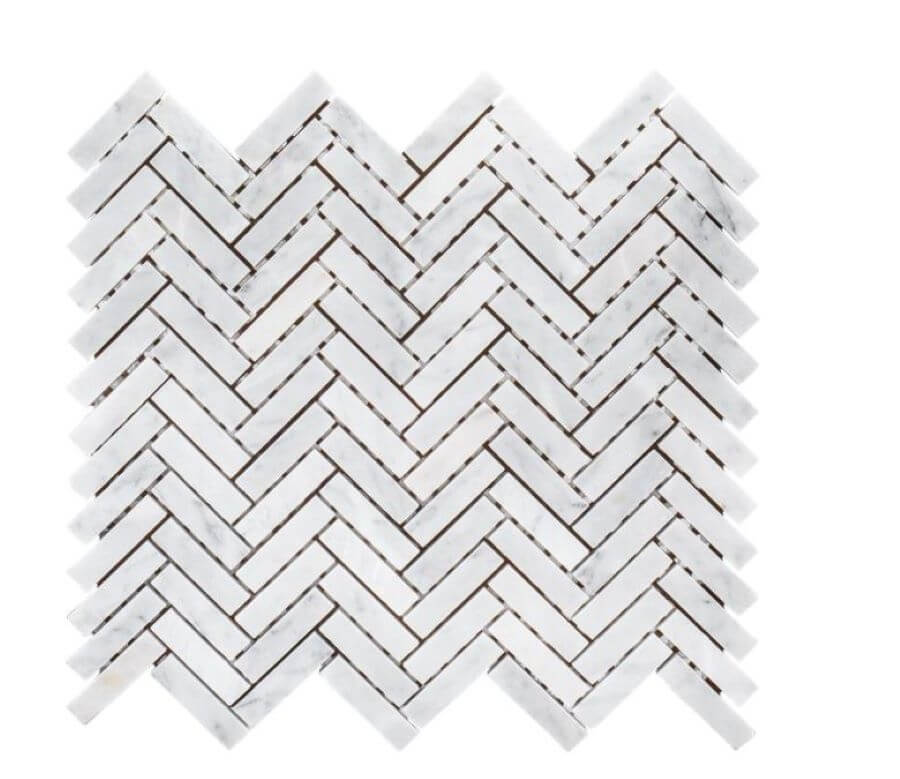
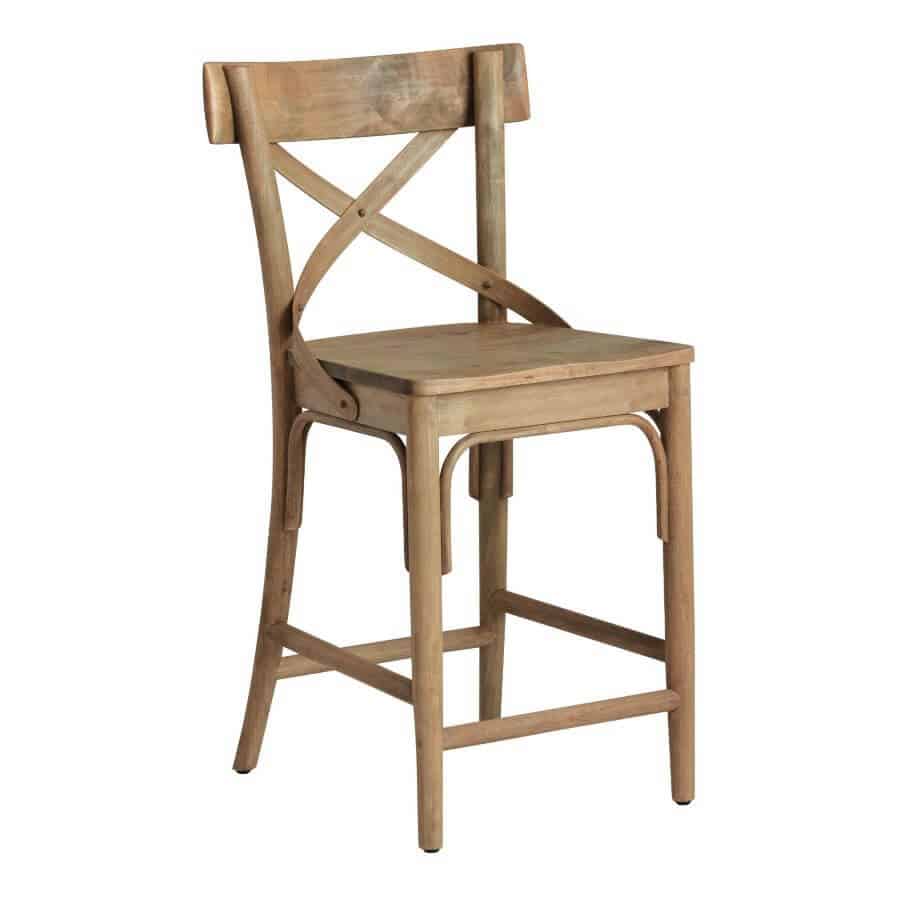
This week we also ordered our new pendant to replace the current light above the sink and the cottage-style barstools and dining chairs.
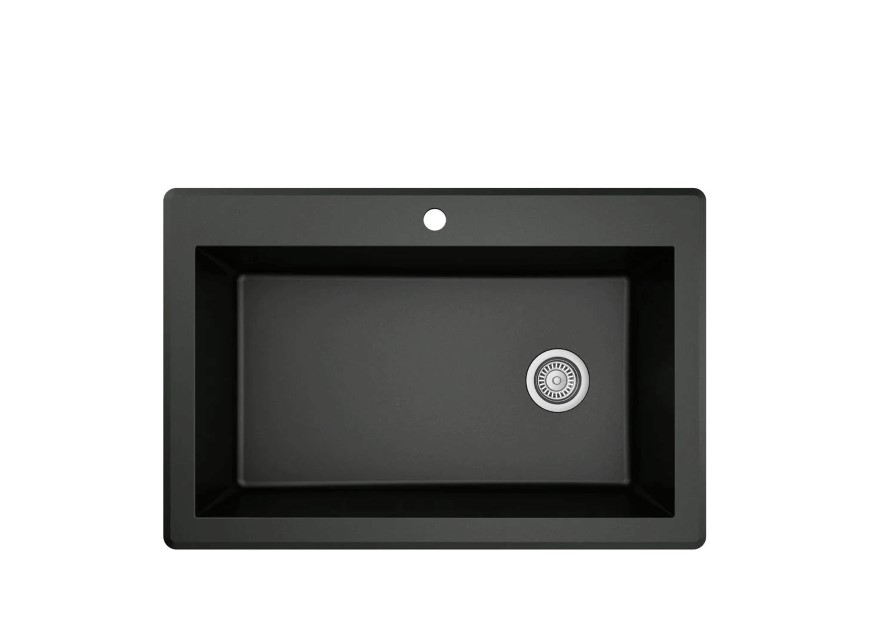
The current sink will also be getting replaced with this new granite one and the new faucet is on order as well.
Inevitably I’m sure that we’ll encounter a few things we forgot to buy or thought that we had on hand. But for the most part, buying all of our supplies in advance will save us a lot of time and eliminate the need for extra trips to the store.
3. Let The Demo Begin
Once you have your to-do list and supplies, it’s time to put your plan in place. And for us, this week, that meant some demo and a LOT of painting! Here’s a quick breakdown of our week two plans.
Jeffrey Court Challenge Week Two To-Dos
- Add a fresh coat of paint to the walls
- Paint out the window trim
- Install a new cordless blind
- Demo the back of the counter to prep for backsplash installation
Painting The Walls And Trim
Kirk was out of town for a few days at the beginning of the week, so my mom came to help me.
Aren’t moms the best?
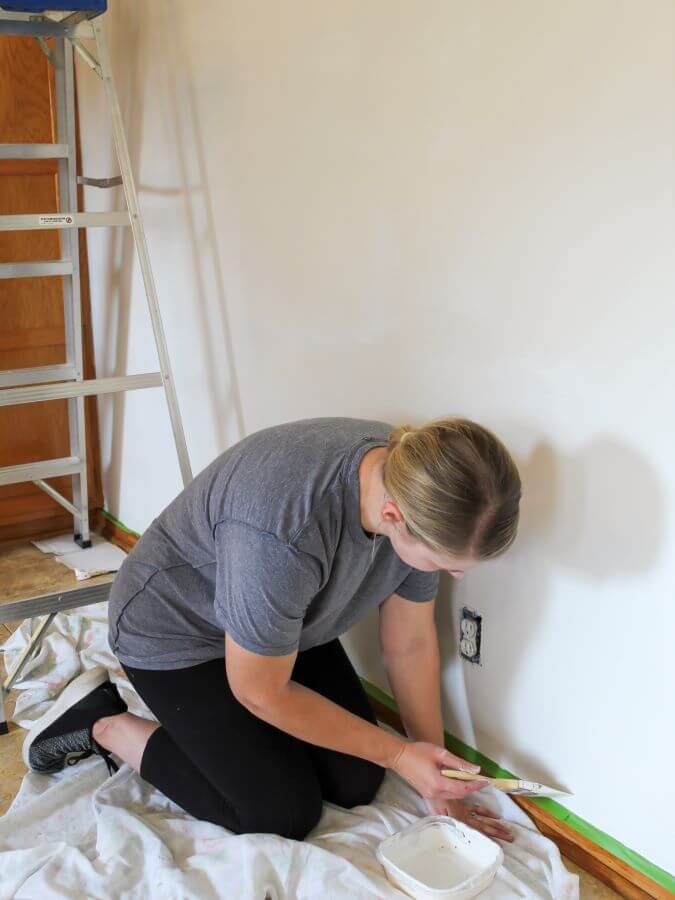
We got started by adding a fresh coat of white paint to the walls. It may not sound challenging, but there were a few bumps along the way.
To start, the previous homeowners used flat paint on all of the walls. Yes. Flat paint.
In. A. Kitchen.
If you aren’t familiar with paint sheens, you might wonder what the big deal is? Well, friends. Let me tell you. Flat paint works best in low-traffic areas. And in our house, that is not the kitchen.
The old flat paint made the walls impossible to clean and showed every scrape, scuff, and food splatter. It also meant extra prep work before we could start to paint.

The second challenge was the height of the walls. We have vaulted ceilings throughout our home, which I love most of the time. I just don’t love them when it means I have to get on a 20-foot ladder to reach the peak!

I was so thankful to have my mom here to help me maneuver the ladder, and keep me motivated.

It was such a good feeling to cross this task off of the list. And I think it is safe to say that I don’t plan to paint our kitchen again anytime soon.
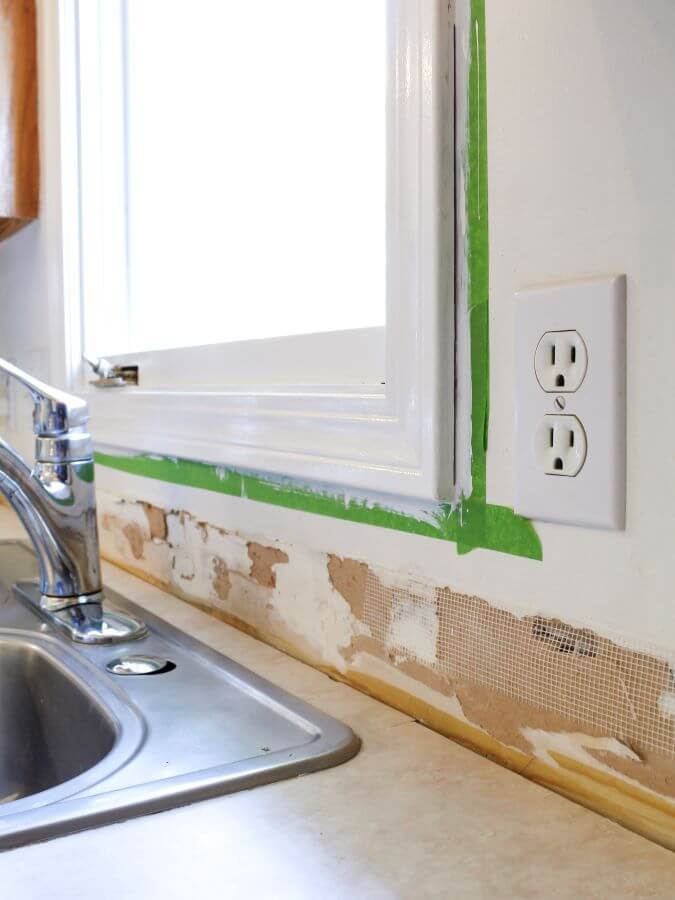
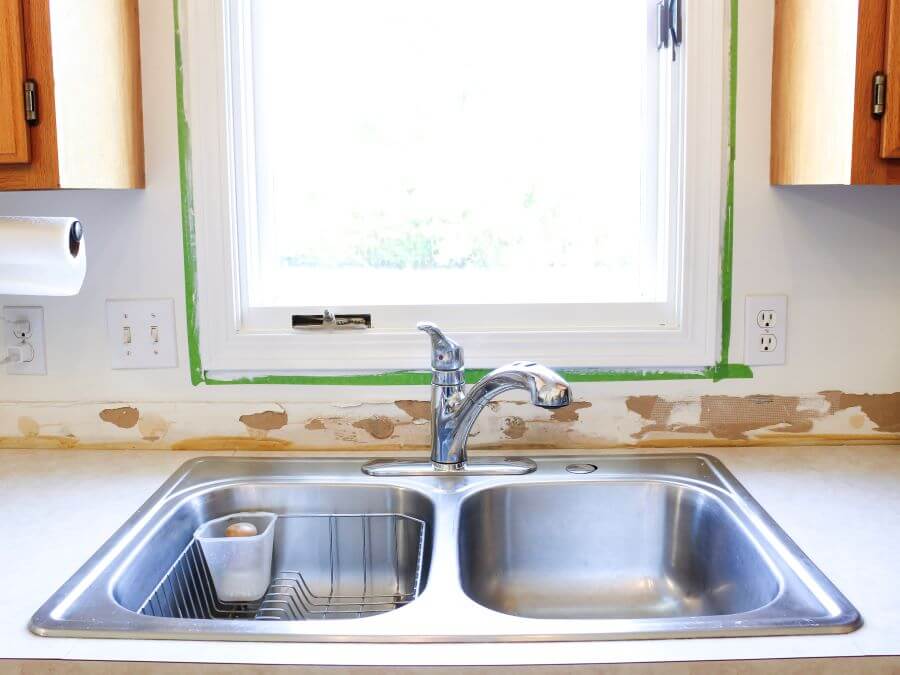
After the walls, painting out the trim was a breeze! I used some Frog Tape® to tape around the window and to protect the hardware. Then I used one coat of primer and three coats of bright white paint to cover the old gold oak color.
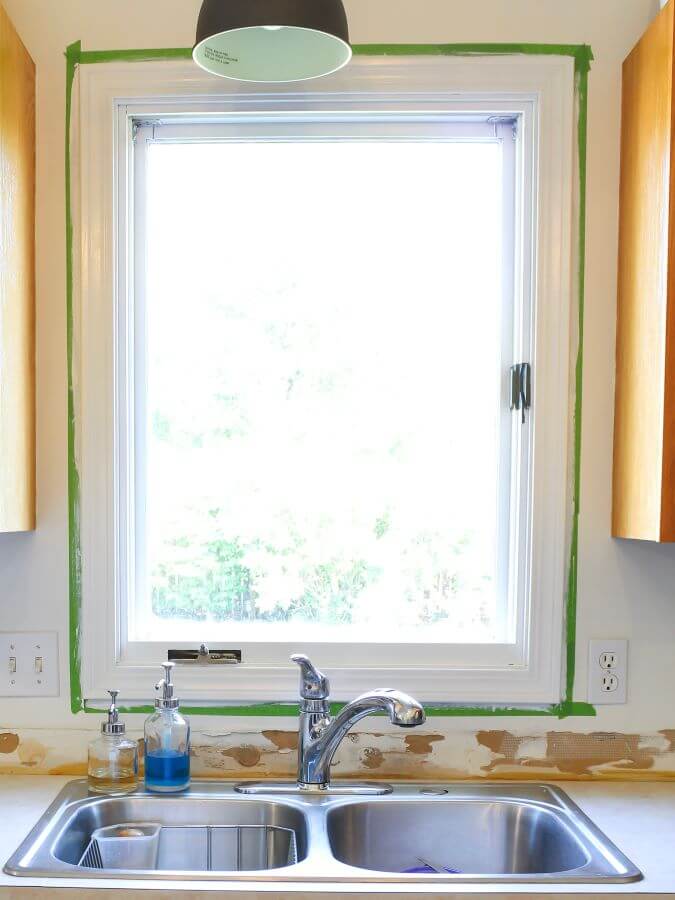
It makes such a difference and I love how bright the space feels now!
Countertop Demo
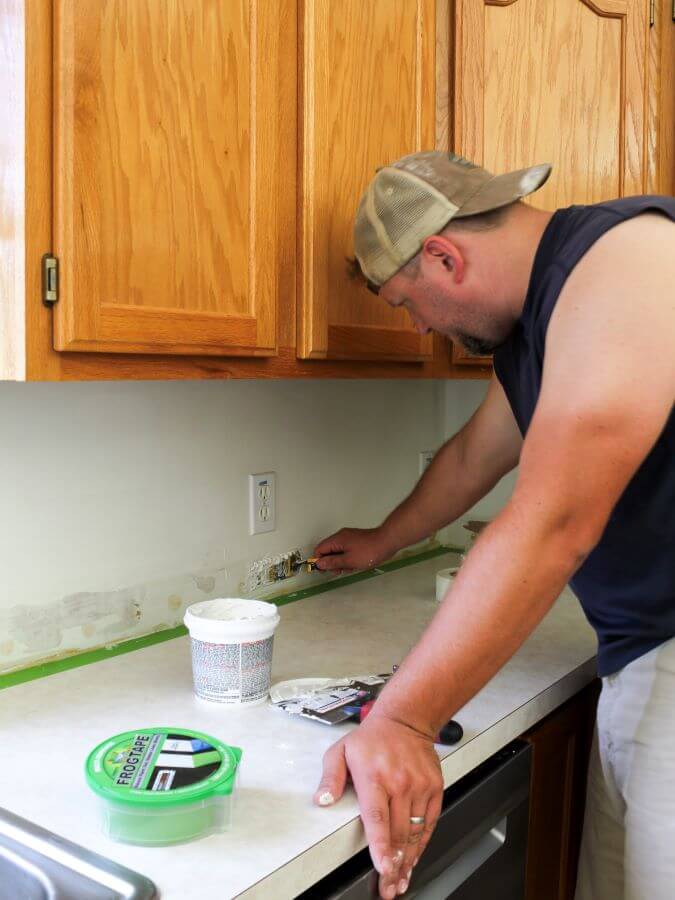
Once the paint was dry, the next project on our list was to demo and prep the counter for our new tile backsplash.
We decided pretty early on in the project that we wanted our new Jeffrey Court tile backsplash to be the highlight of the kitchen reno. This meant we had to remove the current counter backsplash first.
The demo itself was surprisingly easy. And between my mom and I, we got it done in less than an hour.
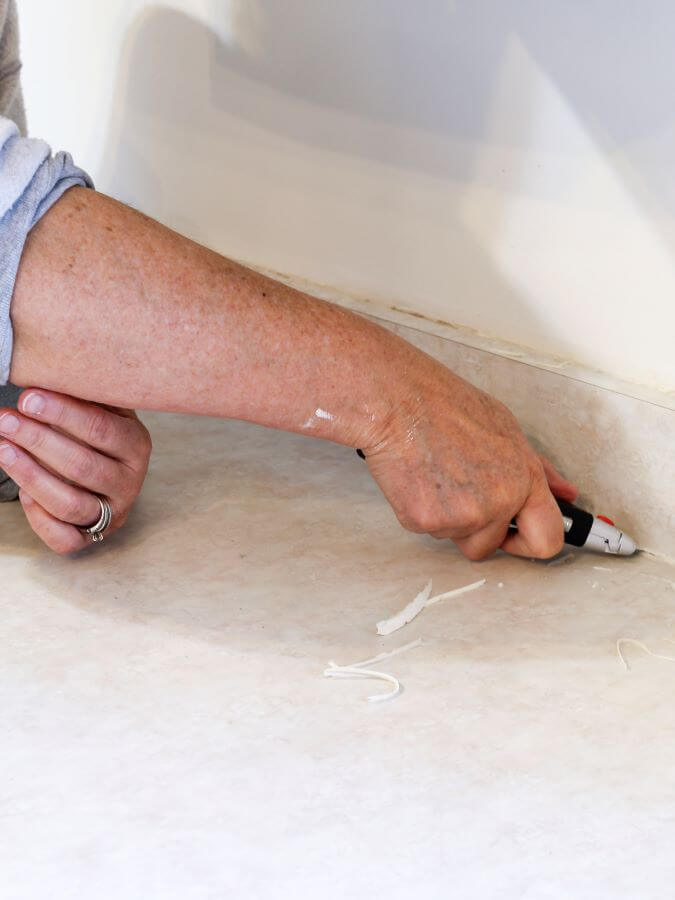
To remove the back of the counter we used a sharp utility knife to score and loosen the caulk.
Then I used a rubber mallet and crowbar to carefully pry away the pieces of the counter from the wall.
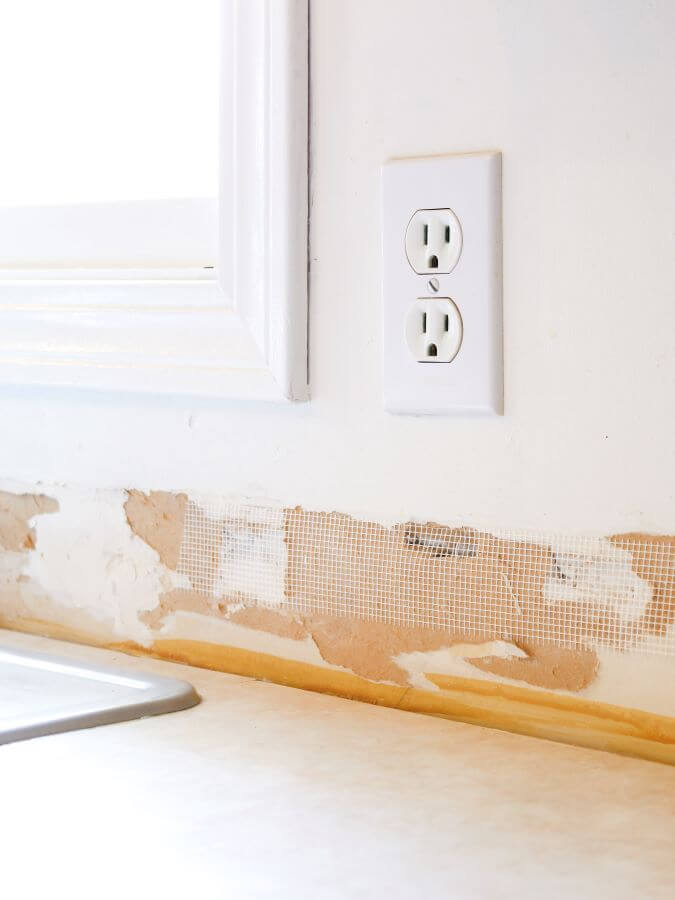
Kirk returned from his trip just in time to get in on the fun. Once the back pieces were removed, I used a razor blade to remove any of the remaining caulk.
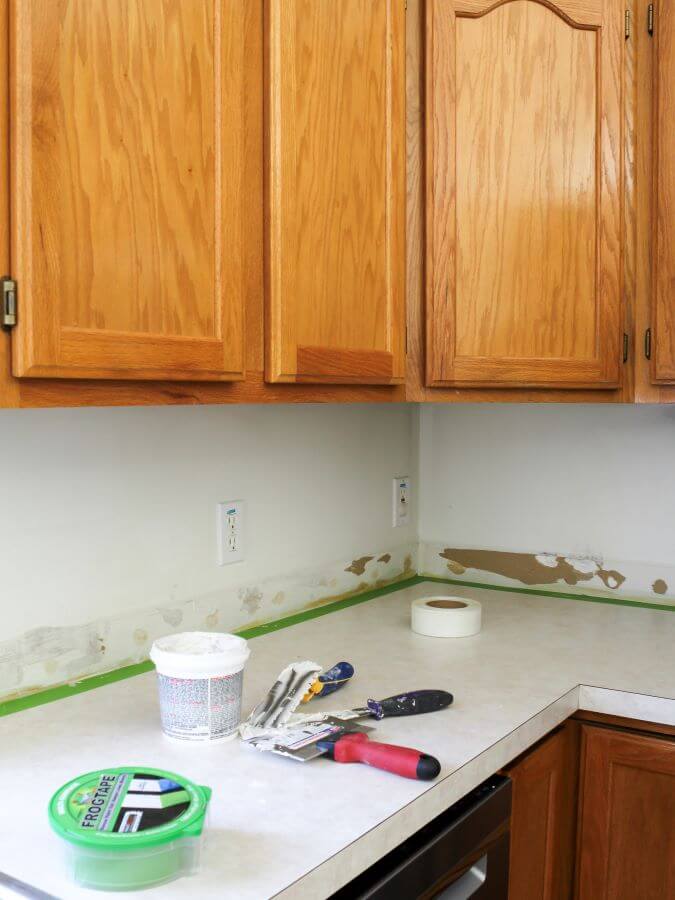
Then we used a drywall compound to repair any holes and cover the old glue to create a smooth flat surface for our new tile.
I am SO excited for it to arrive, and can’t wait to get started on that part of the project. The plan is to start the backsplash in two weeks, so I hope to share more soon.
Blind Installation
This week we also tackled the installation of a brand new bamboo blind.
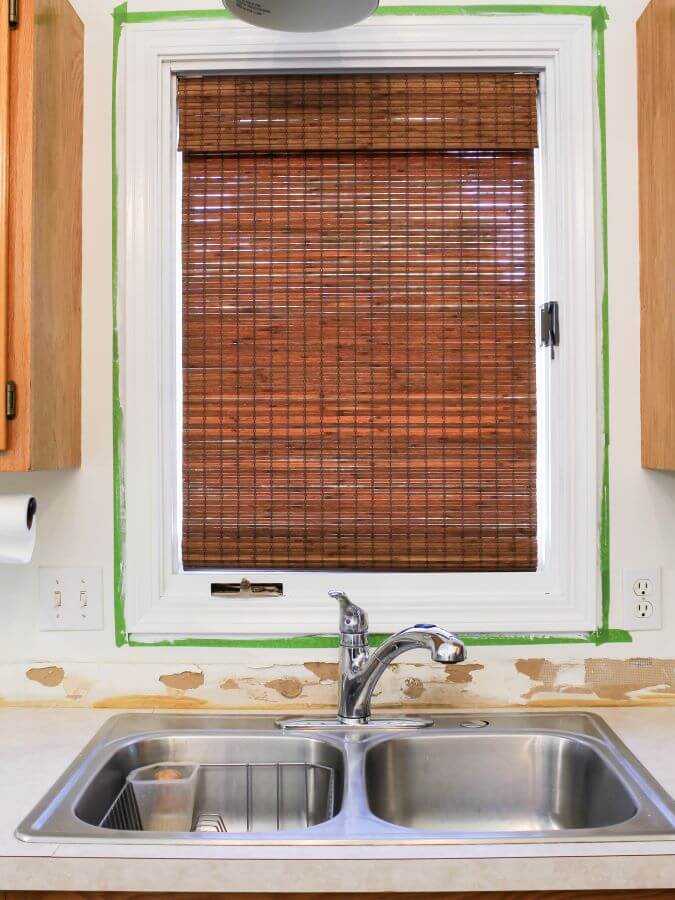
Our old blind was fine, but it was corded. And as silly it sounds, that cord was the bane of my existence.
It was always dangling in the dishwater or getting tangled in something on the counter. I was more than happy to see it go. Sometimes it’s the little things, isn’t it?
How To Prepare Your Kitchen For A DIY Renovation
That’s a wrap on week two of our Jeffrey Court Renovation Challenge. I’m really happy with the progress we made this week, but we still have a long way to go! If you missed last week’s post, here’s the full list of our renovation plans.
Our Reno Plans
Add a fresh coat of paint on the walls and paint the window trimInstall a new cordless blindDemo the counter for backsplash installation- Update our existing light fixtures with a new pendant and a new chandelier
- Purchase a new stainless steel microwave to match the rest of our recently upgraded appliances
- Replace our old barstools and kitchen table chairs with some cottage-style barstools and dining chairs
- Paint our kitchen table
- Paint the laminate counter tops to replicate quartz
- Hire a plumber to install a new sink and faucet
- Add a tile backsplash
Next week we’ll be getting our new microwave installed, updating our light fixtures, and breathing some new life into a family heirloom. I hope you’ll join me here to see all of the updates. In the meantime, you can pop over to Instagram to see the behind-the-scenes of our renovation as it happens.
And in more exciting news…voting officially opens today! I’ll need your help as I battle it out with the other designers for a chance to win $5,000. You can vote once per day on the Jeffrey Court webpage for your favorite designer. Voting resets daily, so don’t forget to come back and vote throughout the week!
As always, thanks for all of your support!
Xo,

Did You Enjoy this Post? PIN It for Later!






Wow, your kitchen turned out so beautiful. We recently hired a local contractor to repair some of our kitchen cabinets, and it made a huge difference in the functionality of our space. I am jealous of your DIY skills! Thank you for sharing your projects!
thank you!
Jen,
I’m sharing a link to this on my Sunday Dirt Road adventures.
Thank you so much. Rachel! I appreciate it!
This is very fun to watch from my end! Keep rockin’ it!! Oh, and I love that faucet!!
I can guarantee it is more fun to watch than do.🤣 Thank you friend for all of your support and for voting for our project. I appreciate it!
This is so exciting! I can’t wait to see it all! xo
Thank you, Stacy. Can’t wait to share the big reveal in a few weeks!
Jen,
This is really going to be amazing! Great post.
Thank you, Rachel. Looking forward to getting it all finished. Can’t wait!
You’ve accomplished so much in your kitchen! Love the tile you picked for your backsplash and your new blind.
Thank you, Paula. I think the backsplash is going to make a huge difference. I can’t wait to get going on it!
Jen, wow you have already gotten so much done! Aren’t moms the best? I’m so glad she was able to come help you. I can’t wait to see more. I voted for you!!!
Thank you so much, Kelly. I appreciate it! And yes, moms are THE BEST! Kirk isn’t much of a painter, so it was nice to have help and a good way to get in some quality visiting.
Yes, as a matter of fact, I think of a kitchen renovation every dang day. It’s all kinds of scary in there. But the mister thinks that it’s only 22 years old (and out dated), it’s still good for another 50 years! Ayi yi yi. Welcome to my life. Love your plans and know it will look stunning when you’re all done. So excited for you!
Ahhhh, yes. Getting the hubby on board is always part of the battle.🤣 Thank you, Cindy. I appreciate it!
These DIY methods will make it so much easier for someone to repair the kitchen! What a job!! 🙂 well done
That is the goal. DIYs can always be a bit hectic, so I hope this takes the stress out of it a bit. Thank you, Jenn!
Your kitchen is gorgeous and I think this post will help a lot of people who worry about how a kitchen reno can be disrupting. I’ll have to pass this along to my best friend who is contemplating a kitchen renovation or moving!
Thank you, Shawna. We aren’t doing any major demo, but enough changes that it can be overwhelming to think about it all…especially in such a quick time span. I hope this is helpful for anyone else who is contemplating some DIY kitchen projects.