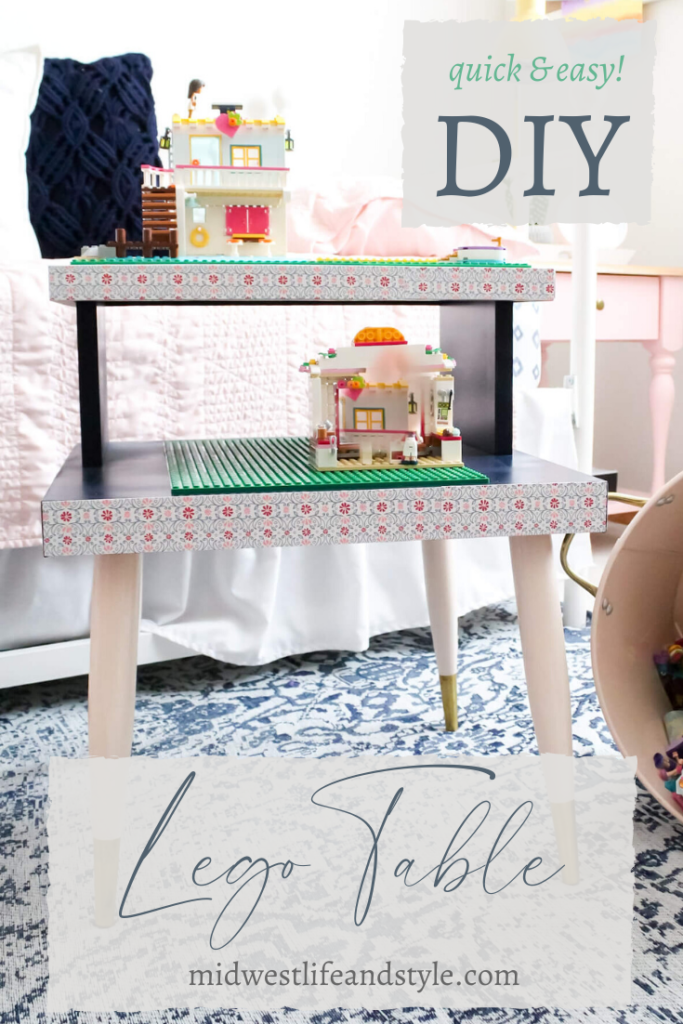
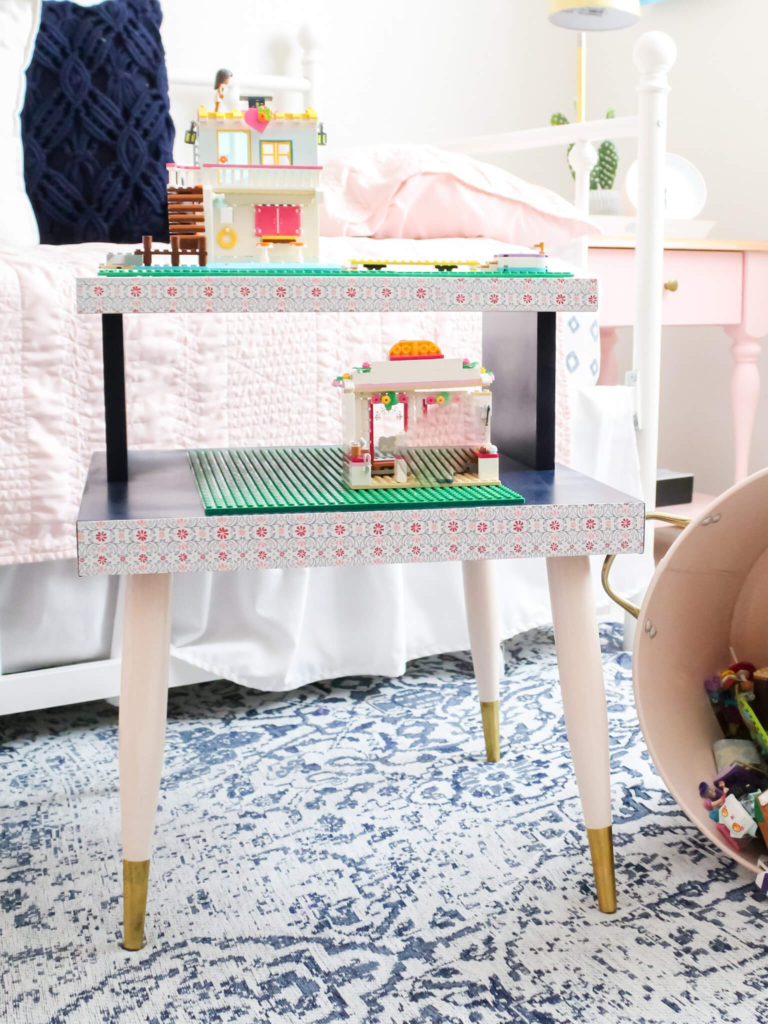
See how I turned a thrift store find into an adorable DIY lego table with just a little bit of paint and some imagination. And all for under $40!
*As an Amazon affiliate, I earn from qualifying purchases at no extra cost to you. My blog contains other affiliate links as well for your convenience. To learn more, you may read my Disclosure Policy. Thank you for supporting my blog!
How to DIY a Lego Table
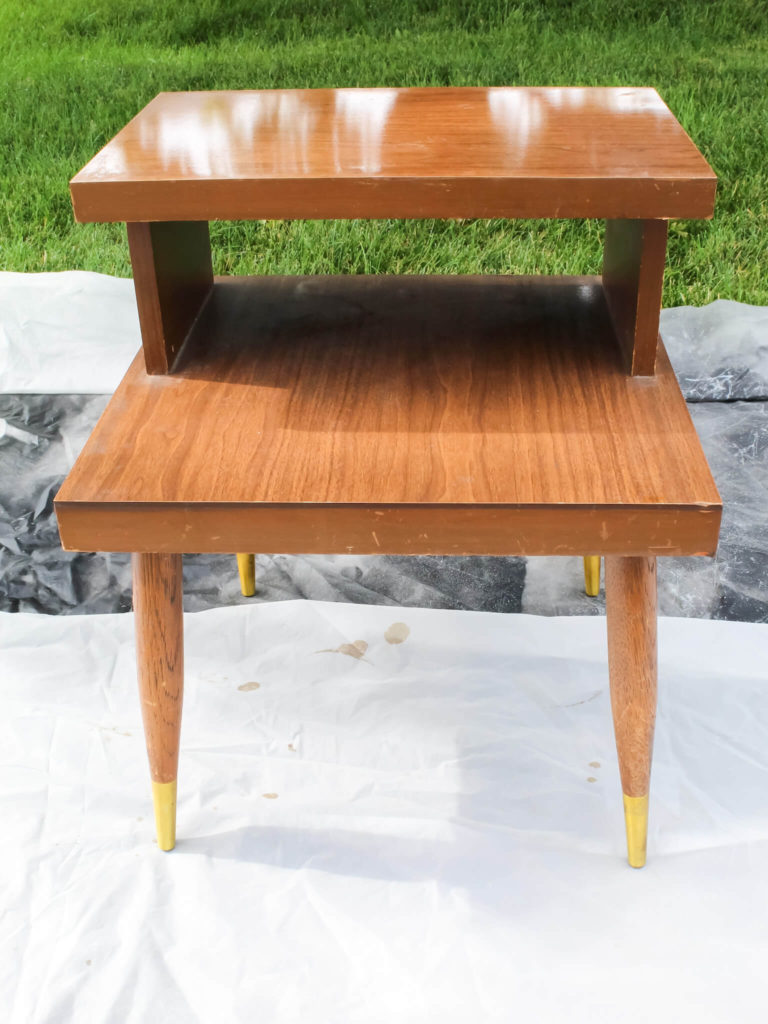
Today I am sharing how I turned a $20 thrift store find into a DIY Lego table as part of the Rust-Oleum spray paint challenge for the Haven Conference.
For those who don’t know, Haven is a conference for bloggers and influencers to find community, share ideas, learn from experts, and network with brands like Ryobi Tools and The Home Depot (just to name a few). I shared all about my virtual Haven conference experience last year.
This year will be my first time attending in person. I can’t wait to see some of my blogging friends again, like Kelly from The Tattered Pew, and to meet some friends for the first time like Anne and AnnMarie from Simply 2 Moms and Michele at Vintage Home Designs. I will share a full recap with you about it in a few weeks, so stay tuned for that!
Why a Lego Table?
My youngest daughter, Harper, loves Legos. So much so that the floor in her room is covered in them!
All. The. Time.
If you’ve ever stepped on a lego (or ten) you know how much those tiny little toys hurt! So this challenge seemed like the perfect time to tackle the mess and try my hand at a DIY Lego table.
Supplies
- Sandpaper
- Knit rag
- Painter’s tape
- Spray paint in your choice of color(s)
- Protective matte clear spray paint
- Lego base plates
- Glue sticks
- Scrapbook paper
- Foam brush
- Mod podge
Tools
How to Make a Lego Table
1. Sand Your Table
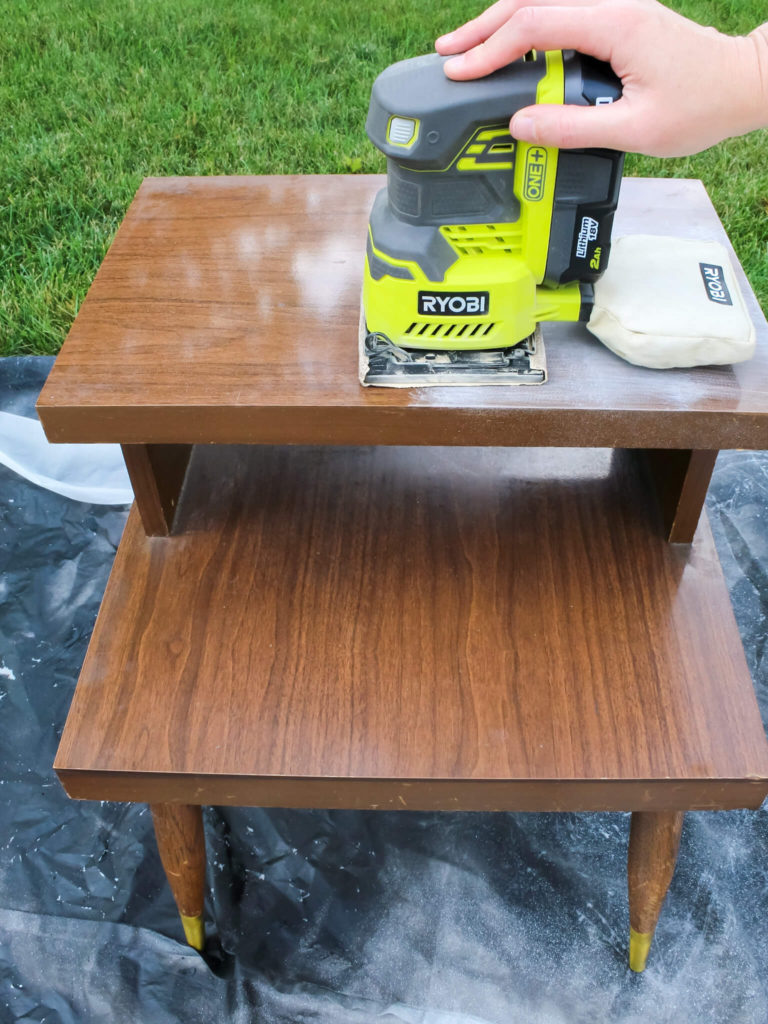
The first thing I did was sand my table with my hand sander. This step helps rough up the laminate finish and gives the spray paint a better surface to stick to.
To sand, I used 60 grit 1/4 sheet sandpaper because that is what I had on hand. You might choose to use a different grit depending on the condition of your table.
Once I sanded the table, I used a dry cloth to wipe off all of the dust.
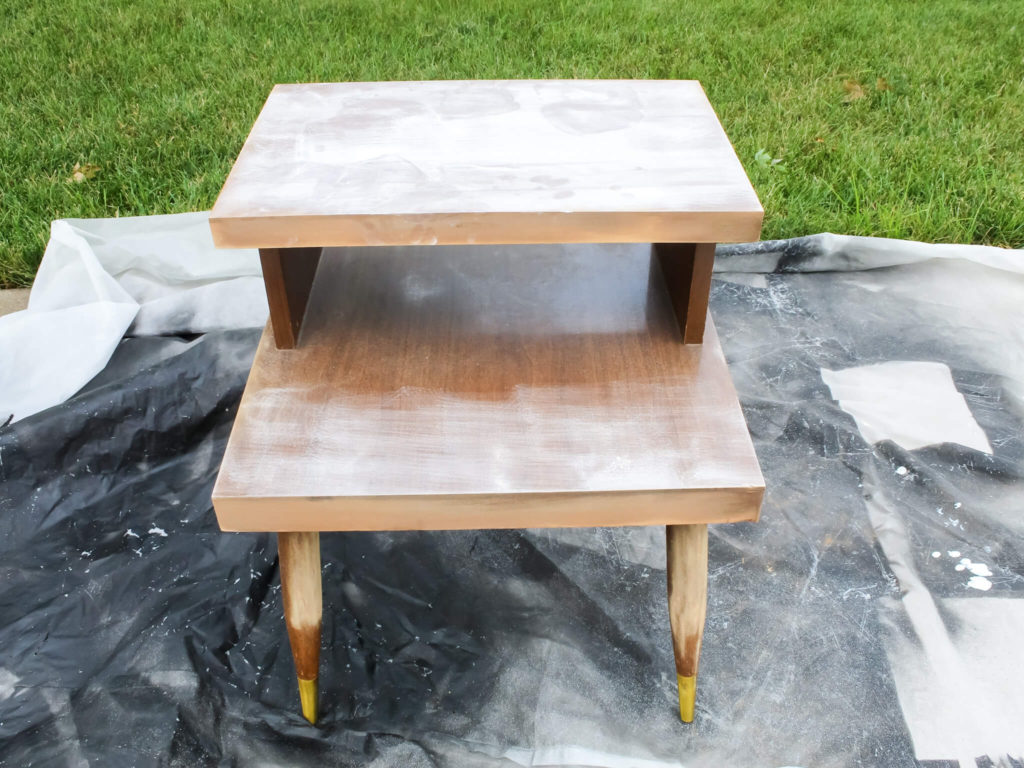
Then I used a clean damp cloth and went over the table a second time to clean off any remaining dust that I missed.
2. Tape and Paint
After the sanding was done, it was time to paint! I chose to use three different colors of Rust-Oleum spray paint to coordinate with the colors in Harper’s room. White, midnight blue, and peony pink.
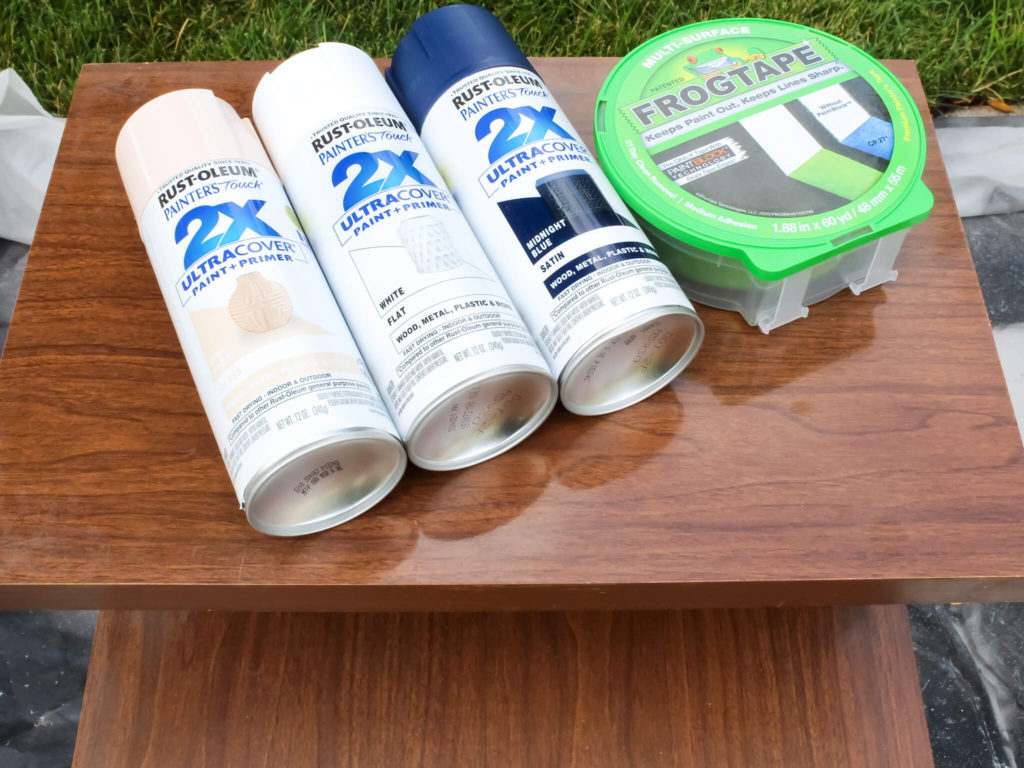
To start, I used painter’s tape to protect the gold foot ends from overspray.
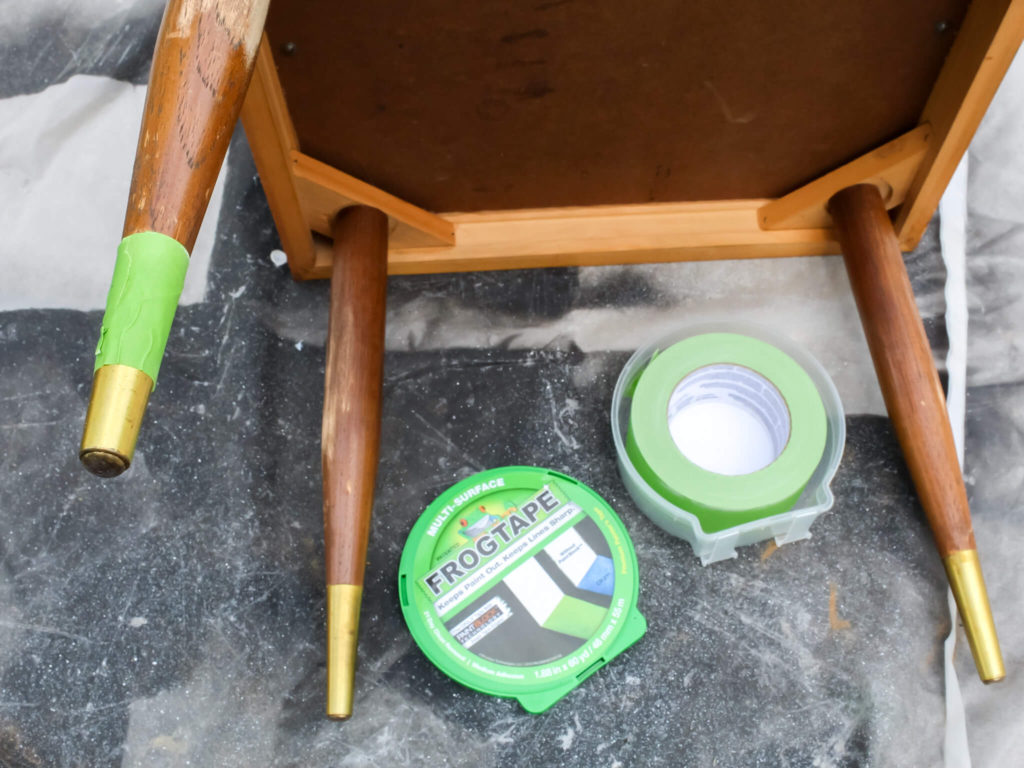
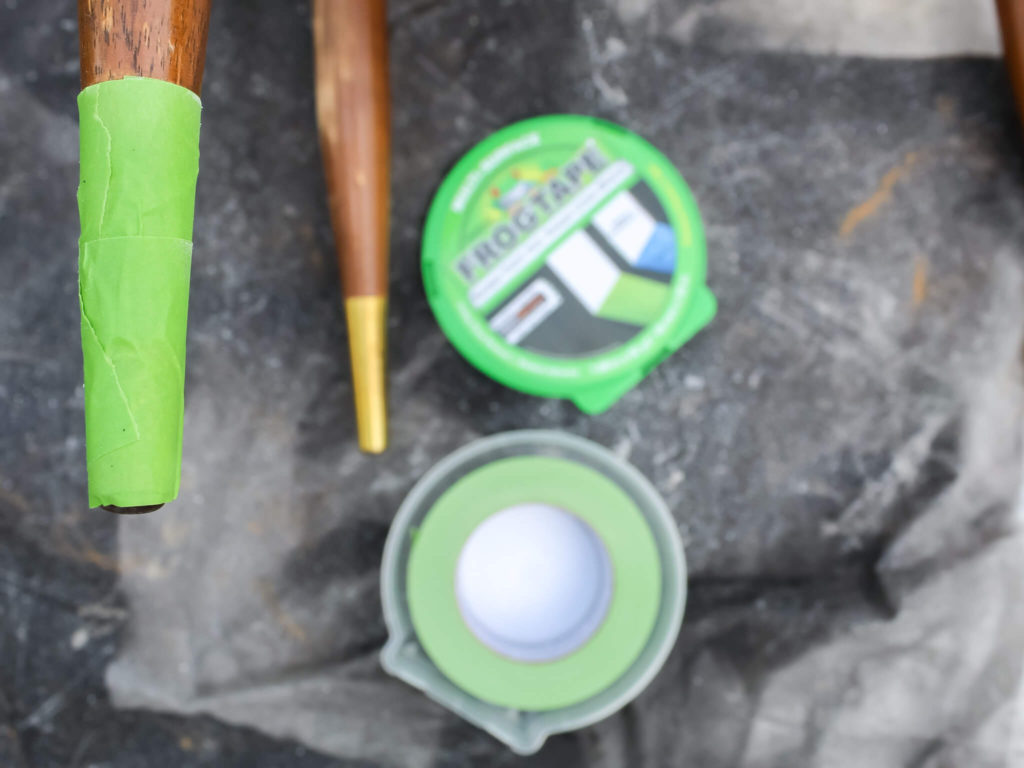
Then I unscrewed the legs from the table. I needed a way to paint them (without spraying paint all over myself), but I didn’t have a plan ahead of time.
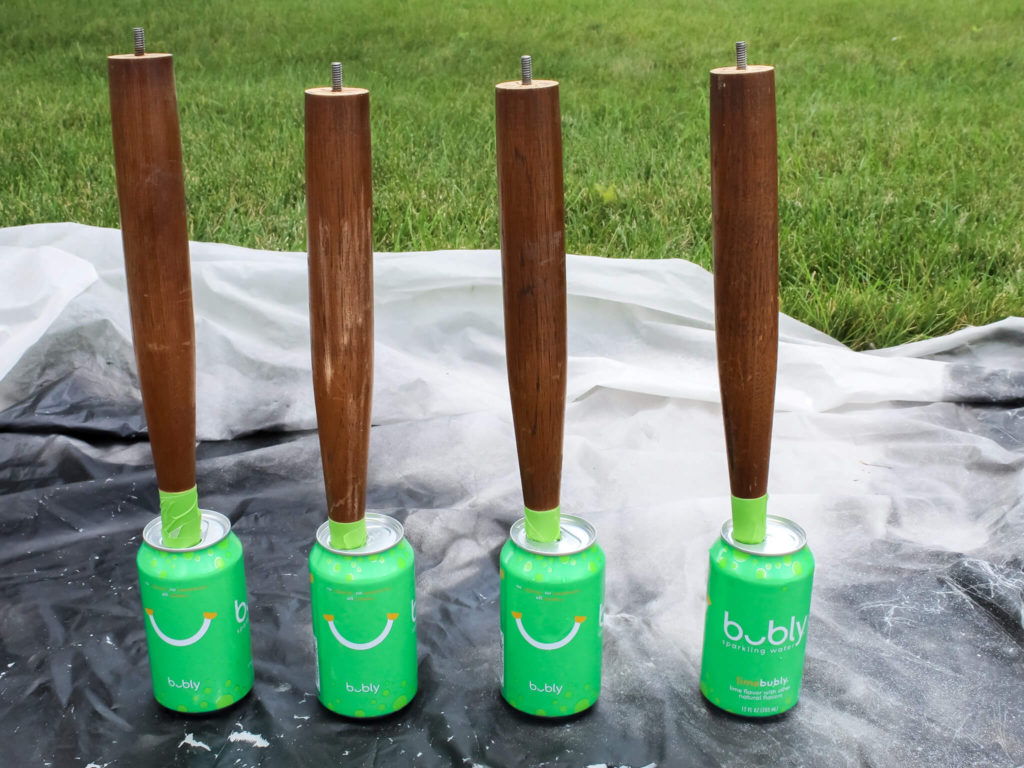
My solution? Empty aluminum cans!
I was pretty proud of my MacGyver-like ability to problem solve on the fly. And other than one time when a small gust of wind caused them to topple over, it worked great. The legs just got a few small scuffs. Nothing that another quick coat of paint couldn’t fix.
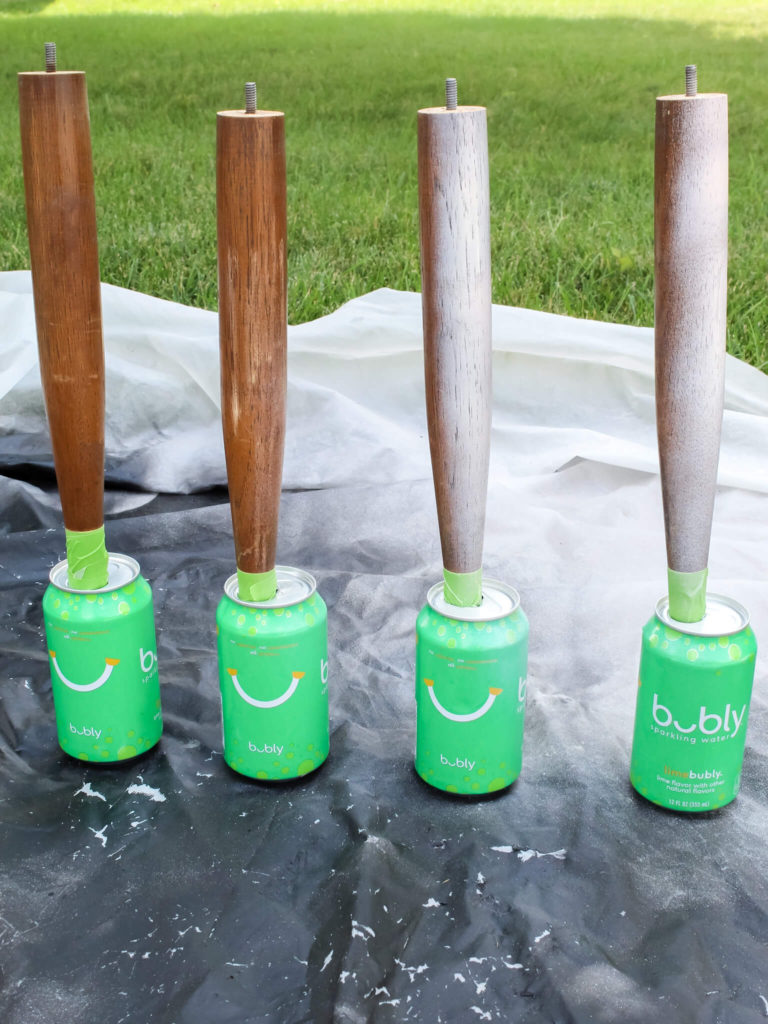
TIP: You might want to try to add some gravel or sand into your empty cans. This will help provide a bit of counterweight and help prevent the cans from falling over due to wind or the weight of the legs.
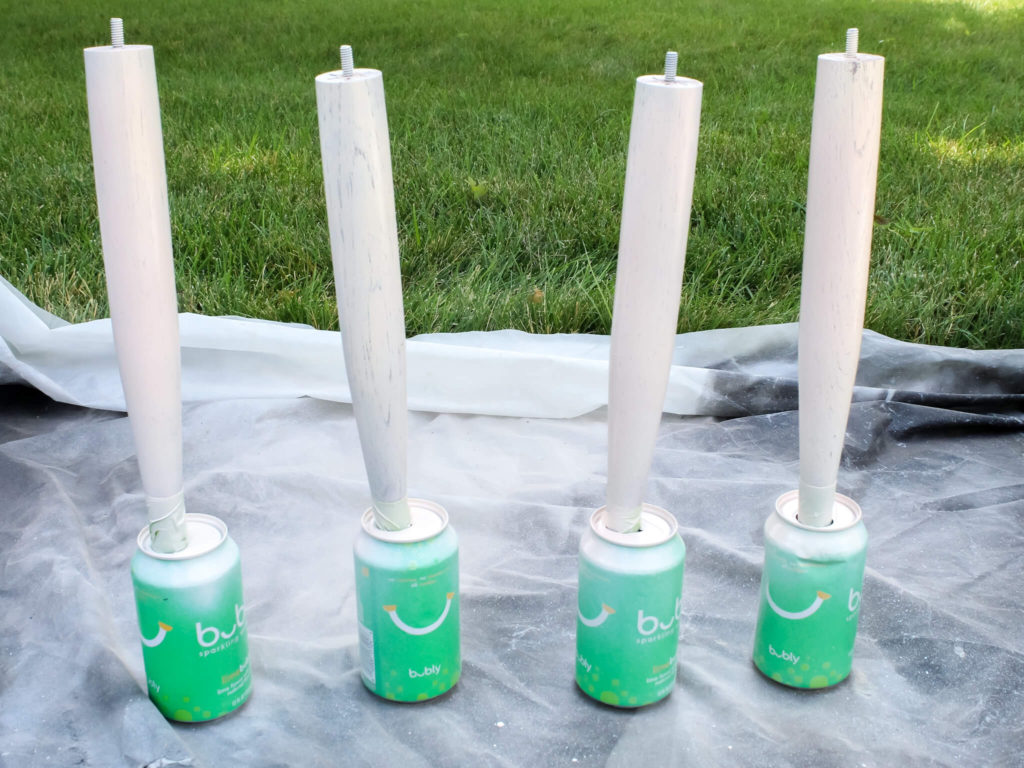
I sprayed the legs with several coats of paint, allowing for a bit of drying time in between each.
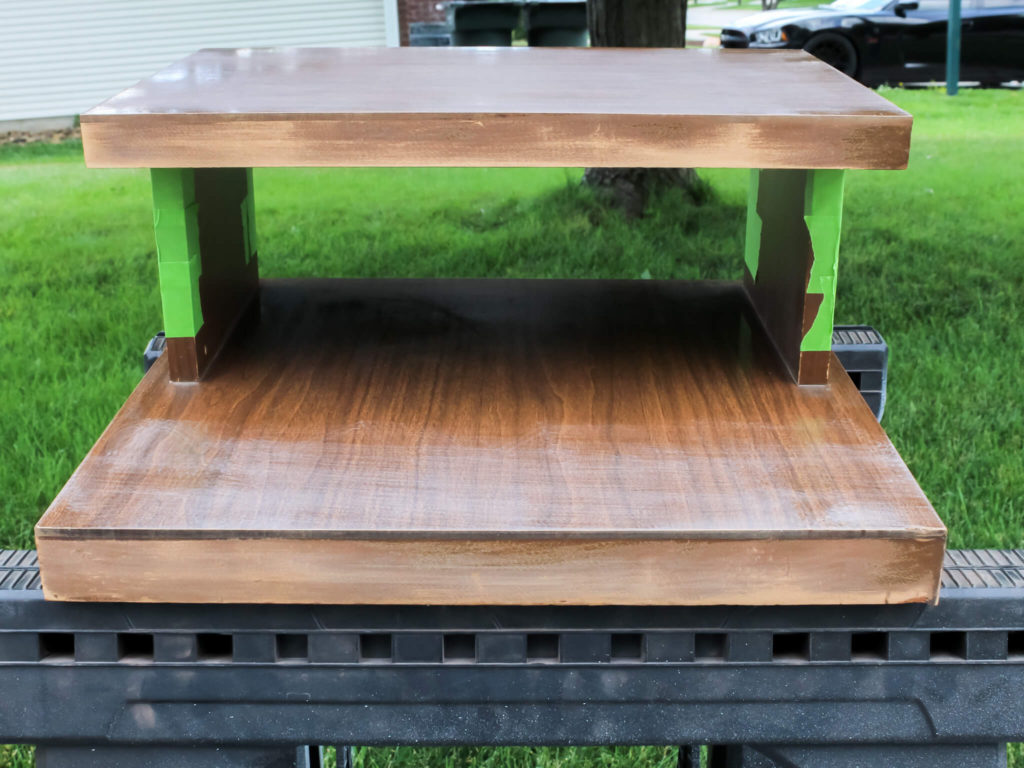
After the final coat of spray paint, I set the legs aside to finish drying. Then I started on the top section of the table. Once again, I used painter’s tape to protect a few areas from overspray. Then I added two quick coats of white paint.
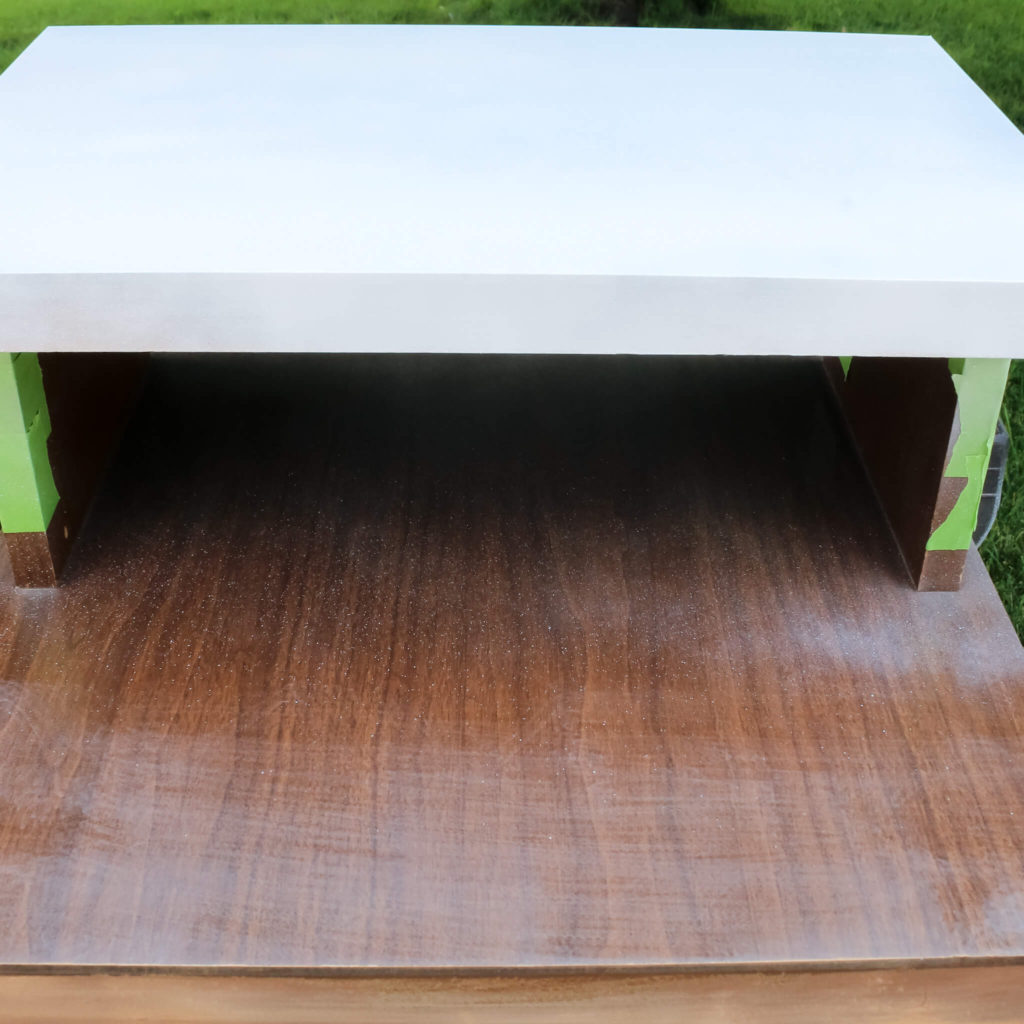
For the bottom section of the table, I used midnight blue. Rust-Oleum paint has great coverage, and I only needed two coats to cover the dark wood.


Then, once all of the paint was dry, I finished by spraying a protective matte clear coat over the entire table to prevent any chips or dings in the paint.
3. Add Some Pizzaz
Next, it was time to add some pizzaz!
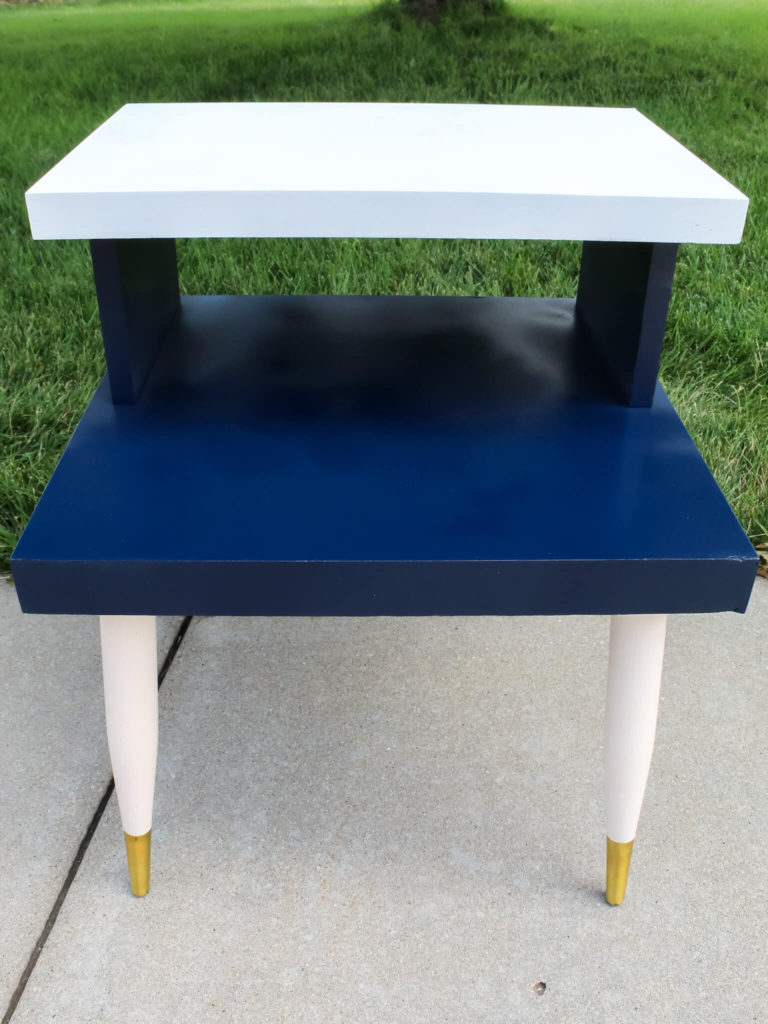
With all of the solid colored paint, I felt like the table needed a little something extra.
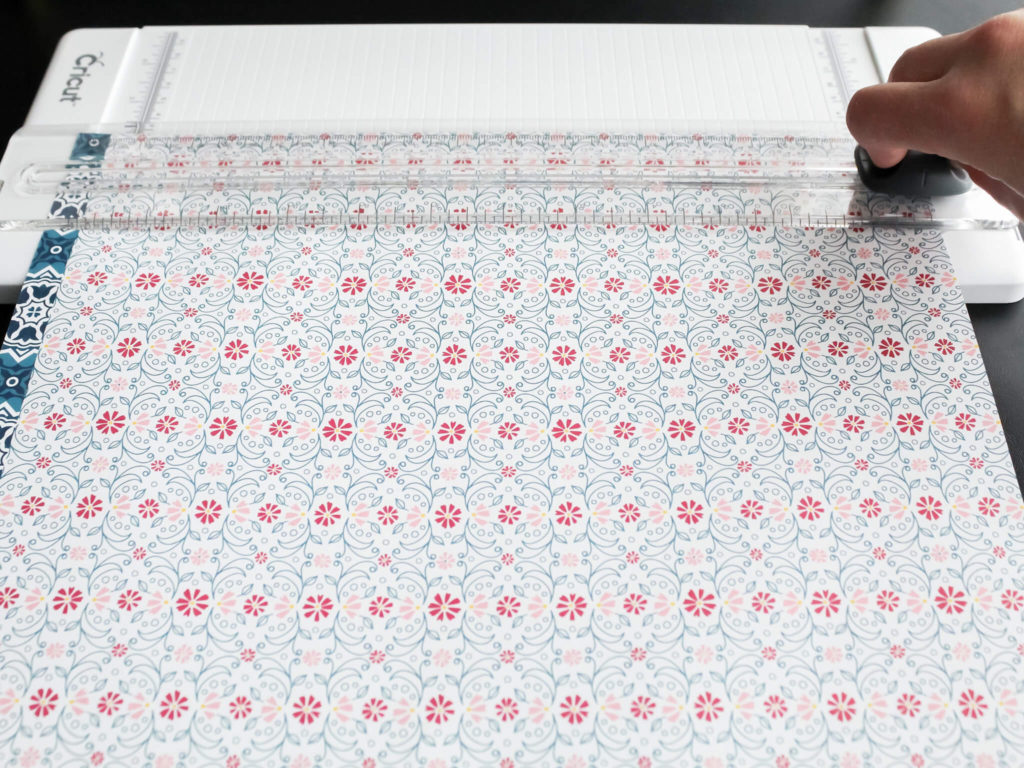
I chose a floral-patterned scrapbook paper in coordinating colors to add around the edges of the table. I measured the width of the edge and then used a paper cutter to cut a few strips of the paper.
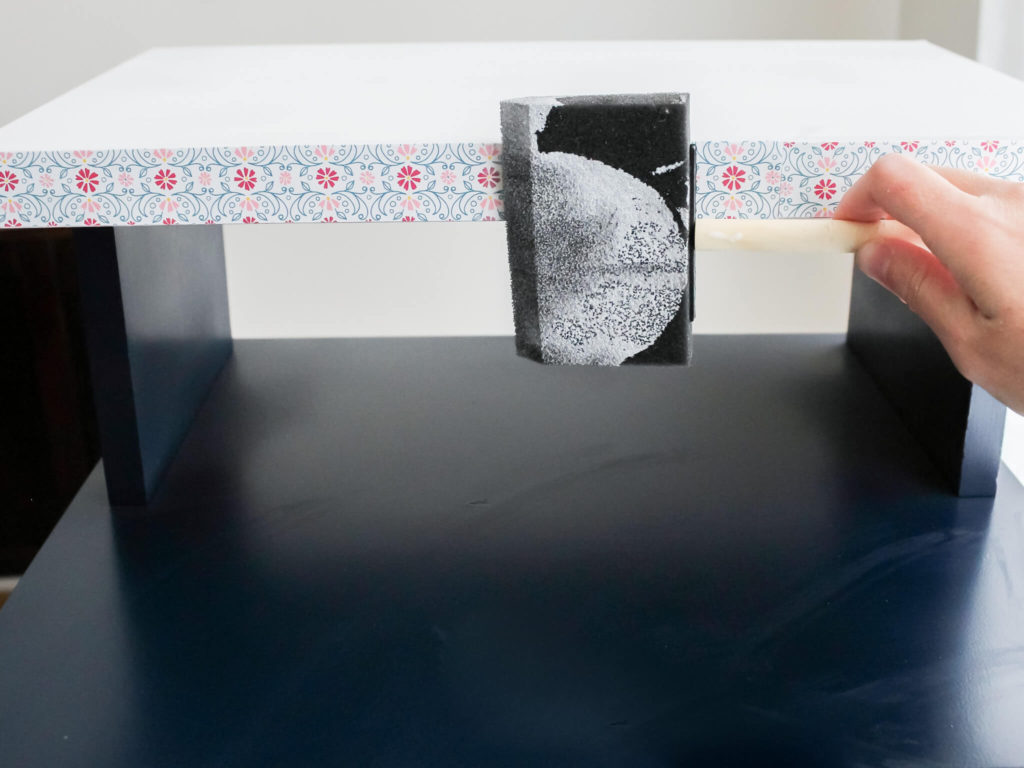
Then I used mod podge and a foam brush to paste the strips onto the table and let them dry for about 30 minutes.
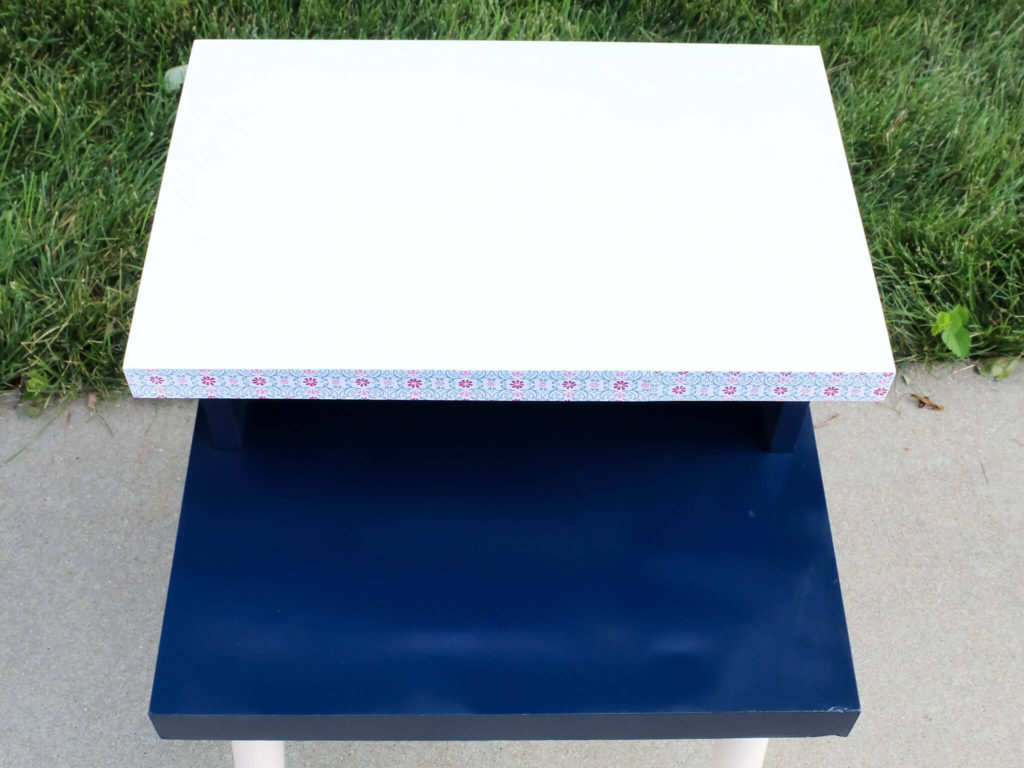
If you make your own lego table, this step is optional. But, I think it makes the table extra cute and gives it a more finished look, don’t you?
4. Attach The Lego Base Plates
The final step to finishing the DIY Lego table is to add some Lego base plates.
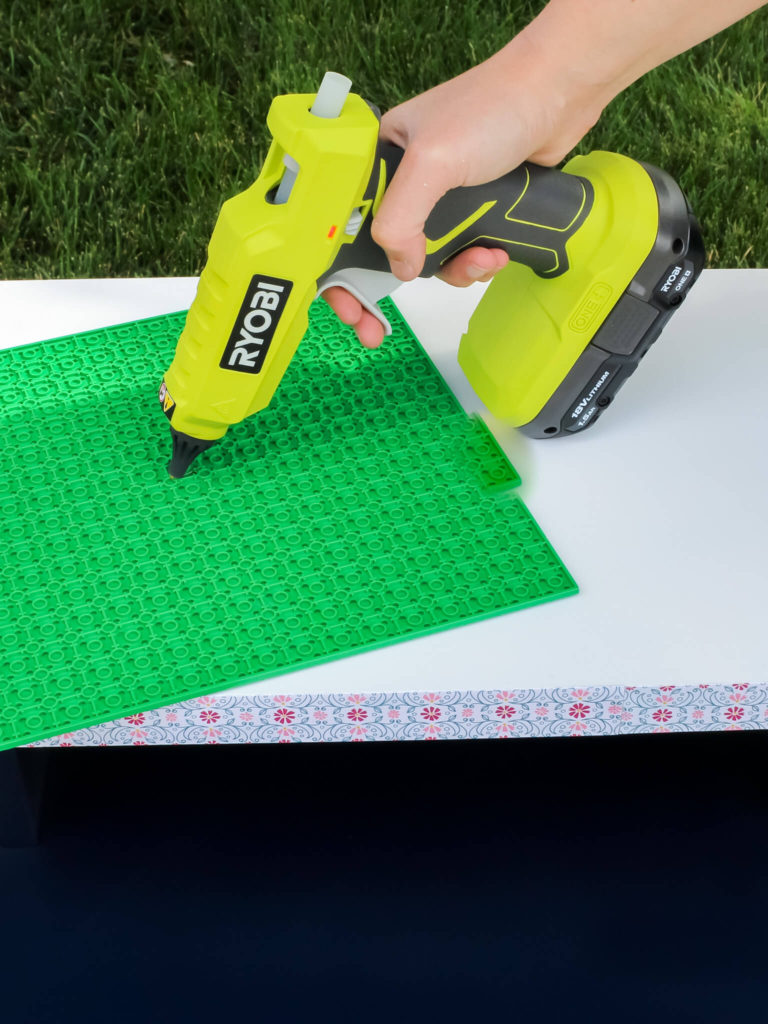
I used one full base plate on both the top and bottom of the table and used a hot glue gun to attach them.
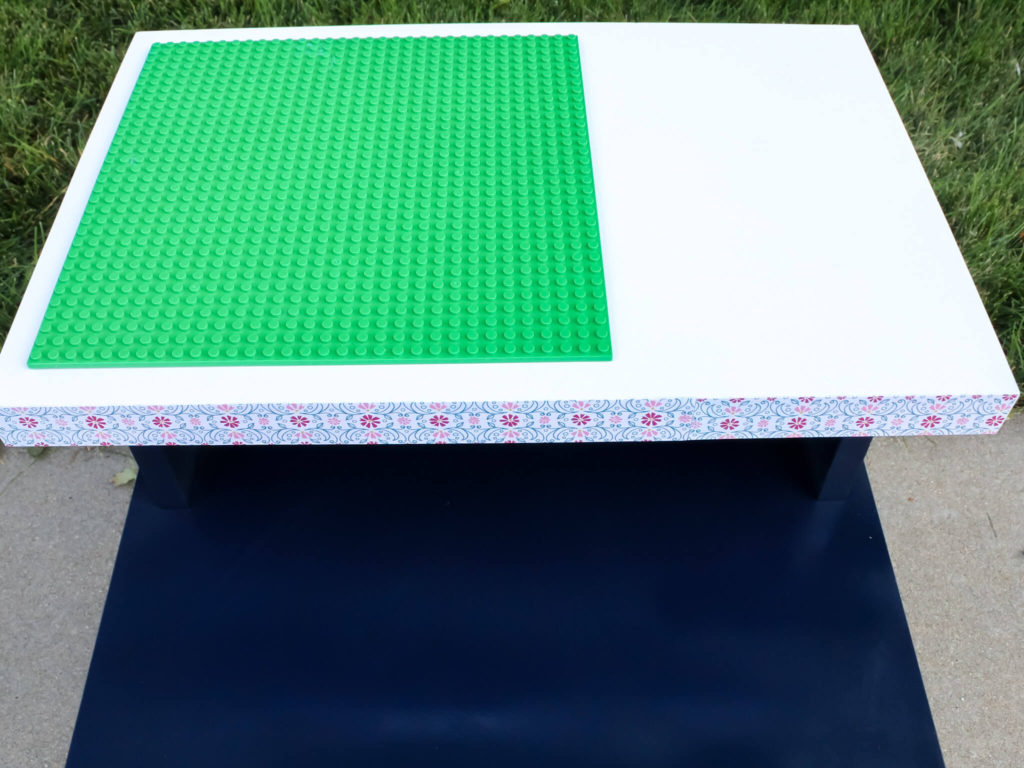
To give the table a bit more building space, I added part of a second plate. I measured the table and plate first.
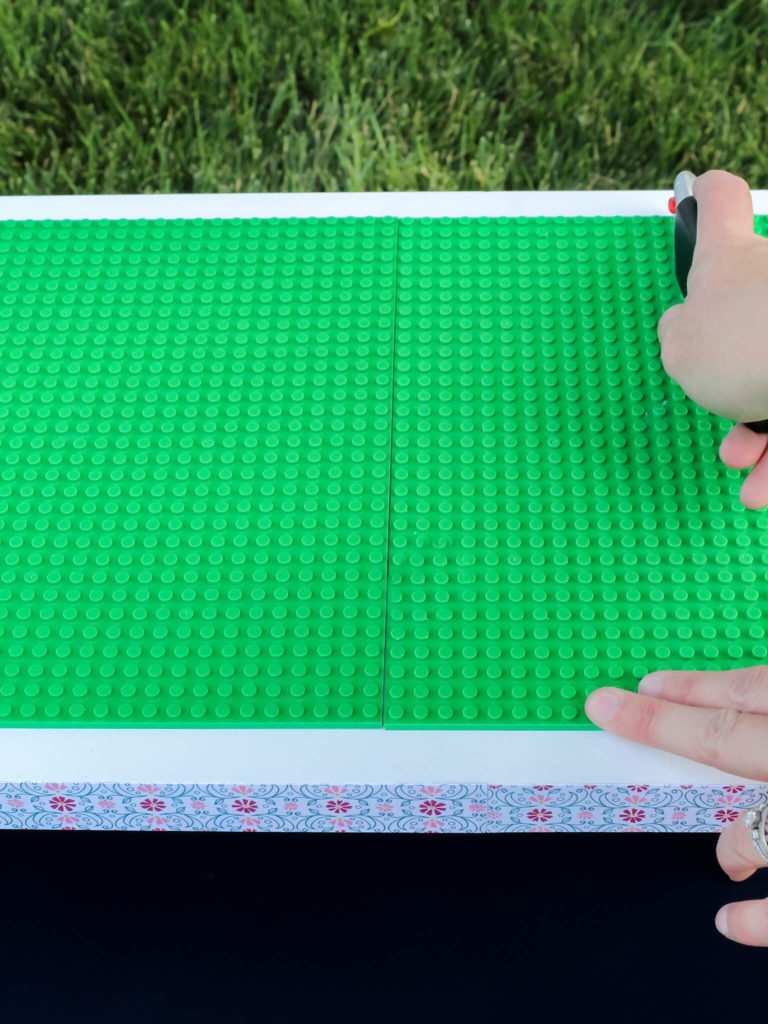
Then I used a utility knife with a fresh blade to carefully score the plate. I continued to slowly go over my initial cut, gently bending the base plate after each pass until it split into sections that fit the dimensions of my table.
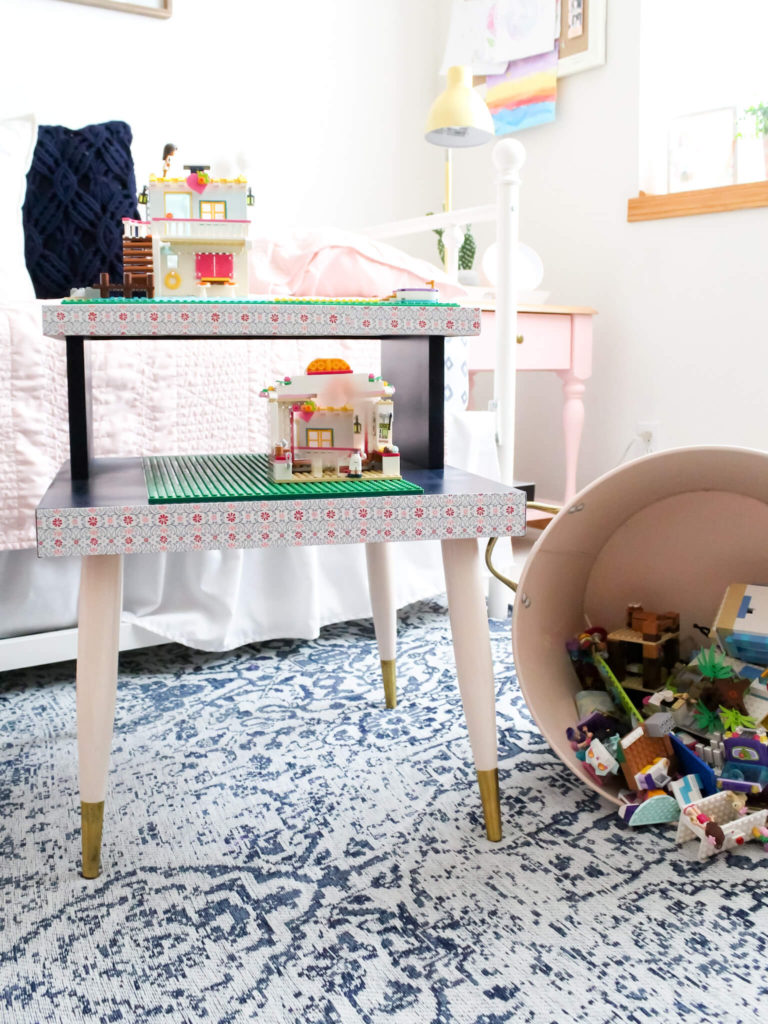
I glued on the final pieces and that was it. She was all done!


How to DIY a Lego Table
I hope you enjoyed reading today’s post. This DIY Lego table was so simple to make. In total, it cost less than $40 to make and would have been less if I would have only used one color of paint.
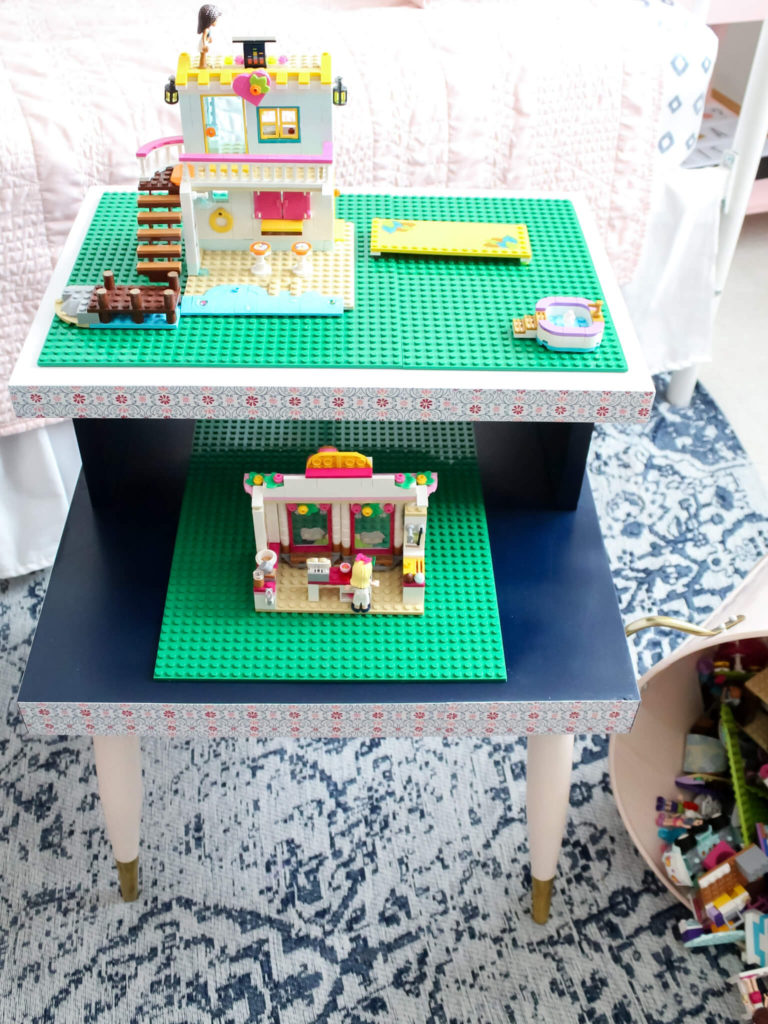
But the best part about this DIY project is that my daughter, Harper, loves it. And if it saves me from stepping on all of those tiny killer bricks, then I’ll call it a win.
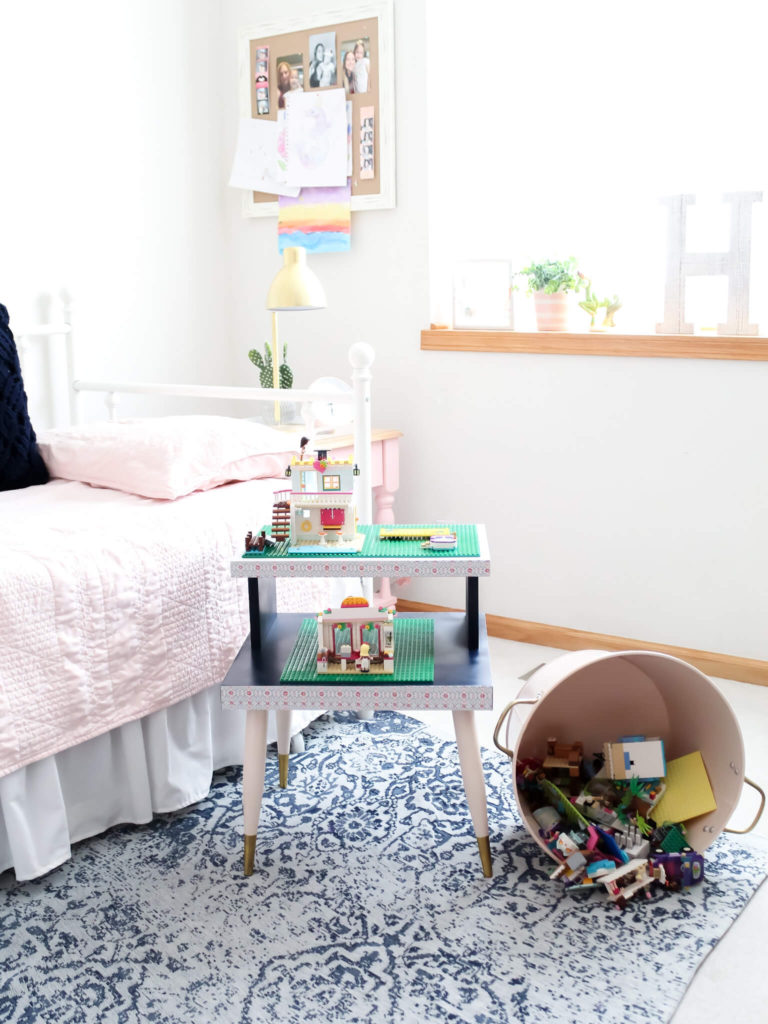
Here’s a fun 30-second video I made for TikTok showing the process from start to finish! I am so happy with how it turned out. The colors are a perfect match for her room and it makes a great addition to the space.
@midwestlifeandstyle From thrift store find to ##diy Lego table with the help of @ryobitoolsusa ##sponsored ##ryobitoolsusa ##diyhomedecor ##diyhomeprojects ##budgethomedecor
♬ original sound – Elise Hunter
Check out some of my other favorite DIY projects [HERE]. And wish me luck in the contest! Finalists will be announced in a few weeks at Haven, and then the public will vote to help pick the winner. I will share an update here, and you can tune in to my Instagram stories too to follow along with all of the behind-the-scenes conference fun!
XO,

UPDATE: My lego table project was selected as a finalist for the contest! I wasn’t selected as the winner, but it was an honor to be recognized. Thank you for all of your kind comments and support! It is greatly appreciated.
Did You Enjoy this Post? PIN It for Later!
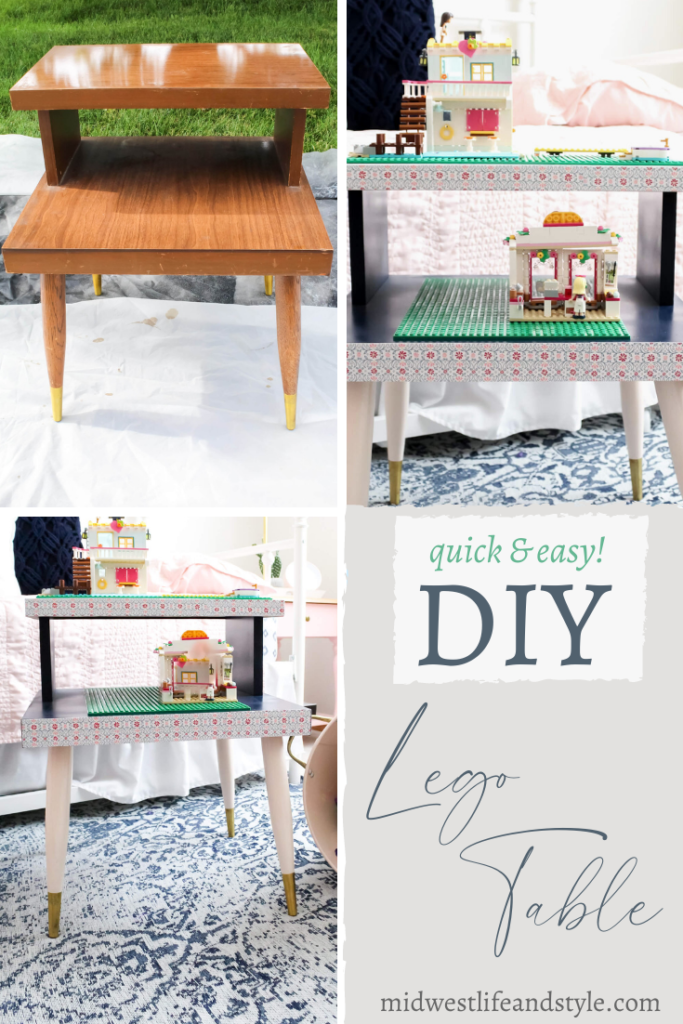




Harper is going to have so much fun playing on this table.
It has been such a hit, which makes my mama heart happy. Even my 13-year-old has been having fun playing with her little sister and building things.
Jen this turned out so cute! Such a great makeover and I can hardly wait to see you too! So close!
Thank you, Kelly. The countdown is on. T-minus two weeks and counting!
What a darling table Jen! It’s such a pretty, unique, and useful piece. What a great idea.
Thank you so much, Shawna!
Love the table! Great idea and execution! Lucky Harper <3
Thank you! I think Peyton wishes I would have made one years ago for her!😂
Jen this turned out so cute! My daughter used to love Legos too and she would have loved this! My favorite part is the scrapbook detail. Great job!
Thank you, Lori. I think that is my favorite part of the table too. I think it really makes things pop and helps to pull all of the colors together.
Such a fun lego table project, and it’s always so fun when our children benefit! 🙂 Love the added paper accent, too! (Mod Podge is our friend!)
Thank you, Julie! Yes, everyone is a winner in this one…including my feet!🤣