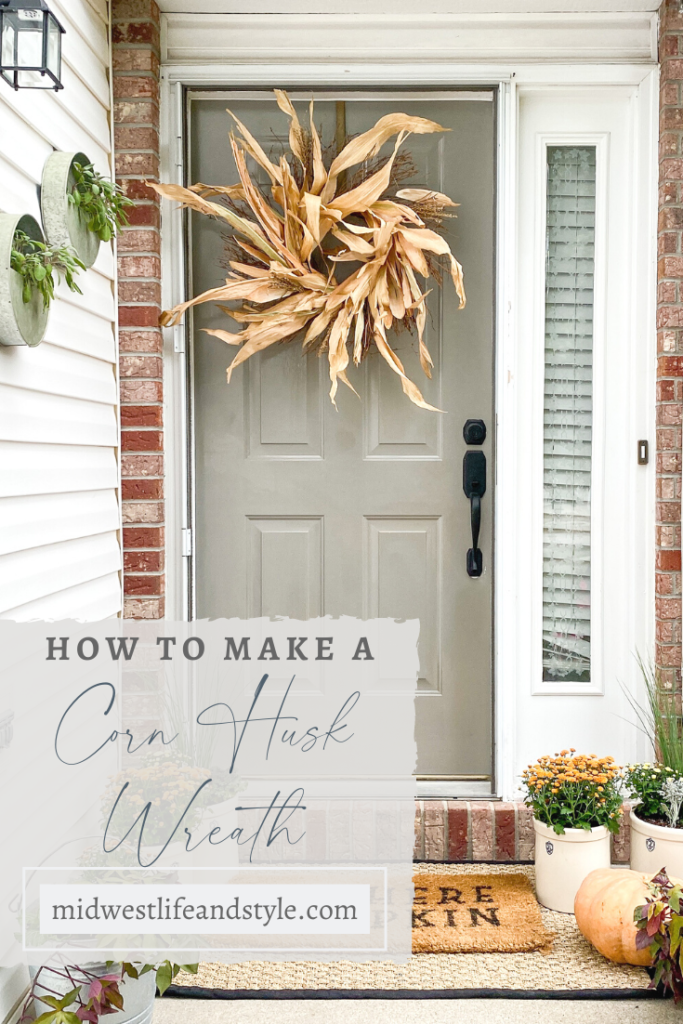
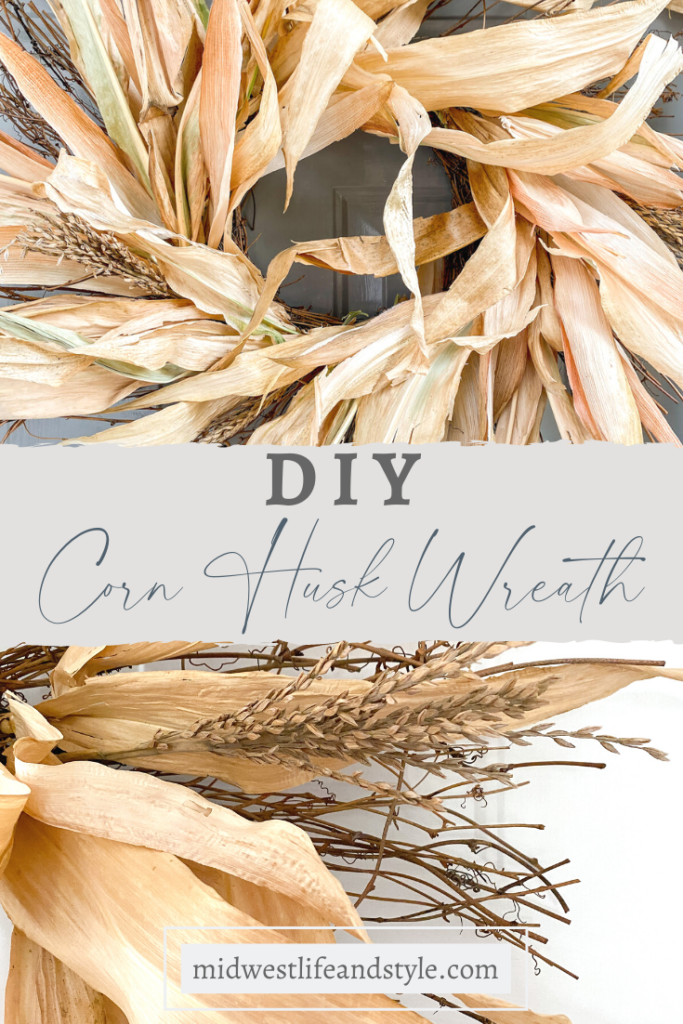
Love the look of all of those fall wreaths you see in stores, but not the price tag? Follow my easy step-by-step tutorial and learn how to make your own DIY corn husk wreath.
*As an Amazon affiliate, I earn from qualifying purchases at no extra cost to you. My blog contains other affiliate links as well for your convenience. To learn more, you may read my Disclosure Policy. Thank you for supporting my blog!
How To Make A Corn Husk Wreath
Last fall, I purchased the most beautiful corn husk wreath from a big box home decor store. I paid more for it than I care to admit, and after one season of being outdoors, it was toast!
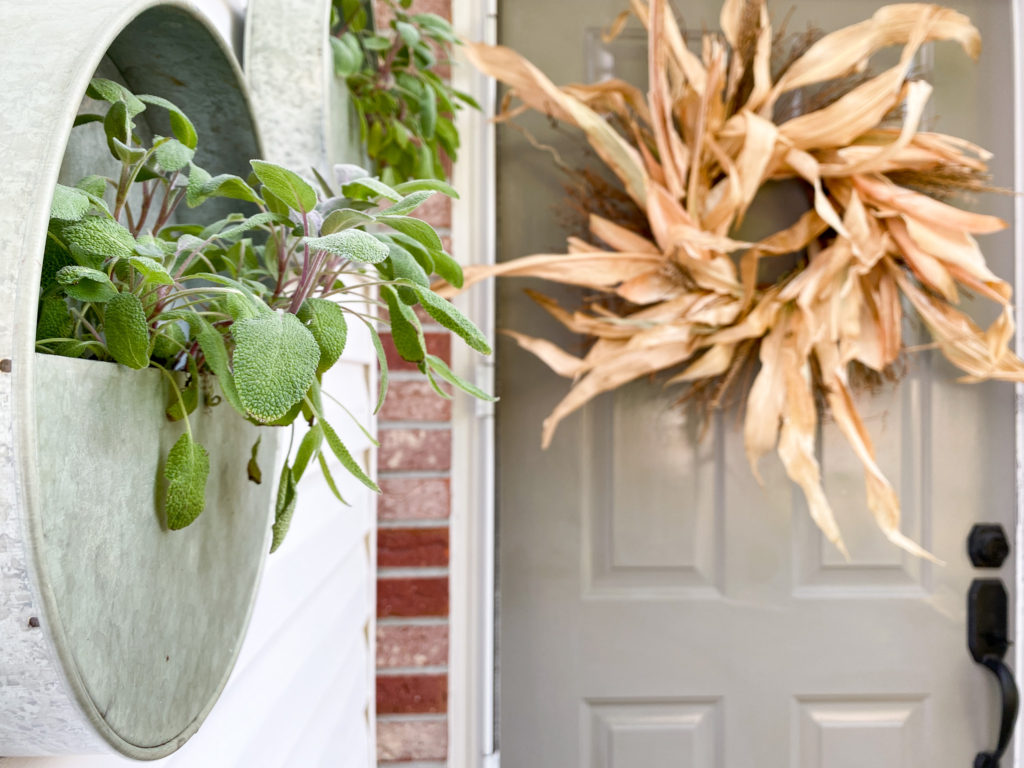
I loved that wreath and was so sad when it got ruined. So, this year I decided to make my own!
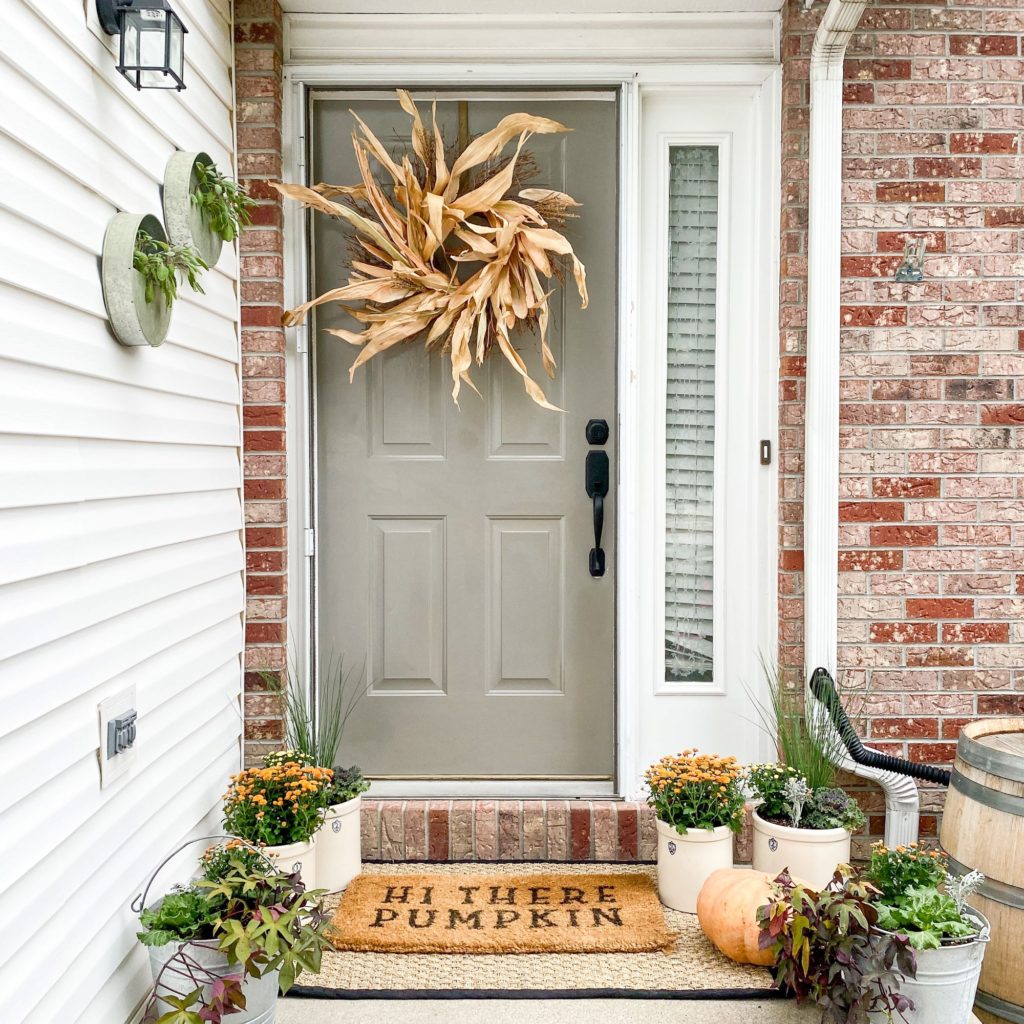
Table of Contents
Supplies To Make A Corn Husk Wreath
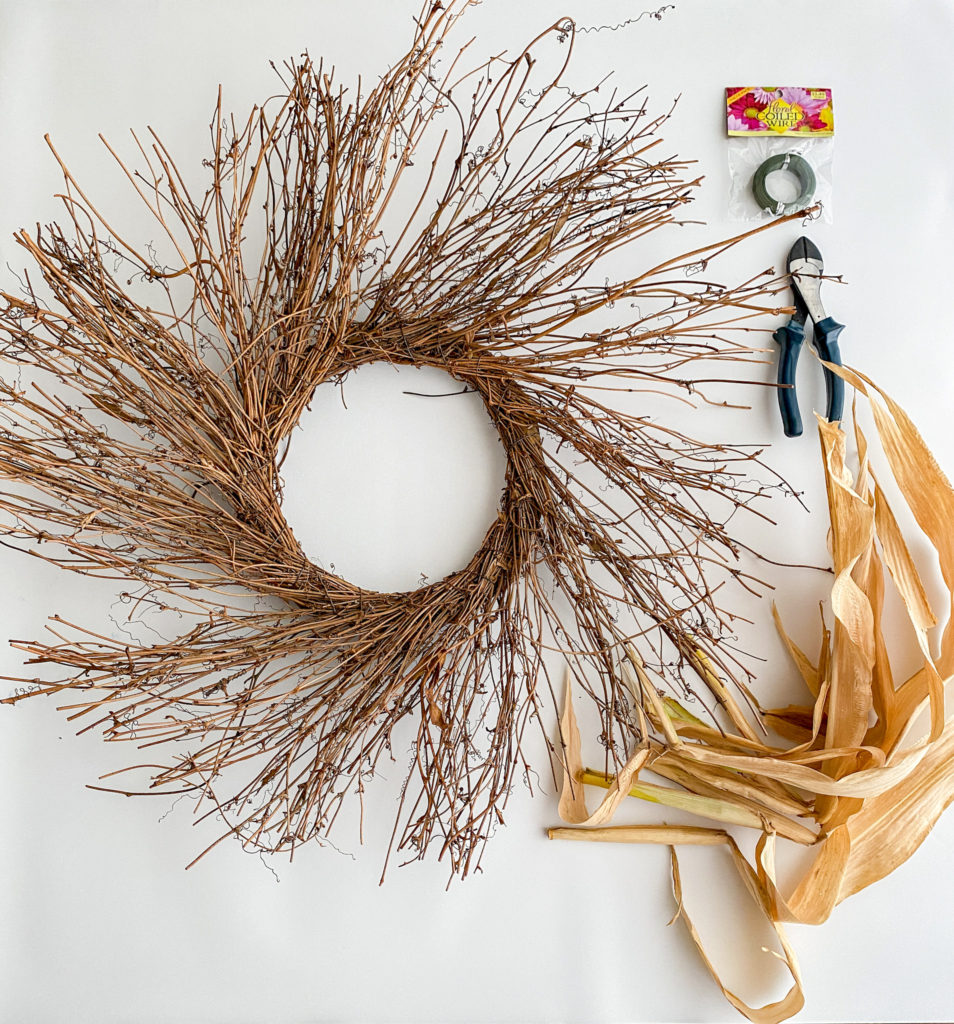
For less than $30, I made my own fall corn husk wreath. I already had some of the tools like wire cutters and scissors. The rest of the supplies I got on sale. (Woot!)
- Corn Husks ( I purchased a bunch of stalks from a local nursery for $10)
- Wreath. I found mine at Hobby Lobby during one of their 50% floral sales, but you can get a similar style one HERE
- Wire paddle-like THIS
- Scissors
- Craft Wire Cutters
Directions To Make A Corn Husk Wreath
Step 1
Cut the corn husks and tassels off of the stalks. I cut my husks a bit longer (about 10-12 inches) so there was more to work with.
Step 2
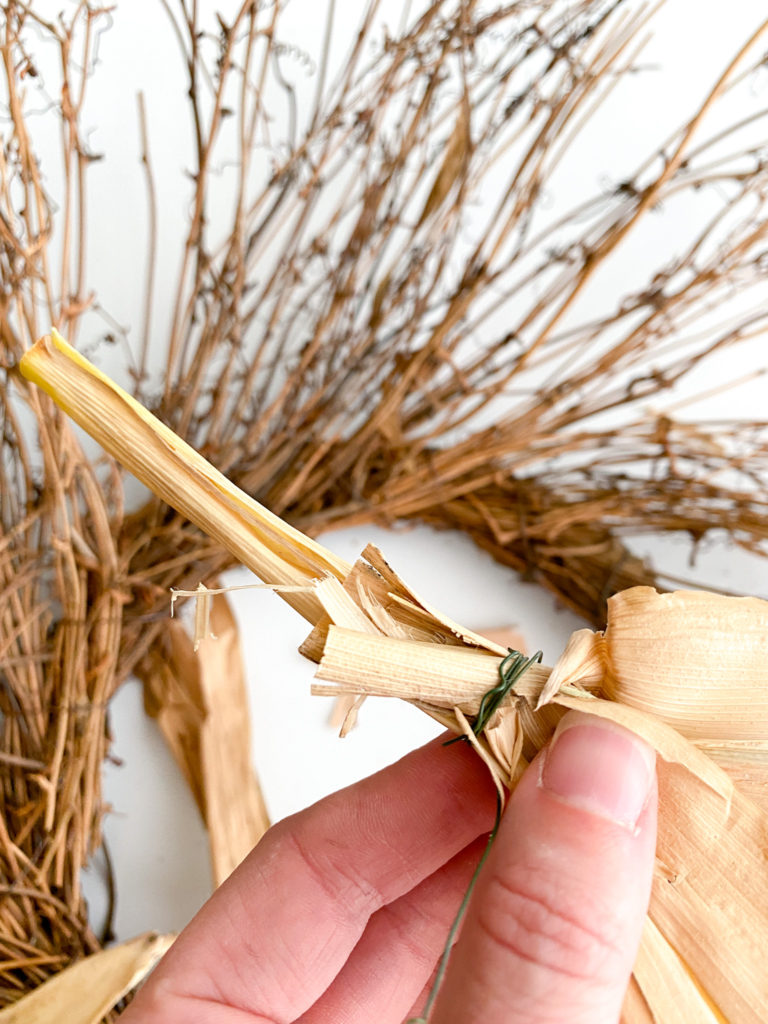
Gather a handful of husks and carefully wrap them with the wire to form a small bunch. Through some DIY trial and error, I found that it is easier to make small bunches first before attaching the husks to the wreath.
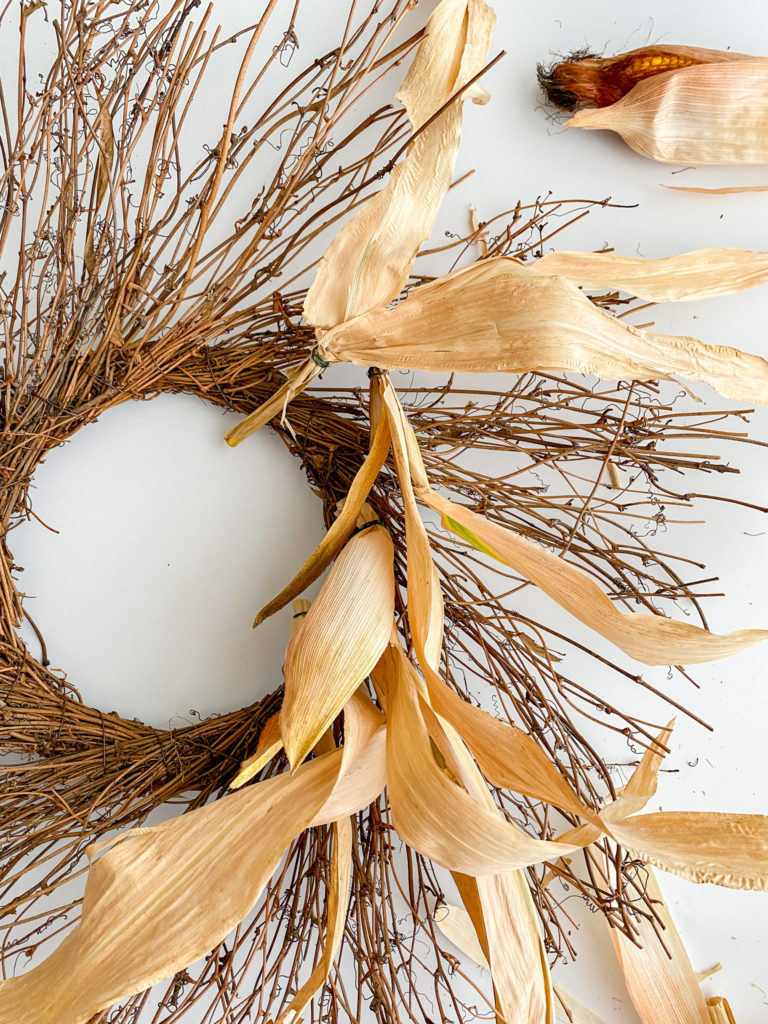
I wanted to be able to see some of my wreath peeking out from behind the husks, so I used three husks per bunch. You can use more husks to make a fuller wreath if you would like.
Step 3
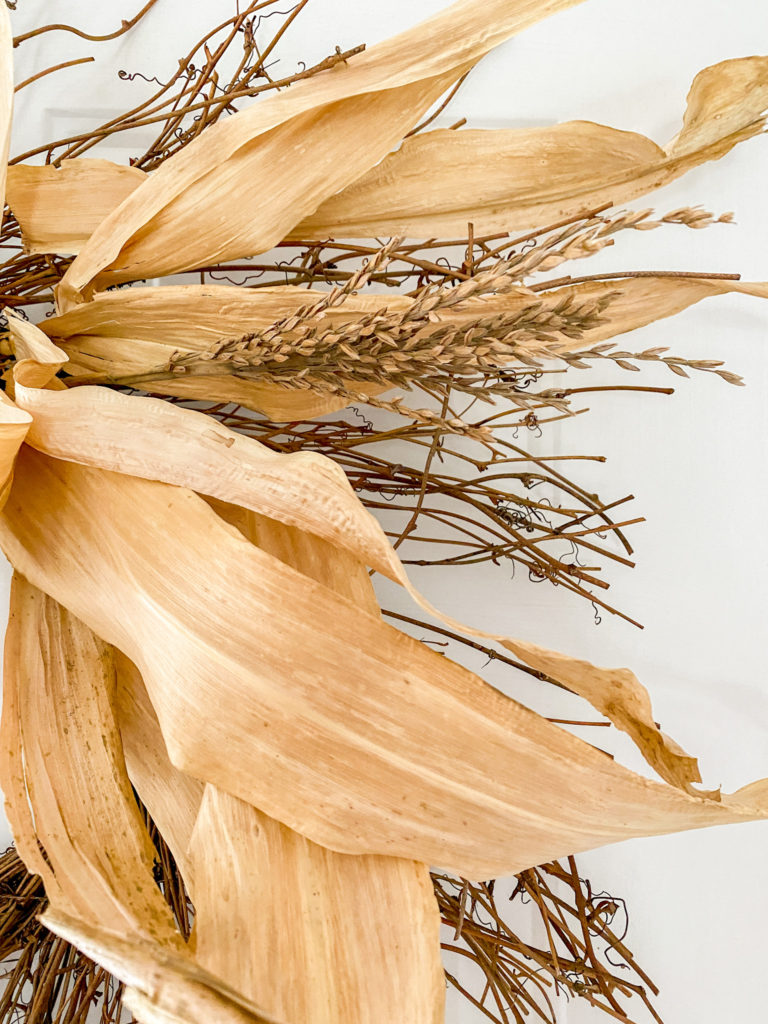
Gather a husk bunch and use the wire to attach it to the wreath. Repeat this step and overlap the husks to cover the wire from the first bunch. Continue these steps until the wreath is finished.
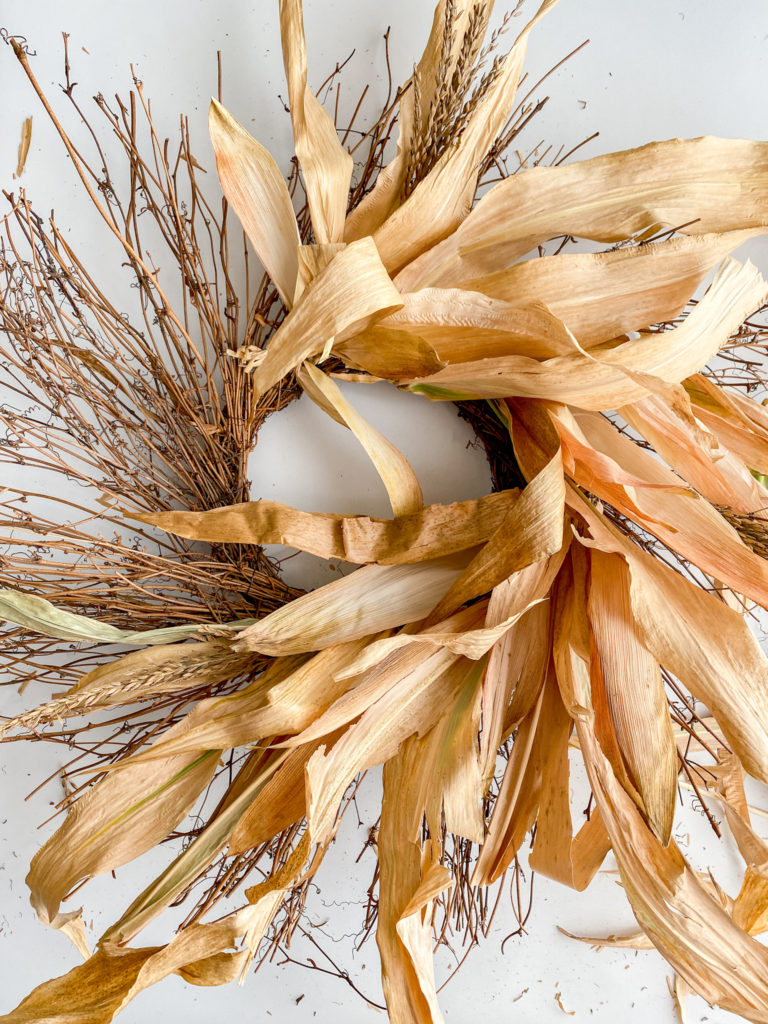
Here is the finished wreath. After I attached all of the husks, I tucked in a few corn tassels here and there for the final touch. I love how perfectly imperfect it turned out! I wanted the wreath to look a bit more rustic, and this is exactly what I had in mind.
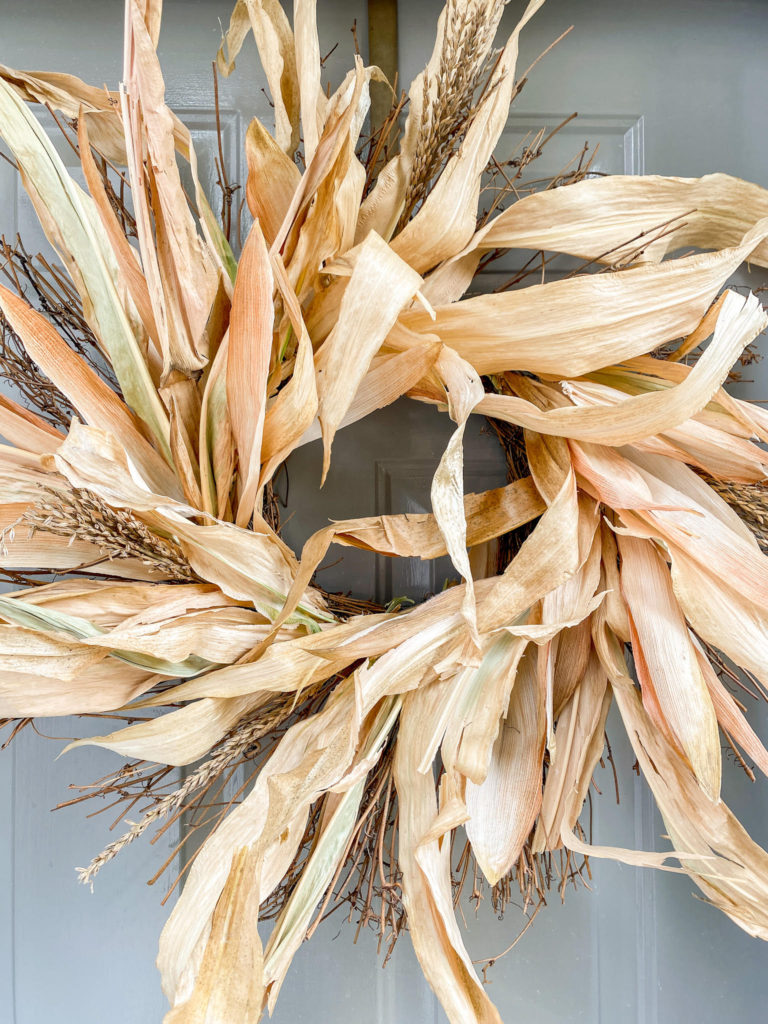
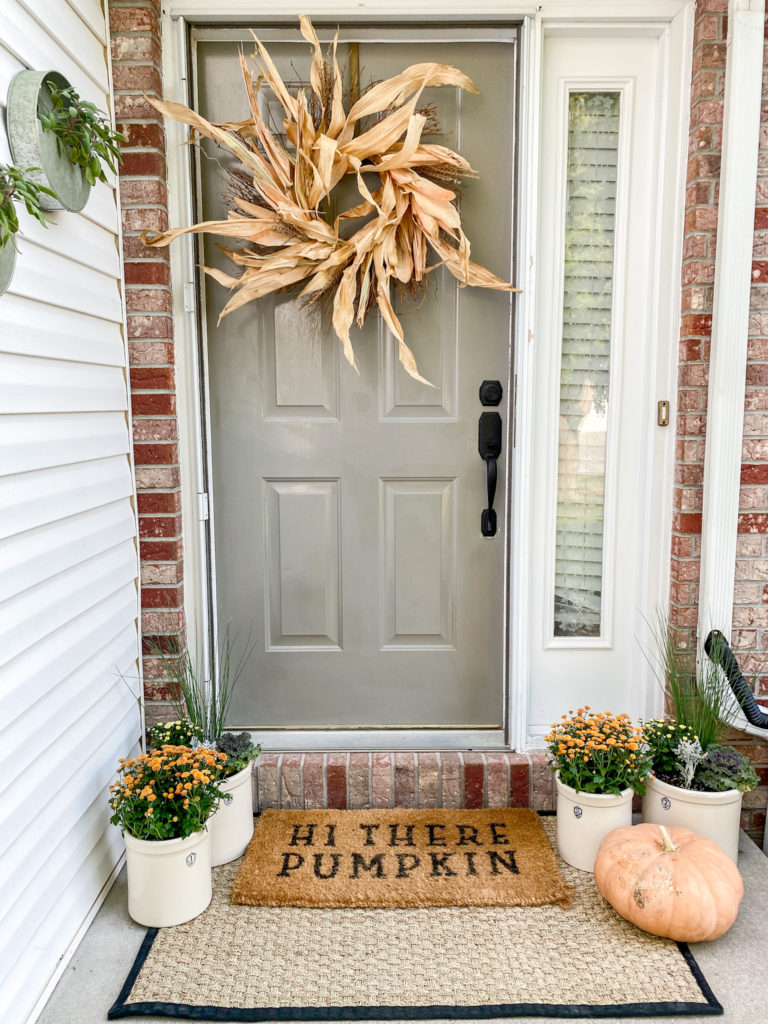
If you know me, you know I love to dress our little porch up for the seasons, so I decided to hang my wreath outside on our front door. It adds the perfect touch of fall, don’t you think?
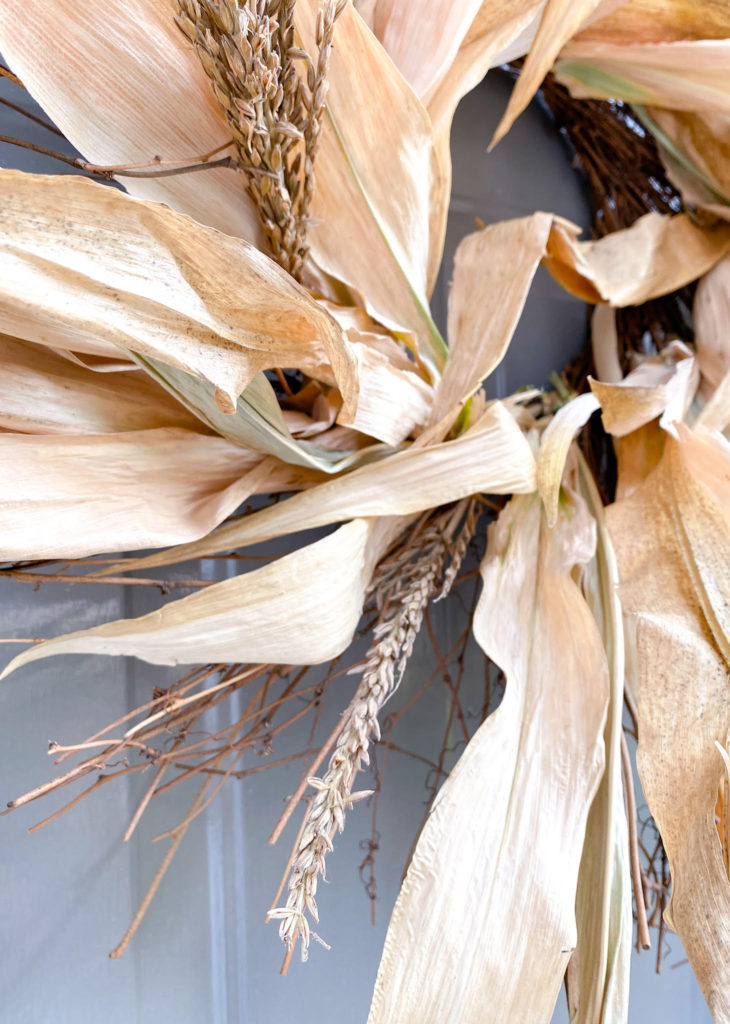

I hope this tutorial for how to make a corn husk wreath was helpful. I’d love to see your wreath, so be sure to tag me on Instagram and share your fall project.
Happy fall, friends!

More FALL DIY INSPIRATION:
Looking for even more fall DIY ideas? Be sure to check out these other posts.
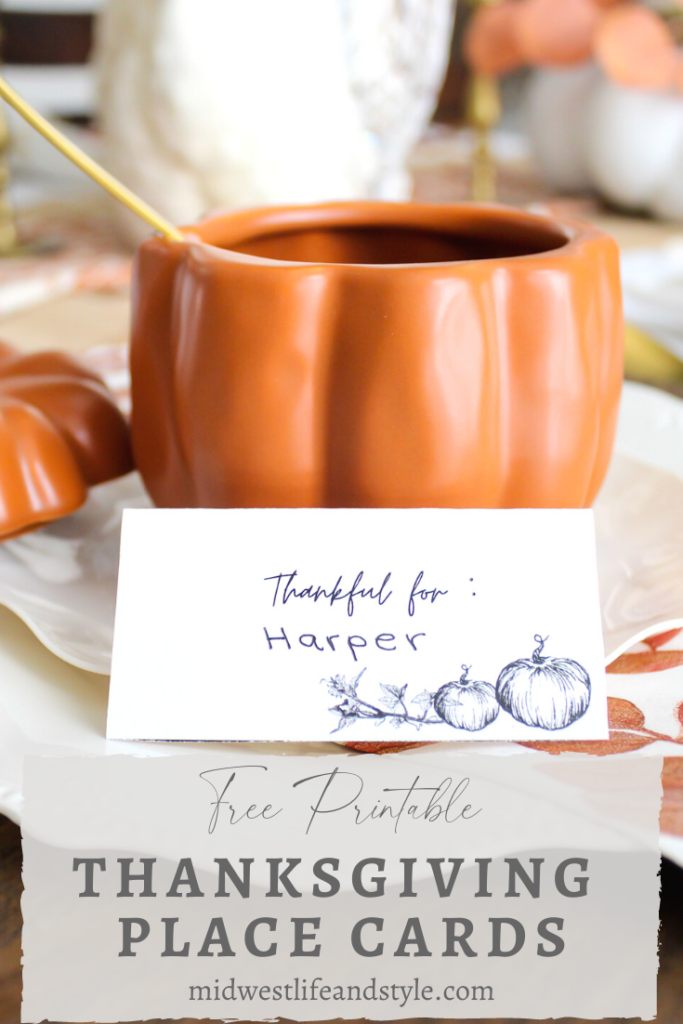
FREE Thanksgiving Place Card Printable
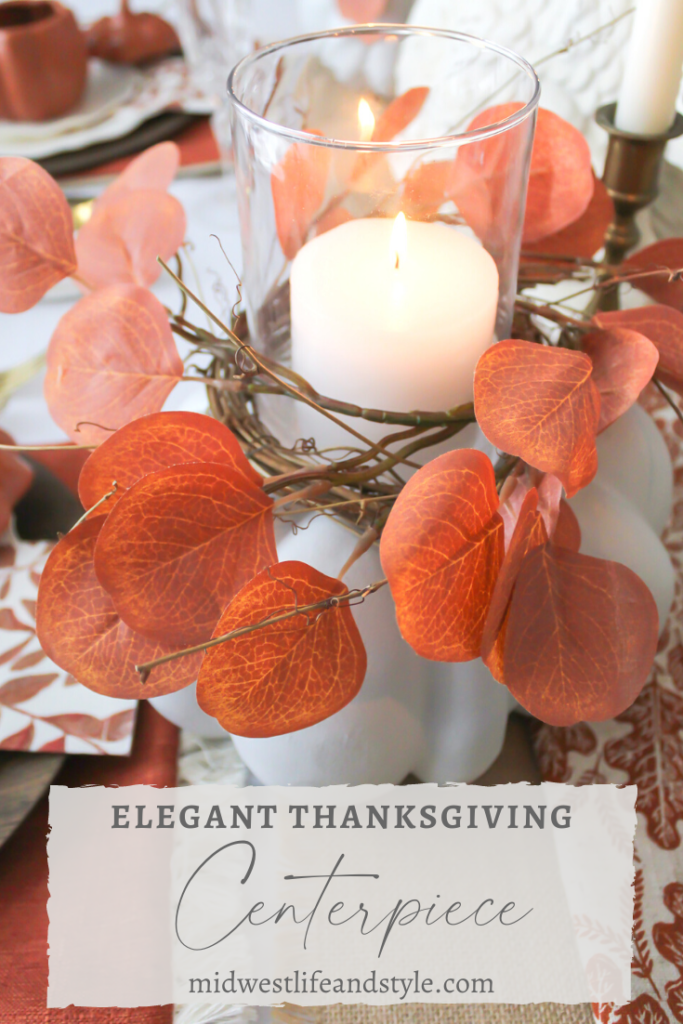
Simple Thanksgiving Candle Holder Centerpiece
Did You Enjoy this Post? PIN It for Later!



I love your corn husk wreath! It looks fabulous on your door and I can also picture it on a gate or garden shed. If I can score some corn husks, I want to make my own.
Thank you, Paula. It was so fun and easy to make. And yes, it would look perfect on a shed or garden gate too!😍
It’s a beautiful wreath Jen, and looks so easy! I love the corn tassels you tucked into the wreath 🍂🌽
Thank you so much, Cindy. It was really easy. The perfect fall wreath for a Midwest porch.😉
Oh Jen I love this! I’ve been seeing these around but had no idea how to make my own. Thanks for the great tutorial and happy Fall!!!
Thank you, Kelly. Happy Fall to you too friend!
It turned out beautiful! I love the simplicity and natural beauty of this wreath. Your front porch decor is perfect for fall! Thanks for the great ideas!
thank you so much, Shawna!
It looks so great – what a fun idea!
Photos as always are beautiful!
Thank you Lori for your kind comments. I appreciate it!