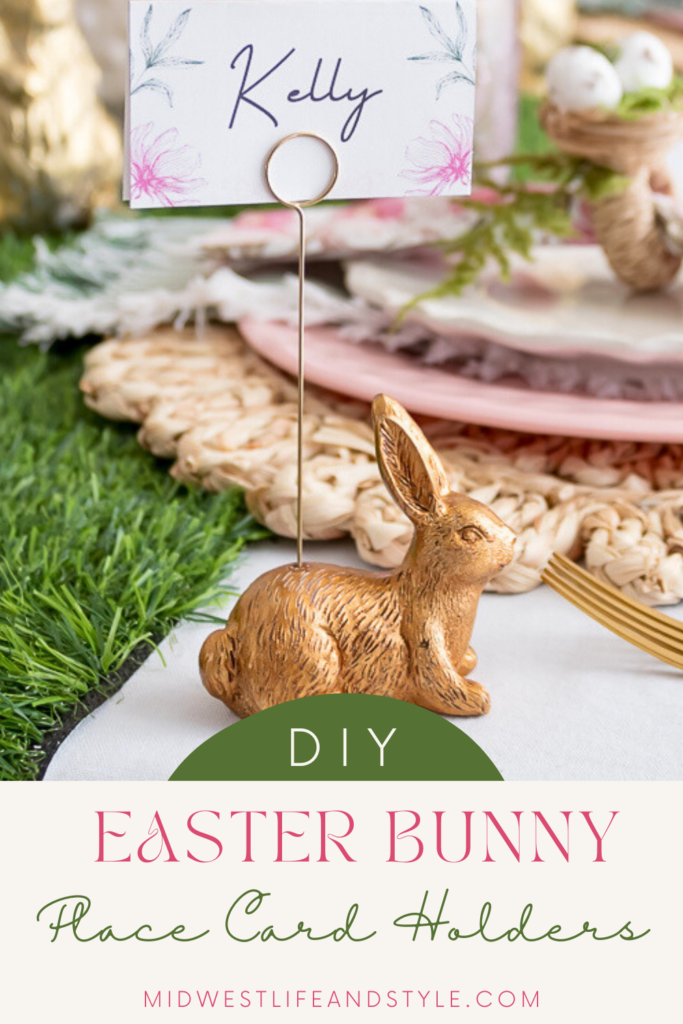
Add some charming, easy Easter decor to your dining room table with DIY bunny place card holders. Learn how to make your own in just a few steps!
*As an Amazon affiliate, I earn from qualifying purchases at no extra cost to you. My blog contains other affiliate links as well for your convenience. To learn more, you may read my Disclosure Policy. Thank you for supporting my blog!
Easy Easter Table Decor: DIY Bunny Place Card Holders
A few weeks ago I was cruising through Target when I spotted the cutest tiny gold Easter bunnies.
Would you guess that they hopped into my cart all on their own?
At least that is what I tried to tell my husband.
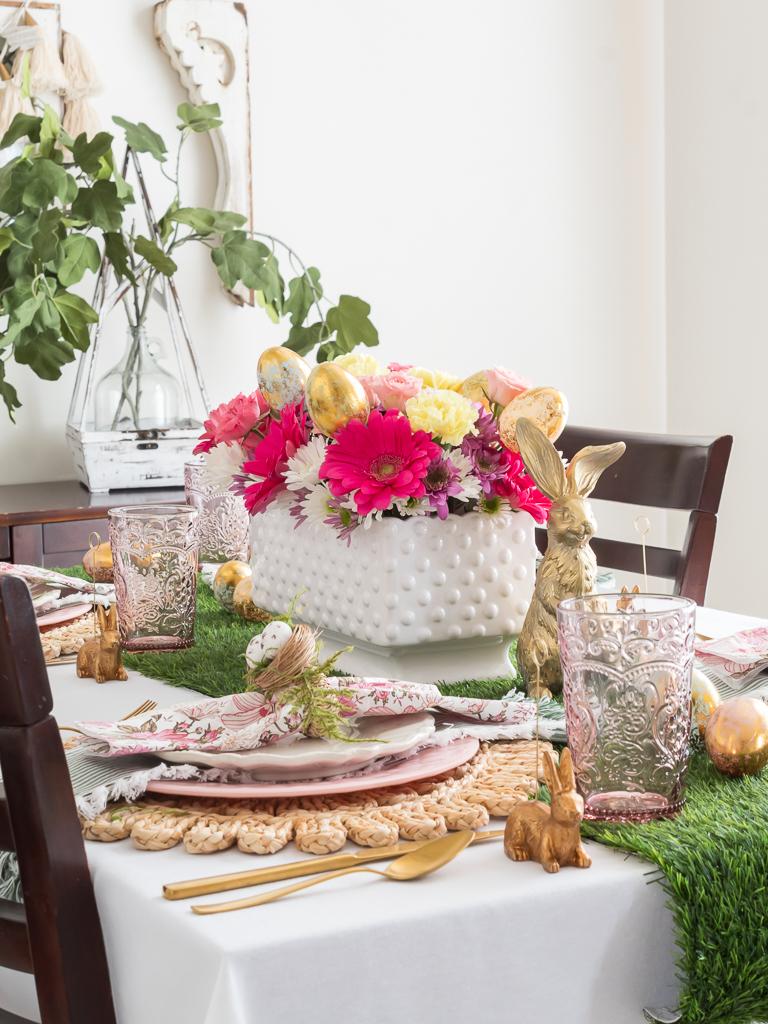
I knew I wanted to use them as decor on my Easter table.
And after a bit of brainstorming, I settled on some easy DIY bunny place card holders.
So grab your supplies and let’s make some easy Easter table decorations together!
Table of Contents
- Tools And Supplies Needed To Make DIY Easter Bunny Place Card Holders
- How To Make DIY Easter Bunny Place Card Holders
- Step 1: Measure and Cut Place Card Holder Clips
- Step 2: Drill a Hole in Your Bunny Figurines
- Step 3: Insert Place Card Holder Clip
- More Easy Easter Table Decor Ideas from Midwest Life and Style Blog
- Pin and Save it for Later!
Tools And Supplies Needed To Make DIY Easter Bunny Place Card Holders
- Gold Resin Bunny Figurines
- Gold Metal Place Card Holder Clips
- Tape Measure
- Floral Wire Cutters
- Safety Glasses
- Cordless Power Drill
- 1/16-inch Drill Bit
- Super Glue
How To Make DIY Easter Bunny Place Card Holders
If you’re looking for simple and affordable decor to add a personalized touch to your Easter table it honestly doesn’t get much easier than these DIY bunny place card holders.
Keep reading for the easy step-by-step directions for this Easter craft and make your own!
Step 1: Measure and Cut Place Card Holder Clips
The place card holder clips I ordered were way too long!
(That’s what I get for not reading the item dimensions….sigh.)
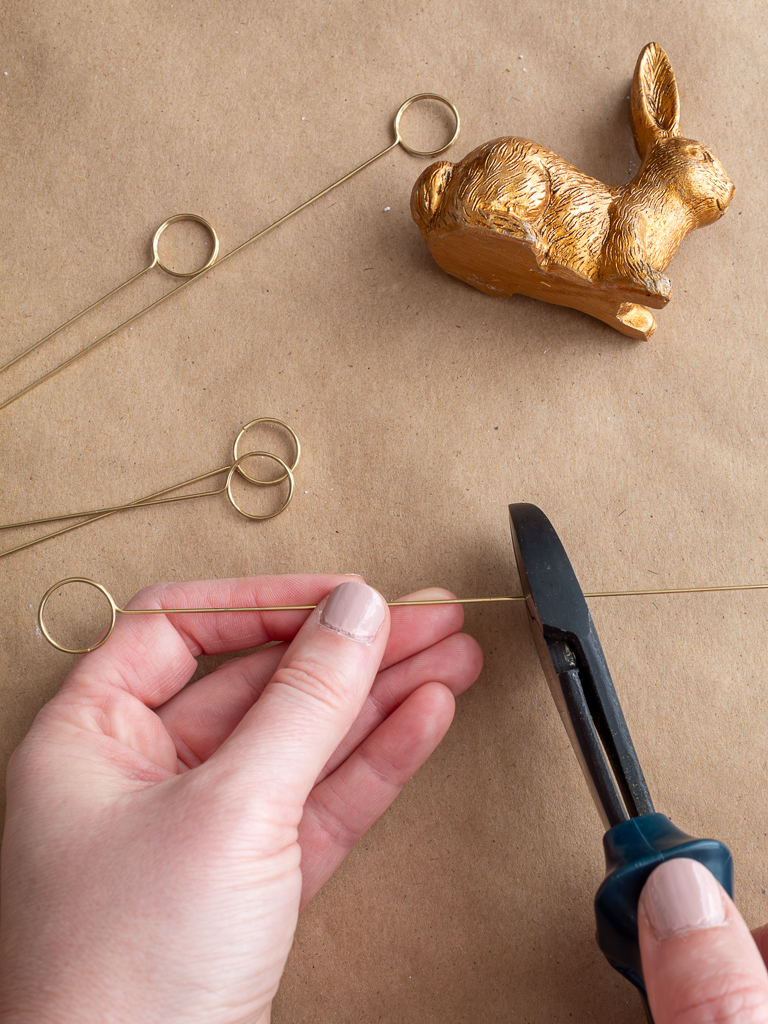
But the color and the price were right, so I grabbed my floral wire cutters and snipped them down to size.
If yours are similar, it might be helpful to grab a measuring tape and trim them down.
I found that shortening my gold clips to about 5 inches worked perfectly for the height of the bunnies and this Easter DIY.
Step 2: Drill a Hole in Your Bunny Figurines
With your place card clips trimmed and ready, it’s time to drill the holes for the metal holders.
But, before you start drilling, be sure to throw on some protective glasses…safety first!
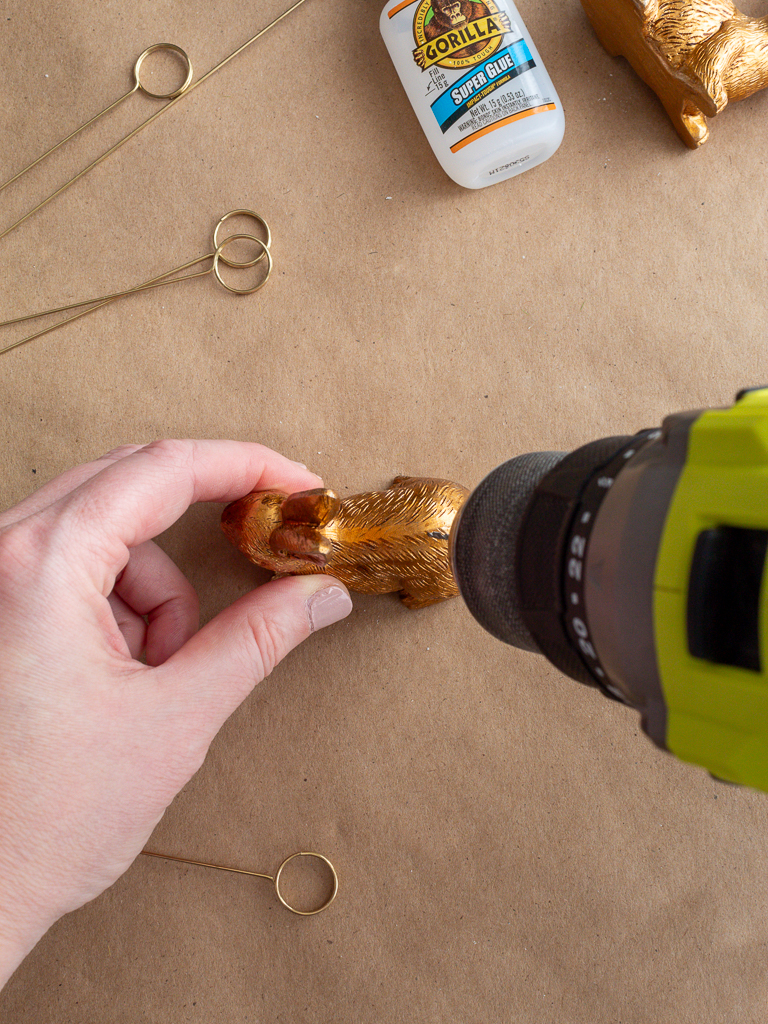
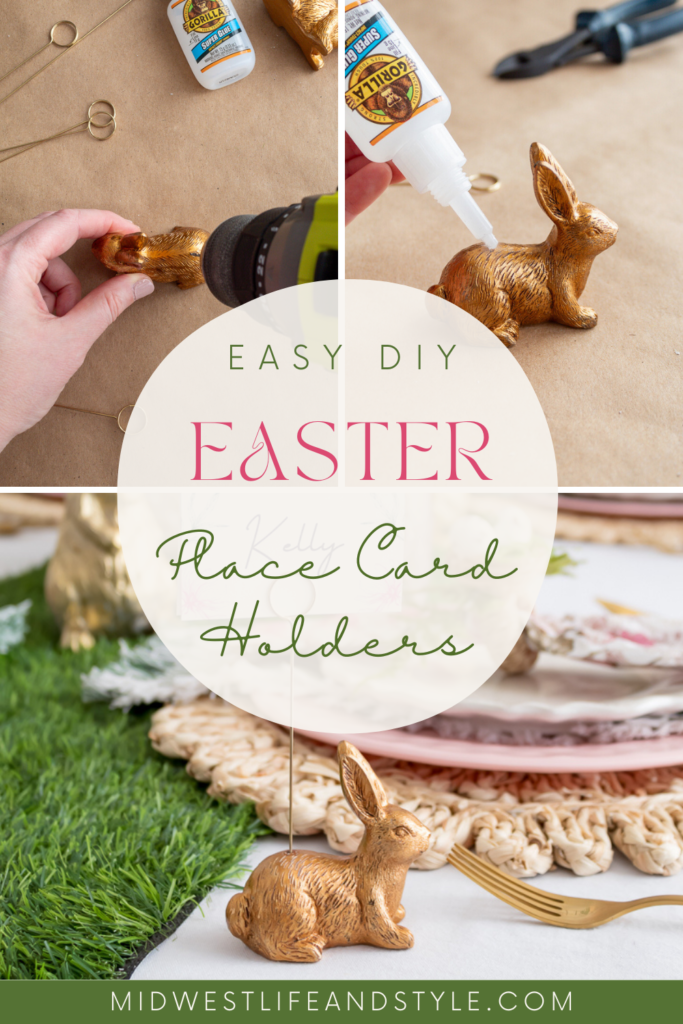
Then grab your cordless drill fitted with a 1/16″ drill bit and slowly drill a hole in the center back of the gold bunny figurine.
Drill into the bunny far enough for the place card clip to go in, but be careful not to drill through the bottom of your bunny.
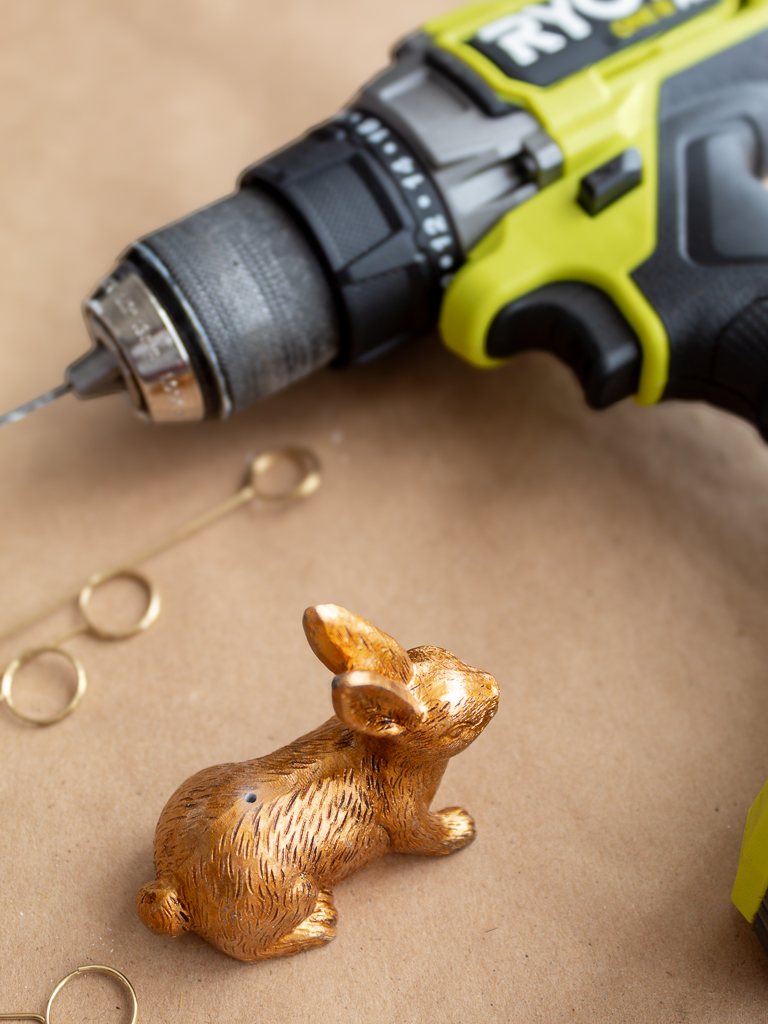
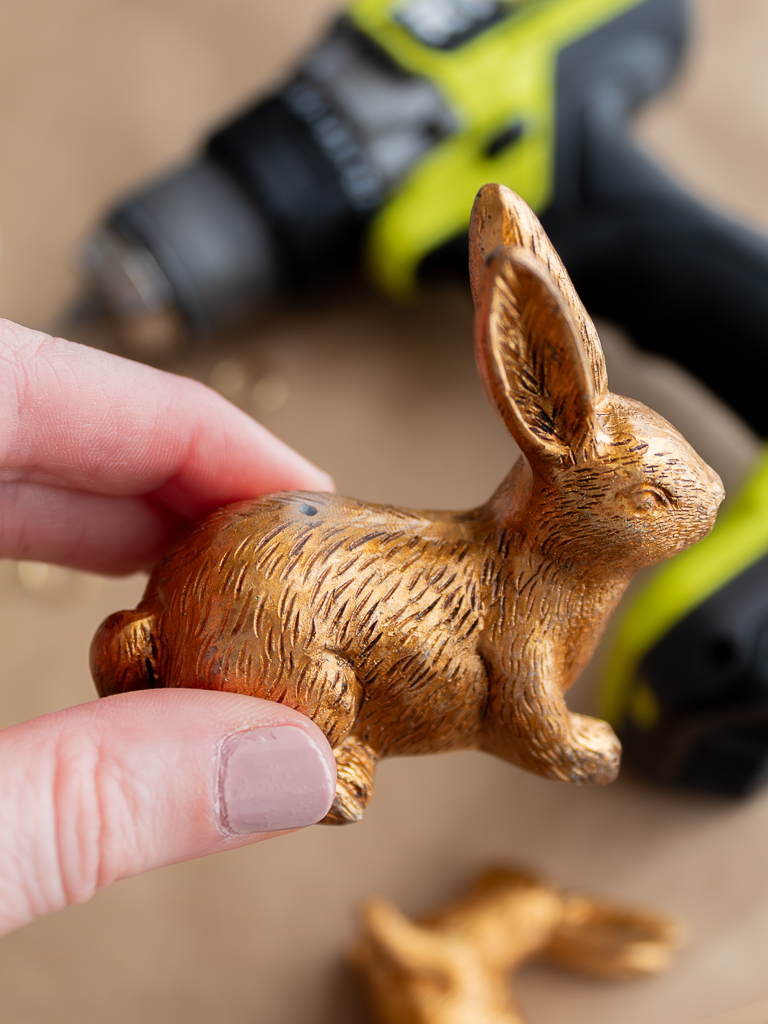
Repeat this step until you’ve drilled a pilot hole in each of your gold Easter bunnies.
Step 3: Insert Place Card Holder Clip
To finish your DIY Easter bunny place card holders, just pop in the gold place card clip!
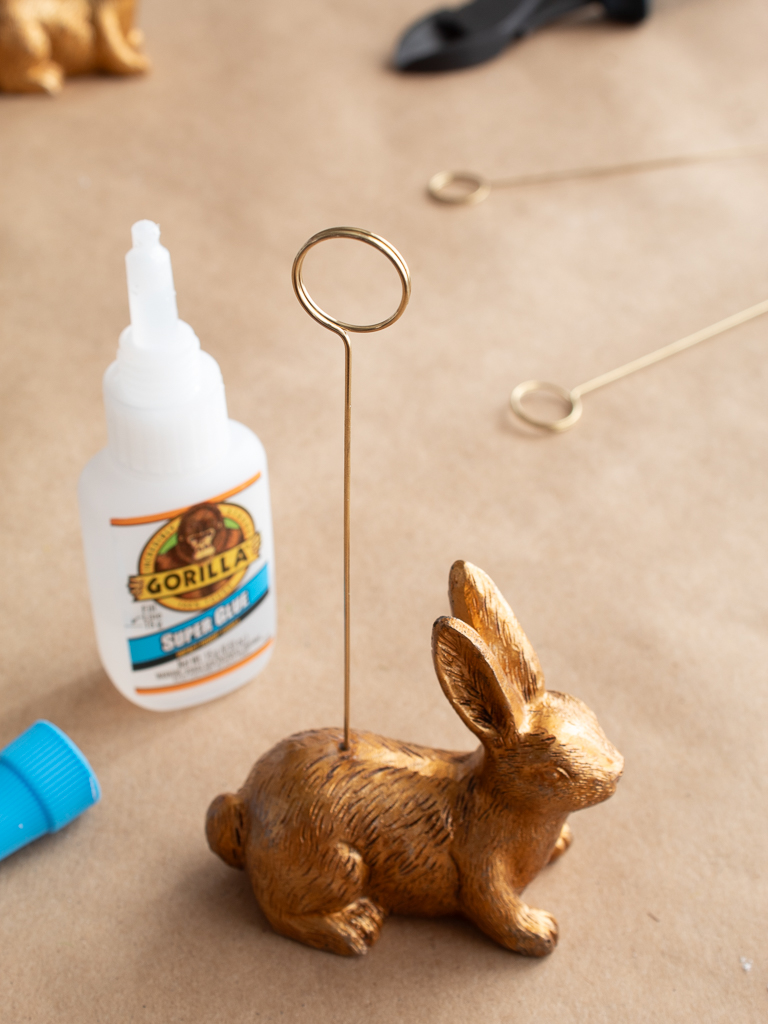
Although the hole was a tad big even with a 1/16″ drill bit, I just used a tiny bit of super glue to secure the gold clips in place.
After the glue has dried, you’re all set!
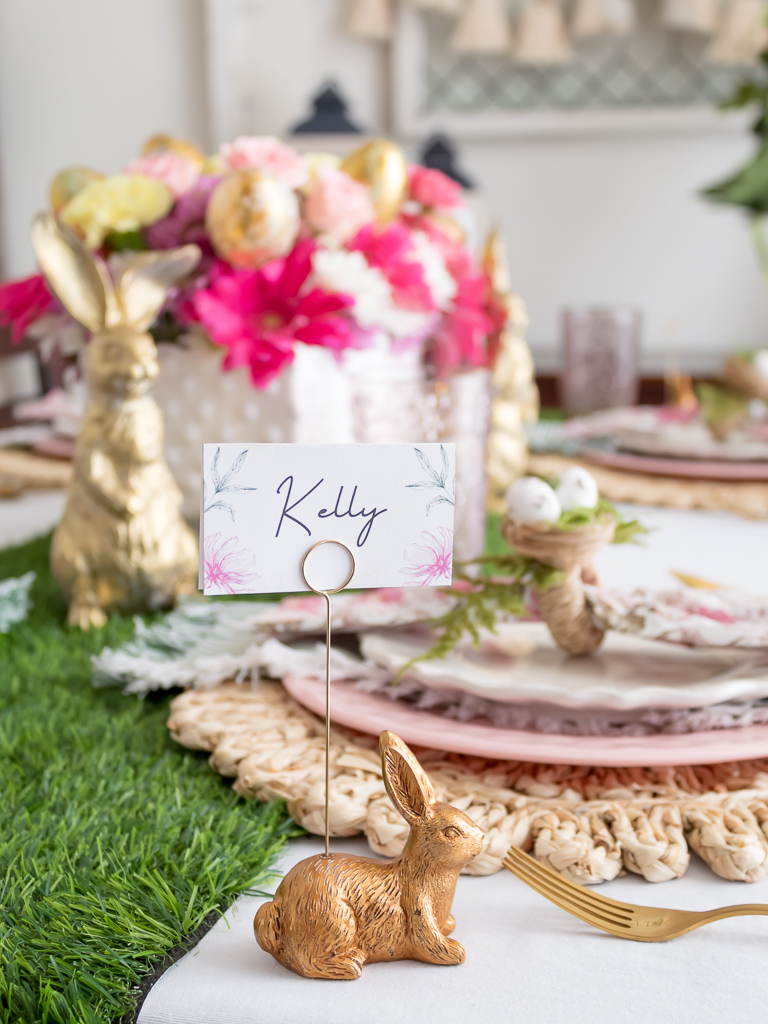
Don’t forget the finishing touches!
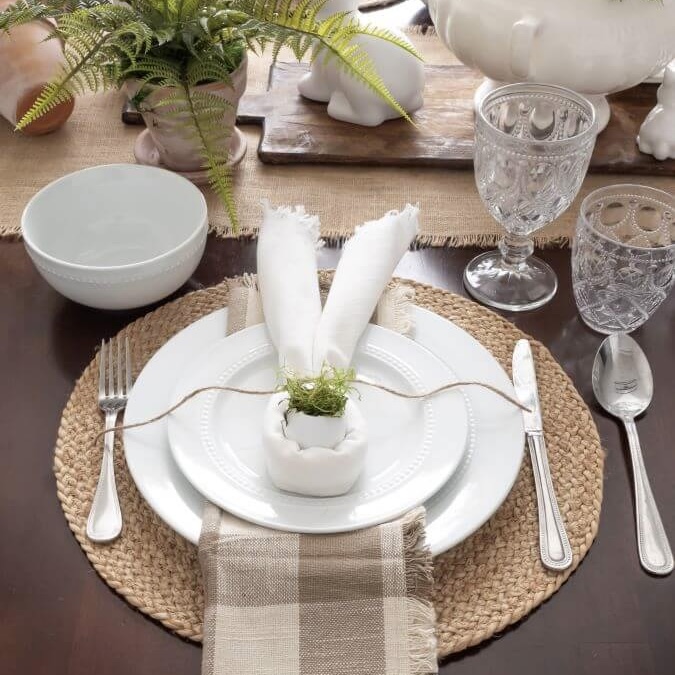
Add personalized place cards and display your bunny creations with other simple spring decor, including DIY Easter napkin rings.
More Easy Easter Table Decor Ideas from Midwest Life and Style Blog
Looking for even more Easter table decor ideas? You might like these other posts.
Summary Easy Easter Table Decor: DIY Bunny Place Card Holders
I love how these DIY bunny place card holders turned out, don’t you?
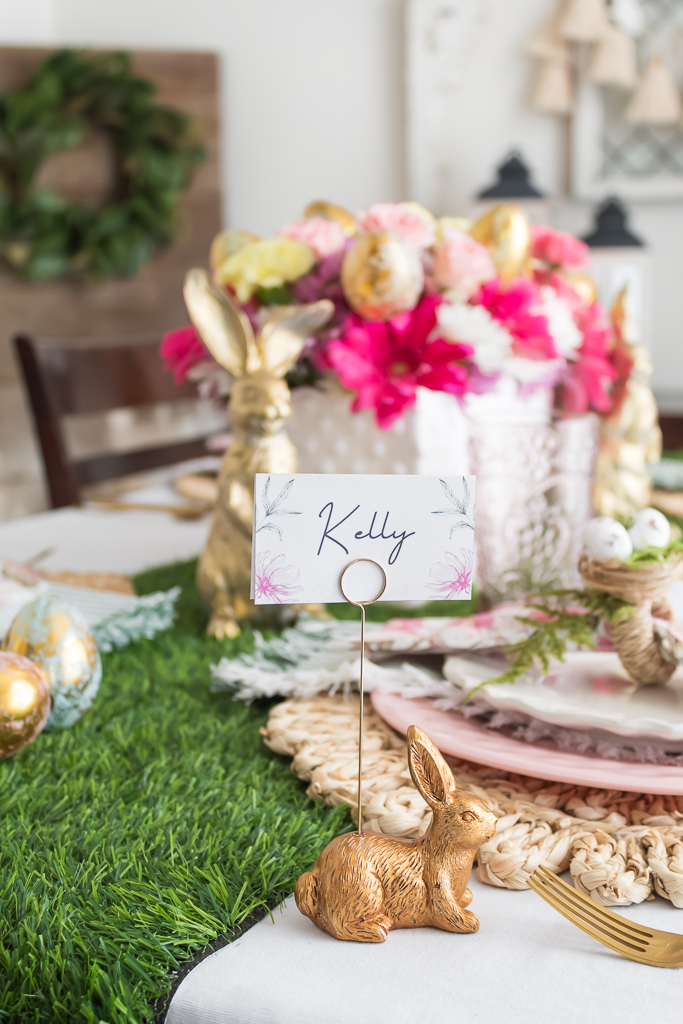
The simple bunny decor is so charming and adds the perfect finishing touch to my Easter table.
If you are catching up on blog posts you may have missed, sign-up to become part of the MWLS community and get all the latest entertaining ideas, seasonal DIYs, recipes, and decor tips sent directly to your inbox.
Happy crafting and happy Easter!

Pin and Save it for Later!
Did You Enjoy this Post? PIN It for Later!





Love this idea! I have a few bunnies like that. I’ll have to try this with my lady friends. Can’t use them on my family. All but one of the 4 kids will remove the charger and/or placemat before any holiday dinner. So uncouth. LOL! pinned
Just adorable, Jen!! Those cute little bunnies are so cute for an Easter table!
Thank you, friend! I love how this project turned out. They are even better than I imagined.